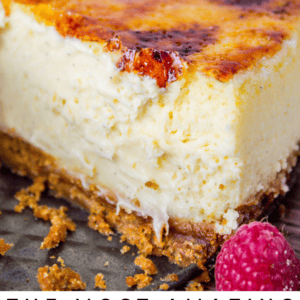
Two of the best desserts known to man, combined in one. It’s a thick, custard-y, vanilla-y cheesecake with a gingersnap crust and a crunchy, not-quite-burnt caramel shell on top, just like Crème Brûlée. This is the best cheesecake I’ve ever made. Originally published February 2, 2016.
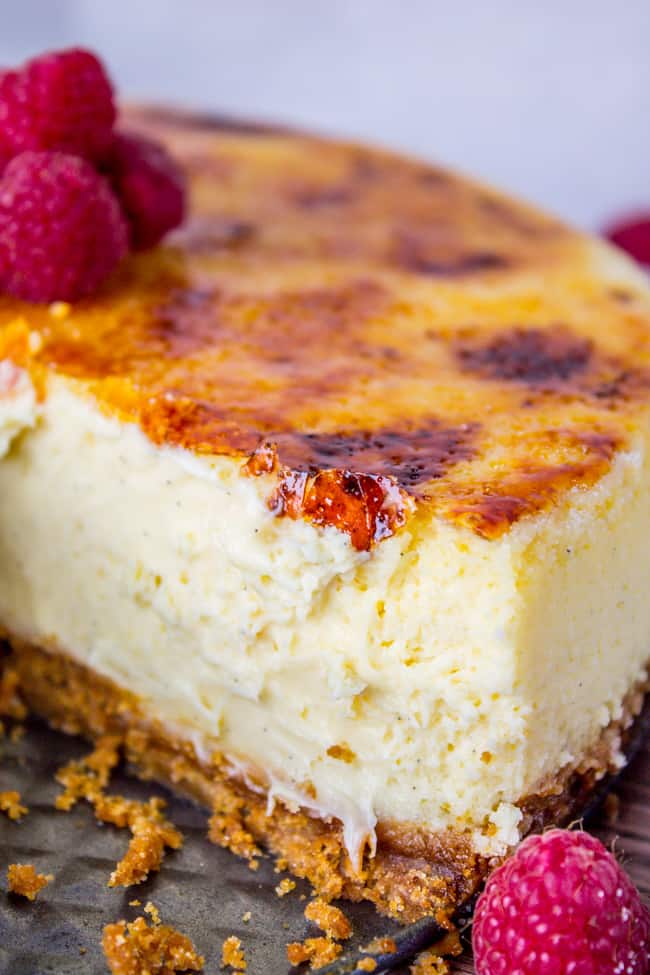
Table of Contents
- This Crème Brûlée Cheesecake is what dreams are made of
- Cheesecake Brûlée ingredients
- Tools to use for Crème Brûlée Cheesecake
- How to make Crème Brûlée Cheesecake
- Cheesecake Brûlée variations
- Tips for making Brûléed Cheesecake
- How to serve Crème Brûlée Cheesecake
- Storing Brûlée Cheesecake
- Crème Brûlée Cheesecake Recipe FAQs
- More amazing cheesecakes!
- Crème Brûlée Cheesecake Recipe
So the other day I saw my 8-year-old nephew Landon, and we exchanged an epic high five. It hurt WAY more than a high five with an 8-year-old should, and I was feeling like a total wuss. But then I looked down and saw that my palm was BLEEDING.
Who high-fives while holding an EXTREMELY SHARP number 2 pencil?? Watch out for those nephews, guys. They have no mercy.
I have been double checking every high five since that day. No sharp pencil? Okay, we’re good, let’s high five.
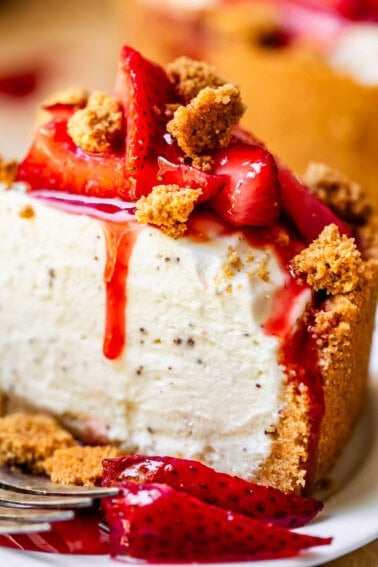
This Crème Brûlée Cheesecake is what dreams are made of
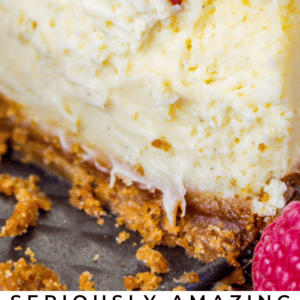
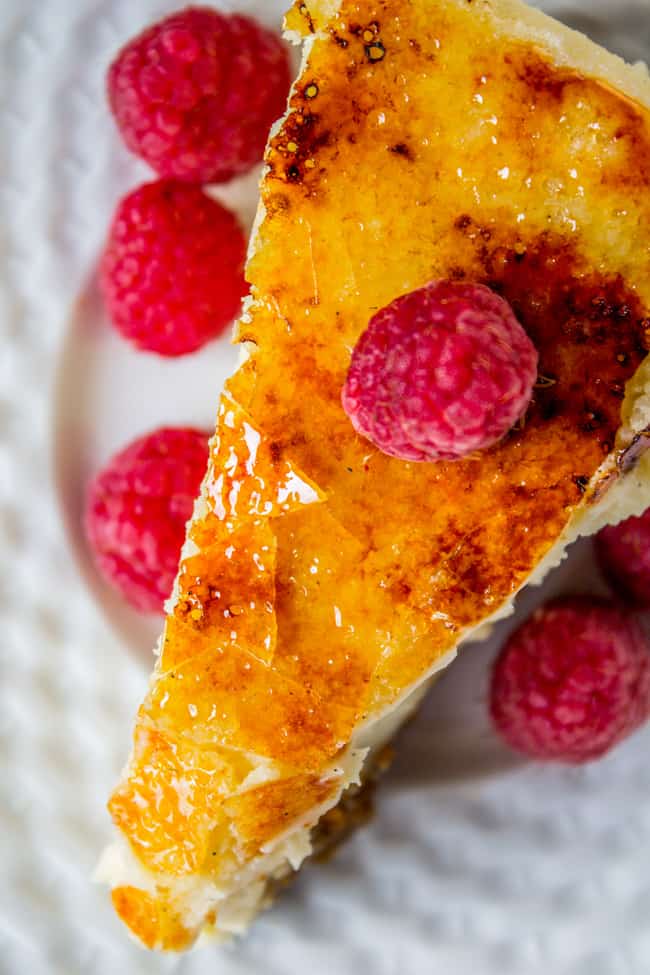
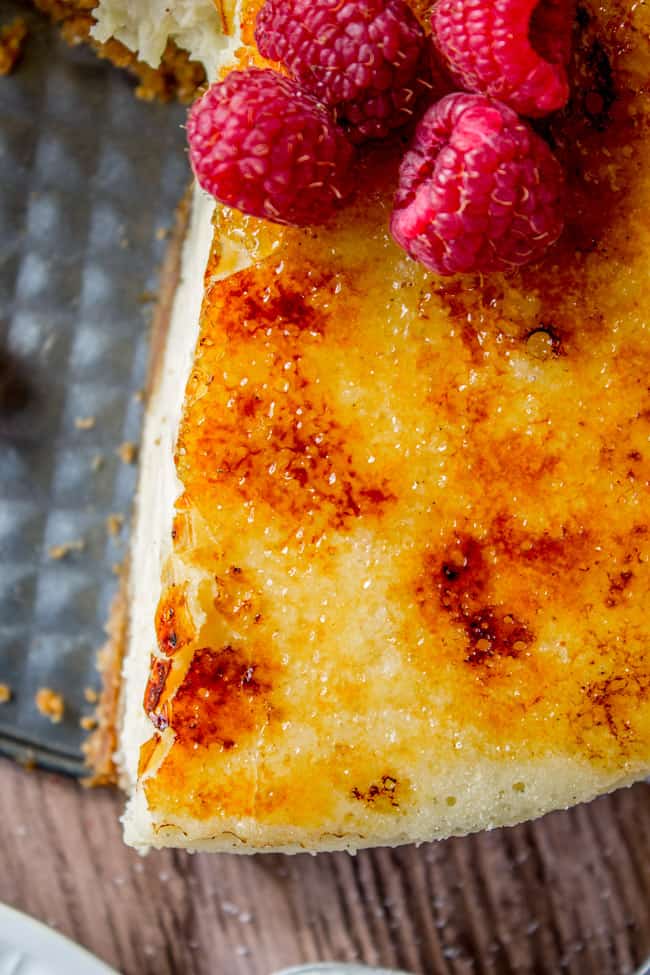
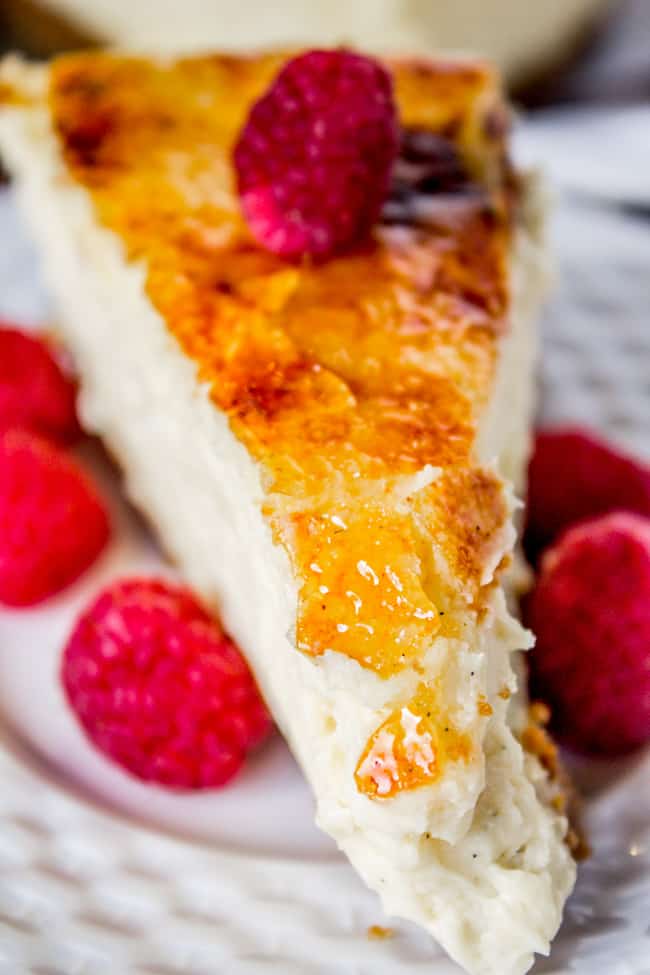
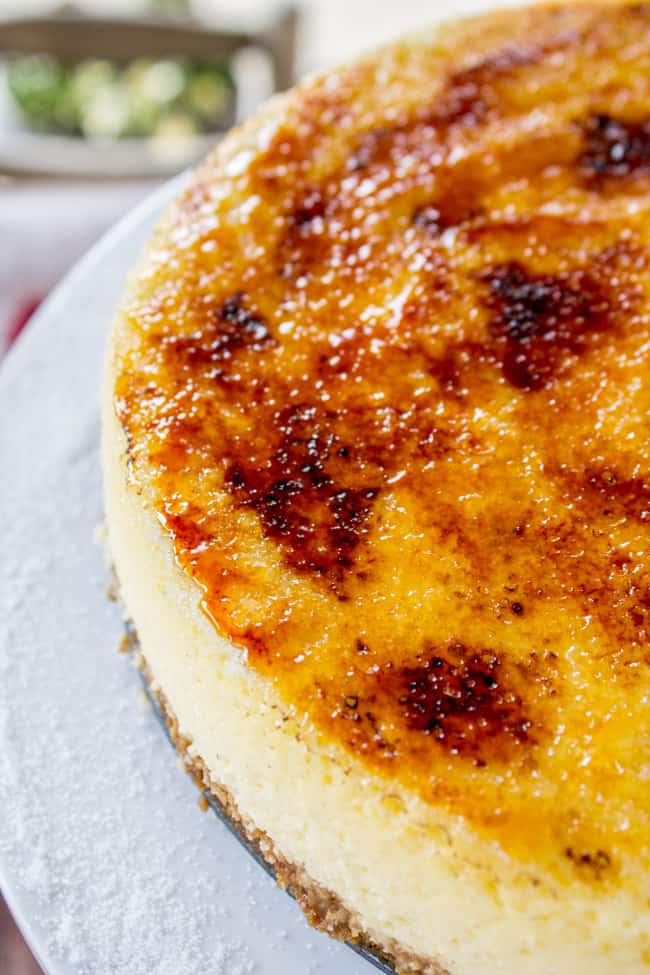
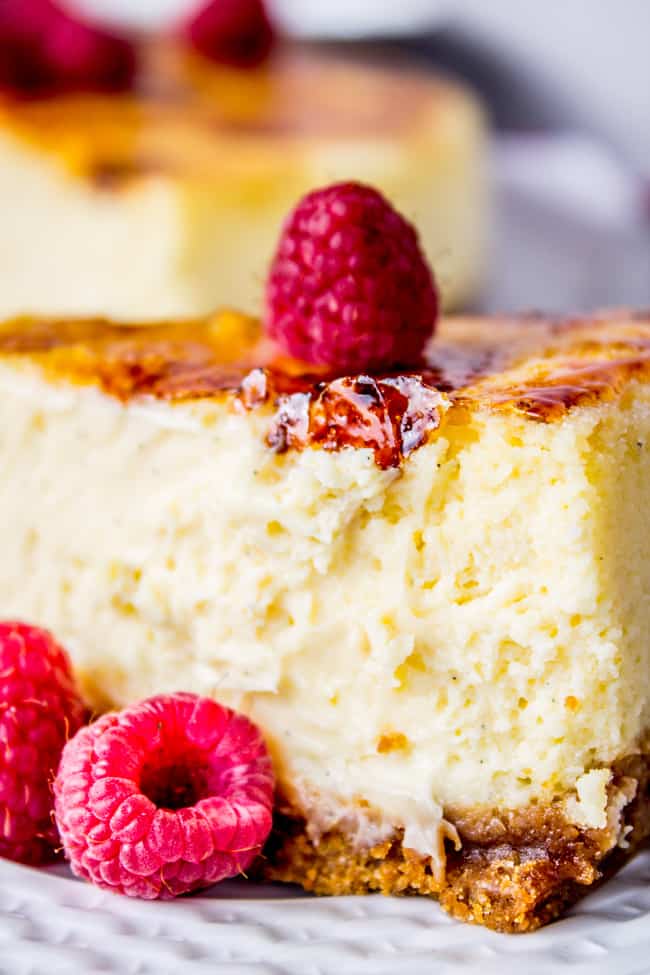
Creamy, dreamy vanilla bean cheesecake. Buttery gingersnap crust. Crunchy, crackly caramelized sugar topping. “Am I dreaming??” is exactly what you’ll be asking yourself when you take your first bite.
Now look, I know cheesecake has a real reputation for being fussy. A prima donna, if you will. But all she needs is a little star treatment. I’m going to show you exactly how to pamper her so she can steal the show (and your heart).
The idea for this cheesecake has been floating around in my head for a few years now. The first hurdle was getting a kitchen torch, because this recipe is impossible to make without it. Someone gave me a torch for Christmas last year, but I had no fuel. Finally got some butane at Home Depot a few weeks ago, and I’m kicking myself that I didn’t do this sooner, because oh. my. gosh. This cheesecake. Guys.
After I made this cheesecake for the second time, I asked my cousin Lani to come over and try it. She is my official taste-tester because she is not afraid to tell me if a recipe sucks. (True friends are hard to come by. You’re the best Lani. Thanks for eating my food. I know it’s a rough job.)
She took one bite and said, Karen, I think this is the best thing you have ever made.
Then we got really excited with the torch and tried to caramelize the outer edges of the cheesecake. It sorta worked.
(If you want to try this, the best method is to wet your hands and moisten the side of the cheesecake, then use your other hand or a spoon to press sugar onto the wet part. Then torch. But probably none of you are as desperate for brûléed sugar as we are.)
After our fire-fun, Lani went home, but I got this text from her several hours later, “All I can think about is that cheesecake! Best dessert I think I have ever had.” I think she liked it.
The photos don’t do it justice. We need audio. If you could hear the crack of that caramelized topping when you tap your fork into it. Oh man. I’m telling you.
If you are stumped for what to get your special someone for Valentine’s Day this year, I say just make them this. No one is going to argue with this cheesecake. Skip dinner and eat the whole thing. I can’t think of anything more romantic.
Cheesecake Brûlée ingredients
Here’s a quick overview of what you’ll need to make this cheesecake. Scroll down to the recipe card at the bottom of the post for a complete list!
- Gingersnaps (or graham crackers, or Nilla Wafers)
- Sugar
- Kosher salt
- Unsalted butter
- Cream cheese
- Vanilla bean paste (or vanilla extract, or one vanilla bean)
- Heavy cream
- Large eggs
- Superfine sugar
- Raspberries (for the garnish)
Tools to use for Crème Brûlée Cheesecake
These are my favorite kitchen tools to use when I’m making Crème Brûlée Cheesecake. If you don’t have these, no big deal!


How to make Crème Brûlée Cheesecake
Let me step you through how we’re making this cheesecake. Make sure that you scroll to the bottom of the post to see complete instructions in the recipe card!
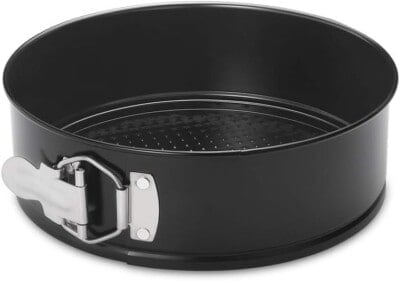
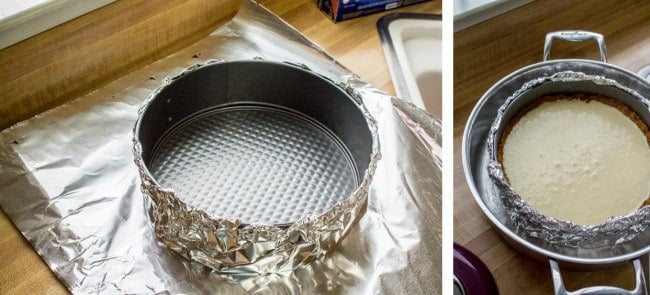
Start by wrapping the bottom and sides of your springform pan in three layers of aluminum foil.
Pulse the gingersnaps into fine crumbs, then add sugar, salt, and melted butter and pulse again.Press the crumbs into the bottom of the prepared pan in an even layer, then bake. Remove from the oven and let cool while you make the filling.
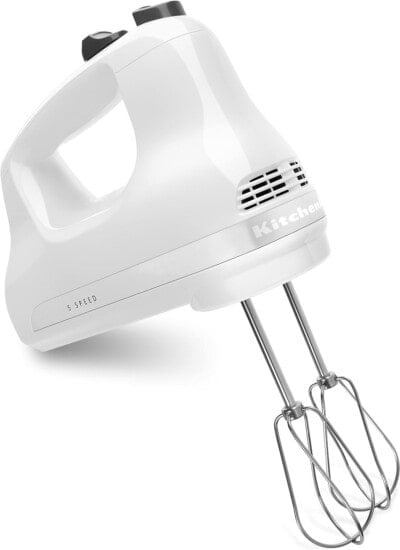
Beat the cream cheese with a hand mixer or in a stand mixer using the paddle attachment, then add sugar, vanilla bean paste, and salt, and beat again.
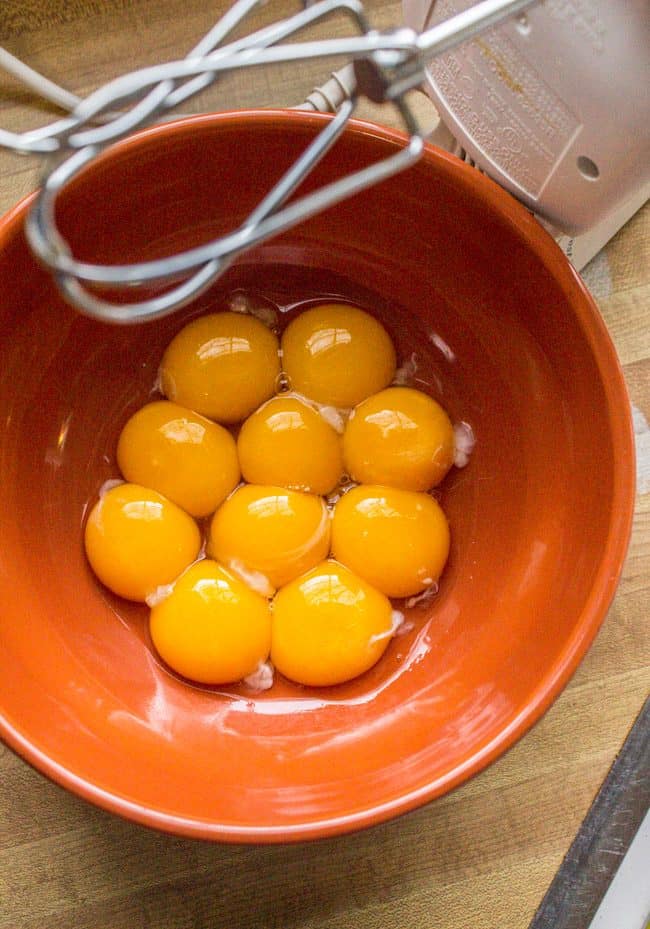
Heat the cream on the stove. While it’s heating, crack the eggs, separating the yolks, and beat.
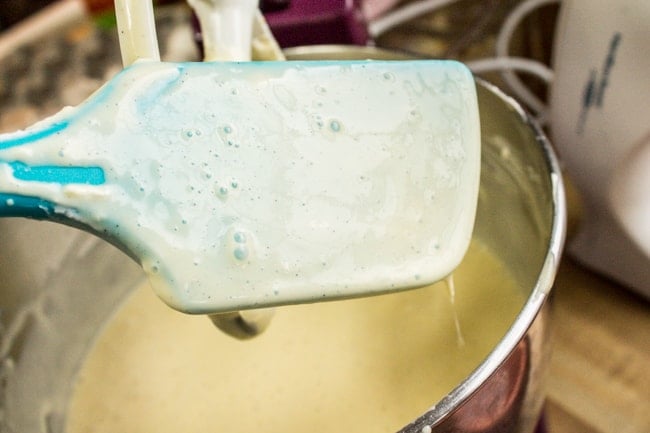
Pour the heated cream through a fine mesh strainer into a large pourable glass measuring cup. While the beaters in the egg yolks are on, slowly add the warm cream, then pour this mixture into the cream cheese mixture.
Transfer the foil-wrapped crust into a large high-sided skillet, or a roasting pan, then pour the cheesecake batter into the gingersnap crust. Fill the skillet or roasting pan with hot water from the tap and transfer the water bath to the oven.
Bake the cheesecake until done, then crack the door of the oven and let the cheesecake come to room temperature inside the oven.
When the cheesecake is mostly cool, remove it from the water bath, and remove the foil. Cover the cheesecake with plastic wrap and refrigerate for at least 3 hours or preferably overnight.
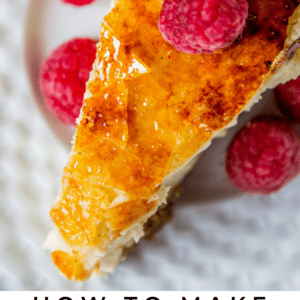
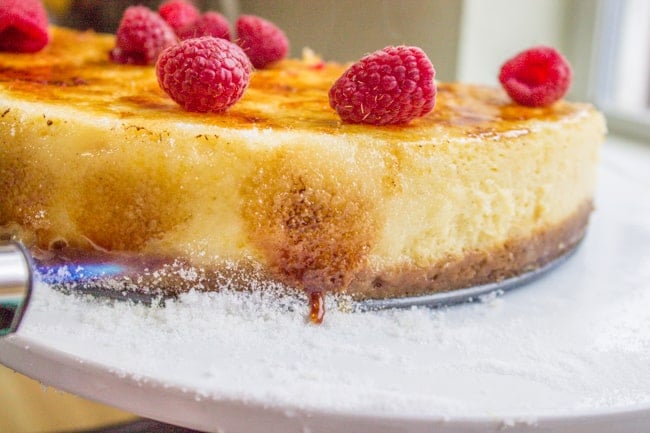
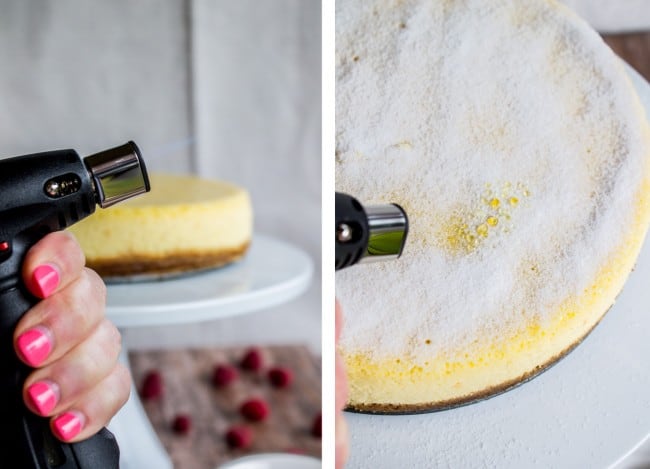
Sprinkle superfine sugar all over the top of the cheesecake. Use the torch to caramelize the sugar. Let sit for a minute for the sugar to harden, then garnish with fresh raspberries.
Cheesecake Brûlée variations
I love this cheesecake so much. Here are a few easy ways to make it your own!
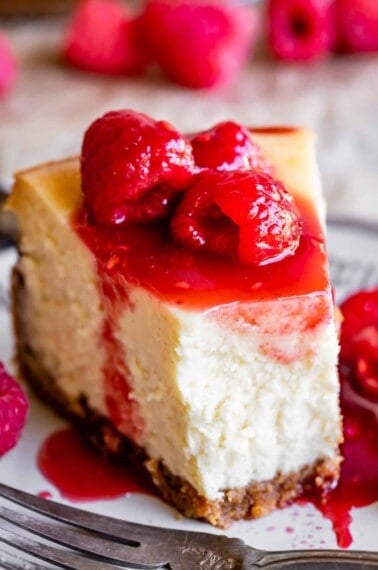
- Substitute blueberries, blackberries, peaches, or any fruit you choose for the raspberries. The basic flavors of the cheesecake are caramelized sugar and cream – you basically can’t go wrong adding any fruit topping you want.
- Instead of vanilla bean paste, you can use a vanilla bean. Scrape the pod and add it to the cream cheese mixture. Throw the remaining bean in with the cream when you cook it, so that you soak up all the flavor.
- You don’t have to use gingersnaps for the crust! You can use 1 and 3/4 cup graham cracker crumbs or Nilla Wafer crumbs instead. YUM.
Tips for making Brûléed Cheesecake
Here are my favorite tips for making this cheesecake turn out just perfectly. You can do this!
- Wrap your cheesecake in foil. This is going to keep your cheesecake dry since it will be baked in a water bath. I know 3 layers of foil may seem excessive, but talk to me when you spend half a day making your precious cheesecake and you end up with a soggy crust. Trust me, the prep time is worth the cost of the foil!
- You don’t have to buy special sugar. You can just throw some regular sugar into the blender or food processor for 30 seconds or so. Smaller granules help the sugar melt faster when you are torching it. Regular sugar will still work fine though. I’ve tried both.
- Keep the beaters going while you’re adding cream to yolks. Add the warm cream sloooowly. If you are not mixing while you do this, the eggs will curdle. Enlist help if you can, this part is a little tricky.
- Don’t pull the cheesecake out of the oven…yet. When the cheesecake is finished baking, you can either crack the door of the oven and let the cheesecake come to room temperature inside the oven, or you can take it out but leave it in its water bath for a couple hours. The goal is to avoid a drastic change in temperature so the cheesecake doesn’t crack, a classic cheesecake problem!
- Leave time to chill the cheesecake. You need to wait until the cheesecake is mostly cool, remove from the water bath, and remove the foil. Cover the cheesecake with plastic wrap and refrigerate for at least 3 hours or preferably overnight. If you don’t it’s going to be an absolute mess.
- Release the spring slowly. After all that work we are not going to let this cheesecake crack! When you are ready to serve it, remove the plastic wrap and carefully loosen the sides of the pan; you can use a butter knife or just make sure to release the spring gently.
How to serve Crème Brûlée Cheesecake
Crème brûlée is fancy pants stuff. It’s perfect for serving on Mother’s Day, Father’s Day, your anniversary…shoot, you could serve it at a wedding. I like to serve it in small slices at the end of a nice meal. Here are some of my favorite elegant dinners to pair it with!
Prosciutto Wrapped Chicken with Asparagus << just such a gorgeous meal!
Pan Seared Sea Scallops with Creamy Wine Sauce << romance on a plate
Ratatouille << Oo la la, a French dinner to go with a French dessert!
Killer Homemade Lasagna << sure, it’s a million more calories. Go big or go home
Ribeye Steak << the king of dinners marries the queen of desserts
Beef Bourguinon << serve cheesecake after THIS and you’re getting proposed to
Storing Brûlée Cheesecake
If you know you’re going to have leftover crème brûlée cheesecake, I highly recommend that you only sprinkle with sugar and torch the slices you’re going to eat right away. The crunchy sugar topping will soften right up in the fridge, and that crisp crackle is non-negotiable. Whenever you’re ready to serve another slice, sprinkle it with superfine sugar and torch it right before the lucky recipient (maybe it’s you) takes the first bite.
Crème Brûlée Cheesecake Recipe FAQs
Crème brûlée is served cold. This crème brûlée cheesecake is also served cold – because hot cheesecake would be gross. (OR WOULD IT?)
That beautiful crispy sweet caramel top of crème brûlée is just sugar. Crazy right?? You just need a kitchen torch to make it happen.
If you make this cheesecake, snap a photo and share on Instagram using #TheFoodCharlatan. I would be so happy to see it!!
More amazing cheesecakes!
No Bake Cheesecake Parfait Bar << this is great for parties! Self-serve. Love this stuff.
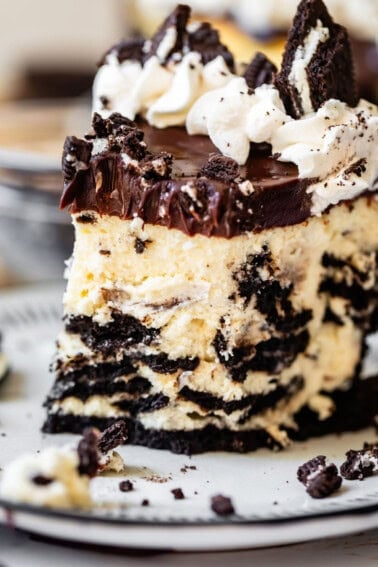
Oreo Cheesecake Bars << perfect cheesecake texture, ALL the oreos
Classic Cheesecake << New York style creamy dreamy goodness
Sensationally Smooth Chocolate Cheesecake << every chocolate lover’s dream!
No Bake Salted Caramel Cheesecake with Caramelized Bananas << need I say more?
No Bake Dulce de Leche Cheesecake with Caramelized Peaches << this one’s for you guys in Australia. I can only dream of fresh peaches right now.
Berry Cheesecake Baklava << love baklava and cheesecake? Here’s your mashup
Small Batch Cheesecake from Buttermilk by Sam
Basque Burnt Cheesecake from Spatula Desserts
Facebook | Pinterest | Instagram
Crème Brûlée Cheesecake
Ingredients
For the crust:
- 1 & 3/4 cups gingersnaps, about 35*
- 2 tablespoons sugar
- 1/4 teaspoon salt
- 5 tablespoons butter
For the cheesecake:
- 3 (8-oz. packages) cream cheese, room temperature
- 1 & 1/3 cups sugar
- 1 tablespoon vanilla bean paste, **
- 1/4 teaspoon salt
- 1 & 1/2 cups heavy cream
- 10 large egg yolks
- 2-3 tablespoons superfine sugar, **** for torching
- raspberries, to garnish
Instructions
For the crust:
- Preheat the oven to 350 degrees F. Prepare a 9-inch springform pan. Tear off an 18-inch square of heavy duty aluminum foil. (Reynolds is best) Set the pan in the center of the square and carefully wrap the foil up over the edges of the pan, crimping at the top so that it is secure. Repeat with a second sheet of foil. Be very gentle so it doesn’t tear. Repeat again with a 3rd sheet of foil.**
- Use a food processor to pulse the gingersnaps into fine crumbs. Add 2 tablespoons sugar, 1/4 teaspoon salt, and 5 tablespoons melted butter and combine.
- Press the crumbs into the bottom of the prepared pan. Use the bottom of a glass to press it into an even layer. Don’t do a side crust. (I’m usually very pro-side-crust, but it’s hard to keep it from burning when you are torching the sugar later.)
- Bake at 350 for 10 minutes. Be careful not to tear the foil.
- Remove from the oven and let cool while you make the filling.
For the cheesecake:
- Lower the oven temperature to 325 degrees F.
- In a large bowl or stand mixer, beat the cream cheese for 4 minutes, making sure to scrape the sides.
- Add 1 and 1/3 cup sugar, vanilla bean paste, and 1/4 teaspoon salt, and beat for another 4 minutes, scraping sides.
- Meanwhile, add the cream to a small pot on the stove. Heat over medium low heat until it is warm. You don’t want it to bowl.
- While that is heating up, crack 10 egg yolks into a mixing bowl. (Save the egg whites for something else!)
- Beat the egg yolks for about 2 minutes, until they are pale.
- Pour the heated cream through a fine mesh strainer into a large pourable glass measuring cup (or anything that pours).
- While the beaters in the egg yolks are on, slowly add the warm cream. If you are not mixing while you do this, the eggs will curdle. Enlist help if you can. Don’t try to take a photo during this step. I’m just watching out for you.
- Once all of the hot cream has been incorporated with the egg yolks, it’s time to slowly pour that into the cream cheese mixture. I find this is easiest to do from a pourable measuring cup, but if you are dexterous enough to do it from the mixing bowl then go for it.
- Beat the cream cheese and slowly pour in the egg-cream mixture. Make sure you scrape the sides and get out all the lumps. The batter will be pretty thin.
- Transfer the foil-wrapped crust into a large high-sided skillet, or a roasting pan.
- Pour the batter into the gingersnap crust, forming an even layer on top.
- Fill the skillet or roasting pan with HOT water from the tap. You want the water to go at least halfway up the pan of the cheesecake.
- Carefully transfer the water bath to the oven.
- Bake at 325 for about 1 hour and 35 minutes. You will know it is done when it is mostly set in the center and doesn’t jiggle too much when you shake it. (some movement is ok–it will continue to set as it cools. It just shouldn’t be liquidy.) If the cheesecake starts to brown, turn off the oven.
- At this point you can either crack the door of the oven and let the cheesecake come to room temperature inside the oven. I removed the cheesecake but left it in the water bath for a couple hours so that there wasn’t a drastic change in temperature.
- When the cheesecake is mostly cool, remove from the water bath, and remove the foil. Cover the cheesecake with plastic wrap and refrigerate for at least 3 hours or preferably overnight.
- When you are ready to serve, remove the plastic wrap and carefully loosen the sides of the pan. I didn’t use a knife, just release the spring very slowly.
- Sprinkle about 2 tablespoons superfine sugar all over the top of the cheesecake. (Or just the portion you plan to eat. Once the crunchy topping is refrigerated, it doesn’t stay hard)
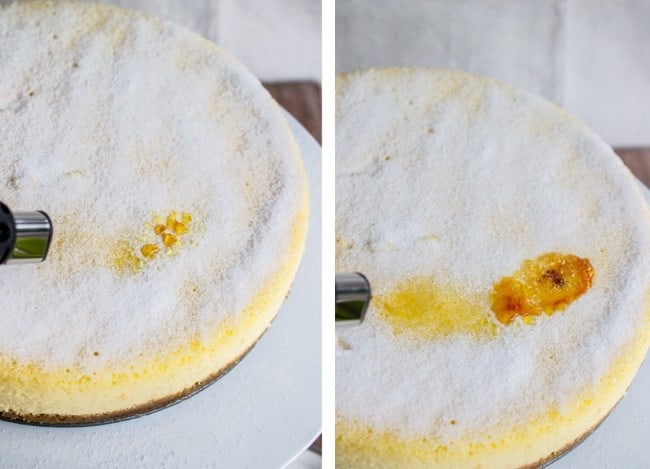
- Use the torch to caramelize the sugar. See photos. This can take several minuets if you are doing the whole cheesecake. Keep the torch moving at all times. The sugar is caramelized when it just starts to bubble and smoke.
- Let sit for a minute for the sugar to harden.
- Garnish with fresh raspberries.


This recipe sounds fantastic. I was thinking of using half marscapone half cream cheese. Was wondering if you’d think this would work.
Thanks so much!
Hi Sandy, it should work! We haven’t tested it before, but the high amount of fat in mascarpone should honestly help the cheesecake set up better, if anything. If you try it, come back and let us know what you think. We love hearing from you :-)
I ended up using 16 oz marscapone and 8 oz cream cheese. It was delicious and my dinner was party guests loved it! Thank you for such a wonderful recipe 🤗
So happy to hear it was a hit Sandy!! Thank you for sharing your note, this is an awesome twist!
Love this recipe! I didn’t understand your warning about the creme brulee top not staying hard after refrigeration. I torched it the night before and refrigerated it, and realized it got soft when transporting it. Peeps still loved it! It became more flan-like with a wet caramel like coating. I made it again tonight and torched it before serving. Crisp the way it should be.
How do you keep the sugar on top crunchy after you put it in the refrigerator? I keep hearing it will get soft which is disappointing. When I make the regular custard crème brûlée it stays crunchy!
Hi! If I am wanting the consistency to NOT be more custard like what would you recommend? I LOVEEEEE thick real cheesecake. I do not like no bake because it is more like that putting custard taste. I want it to be like a baked normal cheesecake but with the crème brûlée topping any suggestions???
Hi Carissa! This is a regular-type, thick baked cheesecake, not a no-bake cheesecake. I bet you’ll love it! If you try it, come back and let us know what you think.
Absolutely delicious!!
I don’t understand the 12 minute prep time. Separating eggs, preparing pan, etc. What is a realistic time frame?
Hi Kathy! This is probably about 45 minutes of hands on time, with an additional 10 minutes of crust baking time, 30 minutes of crust cooling time, 1 hour and 35 minute baking time, and another 3 hours (minimum) of chilling time. This is a great one to make the day ahead!