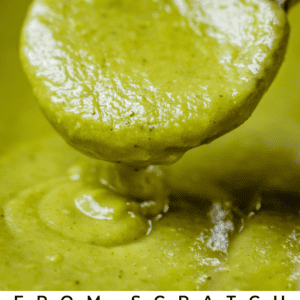
This authentic homemade Green Enchilada Sauce recipe is surprisingly easy to make. You need tomatillos, tomato’s shy cousin who is hiding some incredible flavor behind those crinkly coats. They have that flavor you will recognize right away. You also need Anaheim chili peppers, cilantro, lime, onion, jalapeno, all the good stuff. Roast it, blend it up and that’s it! You are on your way to the most amazing Green Chicken Enchiladas of your life.
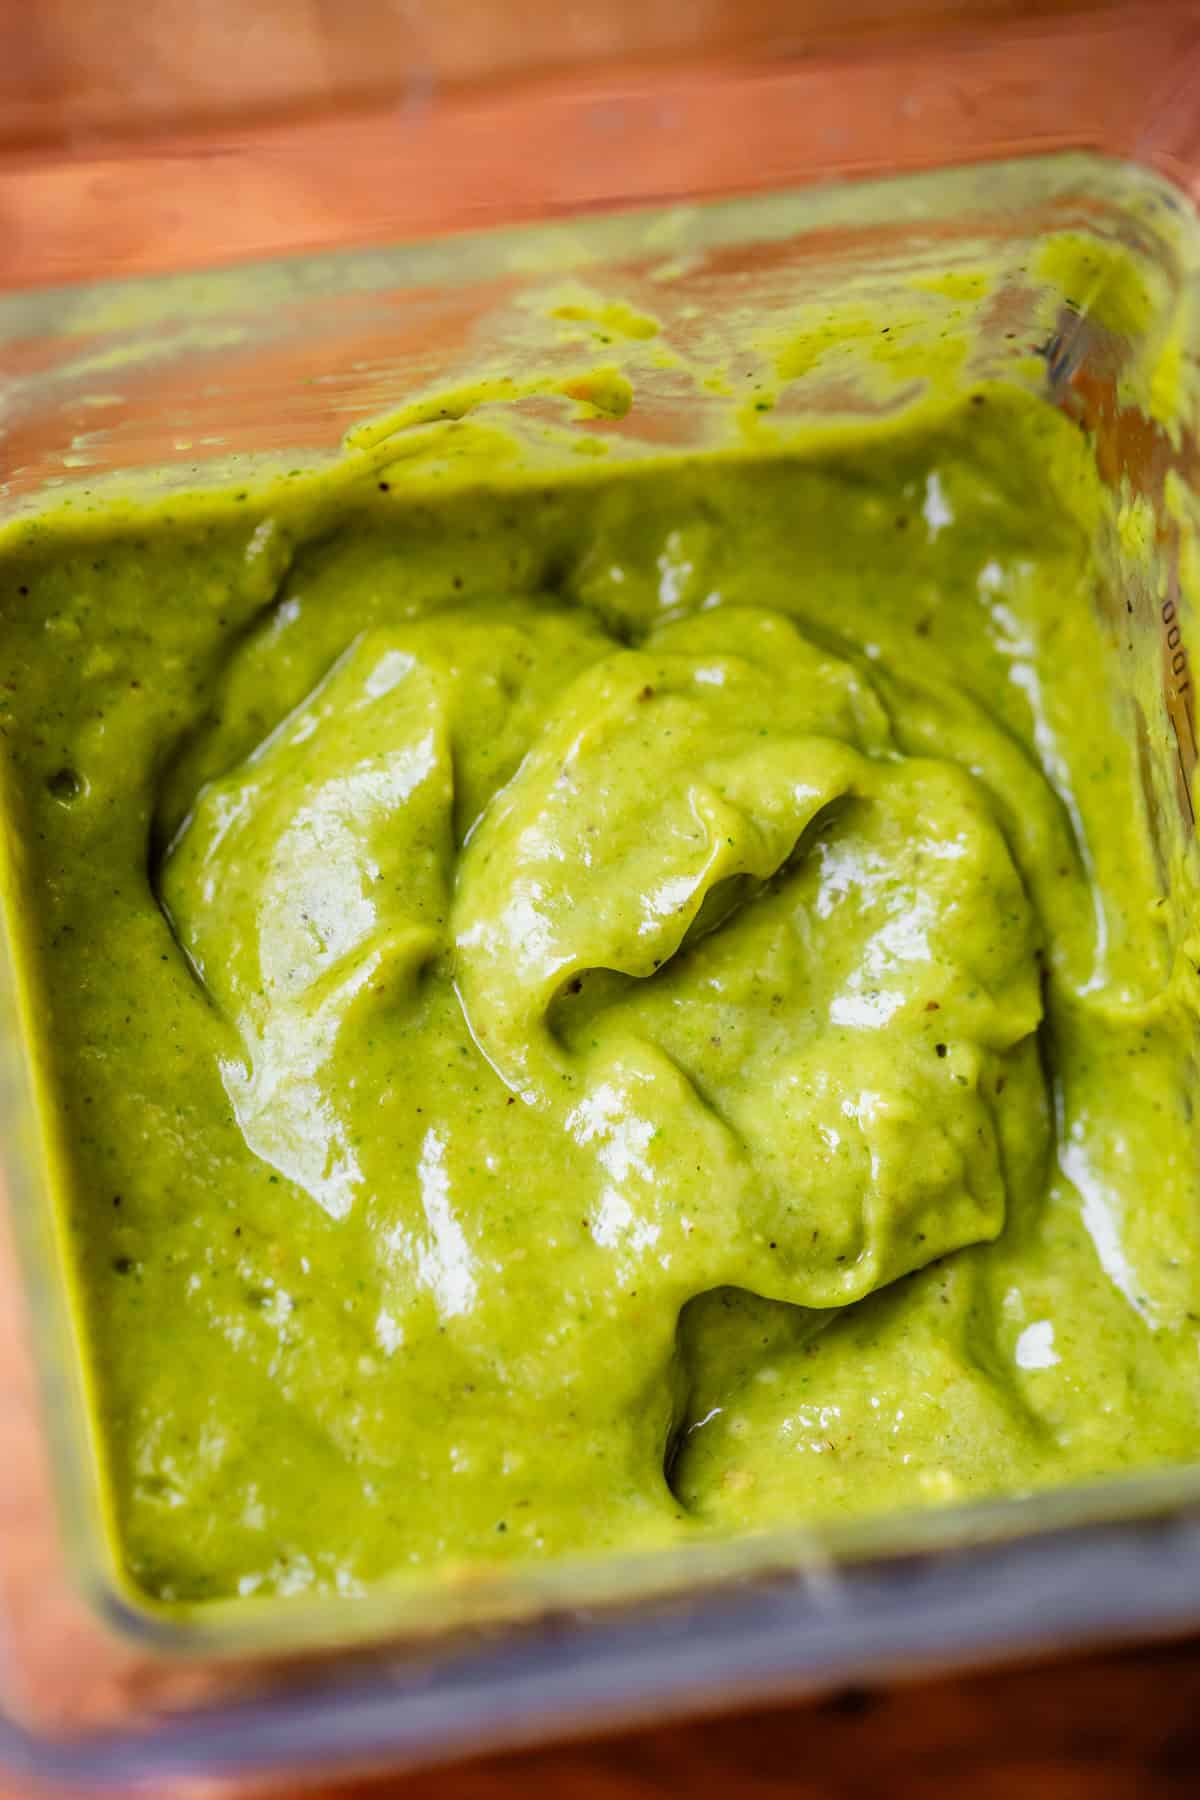
Table of Contents
- The best homemade green enchilada sauce
- Here’s what makes this recipe amazing.
- Green enchilada sauce recipe ingredients
- How to make green enchilada sauce
- What to serve with green chili enchilada sauce
- How to store leftover green enchilada sauce
- Green enchilada sauce frequently asked questions
- More sides for Mexican and Tex Mex
- Green Enchilada Sauce Recipe
The other day we went to Target to buy some underwear because my kids, as usual, have continued with their growth spurts in spite of all of my complaints to management. These days we divide and conquer at Target; when you’re shopping for 4 kids at once, you have to delegate.
We get home later and Charlotte realizes she picked out the wrong size underwear. The packaging has a giant 14 on the front, her size. But there are actually 14 pairs of underwear, and the fine print below says they are size 12 😑 I gently chided her for not paying attention and we packed it up to return to the store.
The very next day, I’m at Target again for something else, having completely forgotten about the return. (which is still, at this very moment, being tossed around in my minivan, actually. Nothing says middle age like packs of underwear flying around with all the random homework pages and Hot Wheels which also cover the floor of my car.)
I was so pleased that I actually remembered to pick up the underwear she needed, it wasn’t on my shopping list or anything. I get home and proudly hand her the package, teasing: “Look, see what an amazing mom I am, providing for your needs??”
She looks at it. “These are size 6 mom…but there are 14 in the package.” That’s right folks, I went and did the EXACT SAME THING she had done not 24 hours before.
What is it with me you guys!! Don’t worry, I apologized on bended knee to Charlotte (and she approved this messaging 🤣) Clearly neither of us can be trusted with underwear purchases.
Okay, I know I can’t be trusted to provide my kids with appropriate clothing, OR pick out the right size underwear at the store, but enchilada sauce? I gotchu. I went down the rabbit hole on this one, guys. SO MANY TESTS. But I’ve finally nailed it.
The best homemade green enchilada sauce
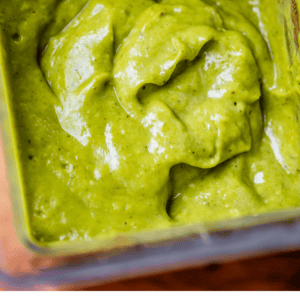
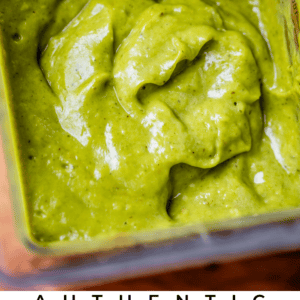
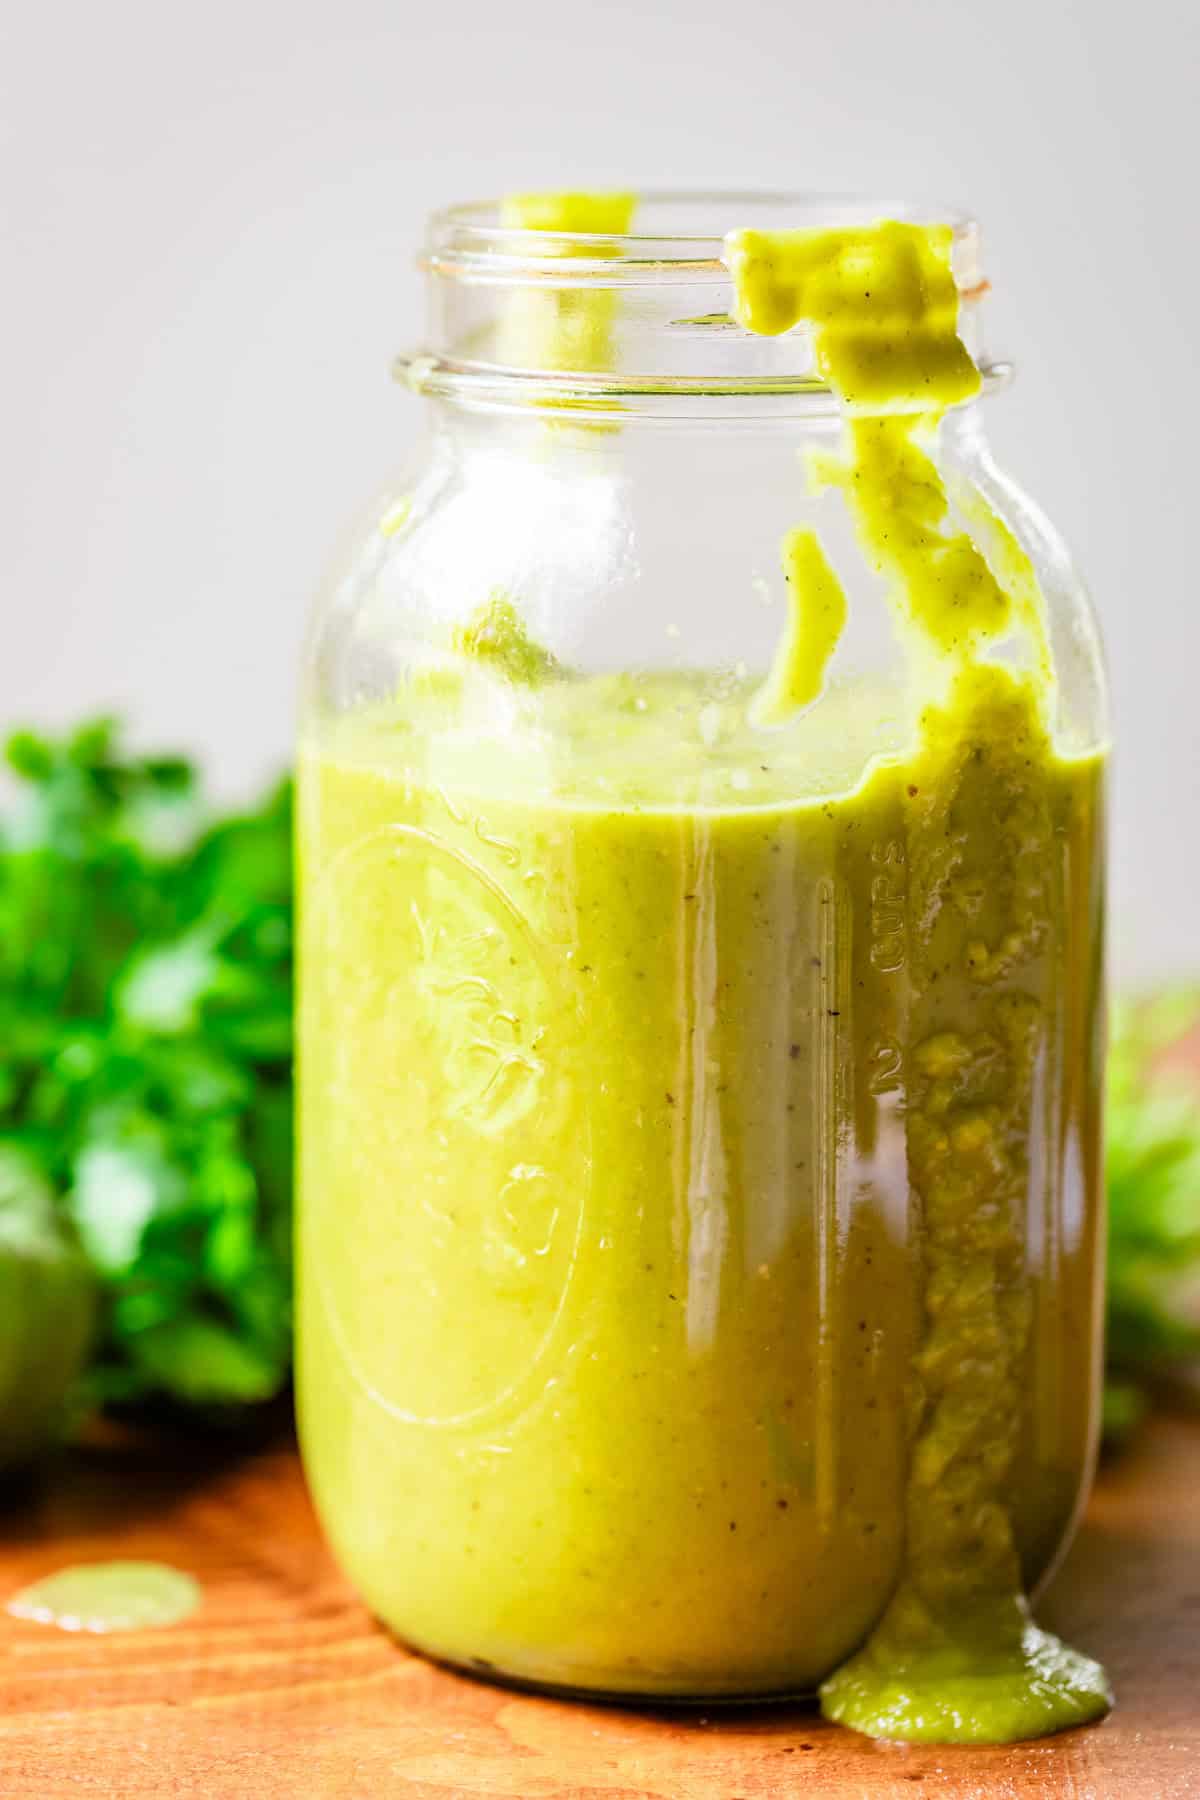
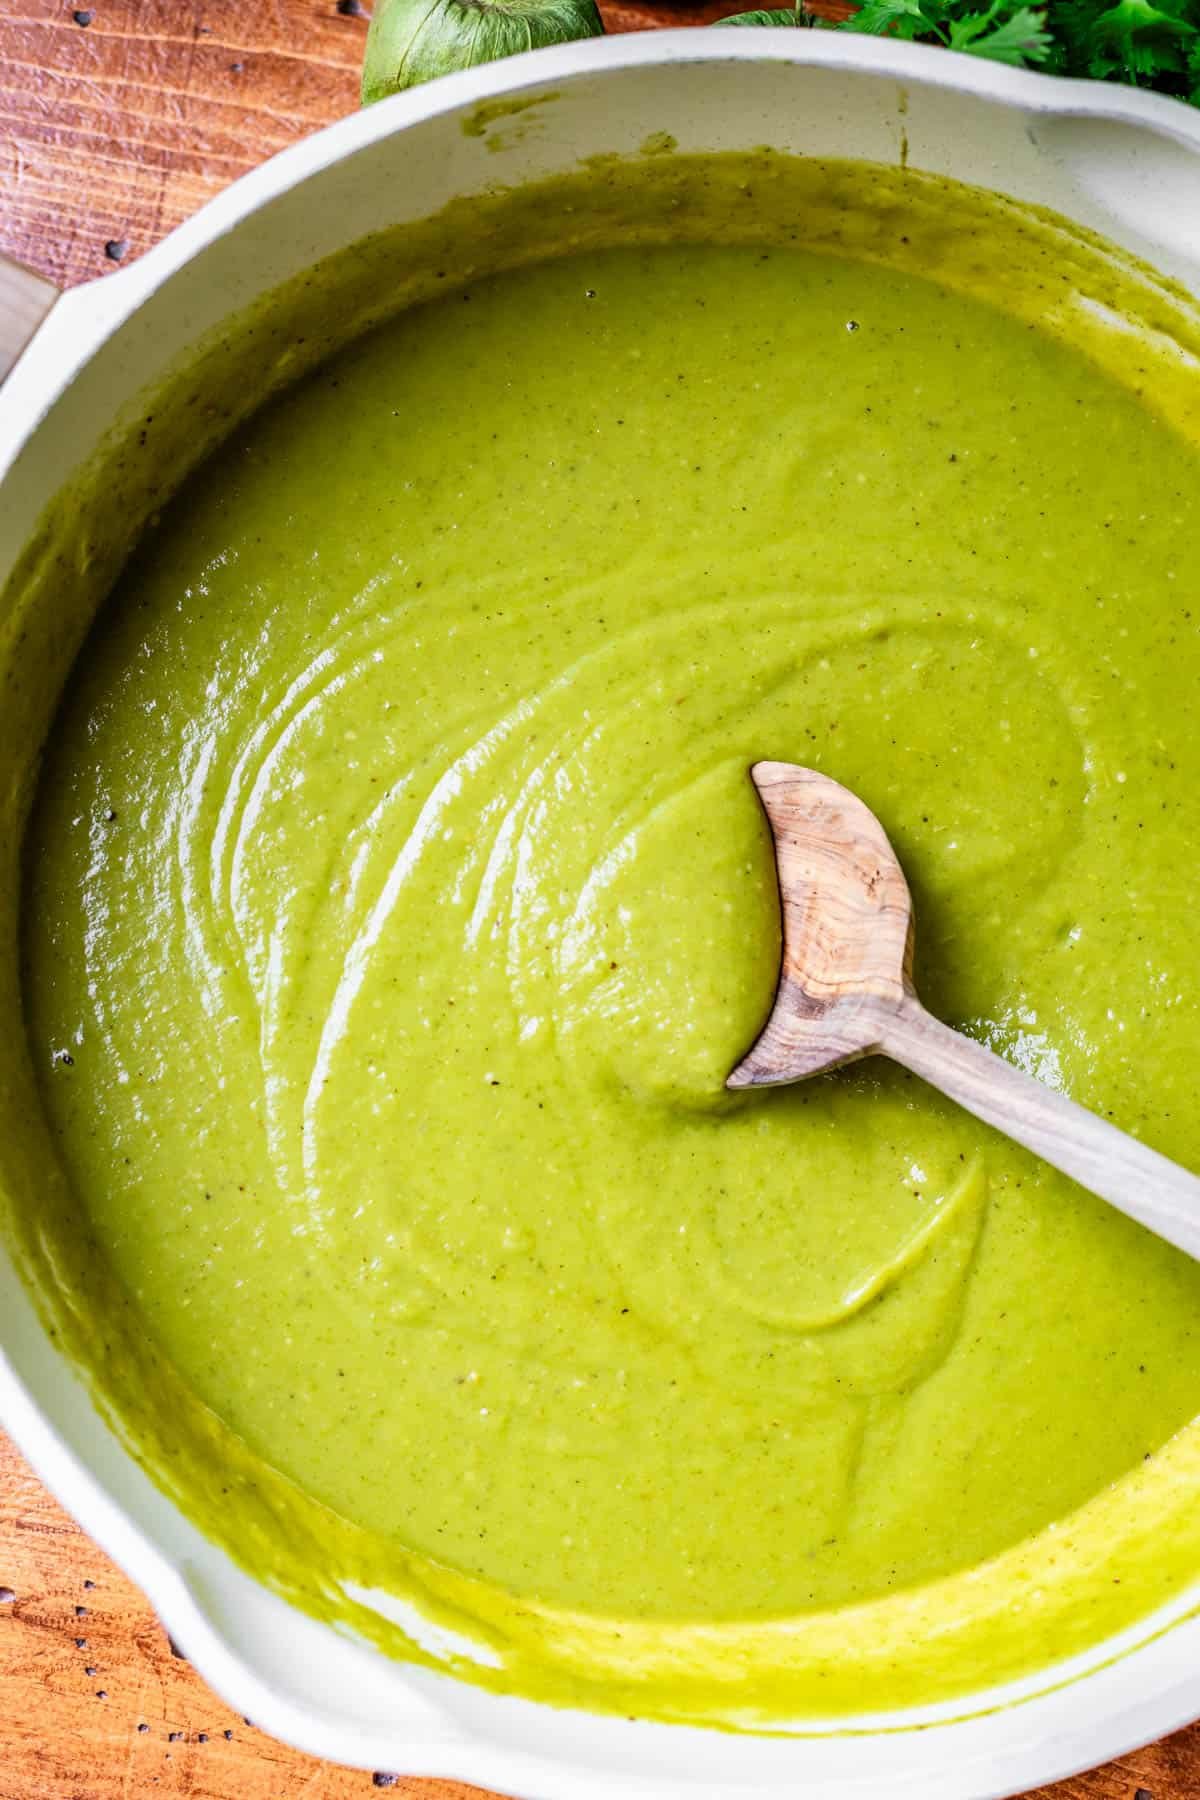
I LOVE this sauce. It’s dreamy, it’s creamy, it’s Elphaba green. It’s perfect for not just your Enchiladas but also your nachos and burritos and fajitas and tacos and maybe even just your tortilla chip. It’s incredibly flavorful!
I like enchiladas in all forms, but green sauce (salsa verde) enchiladas are at the top of my list right now. There is just something about that fresh, spicy, tangy, savory combo that I’m in love with. Red Enchilada sauce has it’s place in the world, but I’m having a seriously green moment over here.
I created this recipe specifically to go with my Chicken Enchiladas, which is my absolute favorite enchiladas recipe of all time!! I love it. I will tell you a secret though, as much as I love today’s slow roasted, take-your-time recipe, I have another cheater recipe that you can find in the notes on the Chicken Enchiladas. It’s really good too, and a lot faster! But when I’m really feeling like pulling out all the stops, I make today’s recipe.
Here’s what makes this recipe amazing.
It’s so easy: we are just roasting, and then blending. Thaaat’s it.
- ROASTING. Tomatillos, white onion, jalapeños, and garlic all get coated with oil and kosher salt and roasted and charred to bring out the most amazing flavor. You do NOT want to skip this step!! The tomatillos are especially important to get that classic tangy salsa verde taste.
- FRESH CHILES. Anaheim chiles are also roasted. They bring the heat (but not too much) and especially the flavor. Roasting gives them an incredible richness that cannot be emphasized enough!!
- Lots of umami and depth of flavor add to the sauce with some Better than Bouillon Chicken Base as well as seasonings like oregano and cumin.
- And then, of course, some acidity and fresh herb flavor from lime and cilantro to round out the sauce
Green enchilada sauce recipe ingredients
Look at all the fresh produce goodness in this list! I’m telling you, making your own sauce from fresh ingredients will make a world of difference in your Enchiladas. This is a quick overview, check the recipe card for measurements!
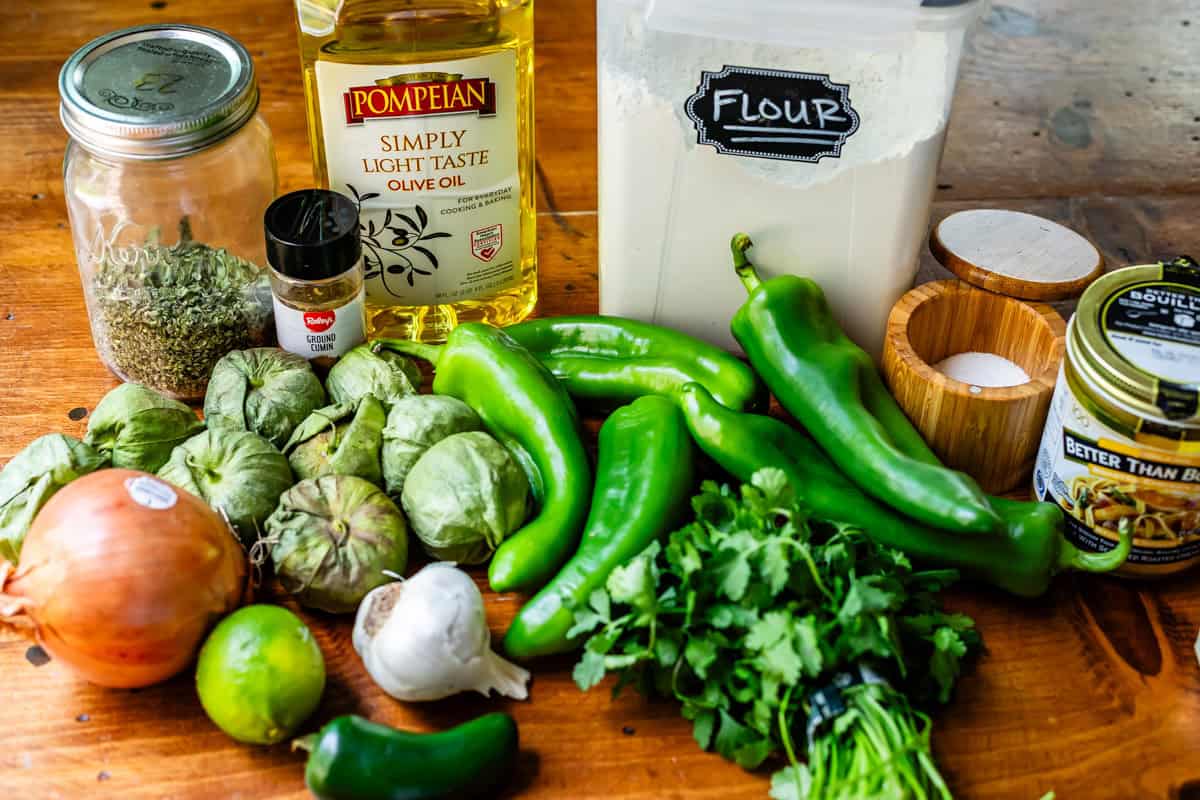
Ignore the flour in this photo, I tried that in an early test and ended up skipping it.
- tomatillos
- white onion
- jalapeno peppers
- head of garlic
- vegetable oil
- kosher salt
- Anaheim chiles
- cilantro
- lime
- Better Than Bouillon Chicken Base
- kosher salt
- oregano
- cumin
How to make green enchilada sauce
First start out prepping your tomatillos!
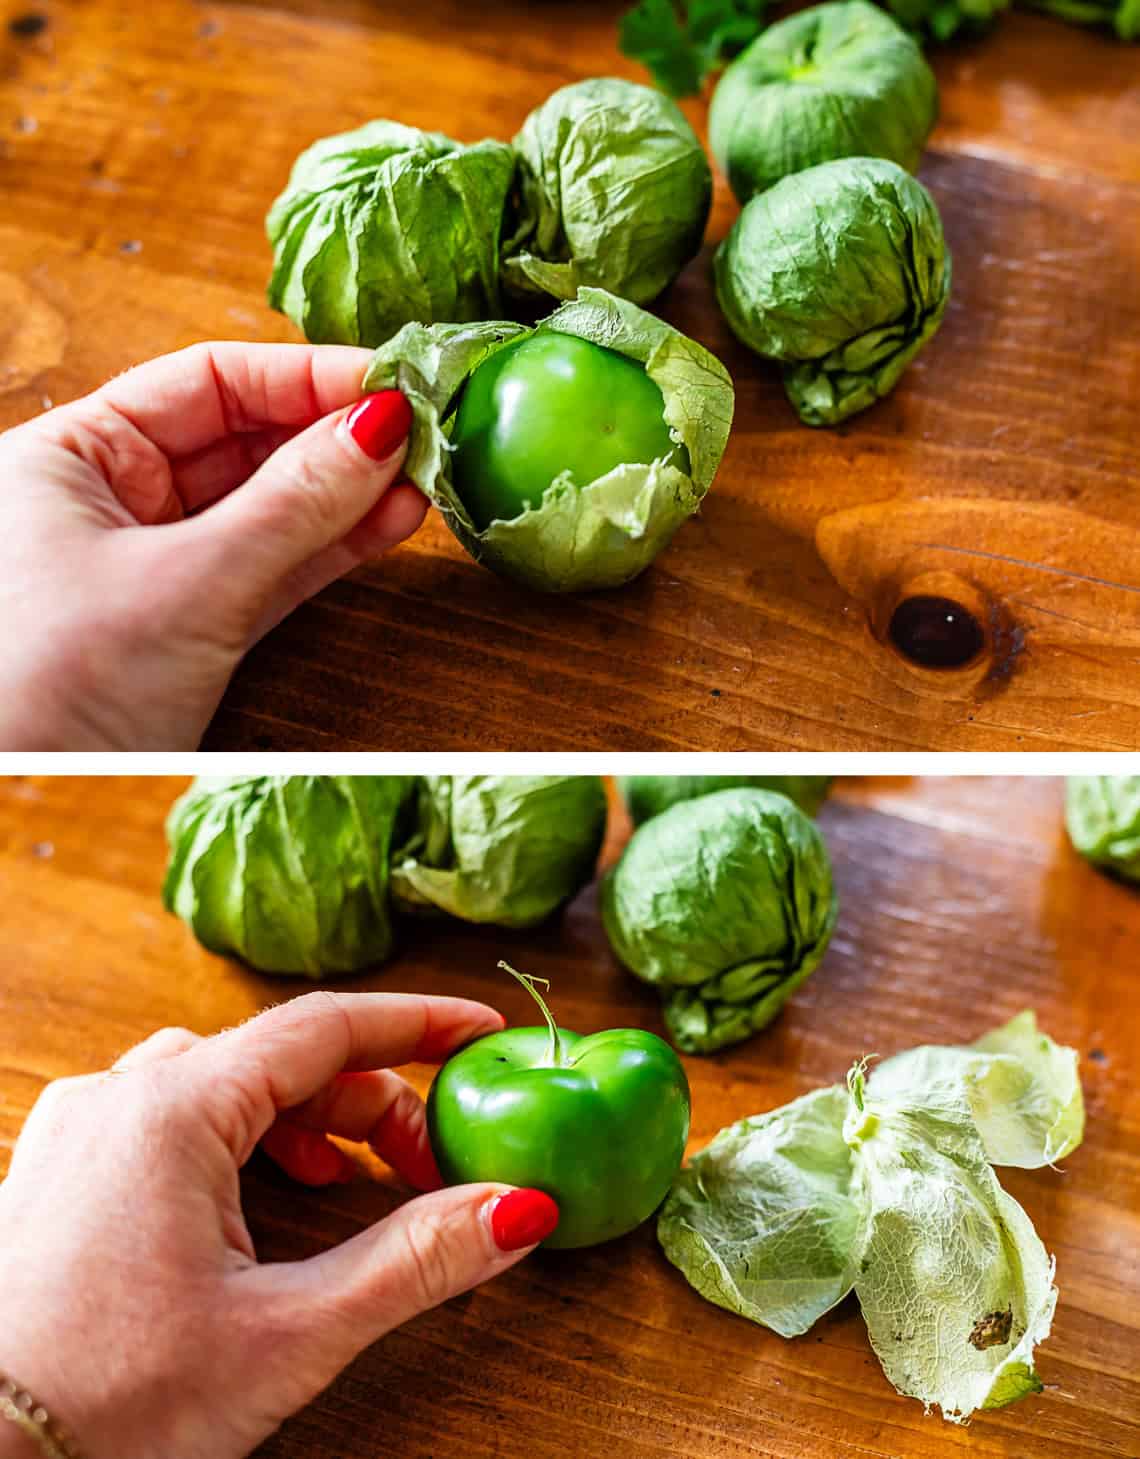
These weirdo cousins of the tomato need to have the papery skin peeled off, and then you have to scrub them down a bit to get rid of their sticky coating.
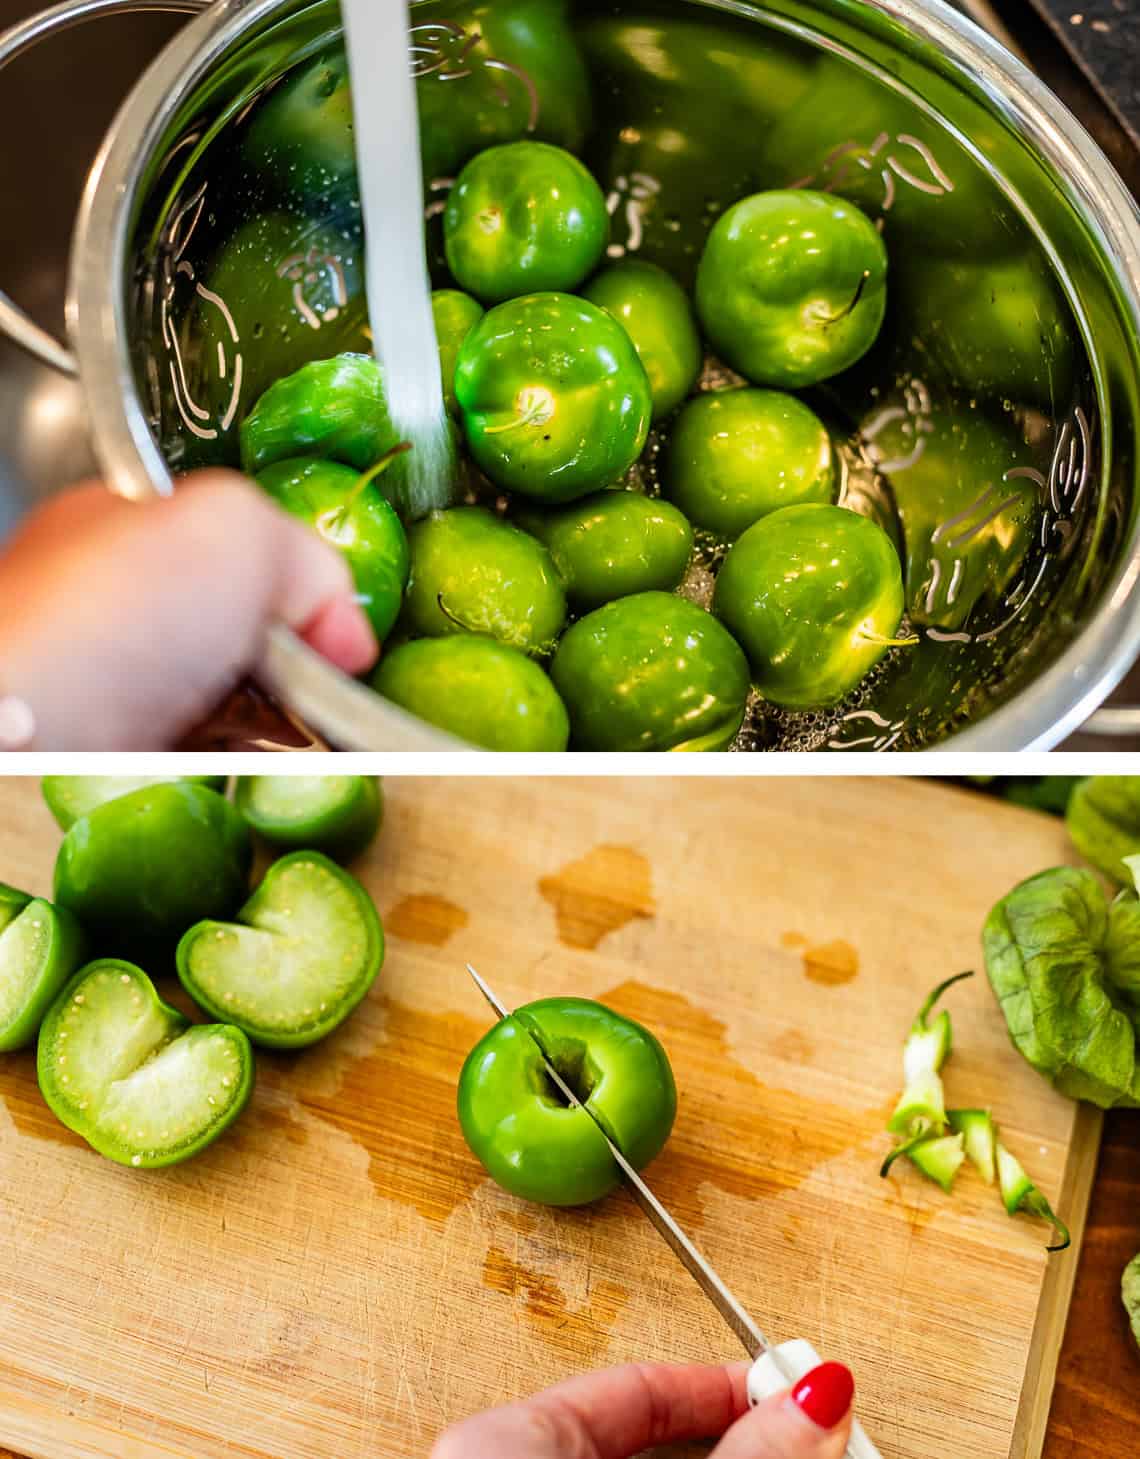
Slice them in half and place them cut side down on a baking sheet with an onion, a couple jalapenos, and a whole head o’ garlic.
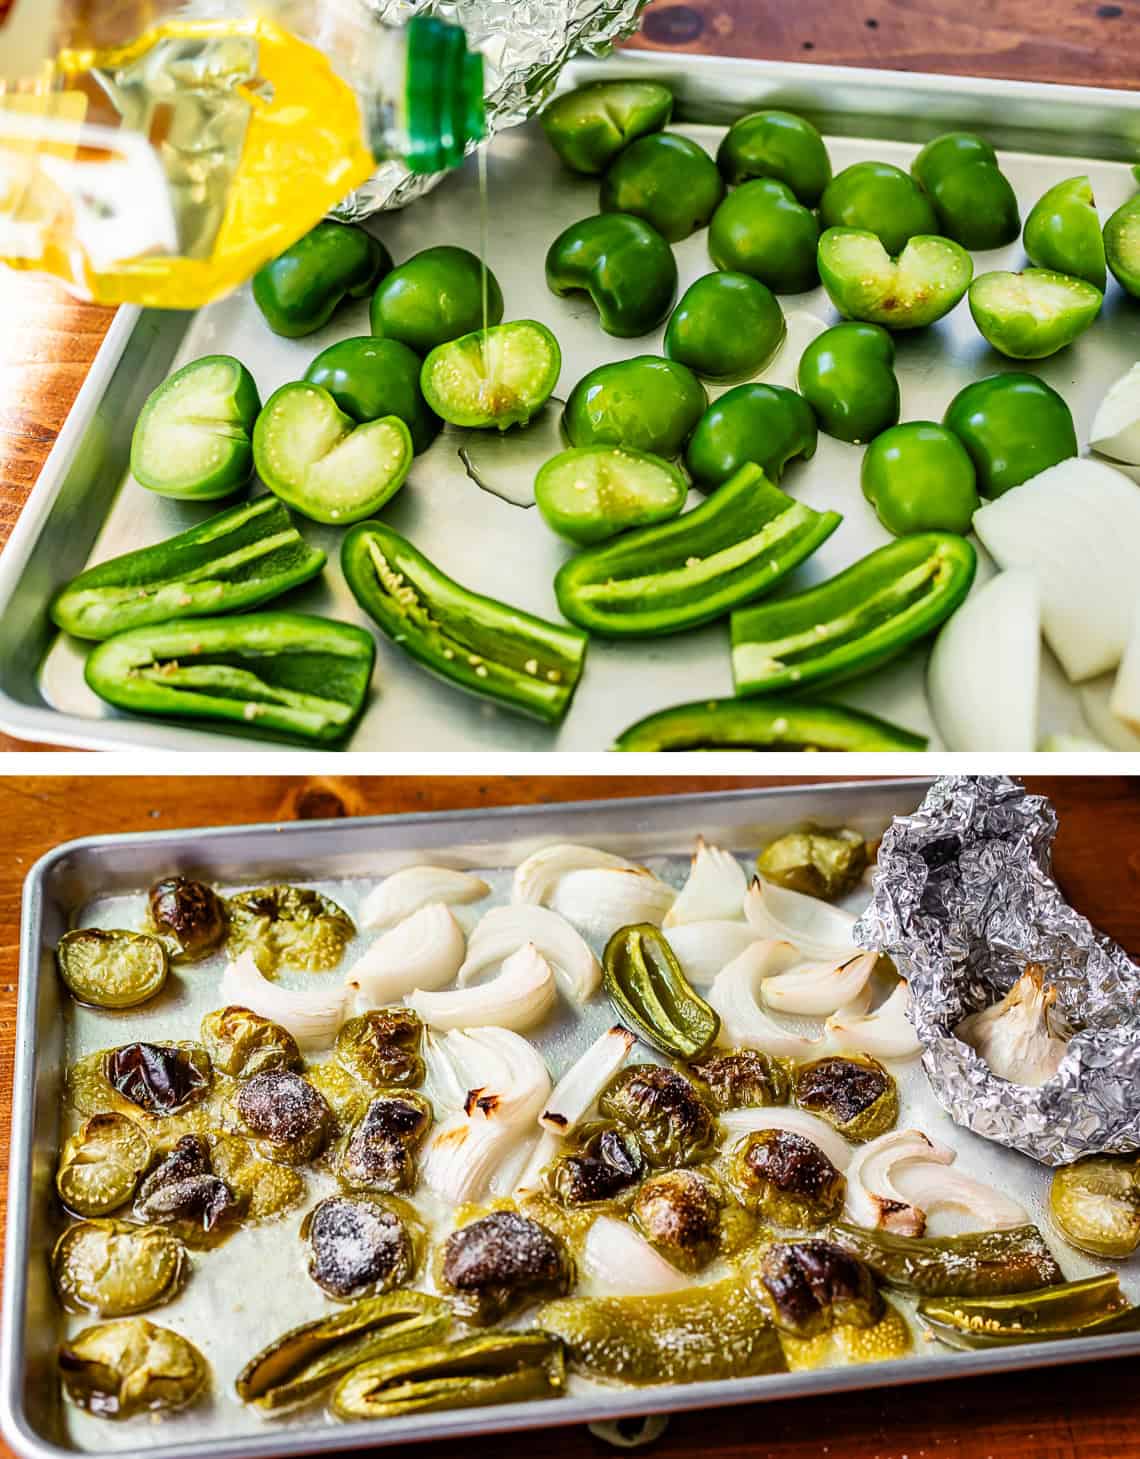
And here it is all roasted!! Doesn’t it look so good?? Here’s a close up of the garlic situation:
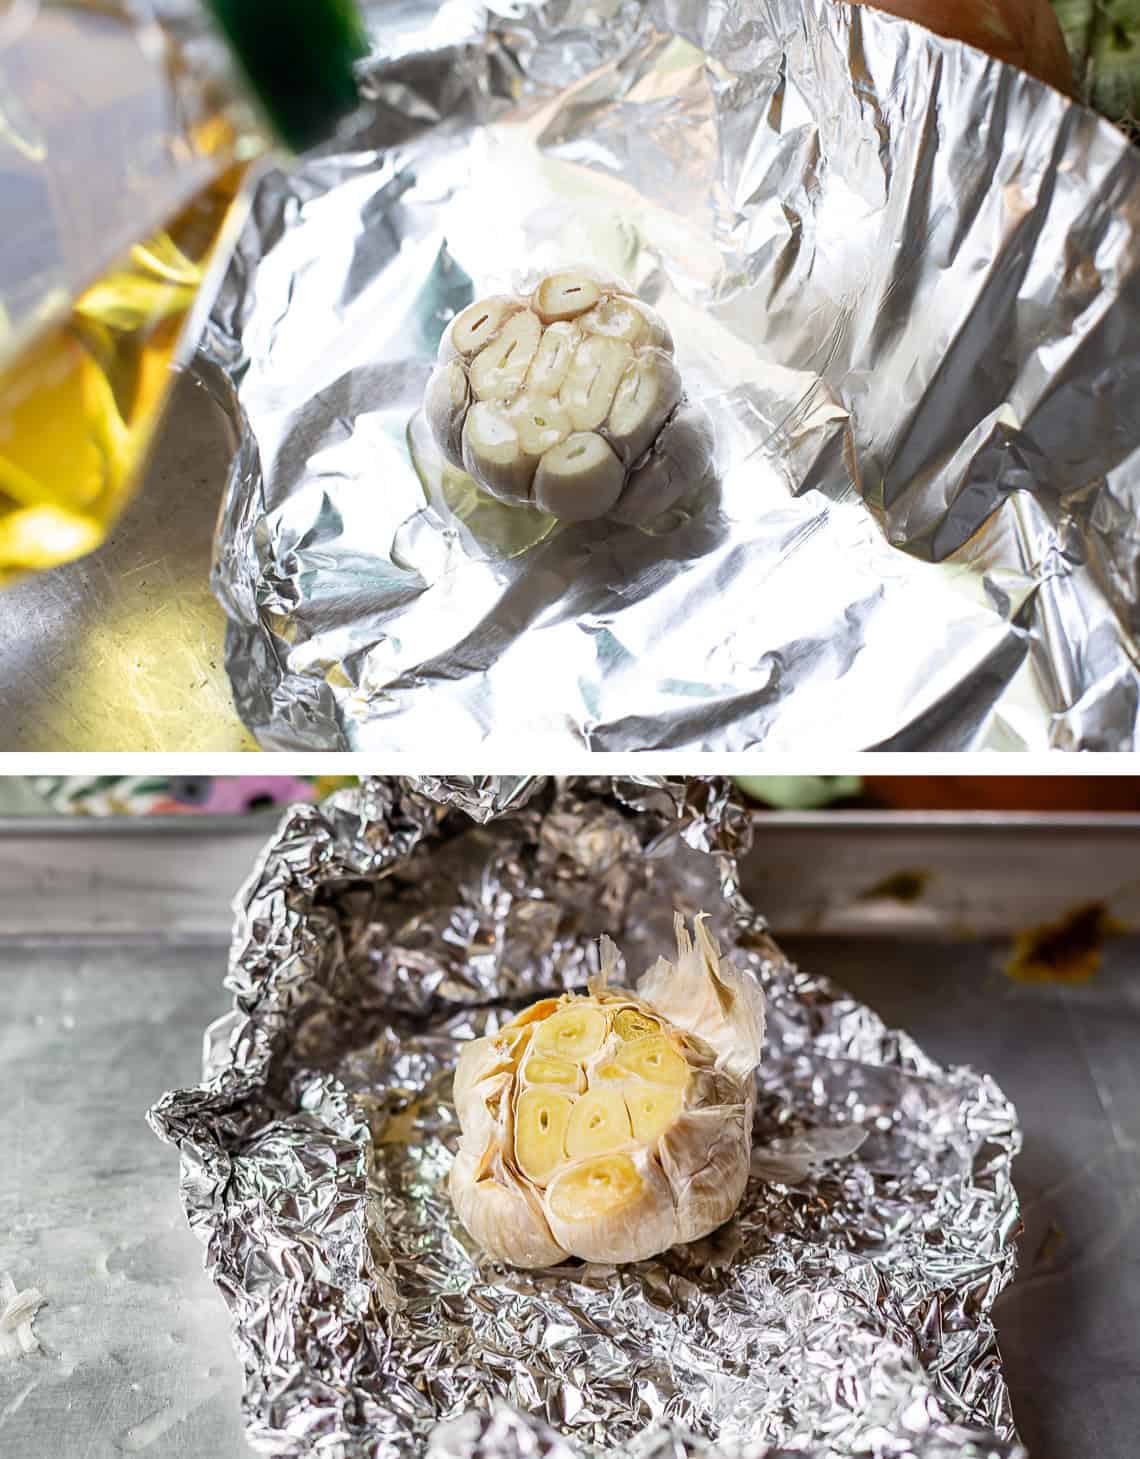
Try not to eat it all in one go. Roasted garlic is perfectly mild and SO tasty!
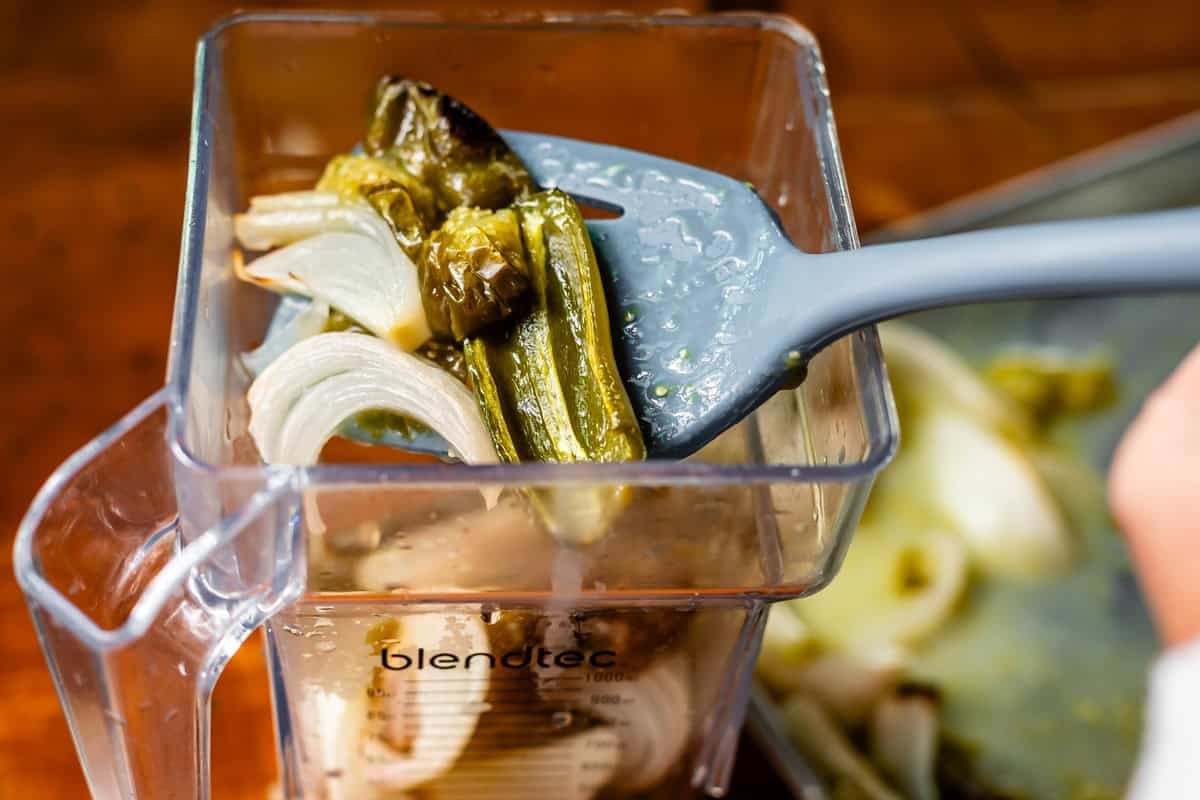
Add all the roasty stuff to a blender.
But wait! Back up. At the same time as we are roasting the tomatillos, we are going to roast the Anaheim chilis. You will need about twice as many as you see here in the photo (again, I shot this on an early test). But you can fit all of them on one pan. Put them on the pan completely dry:
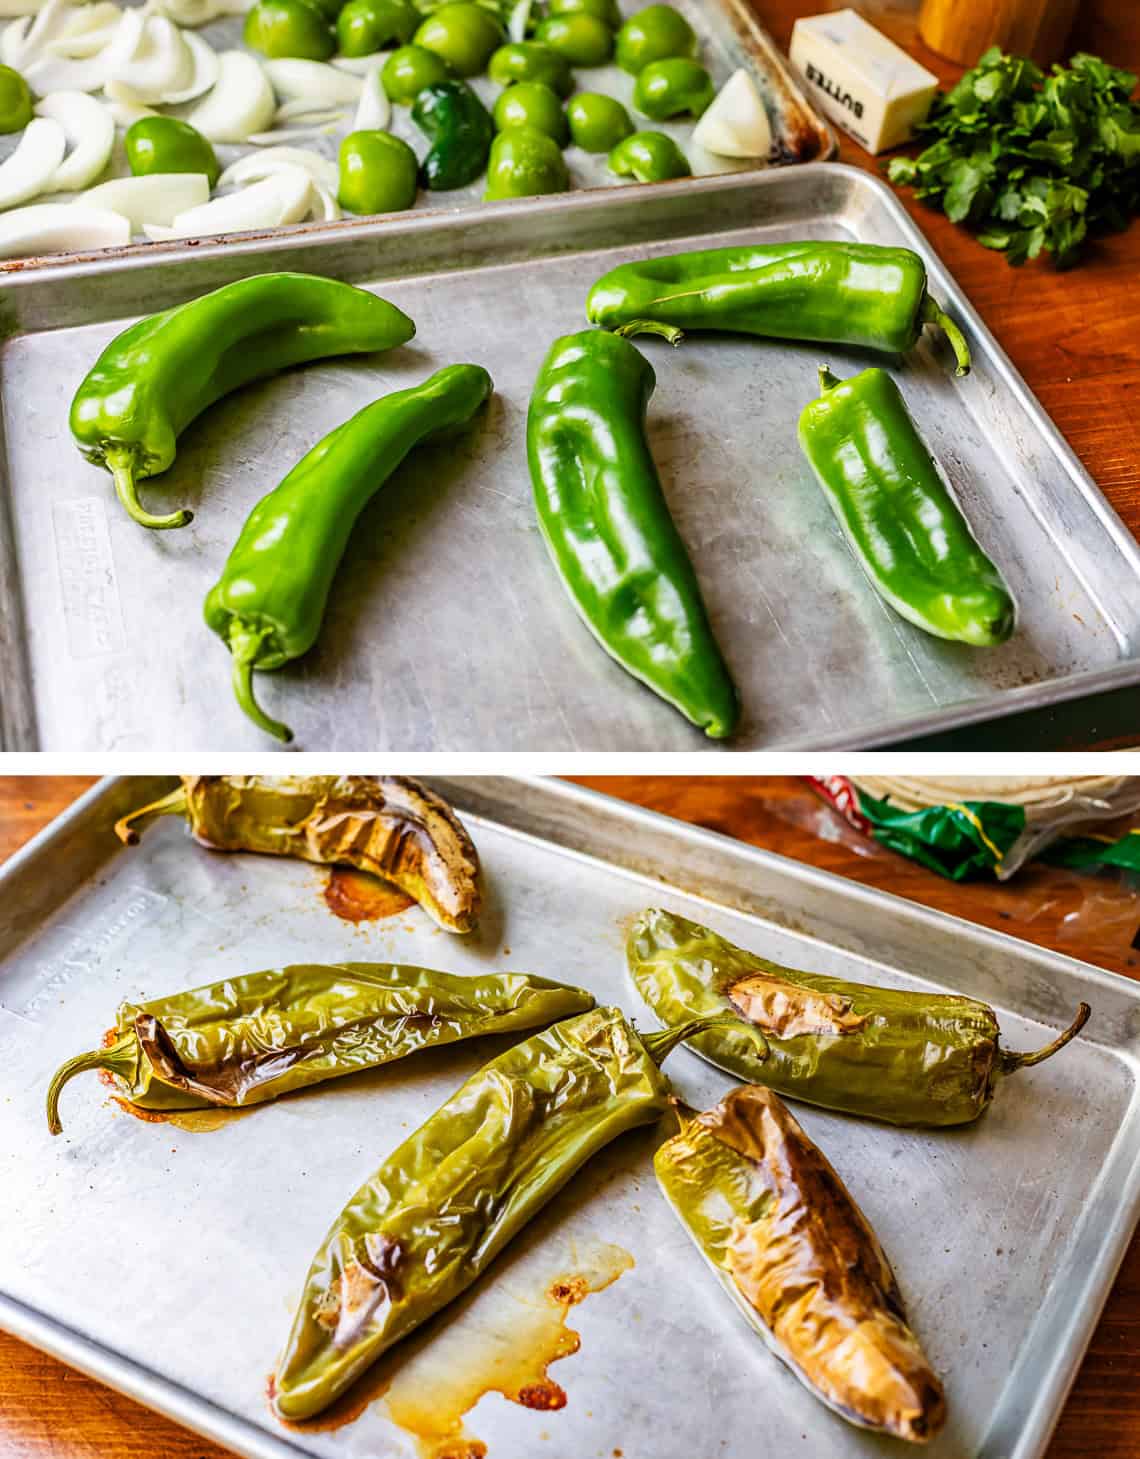
And then roast them in the oven alongside the other pan. Don’t use any oil. You will need to turn them about halfway through the cook time to make sure all the sides are getting browned.
Once they are roasted, cover them with a bowl that seals to the pan, or put them all in a ziplock. Any enclosed space so they can steam.
I’m in this picture, can you see me? HIIIIII
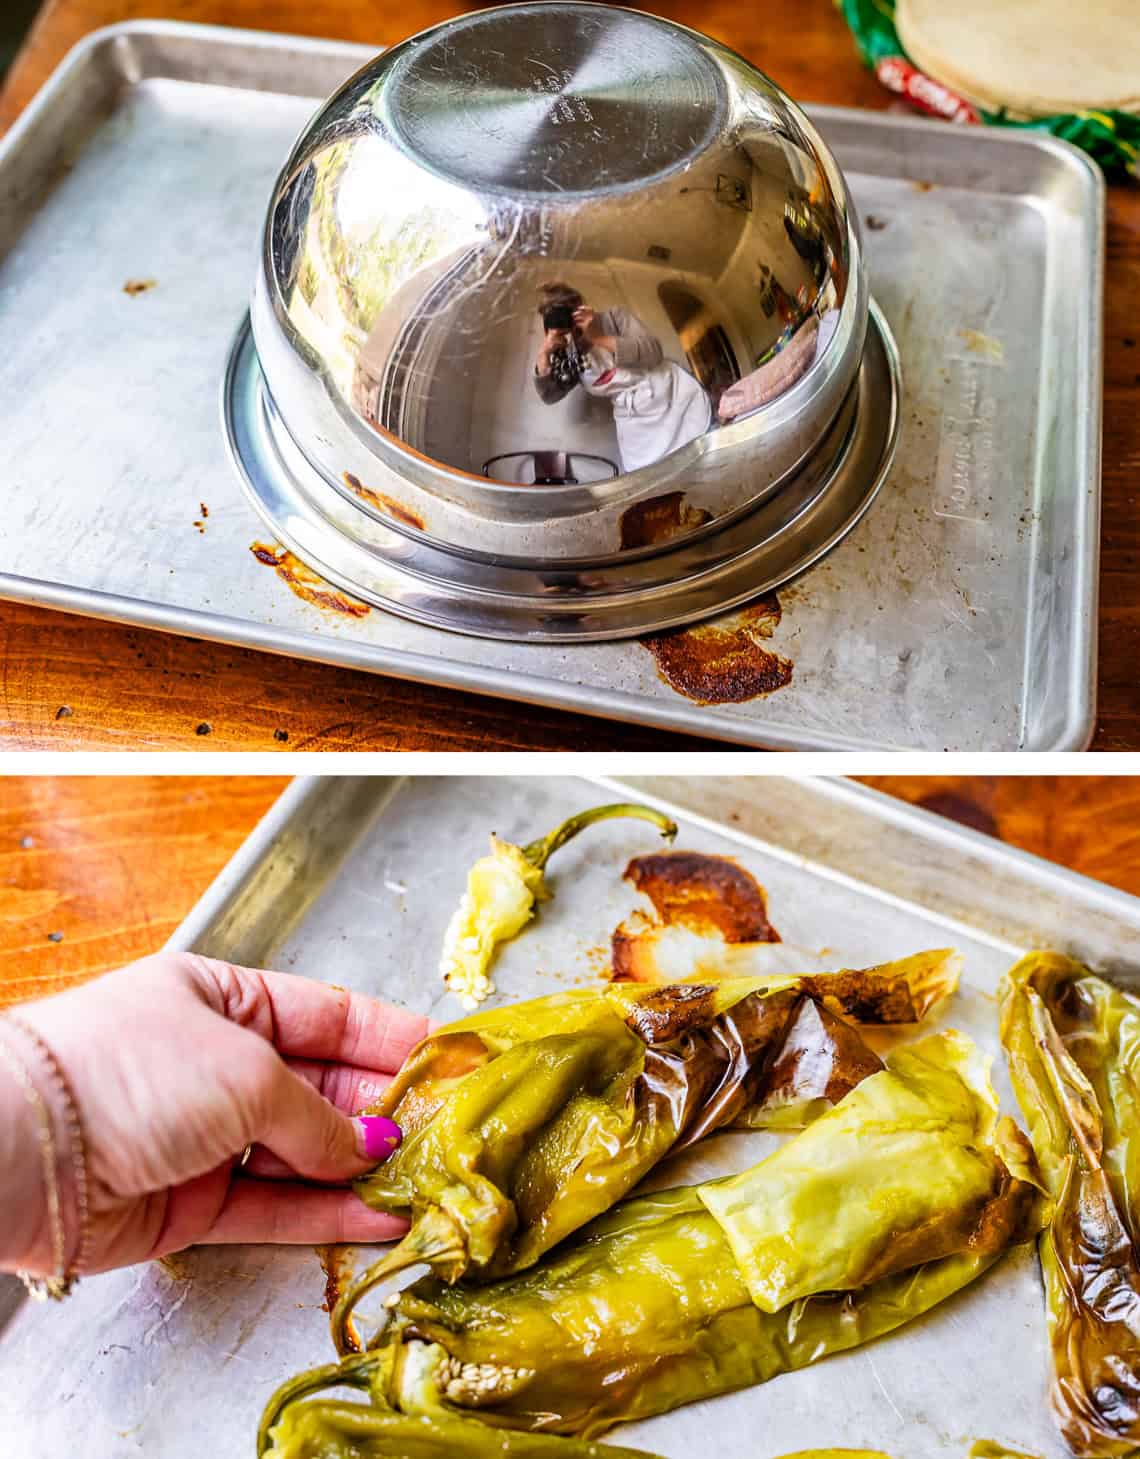
Once they have steamed a few minutes, peel off the papery skins.
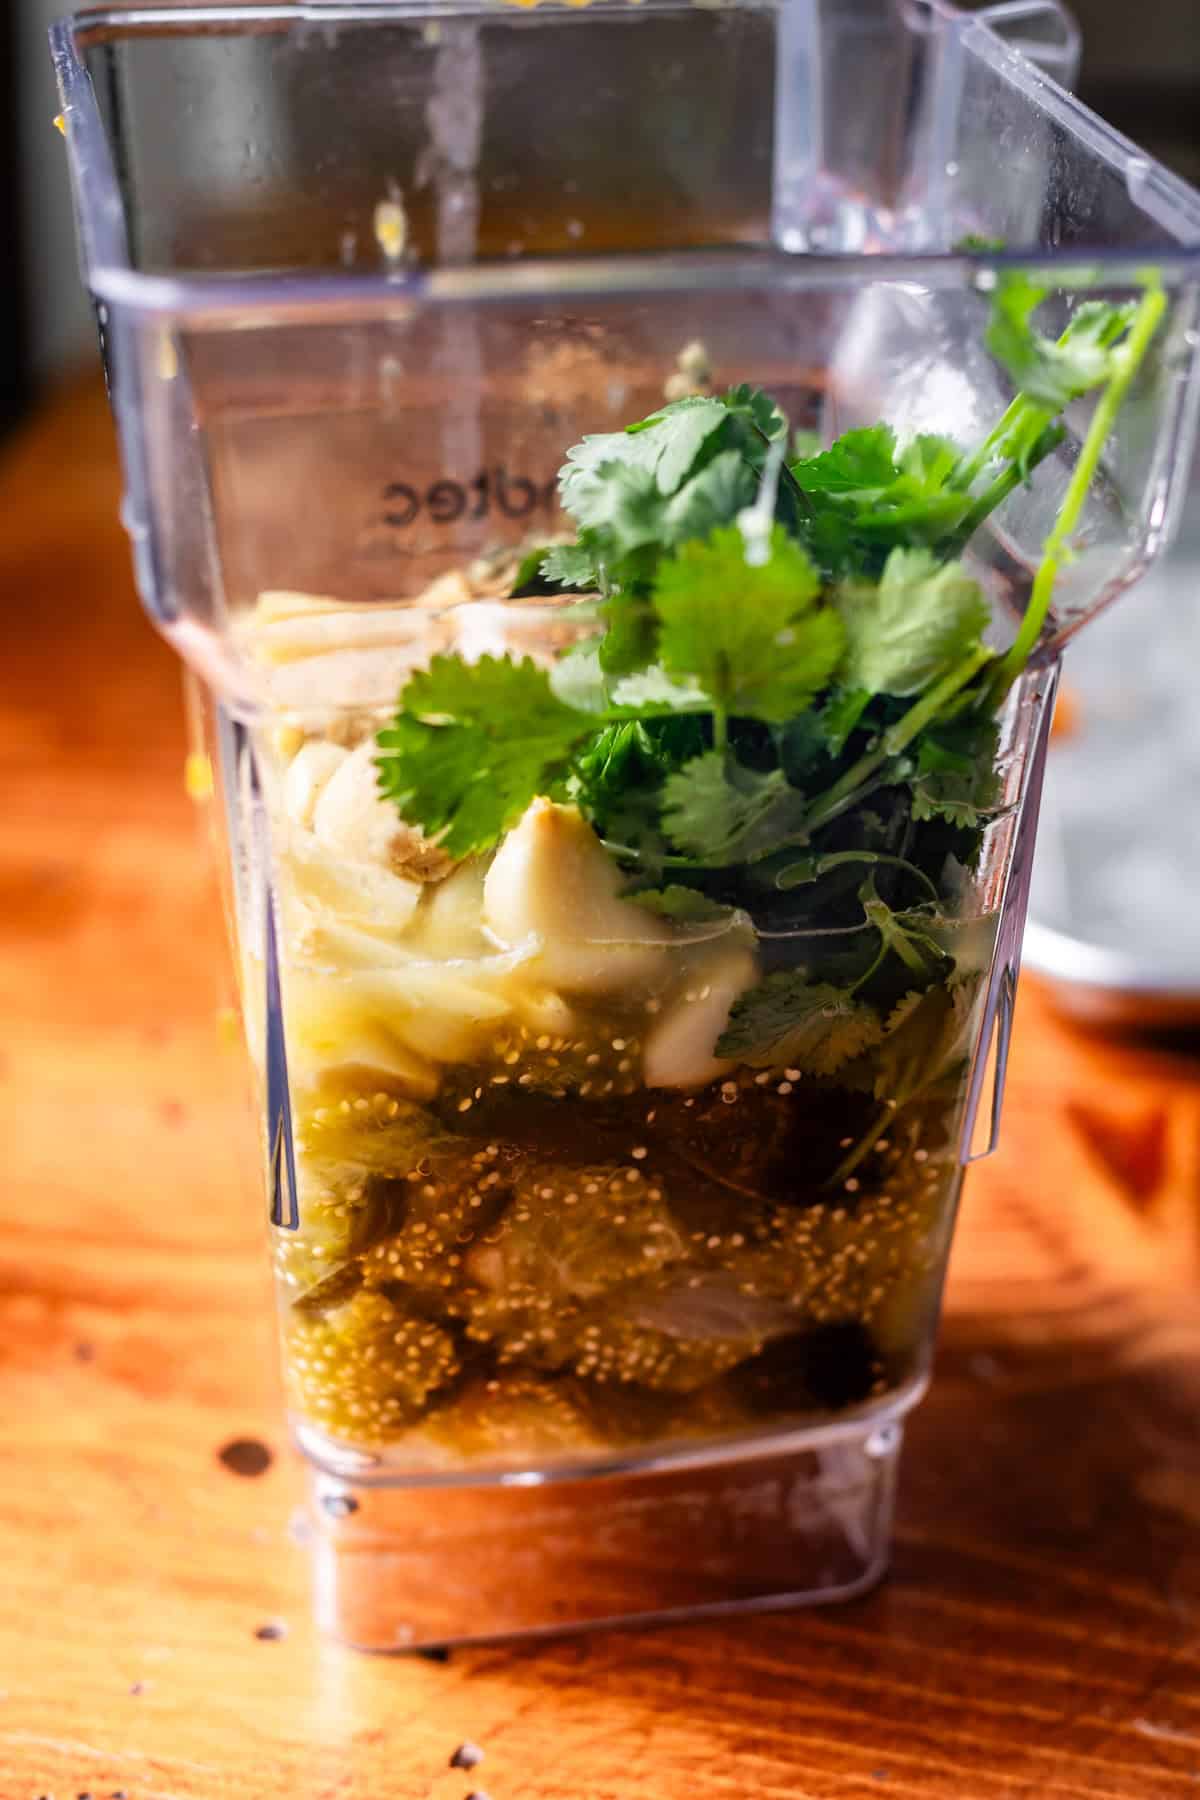
Add it to the blender with the cilantro, lime juice, spices, and chicken bouillon base.
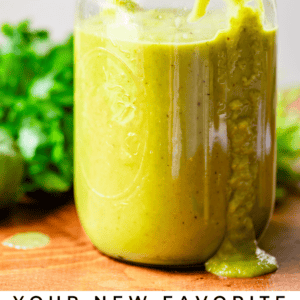
Ta-da! That’s it! Add a little water if it’s too thick to pour. Now you are ready to make Chicken Enchiladas! Or see the section just below for other ideas on how to use this amazing sauce! It’s so good, just taste it.
What to serve with green chili enchilada sauce
It’s not just for enchiladas! This roasty sauce works well with sooo many delicious meals! It can be used as a dip or topping for basically any Mexican or Tex Mex entree. Check out all my Mexican/Tex Mex Recipes to see tons of ideas, but here are some of my favorites!
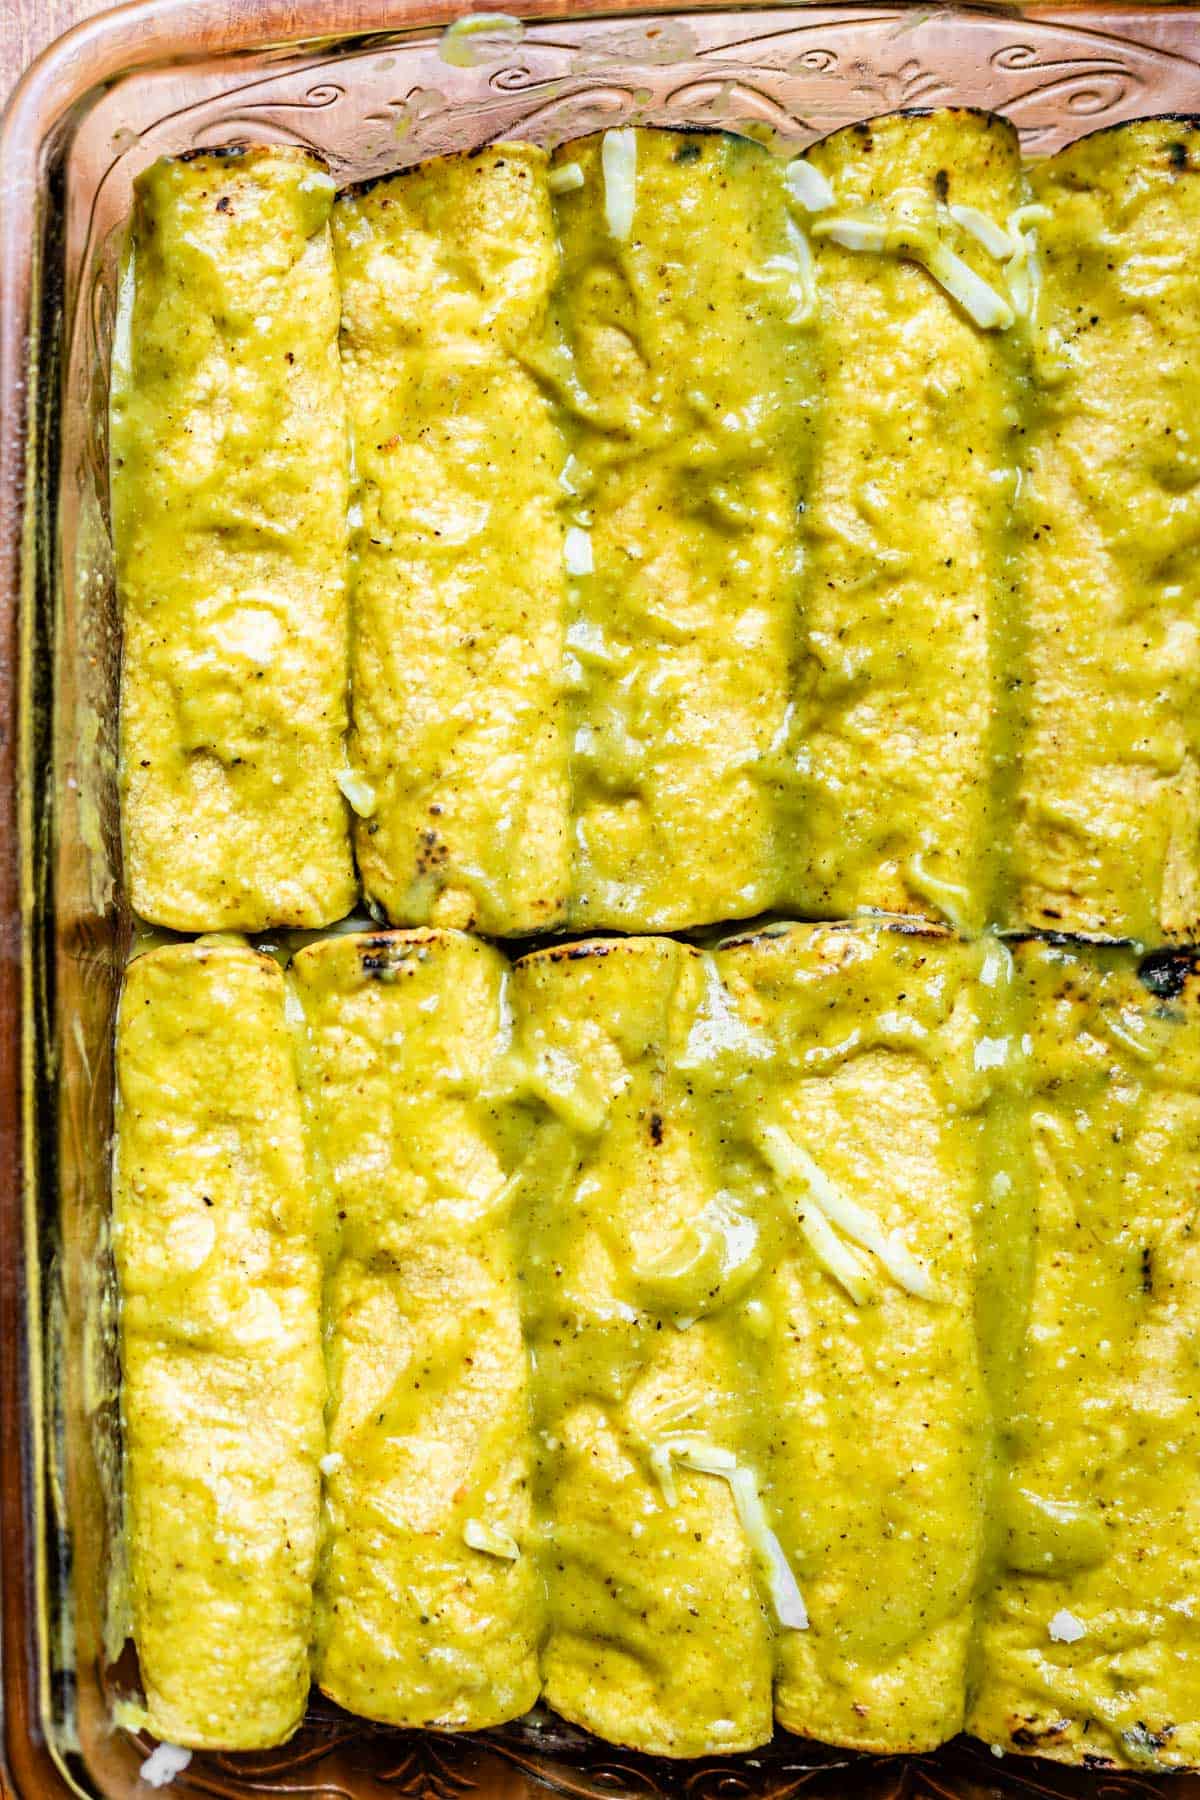
- first and foremost, of course, use it to make the best ever Chicken Enchiladas!
- use as a salsa for chips or warm, rolled up corn tortillas
- blend with an avocado to make an even greener version to dip your chips in
- blend with some sour cream or Mexican Crema to make an amazing dip or dressing for the Best Taco Salad!
- Any kind of street taco you can get your hands on!
- How to Make Carne Asada >> the meat is so tender and flavor, you will love it!
- Best Chicken Tacos Recipe (Stovetop or Crockpot) >> flavorful, juicy, NOT DRY chicken tacos that we have on constant rotation at our house
- Chile Rellenos Casserole >> I seriously love this casserole, and I can’t wait to make it now and pour this sauce all over it!
- The Chicken Fajitas Recipe That Changed My Mind >> I’m sure you can already hear that sizzle… and now you can do it right in the comfort of your own home
- 10 Minute Enchilada Chicken Quesadillas >> instead of dipping in red enchilada sauce, try swapping out for green!
- Easy Baked Mexican Meatballs >> I haven’t tried it, but I bet these would be soooo good in this green sauce as a change up from the red
- Tostadas from Budget Bytes
- Use it as a dip for Chicken Flautas or Black Bean Taquitos, or top some Chili Nachos with it.
Literally the possibilities are endless!

How to store leftover green enchilada sauce
Storage is so easy! Just add any leftover sauce to a container with an airtight lid, and store in the refrigerator for no more than 4-5 days. You can eat it straight out of the fridge if you like cold dips or salsas, but I prefer to warm it up in the microwave for a minute or so until it’s warm.
You can also freeze green enchilada sauce. Add the cooled sauce to a freezer ziplock bag and seal well. It will stay good in the freezer for 4-6 months! Then when you want enchiladas, you can thank your former self for having so much forethought. To use the sauce, thaw it in the refrigerator overnight or on the counter for 3-4 hours.
Green enchilada sauce frequently asked questions
Green enchilada sauce is one of the two main enchilada sauces in Mexican cuisine. Unlike a red sauce which starts with a base of dried red chiles, the base of green sauce is tomatillos and green chiles like jalapeno, Anaheim, or serrano peppers.
In addition to the green chiles and tomatillos, there are a lot of flavor enhancers like onion, garlic, cilantro, lime, bouillon, and spices. Blend it all up with some extra water if needed, and you end up with a deliciously easy sauce!
The ingredients are basically the same! The main difference is that for salsa verde, the ingredients are often blended raw instead of roasted like in enchilada sauce. Water is often added to enchilada sauce as well to thin it out, whereas salsa verde usually does not. While technically there is a difference between the recipes, they sometimes are used interchangeably.
The next best thing is to make my cheater sauce that is in the notes section on my Chicken Enchiladas recipe. It skips the roasting step and uses a tub of fresh salsa verde combined with sour cream and canned chilies. It’s actually so good, and a perfectly delicious sub!! My family loves both versions.
Most Hatch green enchilada sauce recipes will be similar to this one! You can swap out the Anaheims in this recipe for Hatch chiles, if you prefer the taste or spice level!
More sides for Mexican and Tex Mex
I’m pretty sure I could make a whole meal out of just these sides and toppings and be perfectly content. PLEASE try these so your taco (and enchilada, and fajita, etc) night can be just that much better every time.
- My Favorite Guacamole is EASY >> 5 minutes and you can have guacamole way better than anything you can buy at the store
- 5 Minute Restaurant Style Salsa >> this stuff really does taste like it’s from a restaurant, promise
- How to make Pico de Gallo >> pretty sure I can eat my weight in pico de gallo
- Mexican Rice Better than a Restaurant >> this is absolutely THE go-to rice to have with Mexican food!
- Better Than Chipotle Cilantro Lime Rice >> or, if you’re looking for rice with a similar tangy green flavor to the sauce in this post, try this!!
- Traditional Tejano Pinto Beans (Slow Cooker Mexican Beans) >> the perfect blend of Southern and Mexican pinto bean styles, and some of my most favorite beans ever
- Mexican Street Corn Dip Recipe >> sweet corn and savory tart cheese in a dip so good you’ll want to eat it with a spoon
- Easy Calabacitas Recipe from Mexican Please
Facebook | Pinterest | Instagram
Green Enchilada Sauce
Ingredients
To roast:
- 1 head garlic
- 1/2 teaspoon vegetable oil, to go on garlic head
- 1 pound tomatillos, peeled and halved
- 1 white onion, roughly chopped
- 2 jalapeños, halved, not seeded
- 2 teaspoons vegetable oil, for rubbing on roasted veggies
- 1 teaspoon kosher salt, to sprinkle on roasted veggies
- 2 pounds Anaheim chilies, left whole; these go DRY on a separate pan
To go in the blender:
- 1/2 bunch cilantro
- 1 lime, juiced, at least 2 tablespoons
- 2 teaspoons Better Than Bouillon Chicken Base
- 1 teaspoon kosher salt
- 1 teaspoon oregano
- 1 and 1/2 teasoon cumin
- 1/4 cup water, plus another 1/4 cup, if necessary
Instructions
- Preheat your oven to 400 degrees F. Set out two half baking sheets. Arrange two oven racks near the center of the oven.
- Prep the garlic for roasting: Remove the outer most papery layers of the garlic head. Cut off the top 1/4 of a head of garlic. (see photos) Lay out a sheet of foil and place the head of garlic on it. Drizzle the garlic with 1/2 teaspoon oil and rub it in. Wrap the head of garlic in foil so it's covered. Place it on one of the baking sheets.
- Prep the tomatillos. Peel 1 pound of tomatillos, removing all the papery skin. Wash and rub them to get the slimy stuff off. (tomatillos are a little weird guys.) Cut each one in half, and cut out any stems that are very large (if they are tender tomatillos, I often don't bother cutting out the stems.) Place them on the pan with the garlic in foil.
- Onions and Jalapeno. Chop a white onion in half, then chop into wedges. Cut off the stems of two jalapenos (Cut out the seeds and membranes if you like, leaving them in will make it more spicy. I like to leave them in!) Add the jalapenos and onions to the pan with the tomatillos.
- Measure out 2 teaspoons of oil and drizzle it over the tomatillos, onions, and jalapeno. If you use too much oil, they won't roast and blacken properly. Sprinkle 1 teaspoon kosher salt over the top of the veggies. Use your hands to rub the oil and salt in. Arrange the tomatillos so they are cut side down.
- Anaheim peppers. On the other DRY baking sheet, add 2 pounds of whole Anaheim peppers. (you need about 10 peppers). Do not cut them, slice them, oil them, or do anything at all to them. Put them directly on the dry pan and make sure each pepper has an inch or two of space; they should not be touching.
- Roast the two pans of vegetables at 400 degrees for 30 minutes. Open the oven door and switch the pans. Use tongs to turn the Anaheim peppers over, if one side is roasting more than the other. The skin will start to look brownish black.
- Continue roasting for another 10 minutes, until the tomatillos are blackened on top. Set aside the pan of tomatillos to cool. Roast the Anaheim peppers until the skin on all sides of the peppers looks papery and dry and parts have become browned/blackened.
- Steam the peppers. Immediately after you take the peppers out of the oven, they need to steam in an enclosed space. You can place a metal or glass bowl directly over the top of the peppers on the pan, if you can get a good seal. Or you can add all the peppers to a ziplock bag and seal it. Let the peppers steam for 10-15 minutes.
- Peel the peppers. After the peppers have cooled and steamed, use your hands to pull out the stem and seeds. Peel the papery skin off the peppers, saving the fleshy part. You will end up with about 2 cups of peppers.
- Everything that was roasted goes into the blender. Open the foil around the garlic. Squeeze each garlic clove into a blender or food processor. Try not to eat it all.Scrape all of the tomatillos/onions and any juices from the pan into the blender. Add all the Anaheim chili flesh (no seeds, no papery skin) into the blender.
- Add the remaining ingredients to the blender: 1/2 bunch cilantro (stems cut off), about 2 tablespoons of fresh lime juice, 2 teaspoons Better than Bouillon Chicken Base, 1 teaspoon kosher salt, 1 teaspoon oregano, 1 and 1/2 teaspoons cumin, and 1/4 cup water.
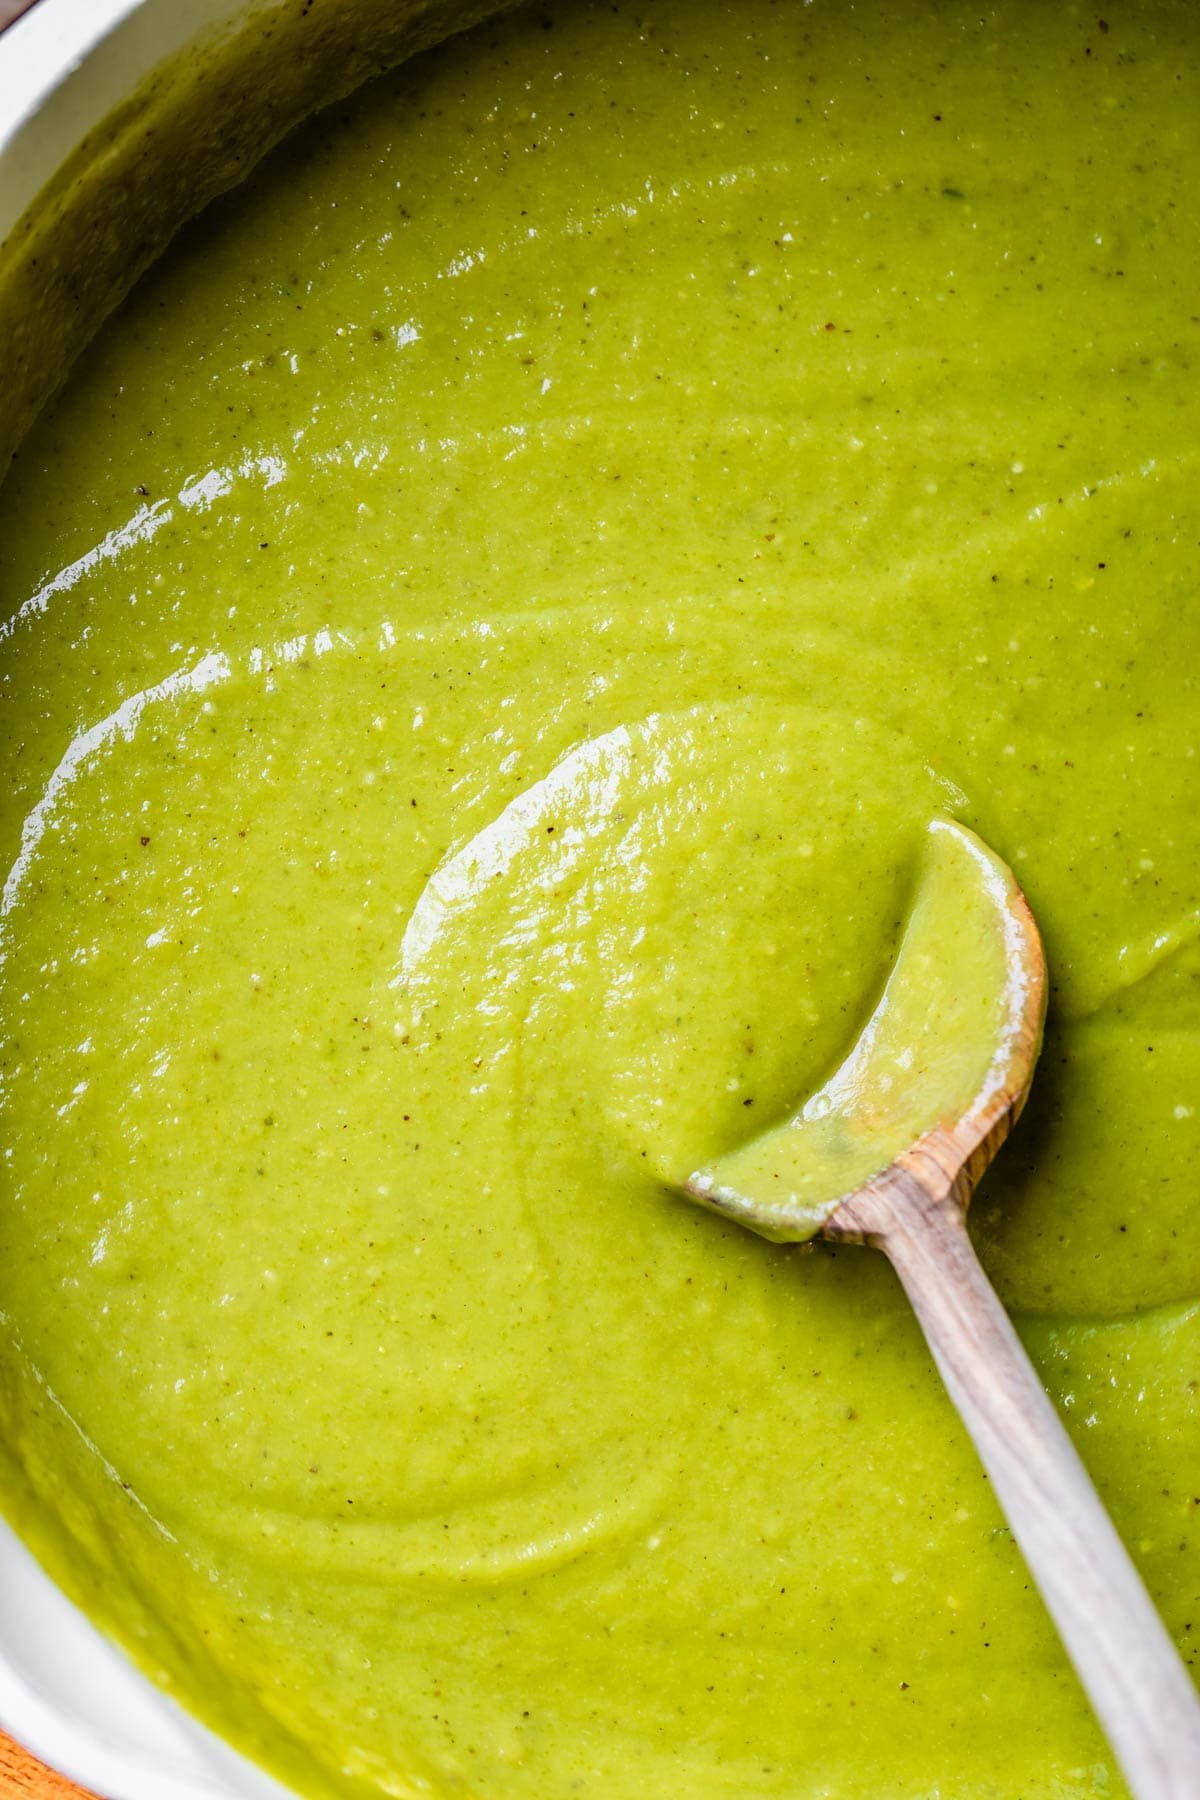
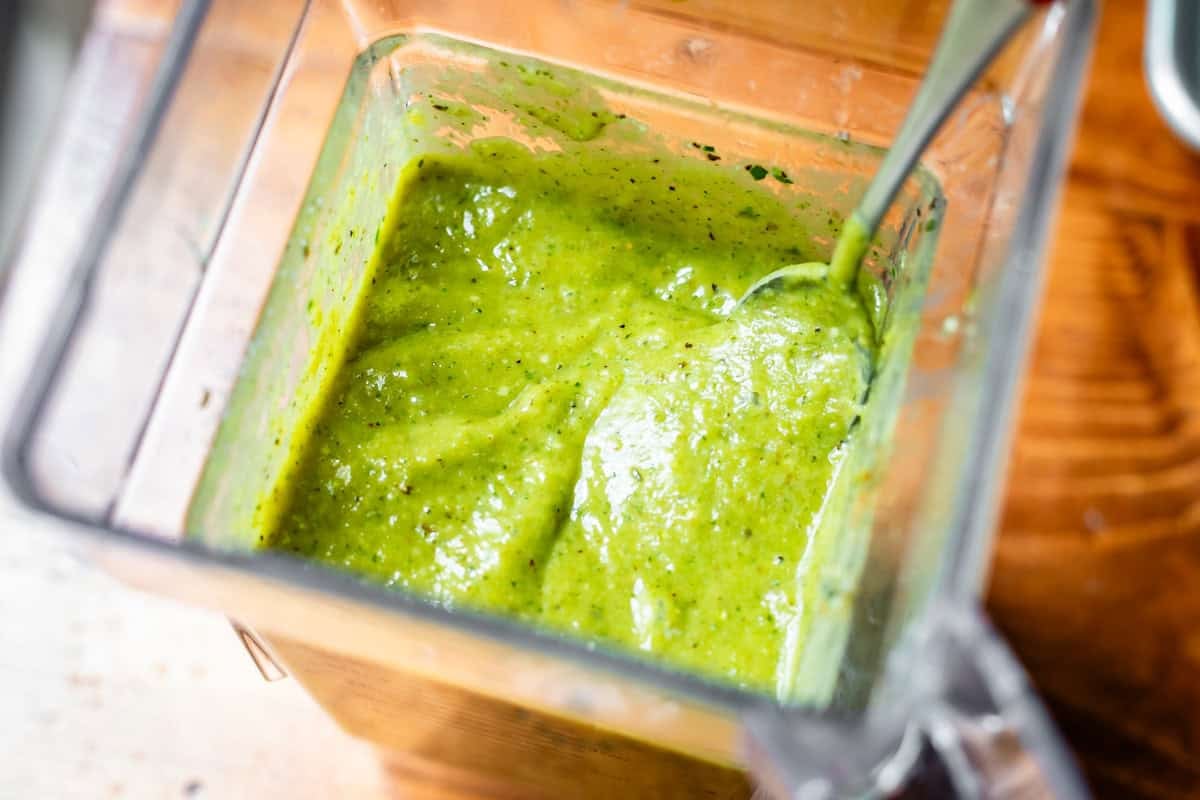
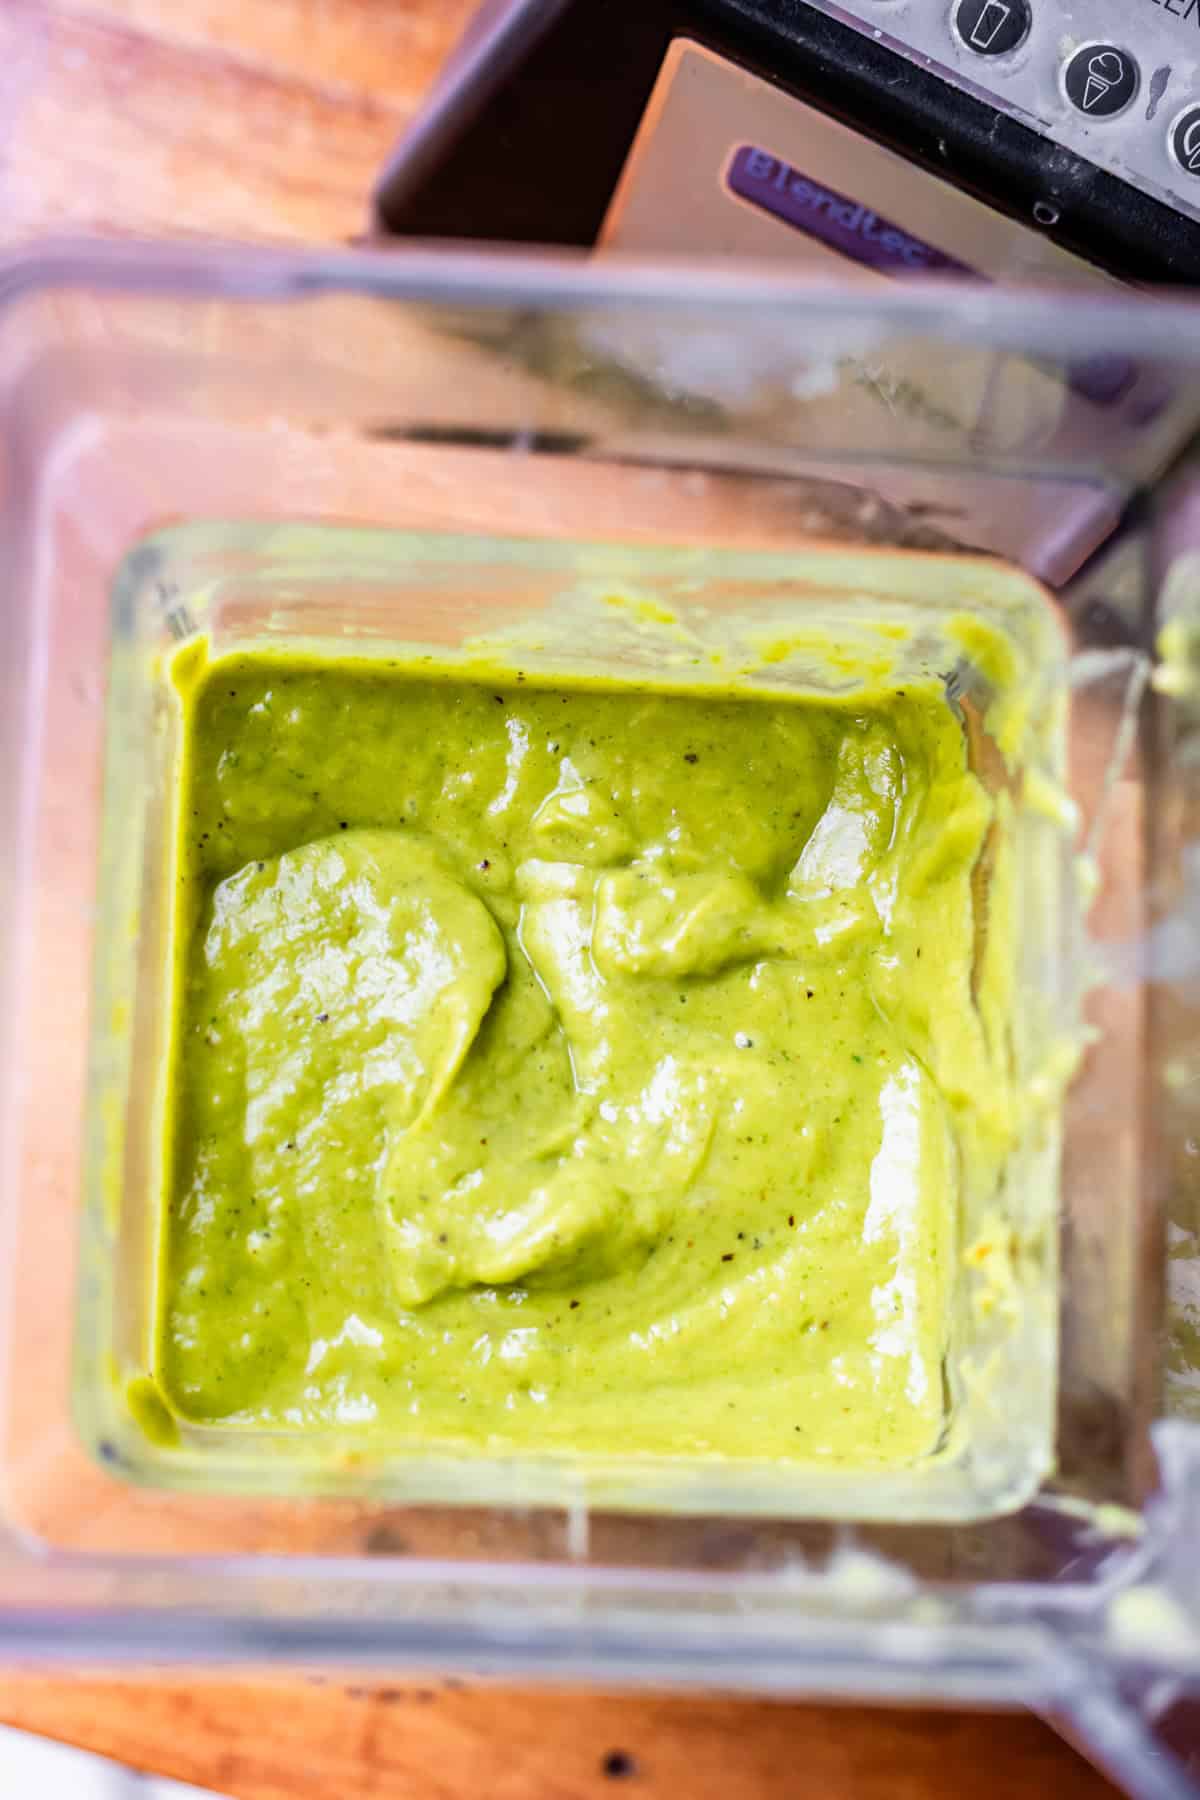
- Blend it all together for at least 1 minute, scraping down the sides. If the mixture is very thick (does not pour easily), add an extra 2 to 6 tablespoons water and blend until smooth.
- Taste your enchilada sauce and see if it's missing anything! More salt? More lime juice? Adjust to taste.
- Use this sauce to make Chicken Enchiladas! It's also an amazing dip for tortilla chips, use it to make these 10 Minute Chicken Quesadillas, as a salad dressing on Taco Salad, as a topping on Fajitas, as a dip for Chicken Flautas or Black Bean Taquitos, or top some Chili Nachos with it.
- Storage: Add any leftover sauce to a container with an airtight lid, and store in the refrigerator for no more than 4-5 days. You can eat it straight out of the fridge if you like cold dips or salsas, or warm it up in the microwave for a minute or two until it's warm.
- Freezing: Add the cooled sauce to a freezer ziplock bag and seal well. It will stay good in the freezer for 4-6 months! Then when you want enchiladas, you can thank your former self for being a queen. To use the sauce, thaw it in the refrigerator overnight or on the counter for 3-4 hours.


Great timing! My son who lives in New Mexico just brought me 25 pounds of Hatch green chilies, which we roasted, peeled, and froze. Now i know what to do with them. Thank you Karen.
25 pounds!! What a haul!! That’s amazing, i love it. Enjoy the enchiladas you make with all that freshness! guaranteed to be amazing!
I haven’t tried your recipe but this is the Oaxacan version of a green enchilada sauce! Very authentic
Yes exactly Alicia!! That’s why I called for the Oaxacan cheese, too. Basically I just want to move to Mexico 😂😂 This is what I want to eat every day of the year. I hope you get to try this out soon, and that you love it!!! Thanks for chiming in!
I just put a note to myself to make a giant batch of this later this summer when I can buy all the ingredients at the farmers market (since there will be no garden this year 🥲) and freeze it! I know it will be amazing and delicious! And stocking up on this for next fall/winter seems like a really smart idea 💡😁)