
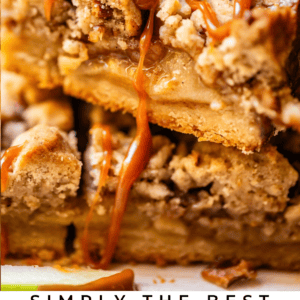
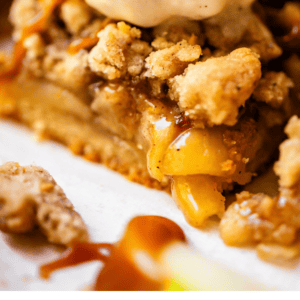
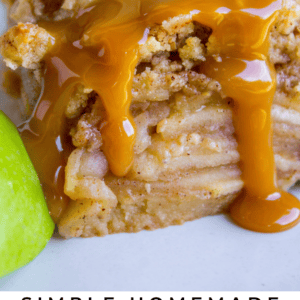
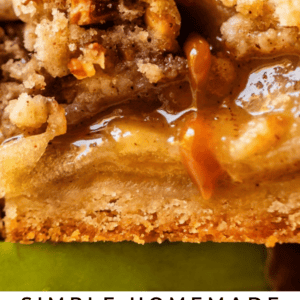
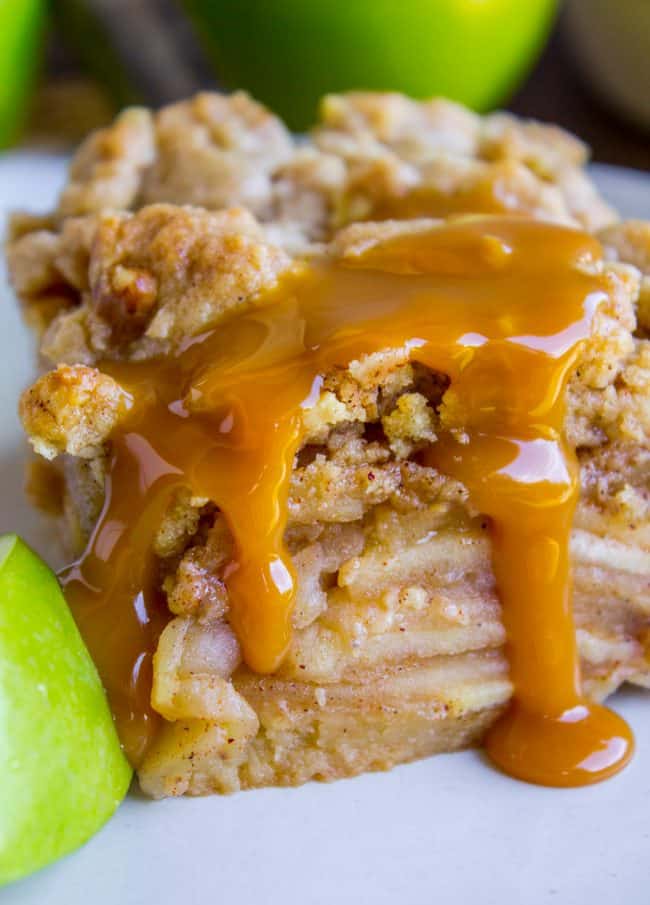
Apple Pie Bars are the best way to eat pie with your hands! There is a crazy amount of buttery crumble in this recipe, that we divide between the bottom and top of the BEST apple pie filling. I consider Apple Pie to be a specialty of mine. The bar version is just as amazing! Perfect for serving a crowd. Apple season is upon us my friends! It’s glorious!
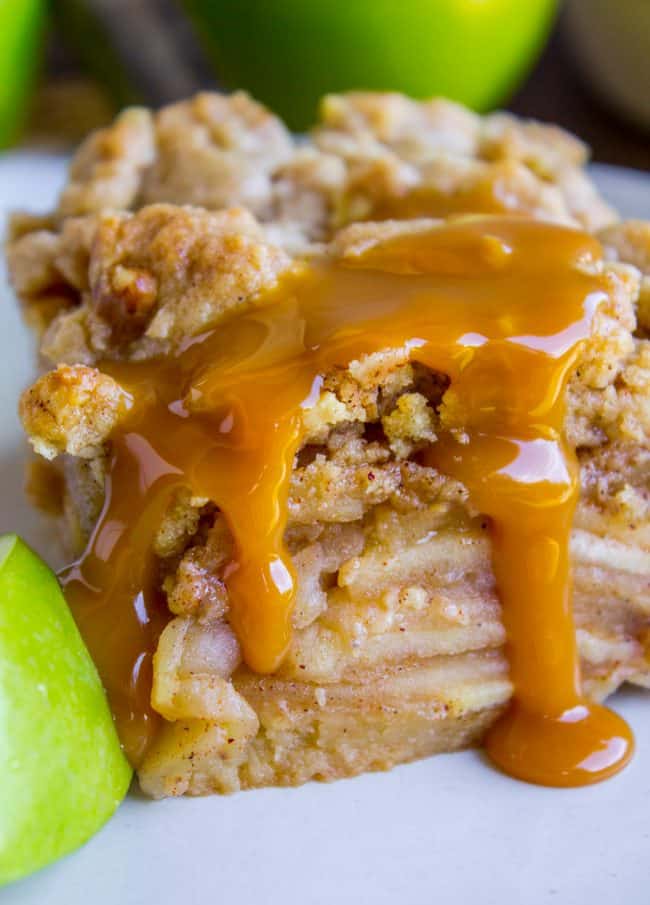
FALL! CINNAMON! SEPTEMBERRRRR!!! My daughter Charlotte has been wearing sweaters in 82 degrees heat for weeks now, in an effort to manifest a crisp apple morning. I think it’s finally working!! So excited to reshare this recipe for Apple Pie Bars with you, it’s one of my favorite ways to conjure autumn. This is based on a classic Ina Garten recipe that I posted the first time in 2018! (the first photo up there is from back then!)
Speaking of September, yesterday was my birthday! I turned 39. I feel like 39 is the new 29?? Am I wrong here? Maybe this is the first of many 39th birthdays 😂
My mom turned 70 a couple years ago. On her birthday we were hanging out and she looked at me solemnly and said, “Karen…I’m not middle-age anymore.” I about DIED laughing. Mom, since when was 69 middle-aged??
It does bring up an interesting question though, which is how old do you FEEL? My Aunt Dee and I were just talking about this. She is in my mom’s generation, but she said, “I’m 46!” (she is not 46). Is this a thing for you?
I definitely feel 39. The teenagers…they exist. They blatantly ignore my “only 2 pairs of shoes in the shoe bin” rule. My weekends are full of soccer games and did-you-bring-the-snacks. I just got my kids a puppy for crying out loud. I never get enough sleep and someone is always saying “MOM!”
I mean, it doesn’t get more 39 than that, right?? I wouldn’t trade it for anything!! 🎶 These are the days 🎶
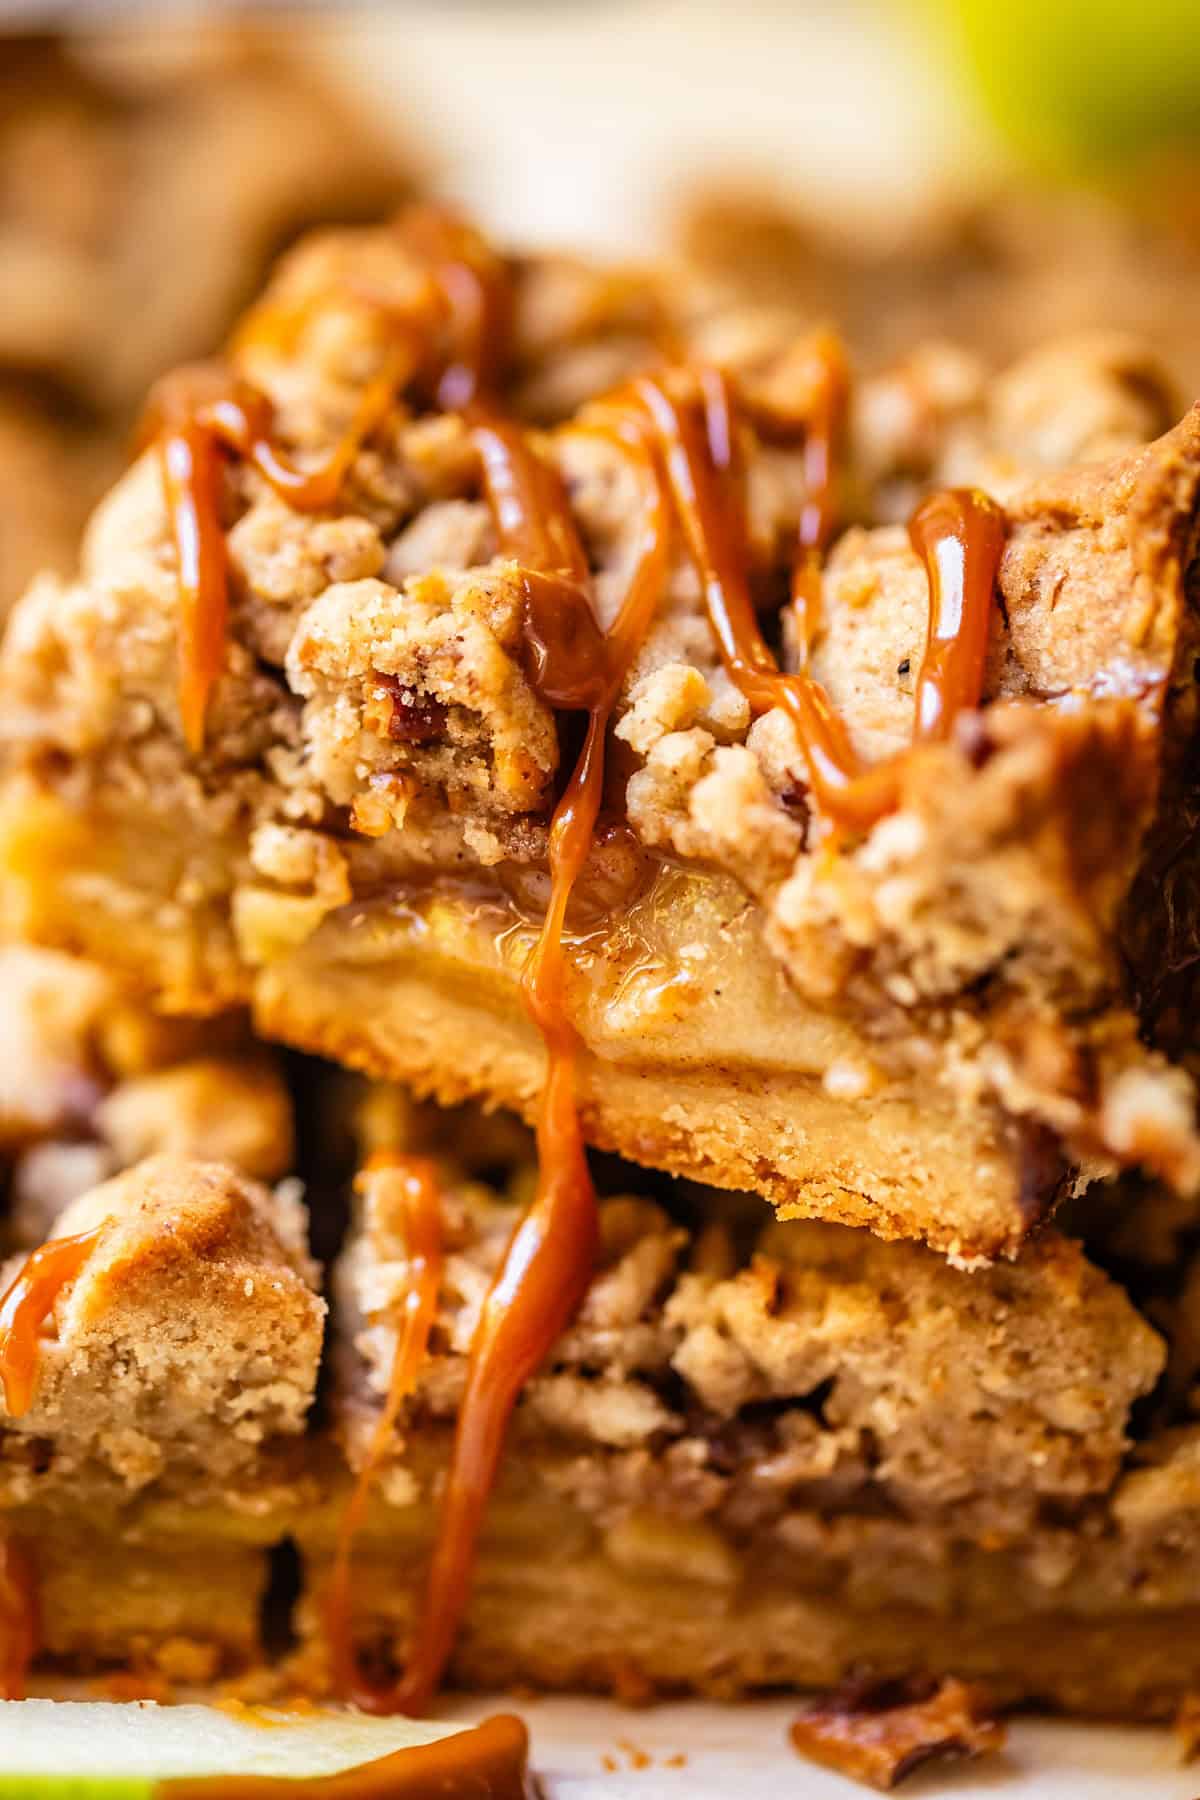
The best way to eat pie is with your hands
You will note that the first ingredient called for in these Apple Pie Bars is A POUND OF BUTTER. Oh Ina, how I love you. The Barefoot Contessa definitely knows where it’s at. I saw this recipe in the Food Network Magazine last year (update: time flies, it was 9 years ago!) and finally got around to trying it out, with a couple of my own twists. (That’s code for cardamom. I’m a huge cardamom fan!)
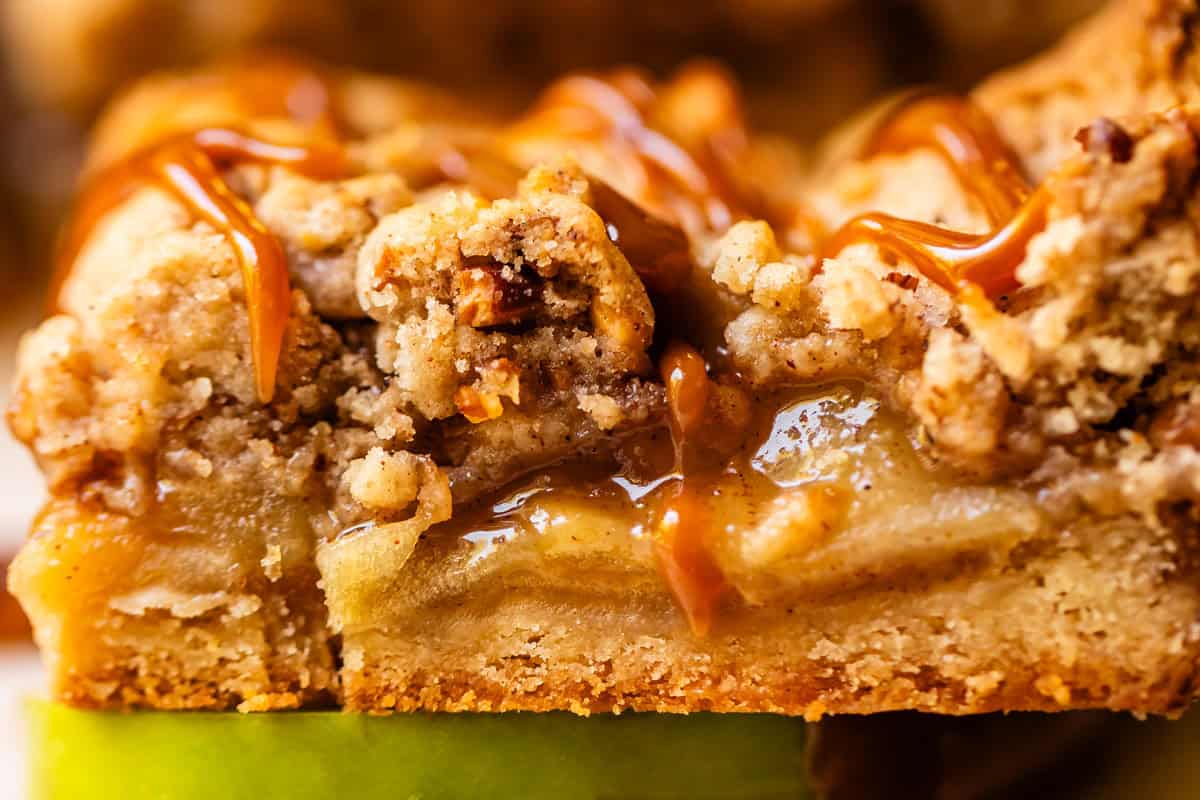
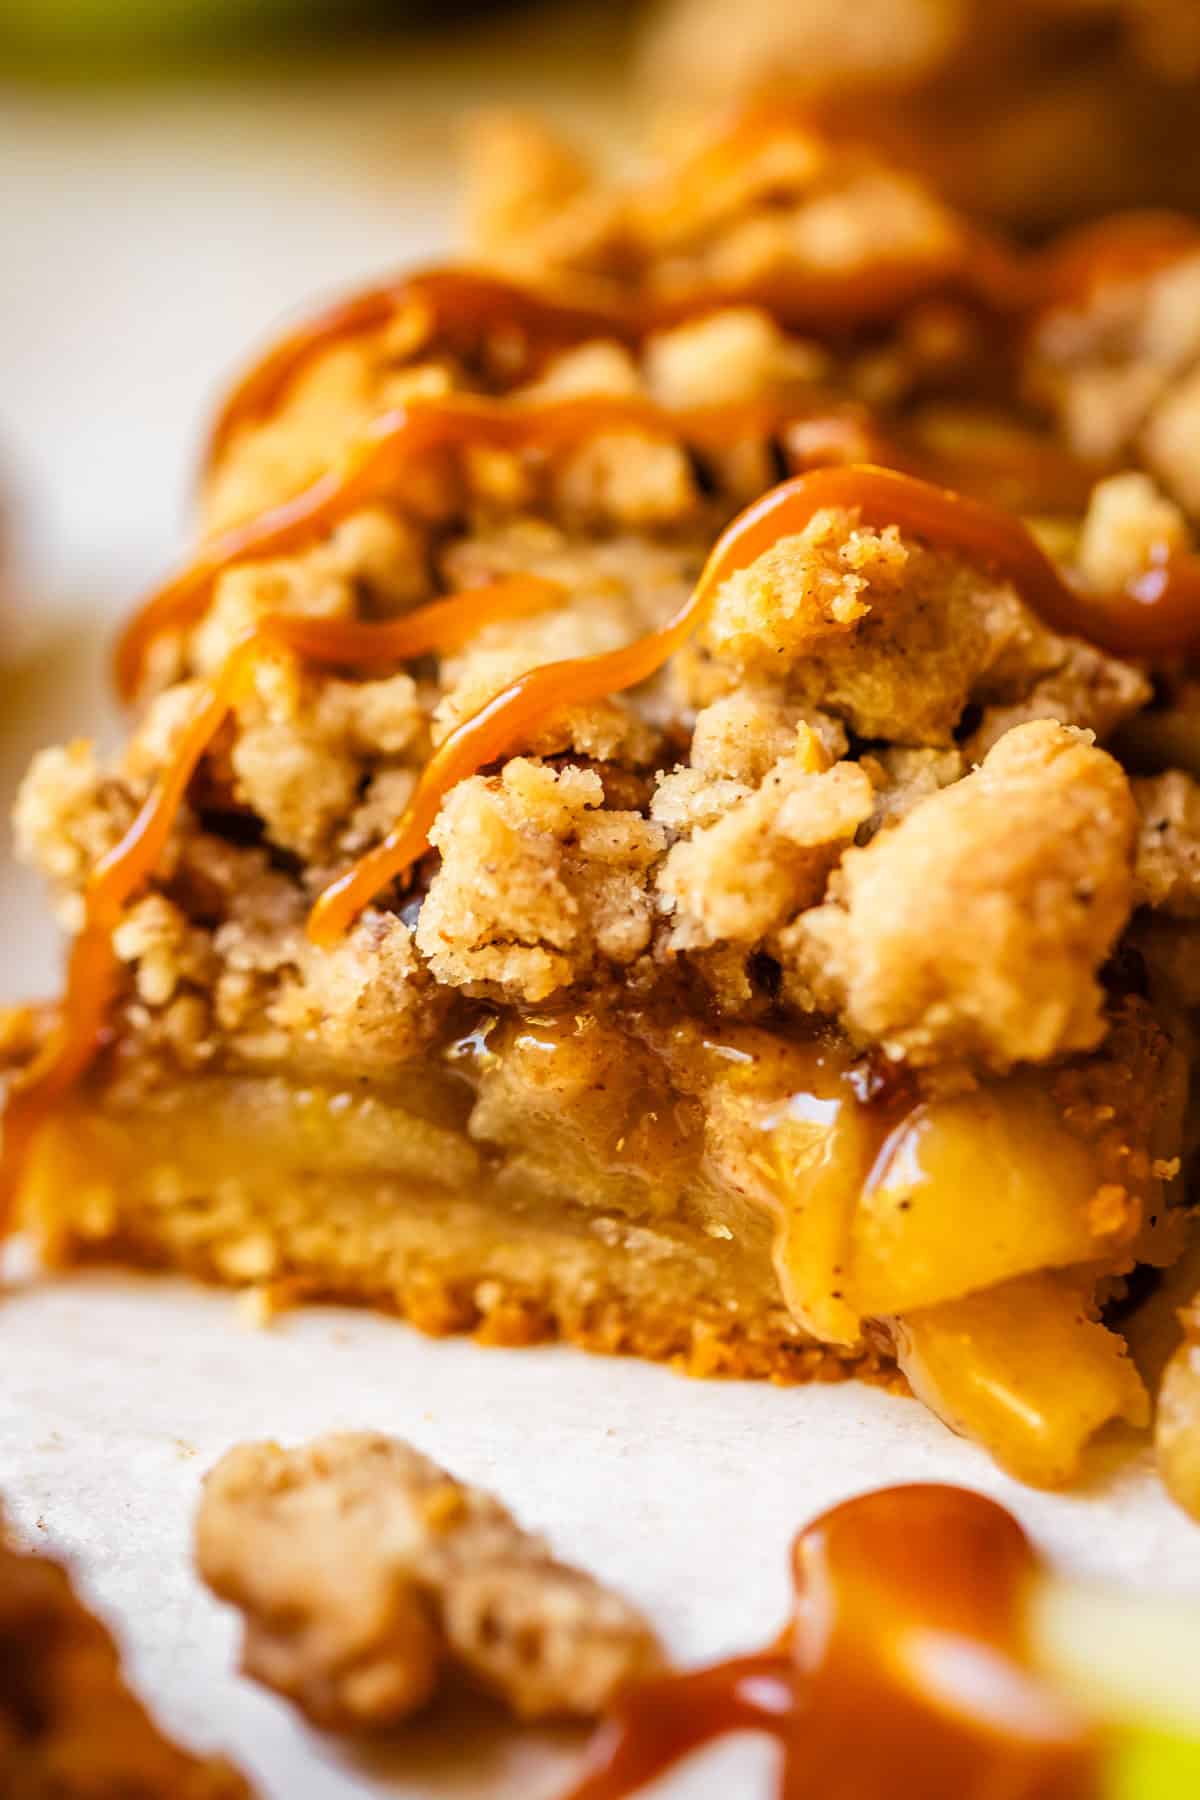
These bars do not disappoint. (I mean just look at this crust!!) It’s mainly to do with that pound of butter called for; you just can’t go wrong when there is that much crust in a pie recipe.
You combine the shortbread (butter, flour, salt, etc.) then divide and press some of it into a pan and bake. Then you add a couple more ingredients (spices, toasty walnuts) to the rest of the shortbread mixture and crumble it over an INSANELY DECADENT apple pie filling. It’s SO buttery and SO worth it. Trust me.
Apple Pie is kind of my thing
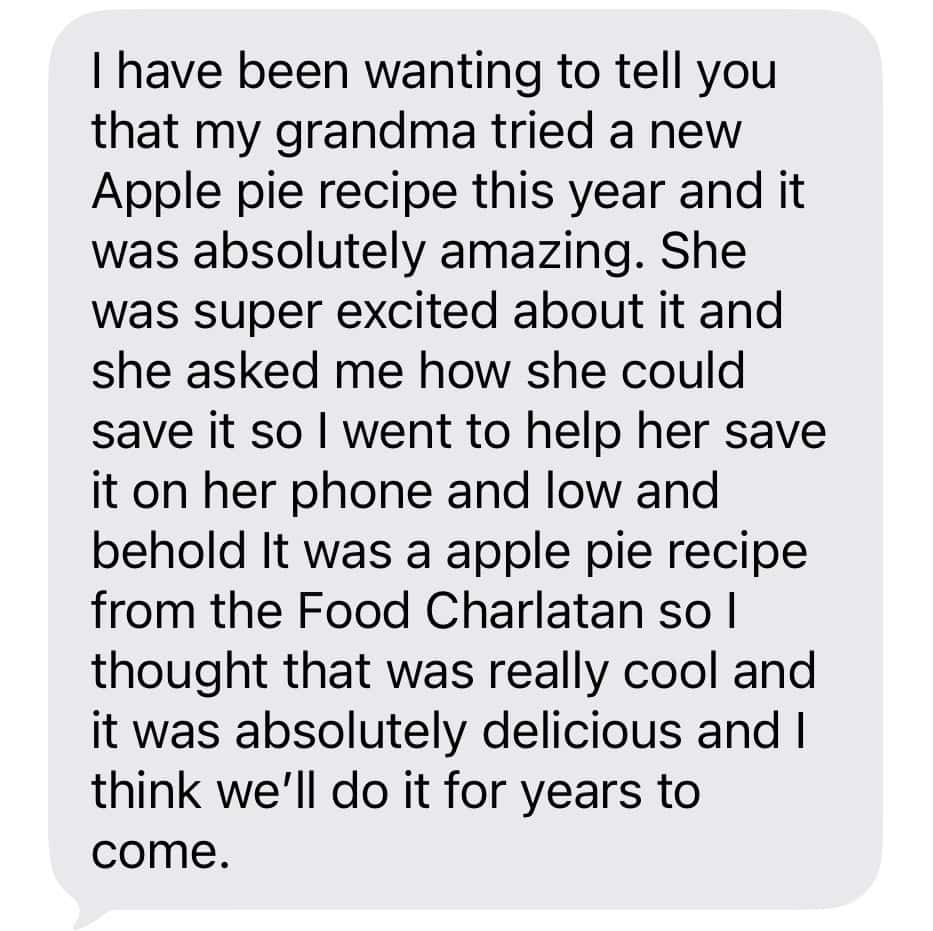
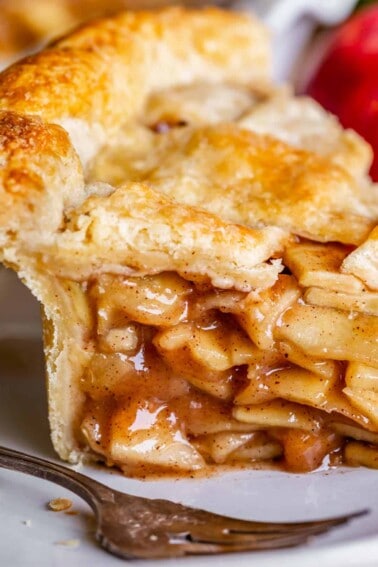
In 2020 I posted my best recipe for Apple Pie, and the internet lost it’s mind. It’s one of the top recipes on the blog and has been for 6 years now. Just last Thanksgiving, a friend texted me this:
Apple pie just has America’s heart, you know?
Apple Pie Bars are similar, but not quite the same. The crust is a LOT easier, for starters! No rolling out!
But I triple heart love my apple pie filling that I developed for the regular pie. So I wanted to try to incorporate it into these Apple Pie Bars, and it worked beautifully!
The secret: cooking the apples ahead
The secret to the BEST apple pie bars is cooking the apples on the stove before they get put into the oven. Apples are kind of stinkers about softening up in the oven, they take a good 45-50 minutes usually, and even then, all the liquid is trapped in the pie, so the dessert ends up turning out watery and bland.
Cooking the apples ahead of time solves that problem, and gives you the most tender, melt in your mouth, cinnamon-iest apples ever, with a crust that is baked only until perfectly golden and no more. The apples do not get overly cooked and mushy in the oven, even after cooking them on the stove. How??
When you gently cook the apple pie filling, the pectin in the apples is converted to a heat-stable form. That means when you cook the apples again in the oven, the apples won’t become mushy. Whatever level of “al dente” they are at when you finish cooking them on the stove, that’s how it will taste in your pie. Isn’t that crazy?? Science, amiright? 🤯
Ingredients to know about
- Apples are the star of the show, of course! For the best flavor and texture, buy a variety of apples. I love to use a mix of Granny Smith, Fuji, and Honeycrisp!! Using only one type of apple gives you only one flavor profile. Using a blend means your pie will land somewhere perfectly in the middle of tart and sweet. Try to get a few tart apples, a few sweet apples, and a few in between apples. Here is a list of common apple varieties, listed from most tart (Granny Smith) to sweetest (Fuji):
- Granny Smith
- Braeburn
- Macintosh
- Honeycrisp
- Red Delicious
- Golden Delicious
- Ambrosia
- Gala
- Fuji
- Walnuts in the crust add the the perfect crunch and excellent toasty flavor. Toasting them ahead of time enhances the flavor and the SNAP of the nuts. It’s essential for texture! Chopped pecans would also be delicious if you want to try that!
- Butter: a FULL POUND of it because we want that shortbread to be thicc. Don’t bother with any substitutions!
How to make Apple Pie Bars
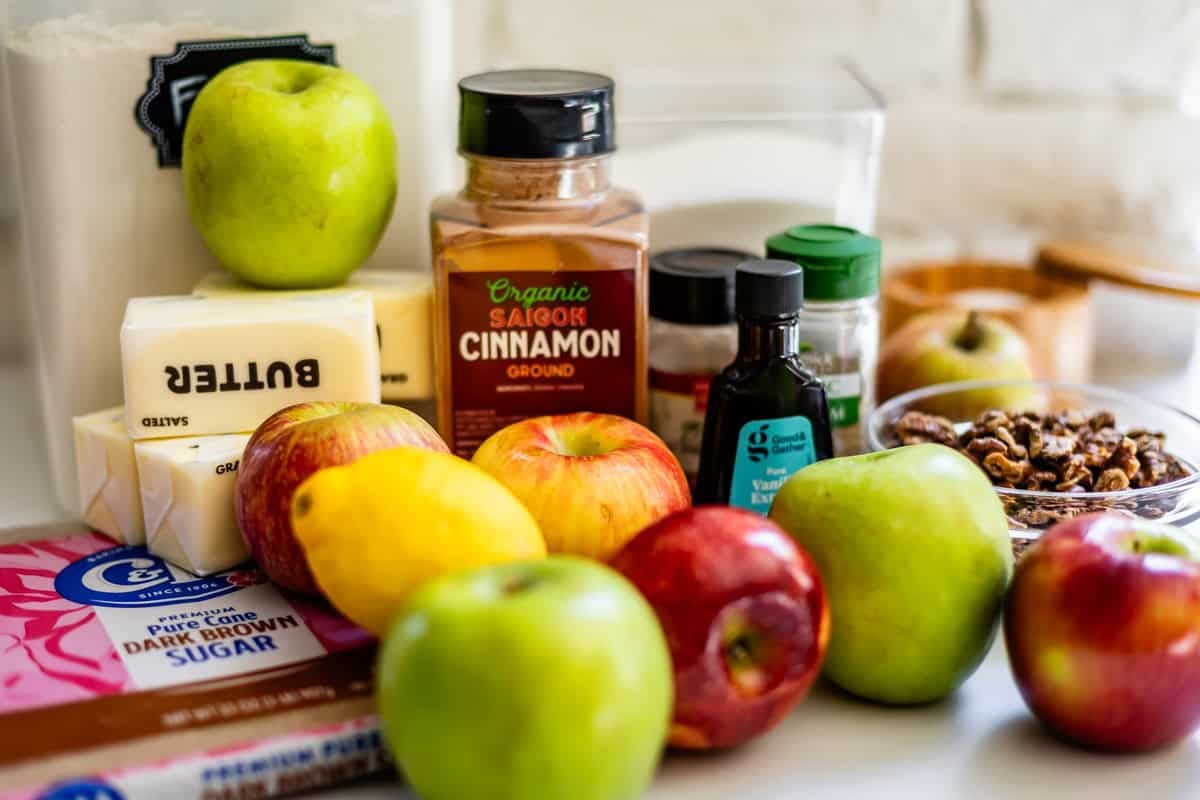
Here’s the lineup!
And yup…we’re starting off with a whole pound of butta.
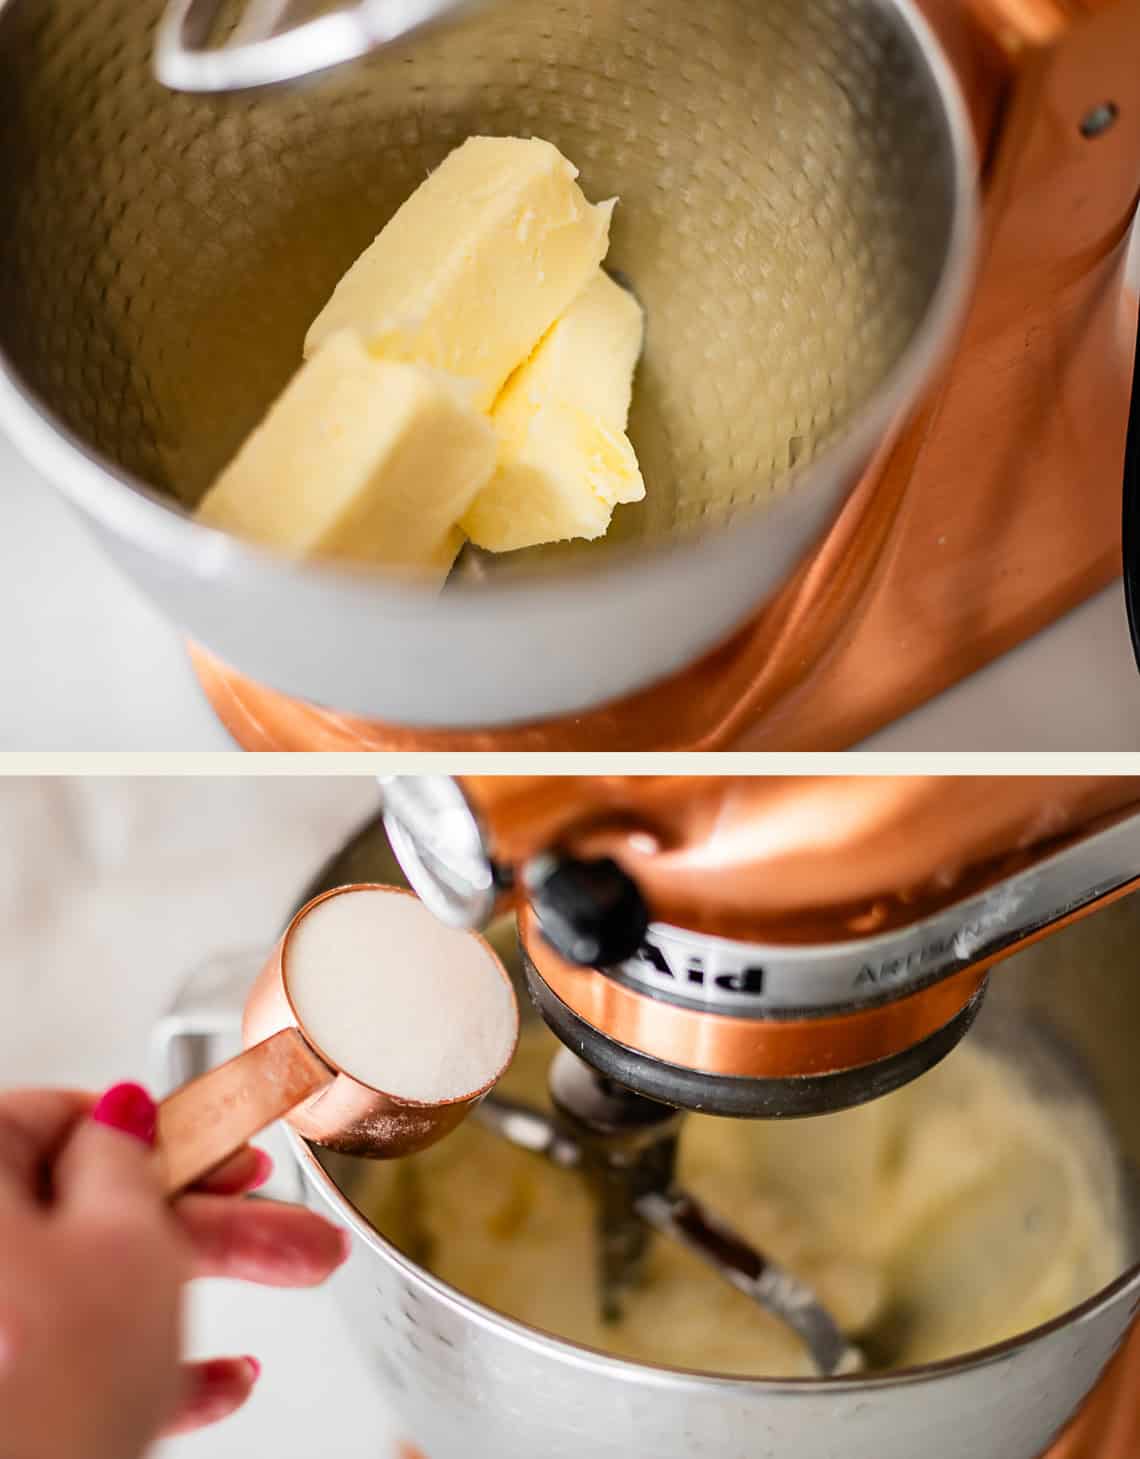
Add in your sugars…
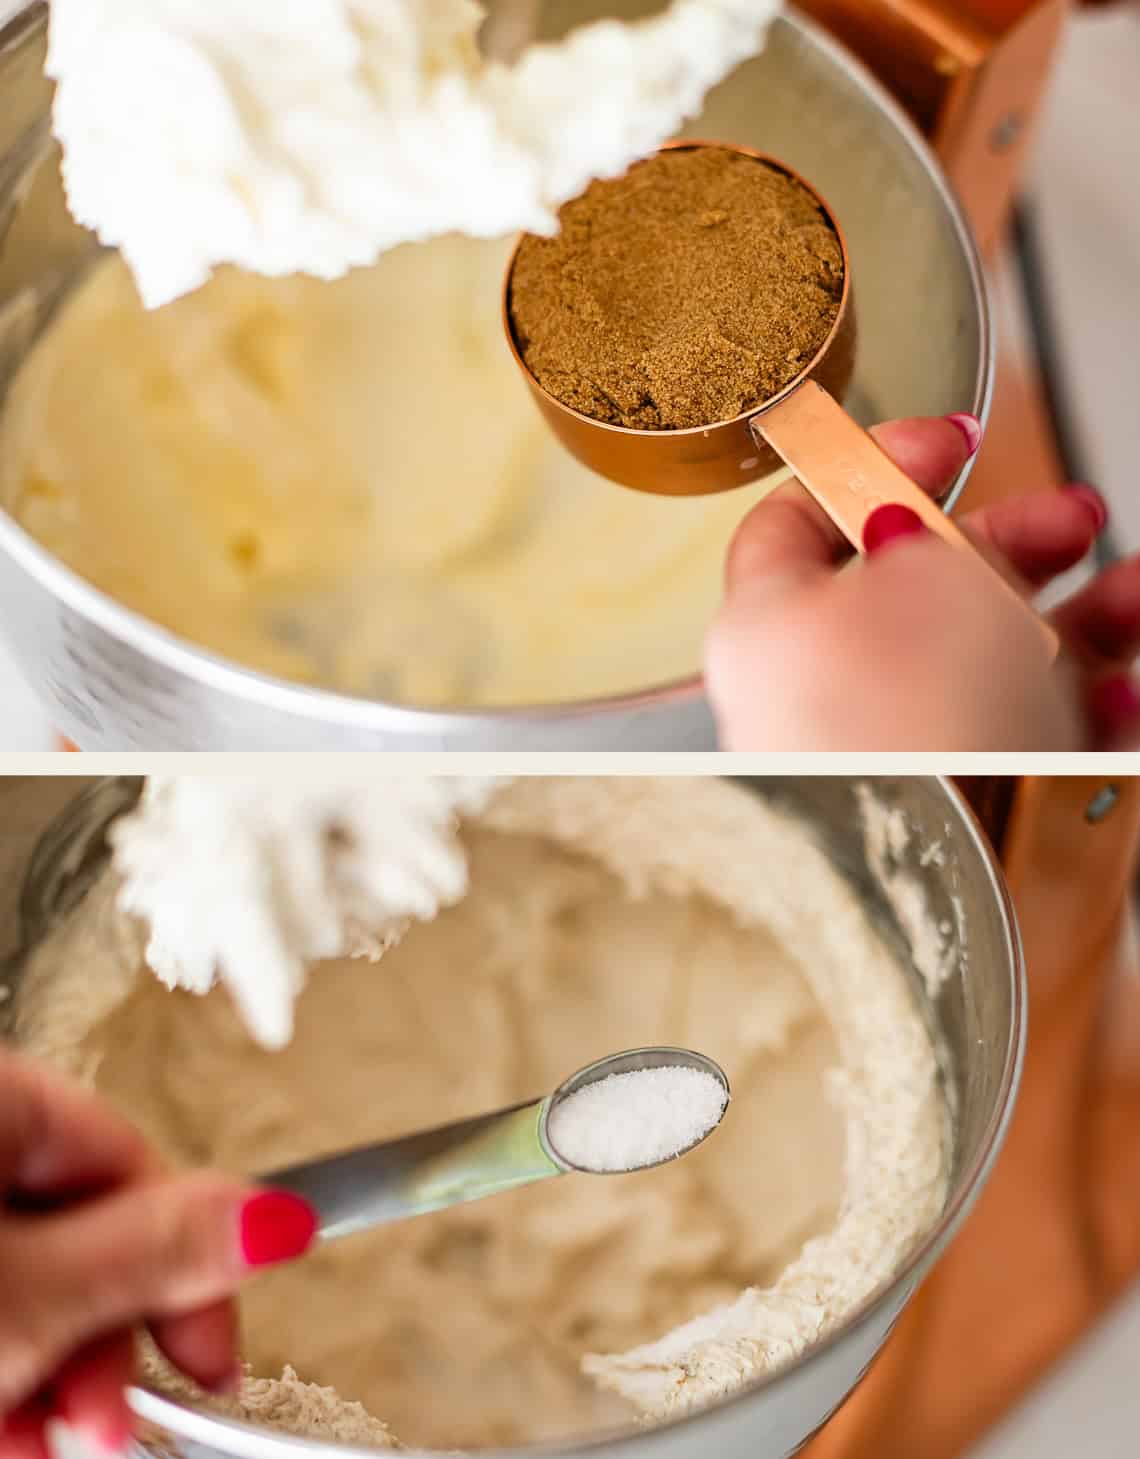
A little bit (okay a lot a bit) of salt, and some vanilla.
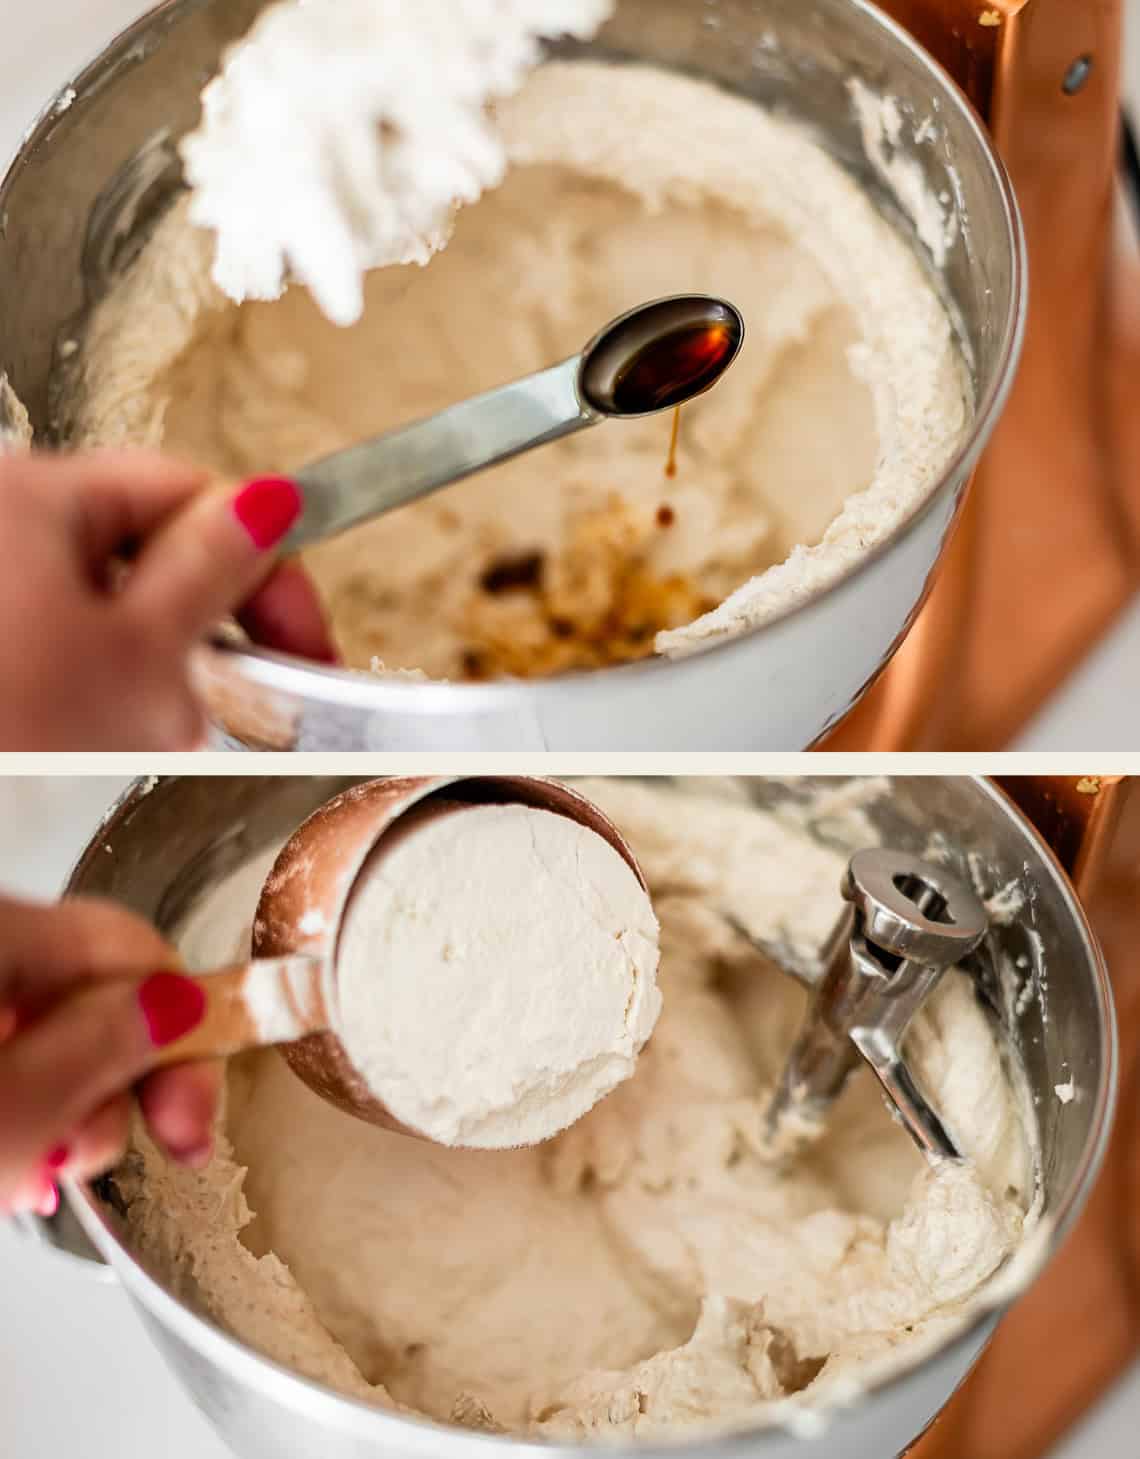
Then add in 4 cups of flour. Seems like a lot, but that’s what gives these bars that pie crust taste! It’s actually perfect.
Don’t over beat this mixture! Just barely beat until the flour is incorporated.
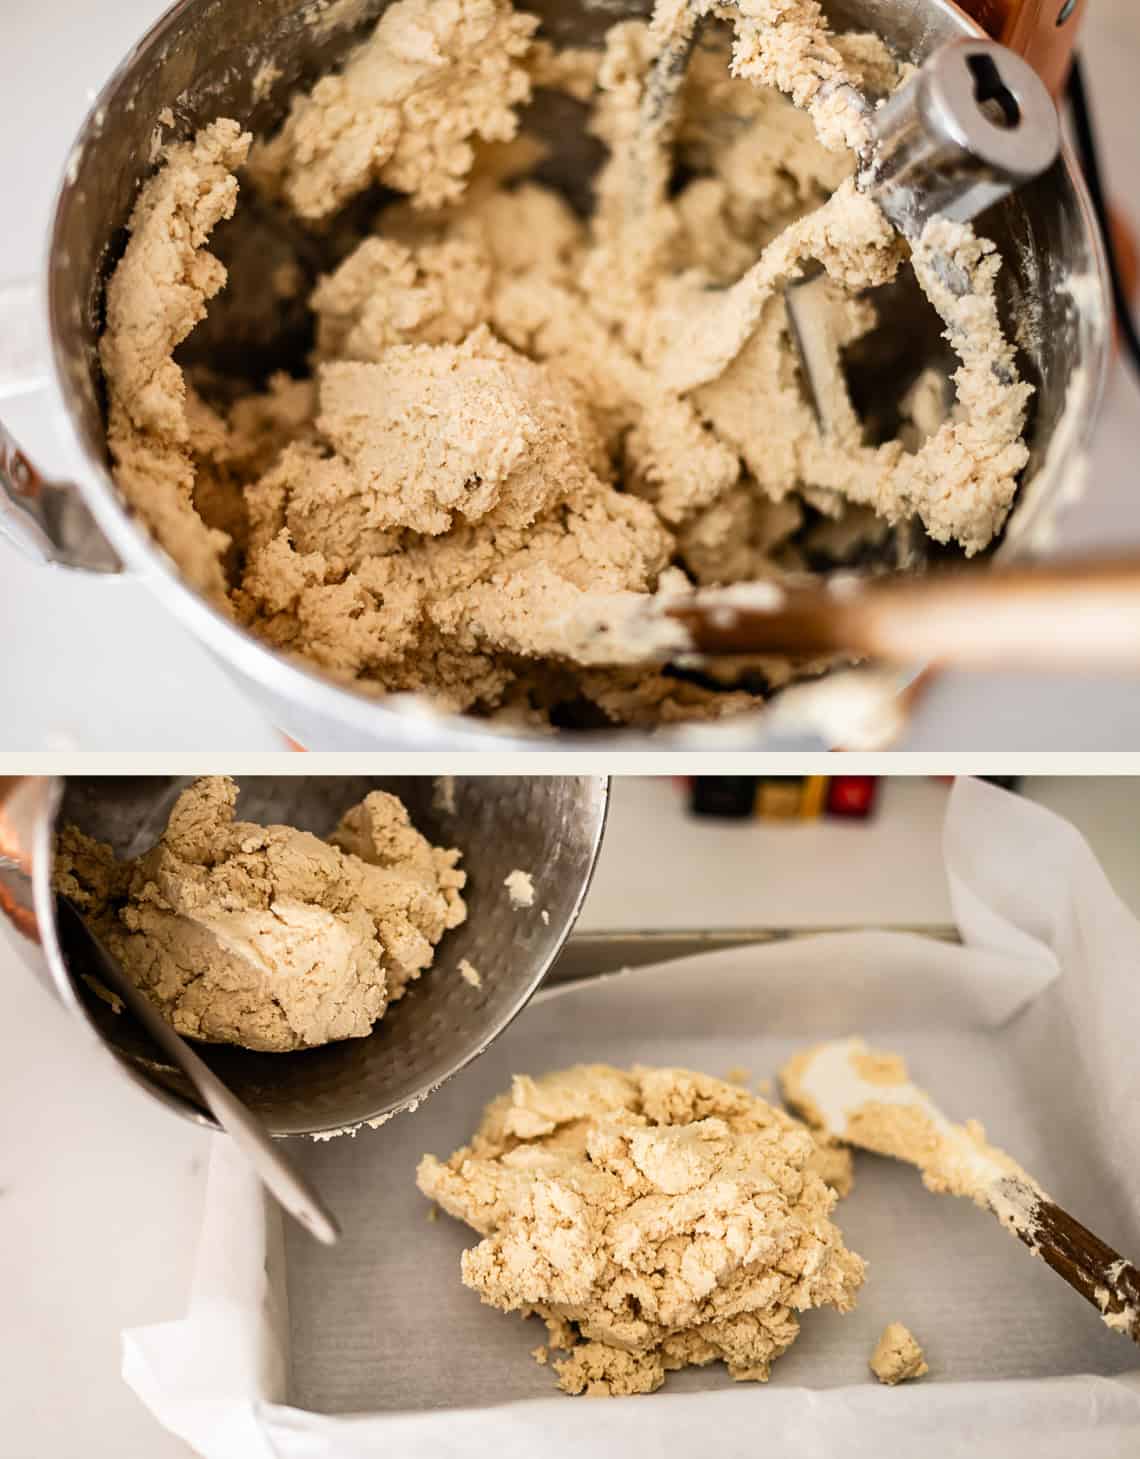
Add about 2/3 of the dough to the pan and press it in.
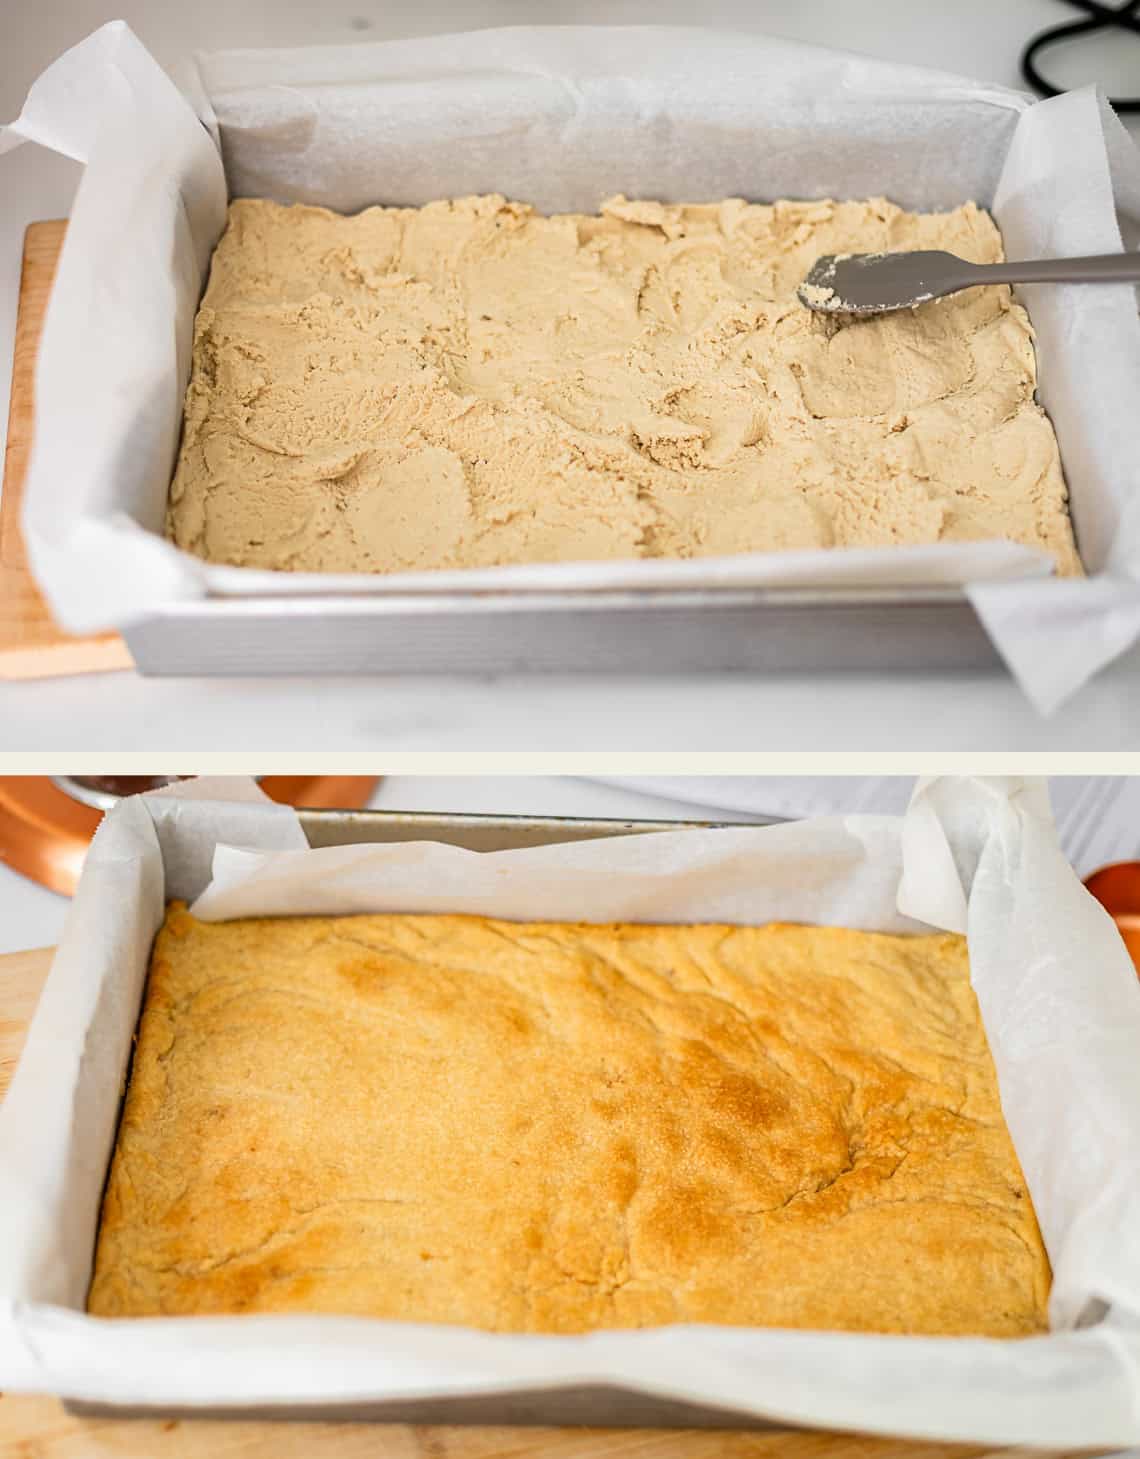
Don’t forget to refrigerate it before you bake it! You WILL be tempted to skip this step but you MUST not give in!!! The chill step makes alll the difference for texture!
Meanwhile, add in some spices to the rest of the dough.
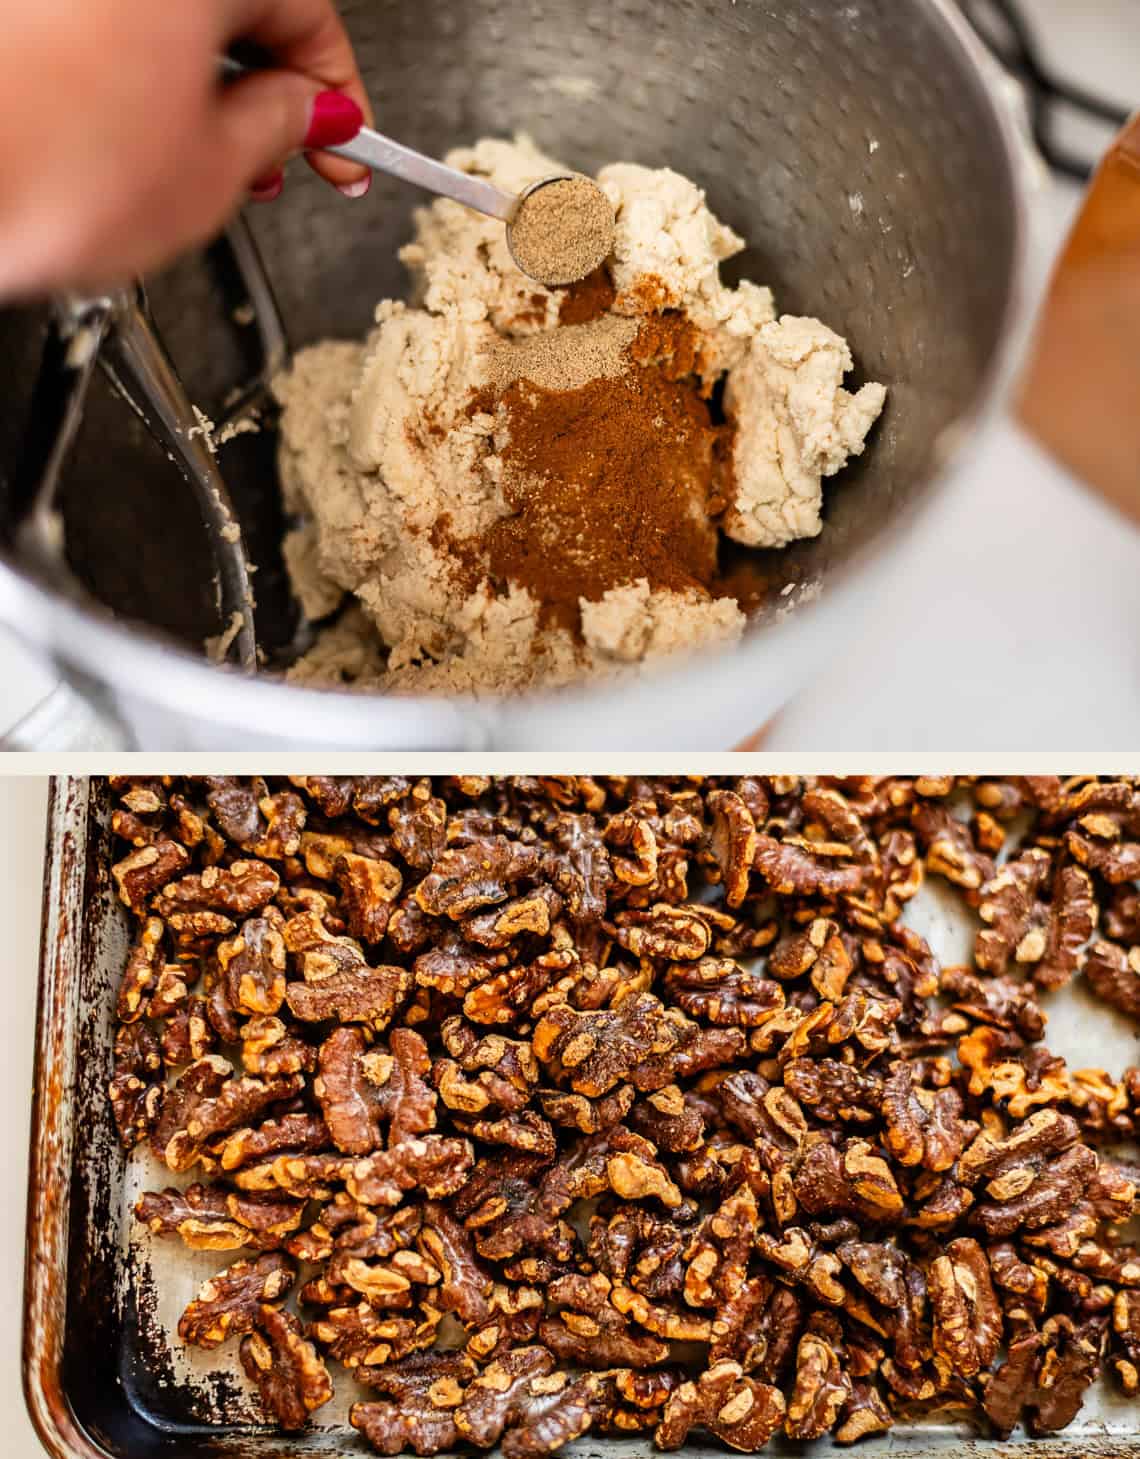
And toast some walnuts and add those in! Pecans are great too.
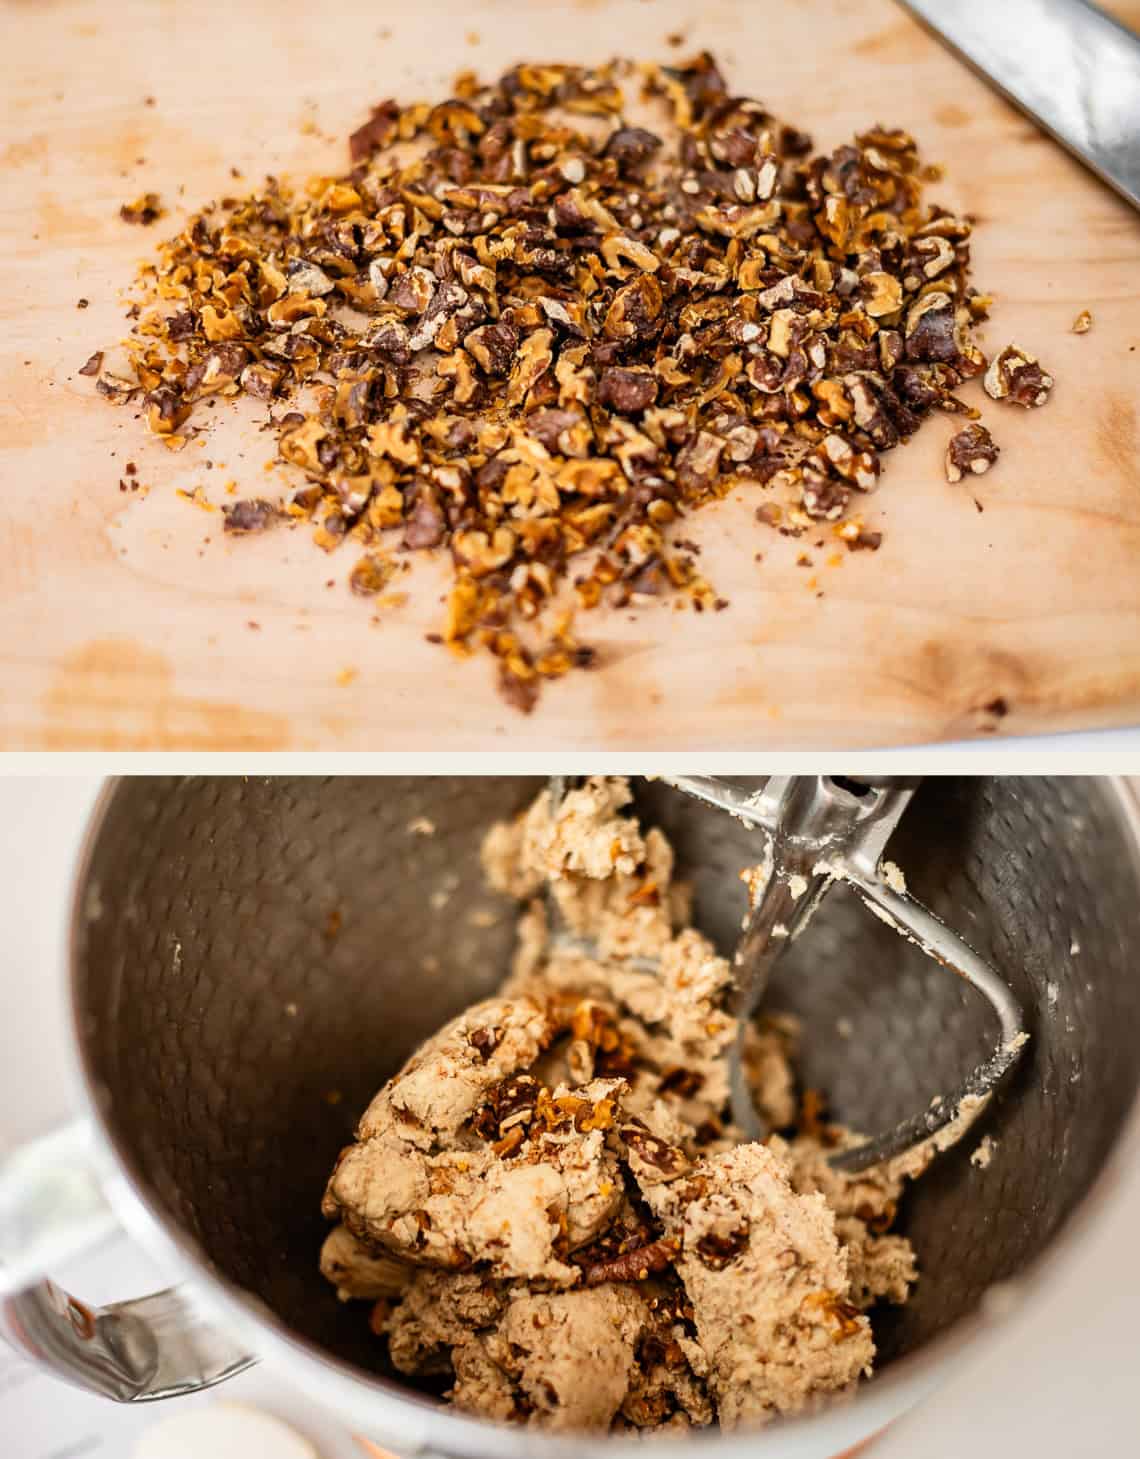
Have a taste of this. IT’S SO GOOD.
Now, time to make the filling. Zest up a lemon, not the whole thing, jut a few grates:
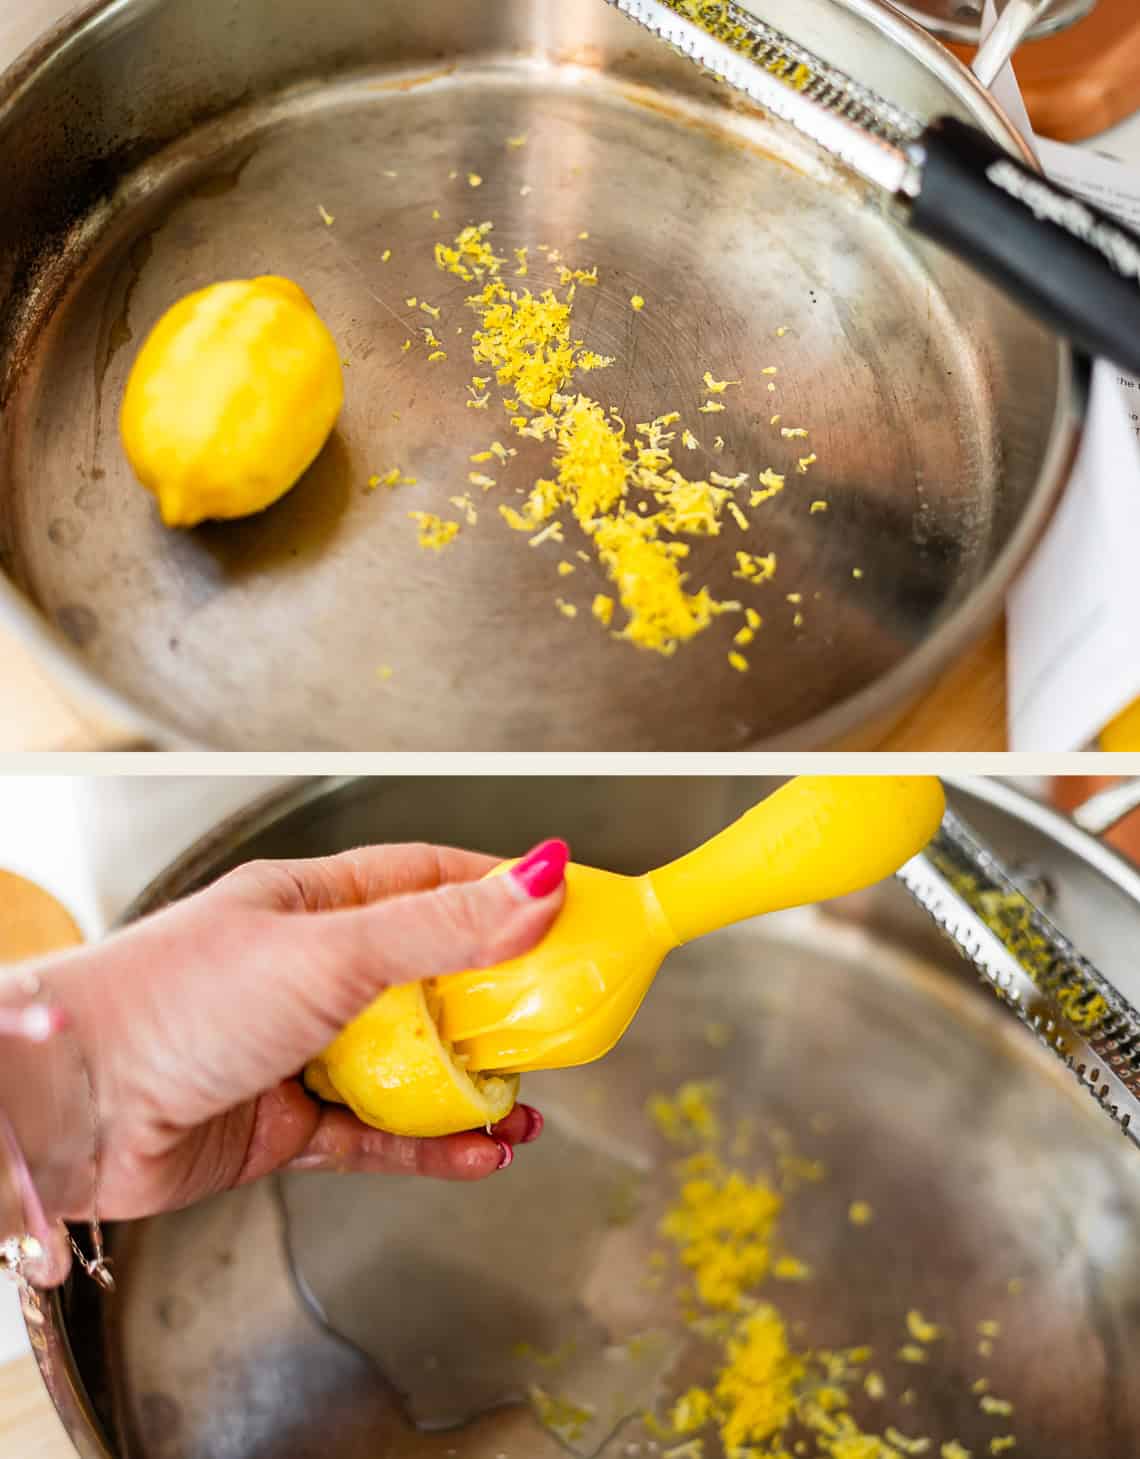
Juice your lemon, and then get slicin’.
We need about 3 pounds of apples for these bars!
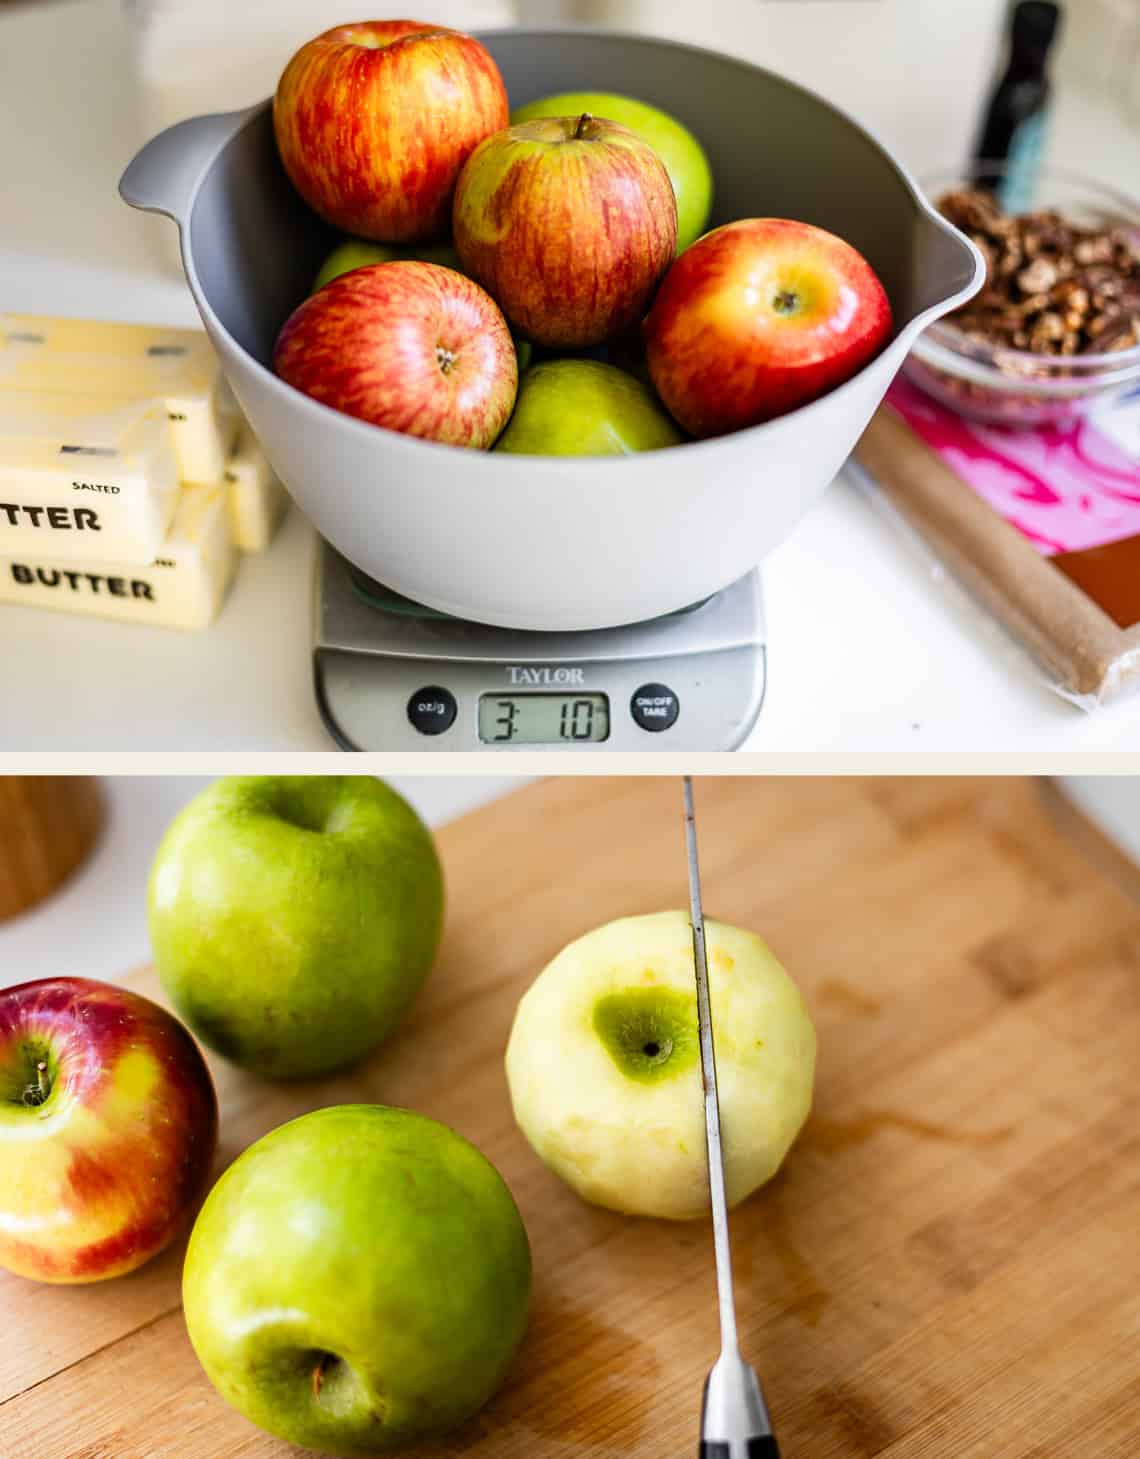
Here is how I like to cut apples for pie. I like REALLLLYY thin slices. So first I core it with a knife,
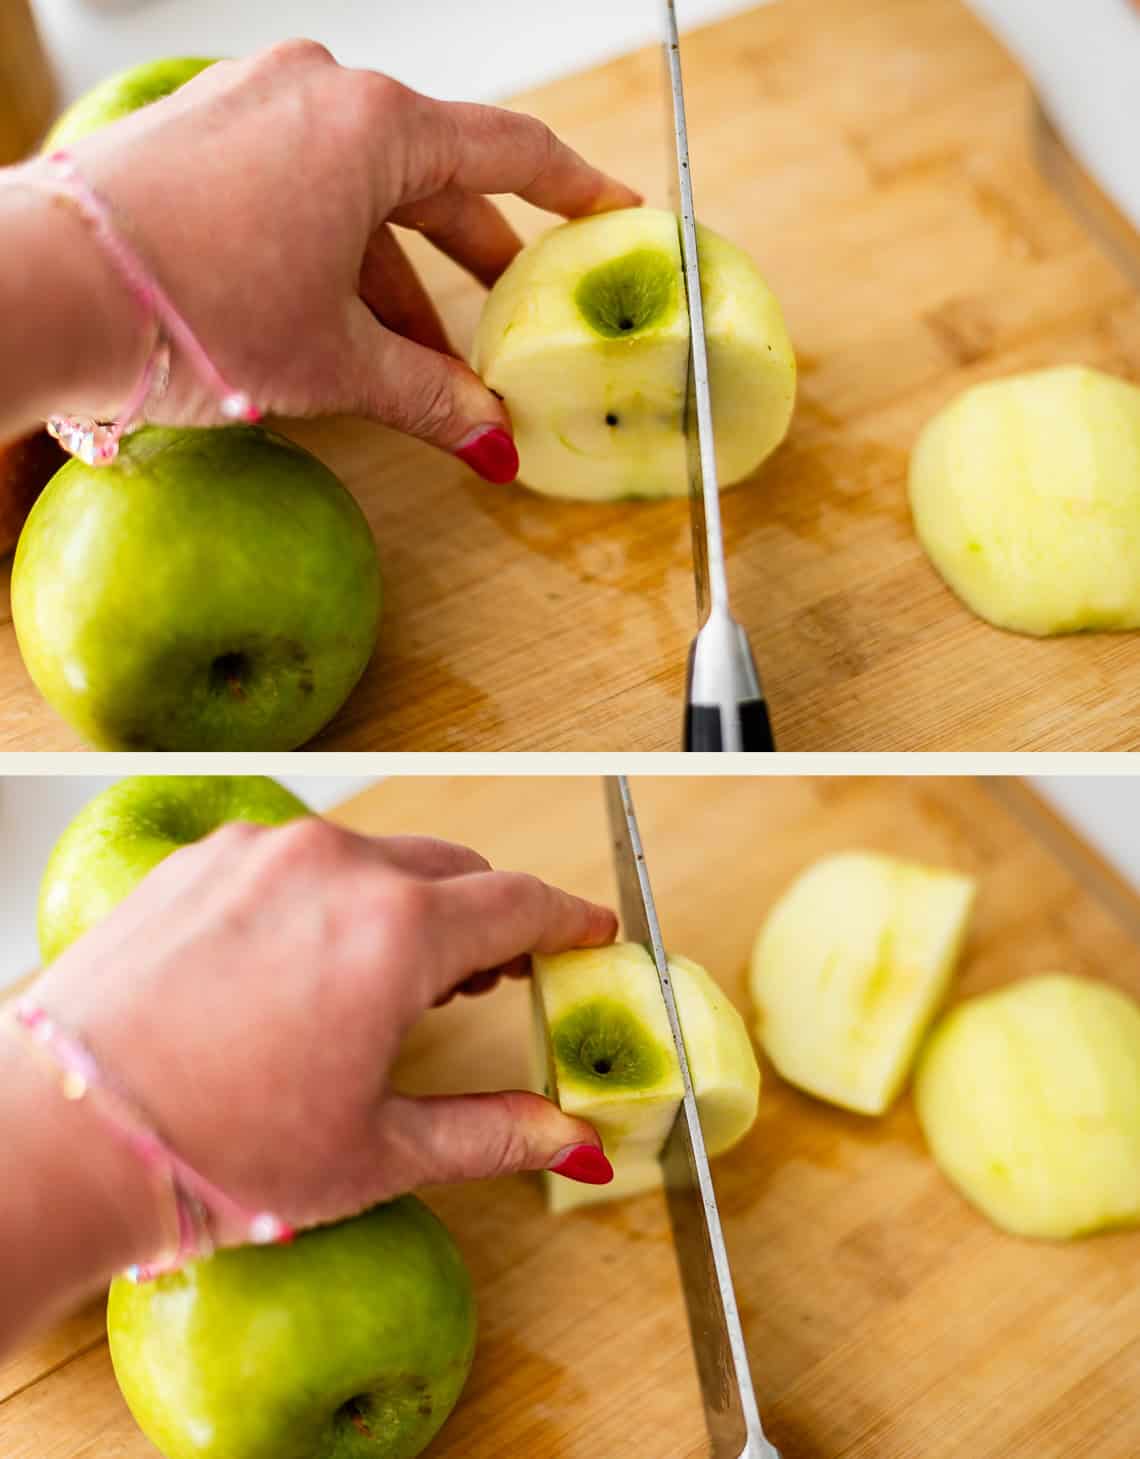
Like so…
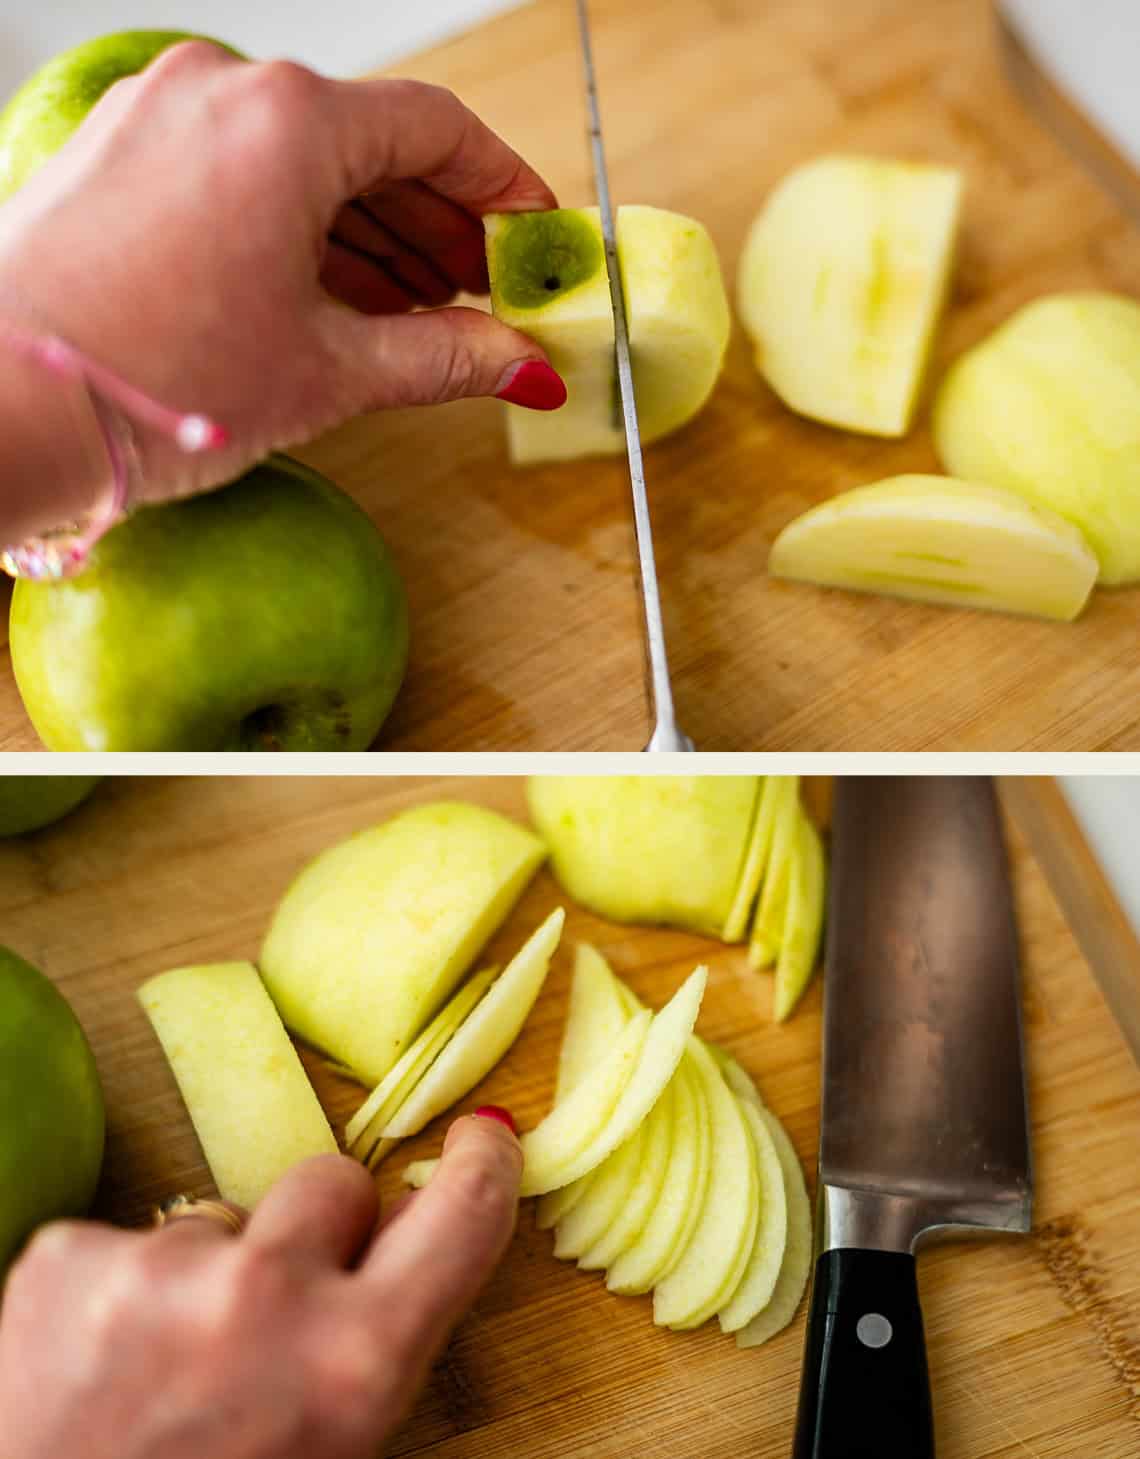
Then I can line it all up and make tiny tiny 1/8 inch cuts. It will make you feel so good! I’m telling you! Baking: cheaper than therapy, guys. Put that on my tombstone.
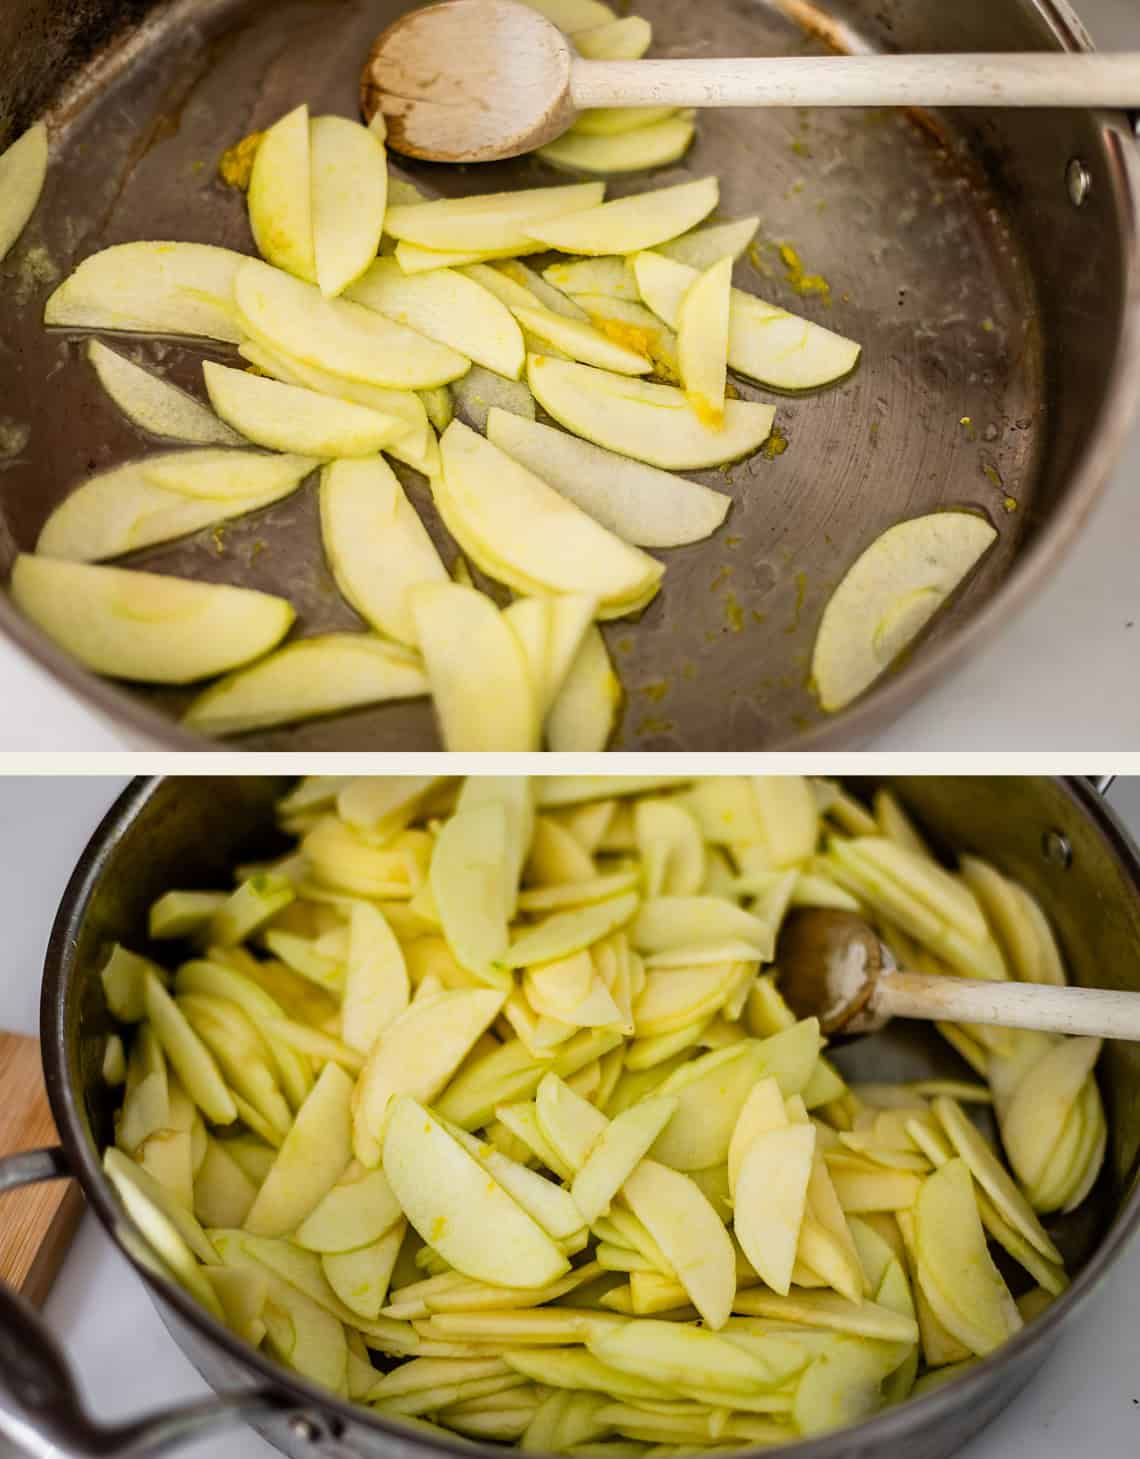
Add the apples to the pan with the lemon and toss it all around. Be gentle now! Don’t break them!
Then add in the sugars, the flour, the spices.
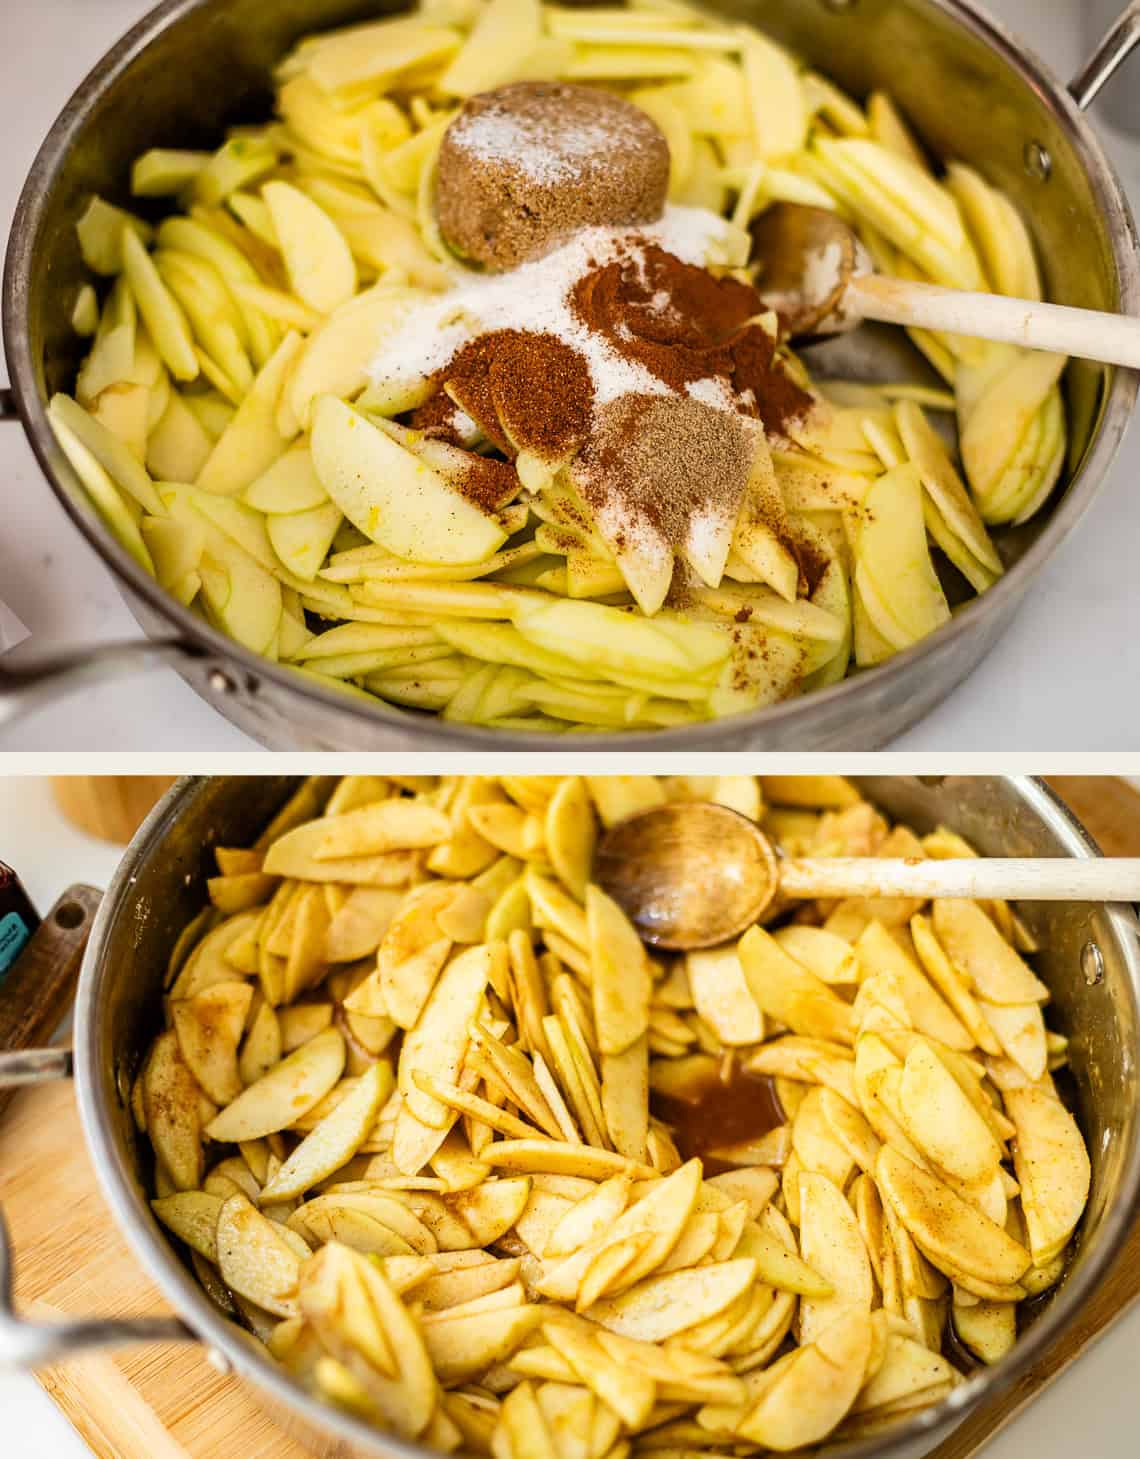
The sugar is melting…
And here it is after cooking with the lid on for a while:
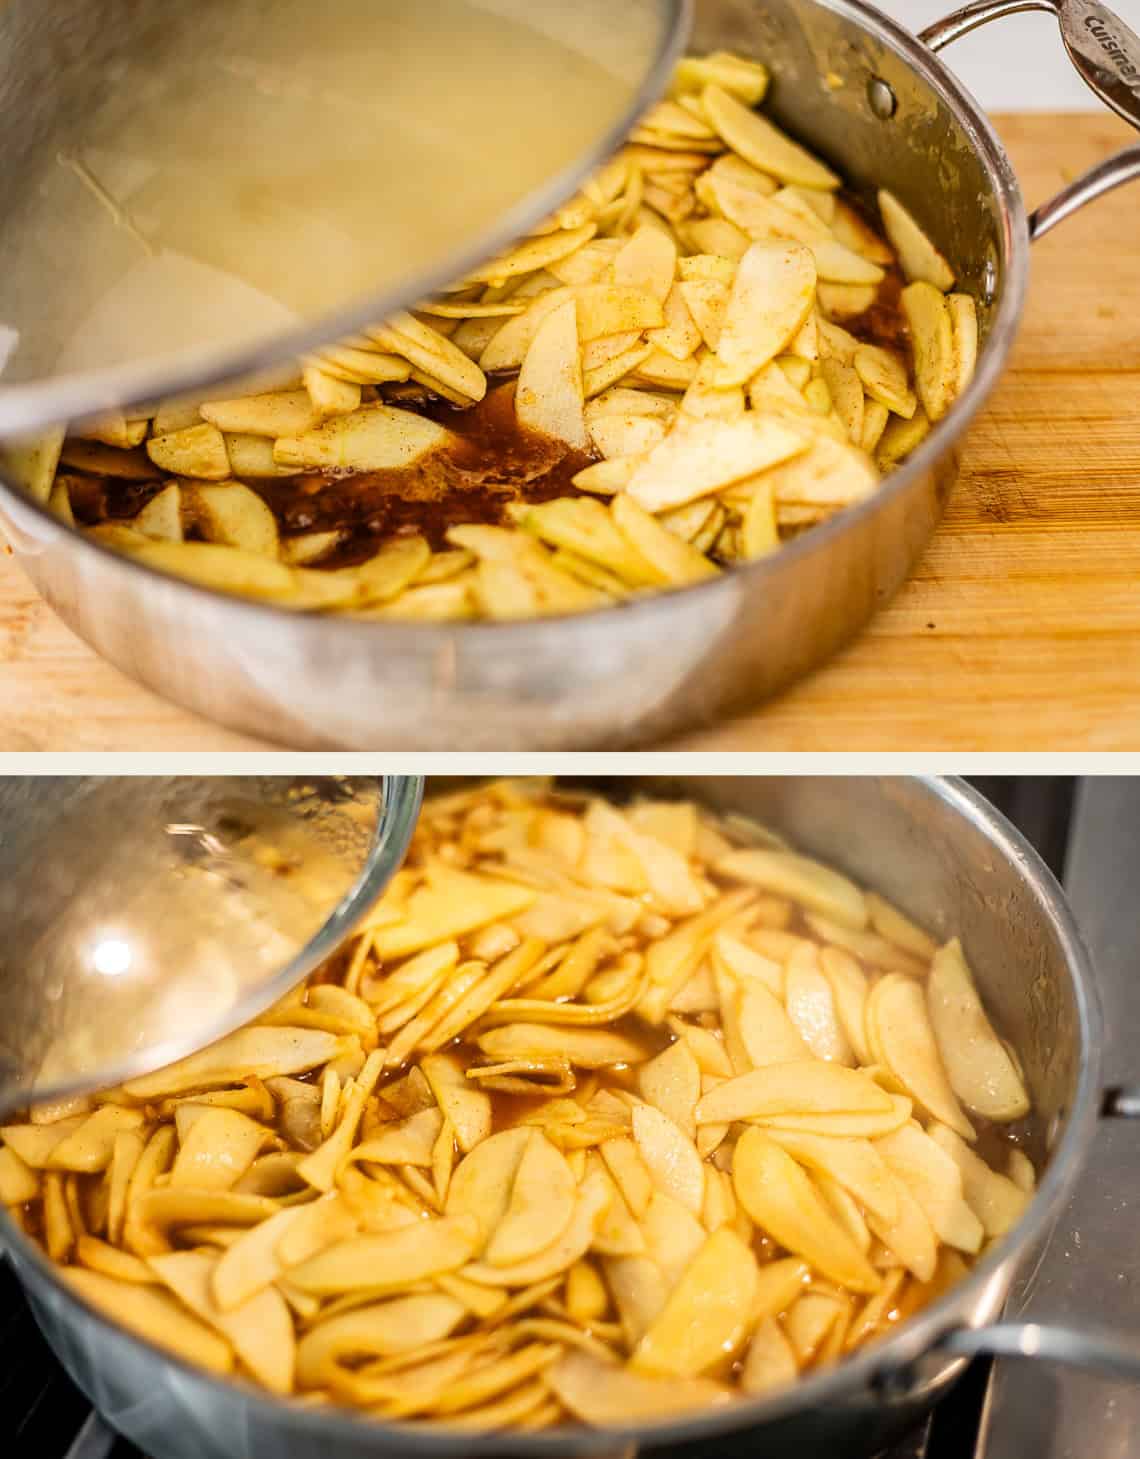
Keep going!
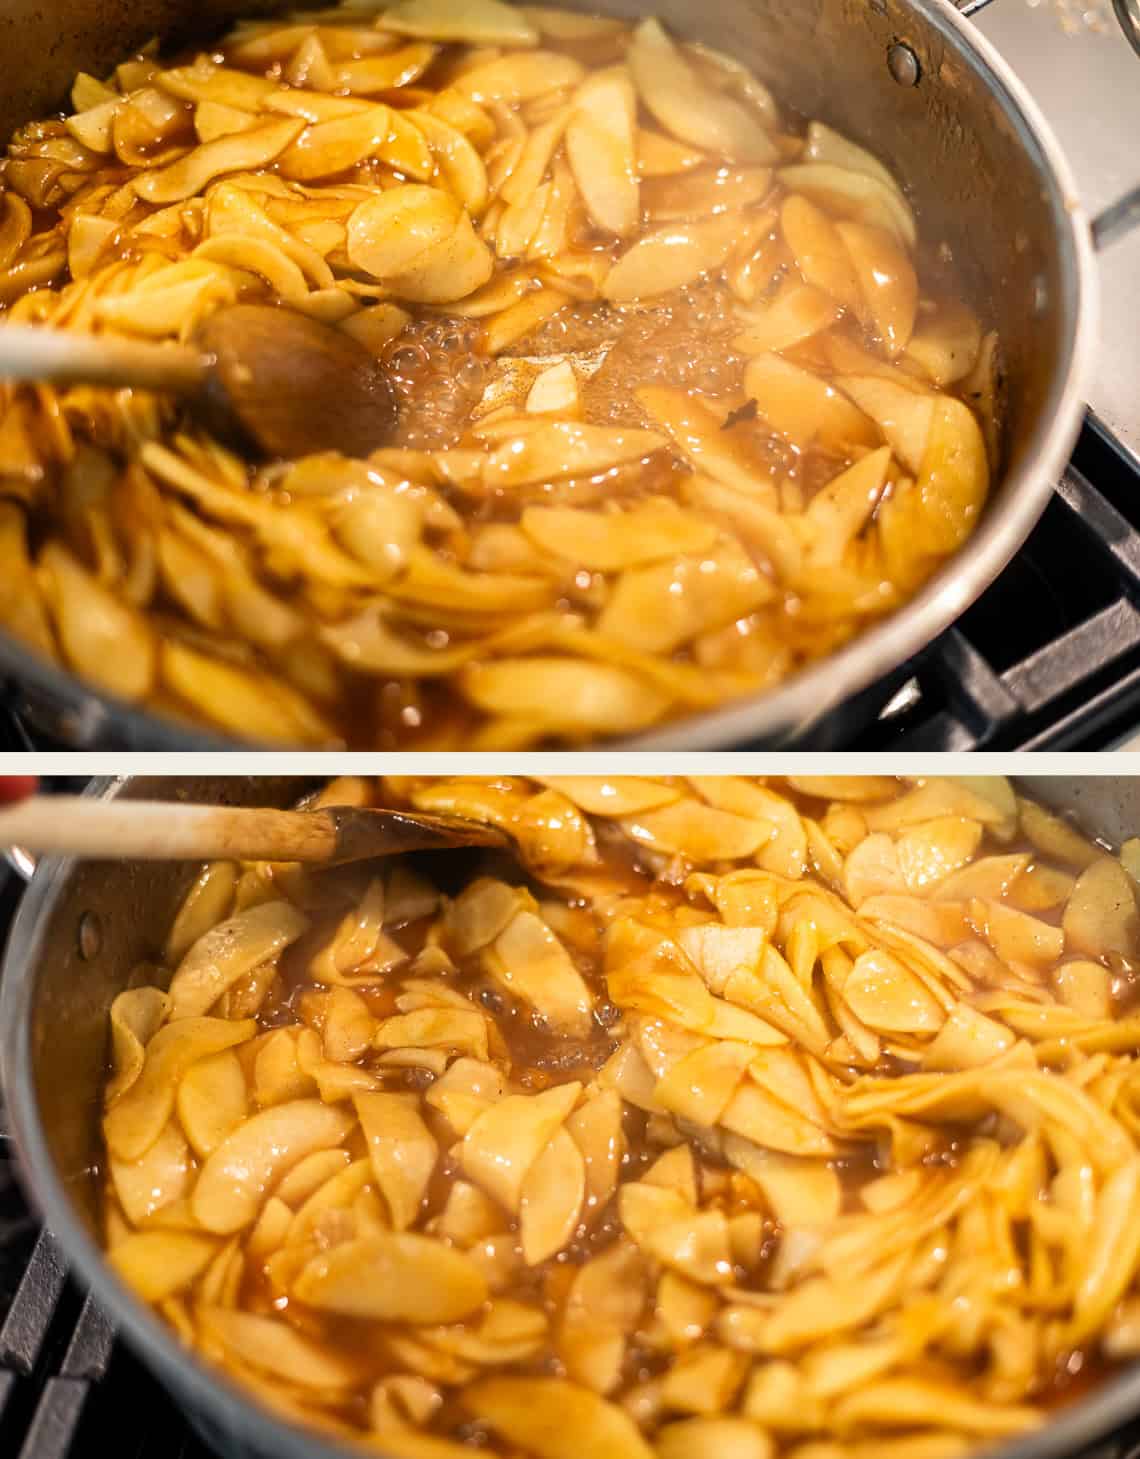
Look at this hot mess. Give it a taste! Cooking the apples before baking is THEE most important step, guys!
Add in a little vanilla for good measure.
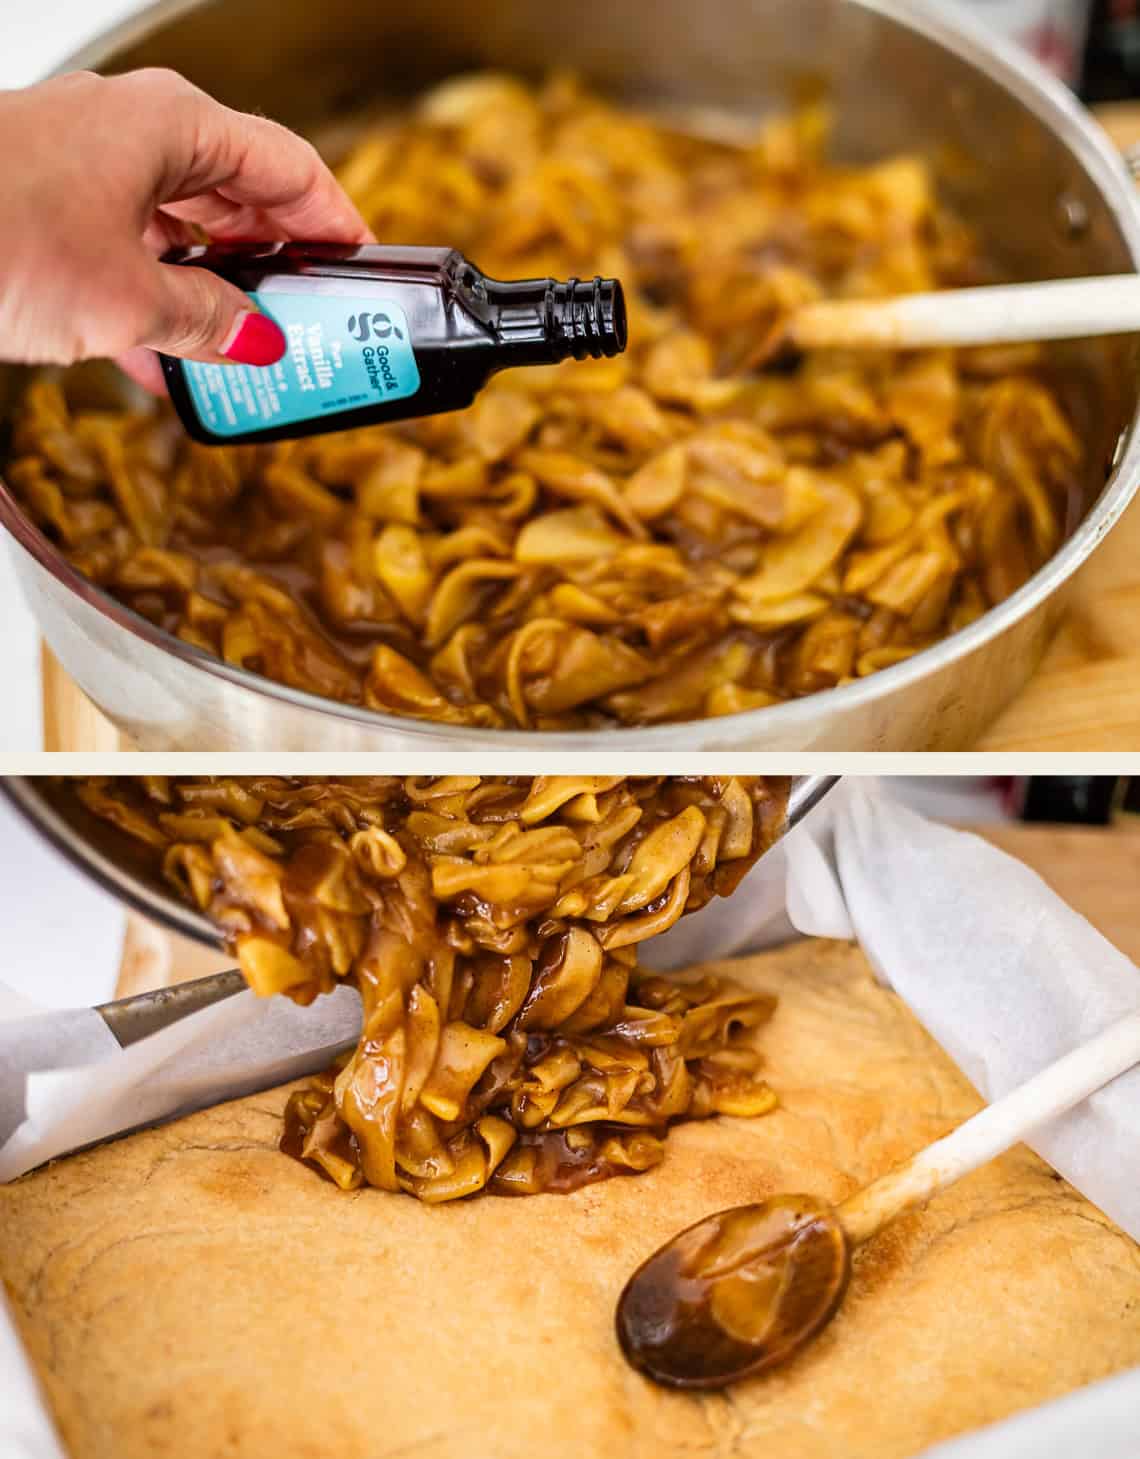
Add all the apples and all that caramel-y liquid to the crust!
Then get your walnutty shortbread out of the fridge. Drop it in pieces all over the apples!
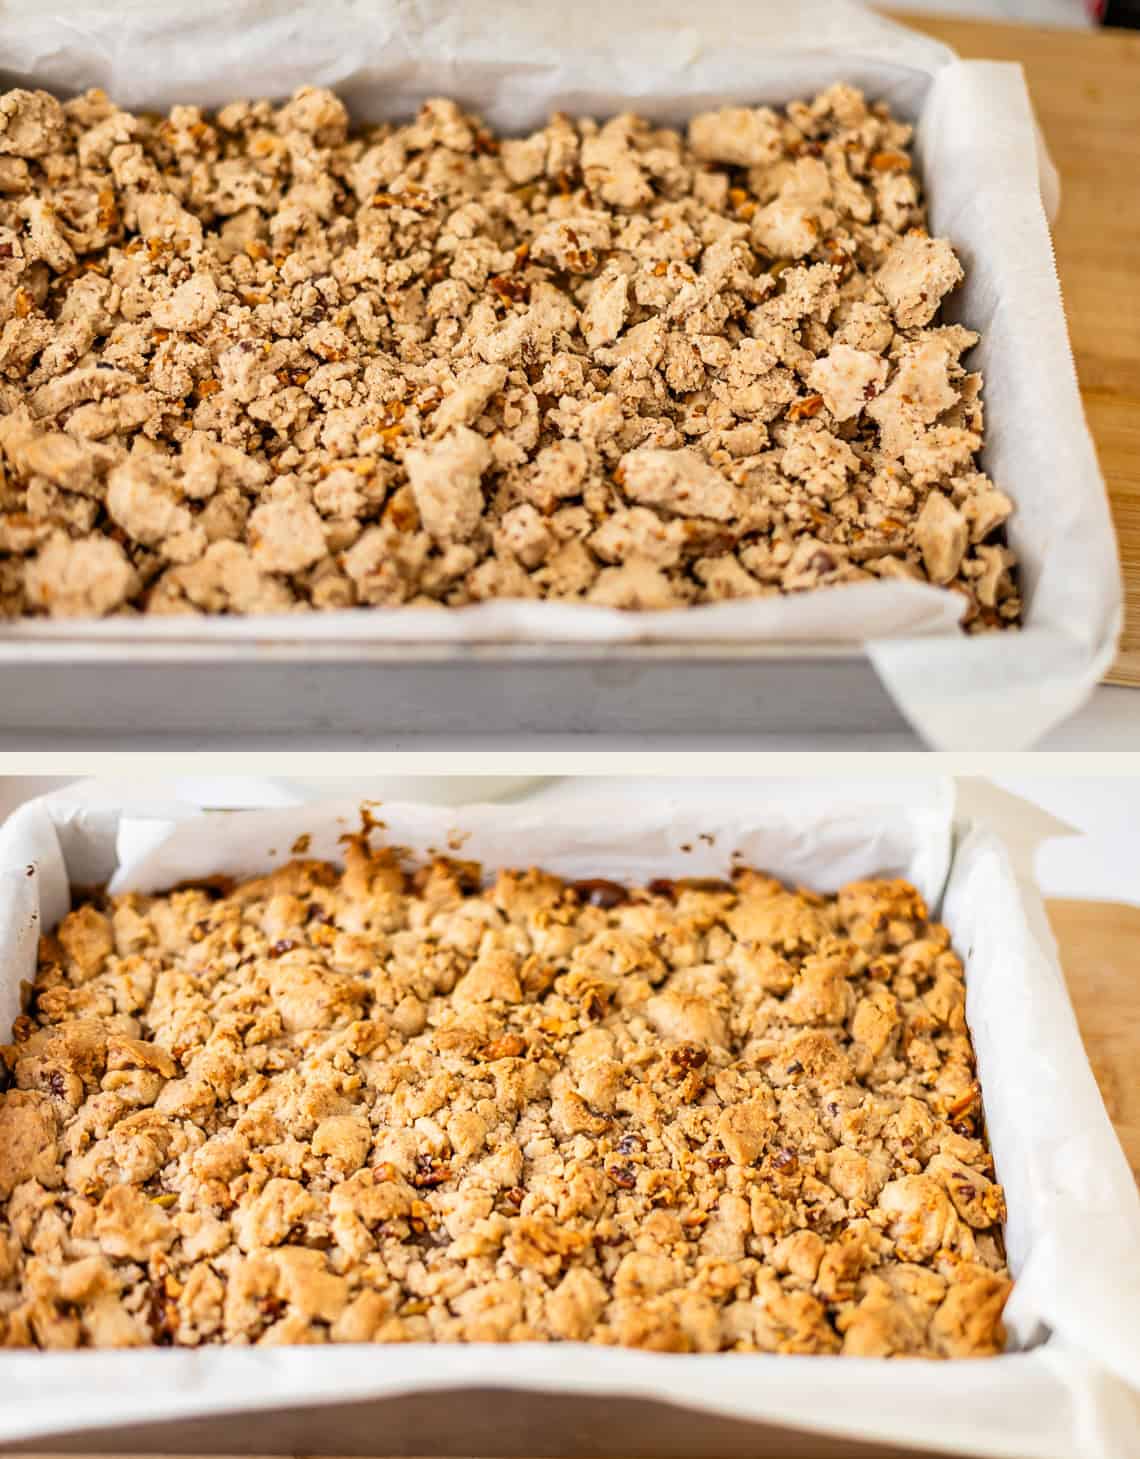
And bake! Voila! See how amazing this looks??
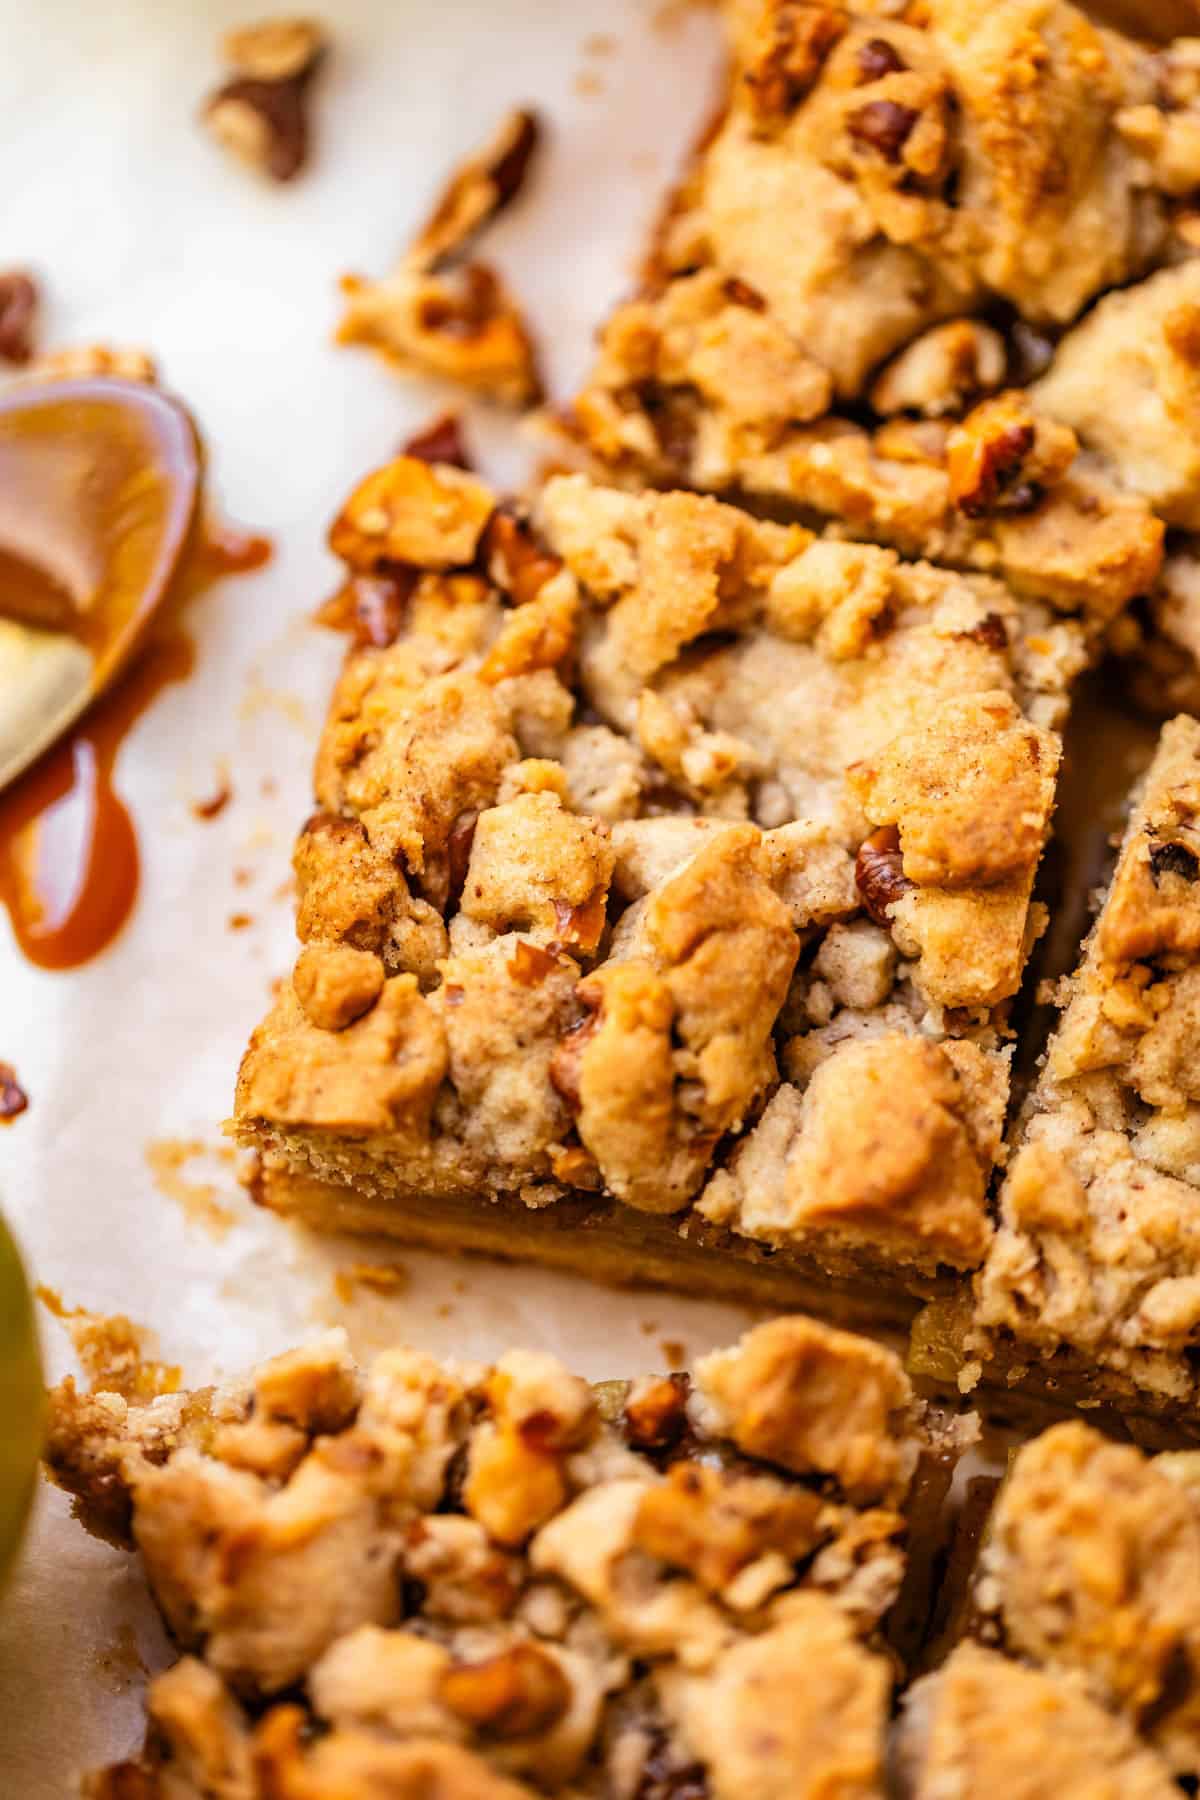
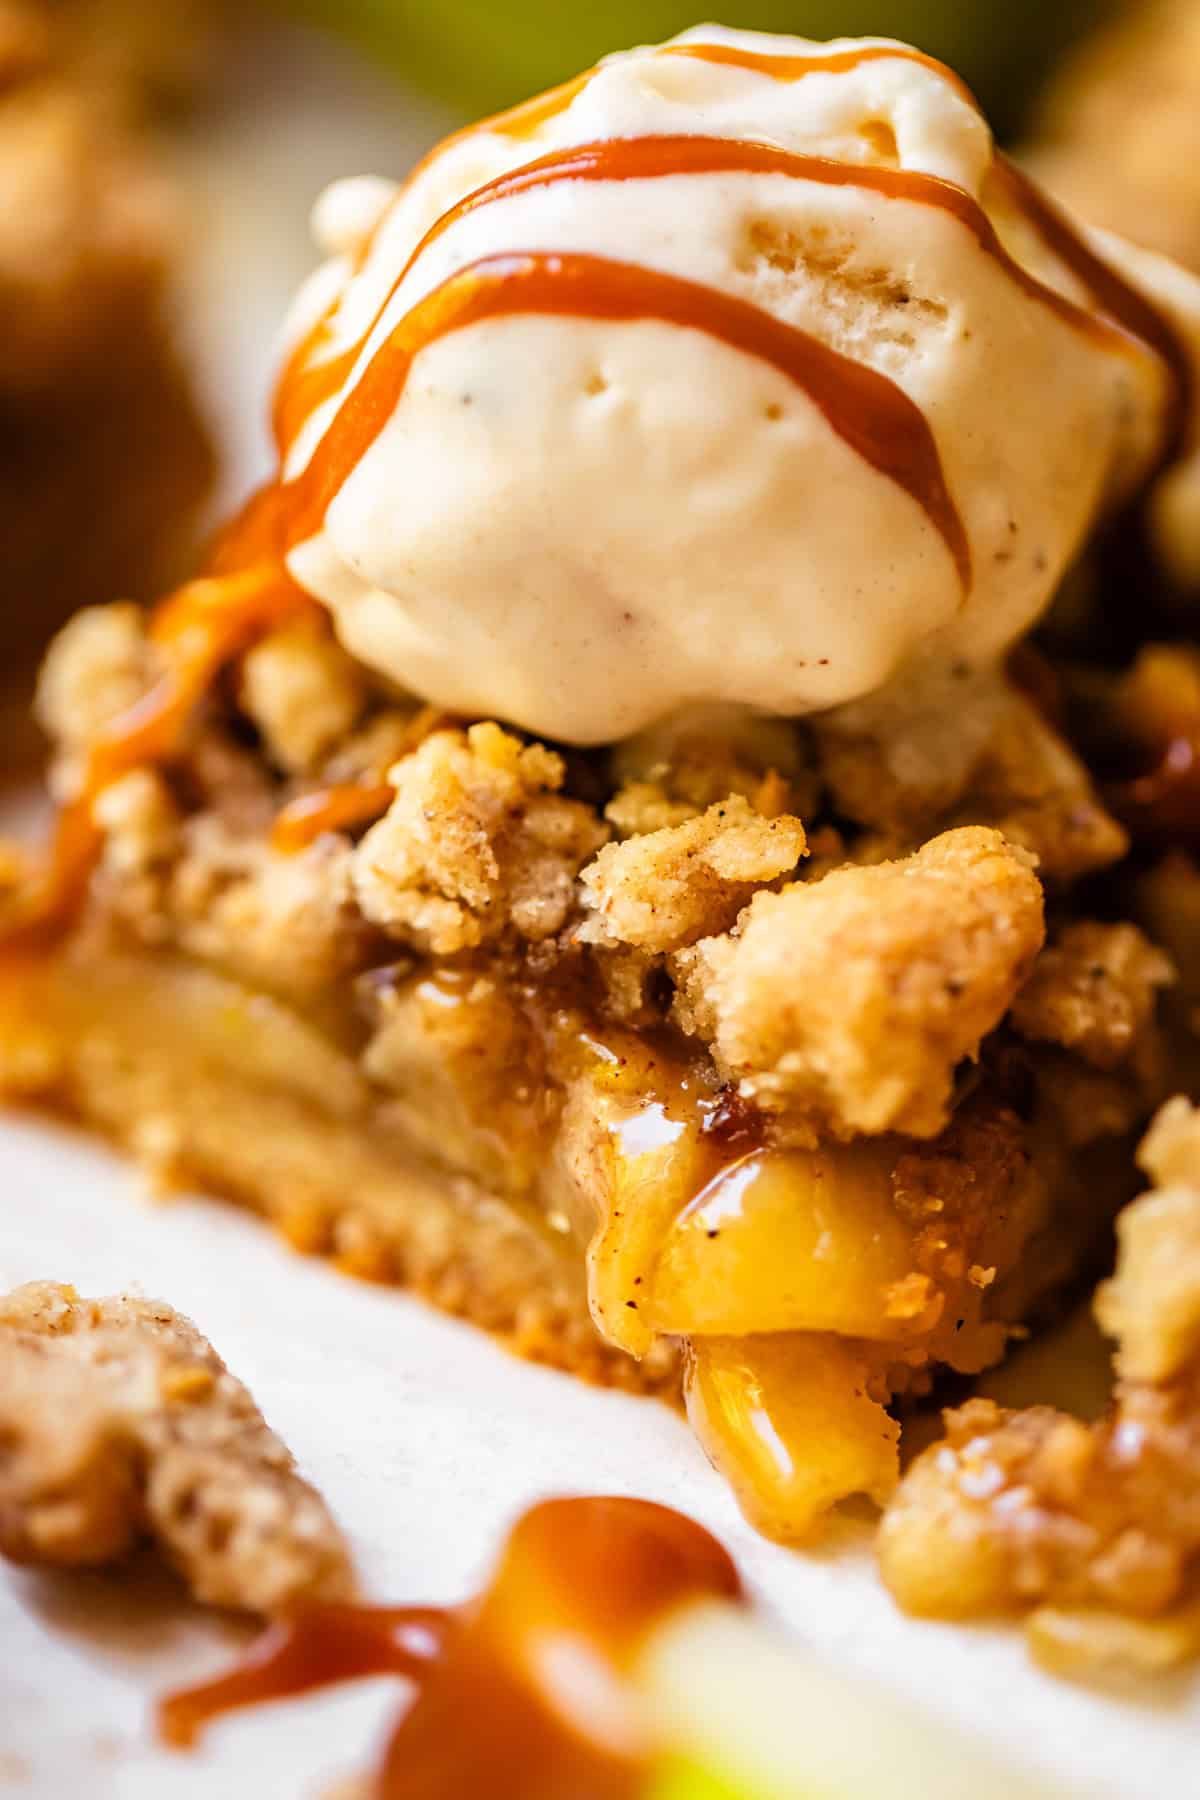
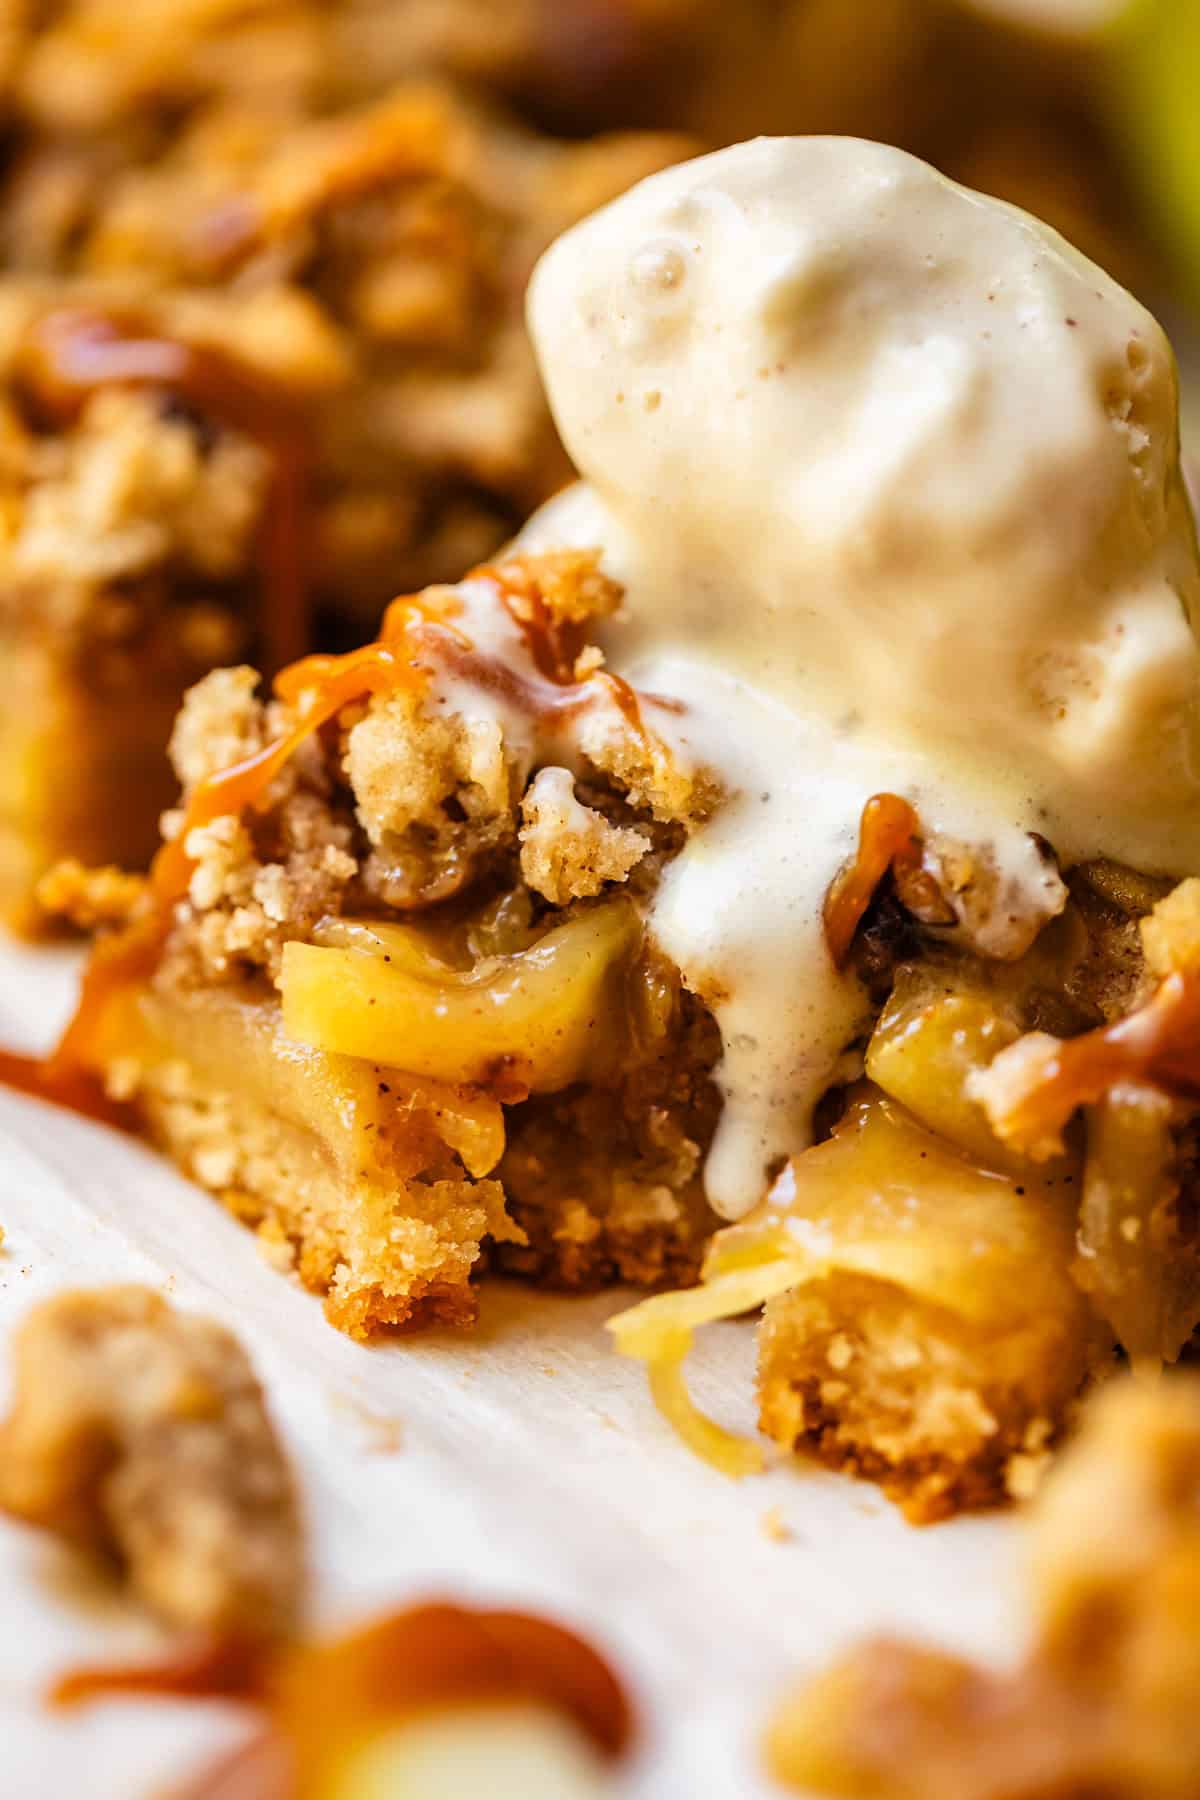
This crust is to-die-for. The apples are to-die-for. Get some ice cream and dig in!
What to eat with apple pie bars
I love eating these bars when they have cooled completely. (sometimes. Sometimes I can’t wait 😂) But there is something I love about room temperature pie, am I the only one? These apple pie bars hold up to their name: they are sturdy enough that they can be picked up and eaten with your hands, no fork required.
But….if you want to add a scoop of vanilla ice cream and The Salted Caramel Sauce of my Dreams to your slice, I’m not going to judge you. Ice cream and pie go together like…well, like apples and cinnamon!
How to store leftovers
I find it best to leave the bars right in the pan, and only cut off pieces as you need them. The pan can stay out on the counter for the first couple days since the sugar acts as a preservative! Just be sure to cover the top with plastic wrap or the pan lid. After two days, transfer to the fridge where it will last another 2-3 days. The longer you have leftovers, the more likely that the crust and crumble will start to get soggy, so keep that in mind!
Can you freeze these bars?
You sure can! The best way is freeze before baking: make the entire recipe as directed but instead of baking, wrap the pan really well in 2 layers of plastic wrap and one layer of foil. Then stick the pan in the freezer for up to 3 months. You can use a disposable pan if you know in advance you want to freeze them and don’t want to have your pan stuck in the freezer that whole time.
You can bake the bars straight from frozen. Just pop them in the oven according to the recipe, add about 20 to 30 minutes to the total bake time, and remember to cover your bars toward the end so they don’t burn.
More apple recipe to fulfill all your fall dreams
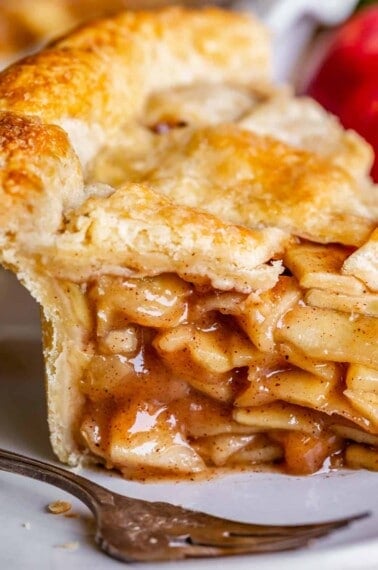
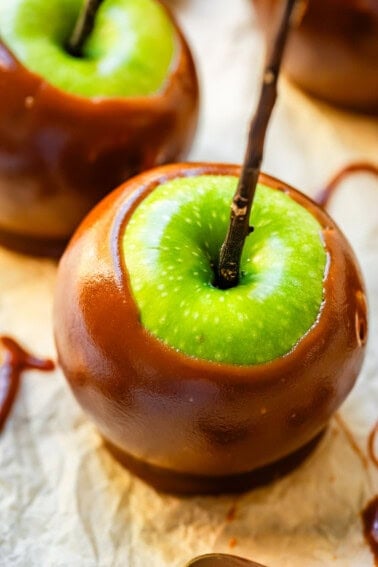
Apple season feels really short, so I try to live it up!! Here are a few of my favorite apple recipes. You can always use the search feature on the blog and type in “apple” to find even more apple specific recipes (including savory)!
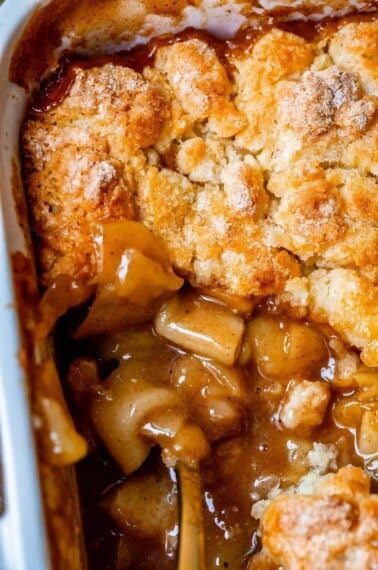
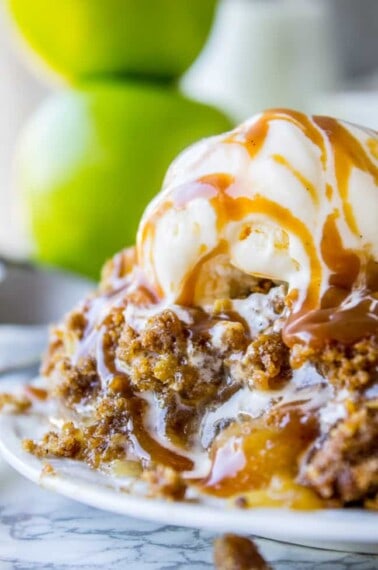
And if you’re looking for more seasonal bars, try Pumpkin Pie Bars, Pecan Pie Bars, Cranberry Shortbread Bars, or Cherry Pie Bars!!

Apple Pie Bars
Ingredients
For the crust
- 1 pound butter*, 4 sticks, softened
- 3/4 cup granulated sugar
- 1/2 cup brown sugar, packed
- 2 teaspoons vanilla
- 4 cups all-purpose flour, spooned and leveled
- 1 & 1/2 teaspoons kosher salt, use 1 teaspoon if all you have is table salt
To add to the shortbread topping:
- 1/2 cup chopped walnuts , or pecans (toasted!!)
- 1 teaspoon cinnamon
- 1/4 teaspoon cardamom, optional
For the apple filling
- 1/4 teaspoon lemon zest
- 2 tablespoons lemon juice, fresh
- 3 pounds apples, about 8 large apples**
- 1/2 cup white sugar
- 1/2 cup brown sugar, packed
- 3 tablespoons all purpose flour
- pinch kosher salt
- 1 teaspoon cinnamon
- 1/4 teaspoon cardamom, optional
- 1 teaspoon vanilla
Instructions
- Preheat your oven to 350 degrees F.
- Start by toasting your walnuts. Add 1/2 cup walnuts (or pecans) to a dry baking sheet. Bake at 350 degrees F for about 5 minutes, then stir. Bake another 2 minutes and stir. Continue baking in 1 minute increments until the nuts are browned and toasty, stirring every time. Take them out and let cool, then chop them roughly.
- Line a 9×13 inch pan with parchment paper. (This is optional. It makes it really easy to lift the bars out of the pan and slice them.)
- In a large bowl or stand mixer, beat 1 pound of butter (4 sticks) until smooth. Scrape the sides of the bowl and beat again until creamy, at least 1 minute.
- Add 3/4 cup granulated sugar, 1/2 cup packed brown sugar, and 2 teaspoons vanilla. Beat for 2 minutes, remembering to scrape the bottom and sides of the bowl. It should be light and creamy.
- Add 4 cups of flour. Spoon the flour into a measuring cup and level it off with a knife.
- Add 1 and 1/2 teaspoons kosher salt. Beat until just combined. Do not over mix!
- Add 2/3 of the dough to the lined pan. (Leave the remaining 1/3 of the dough in the bowl; we're not done with it yet!)
- Flour your hands lightly and evenly press the dough into the bottom of the pan.
- Refrigerate the uncooked crust for 20 minutes. Don't skip this step! Cold shortbread going into a hot oven is what makes for amazing, tender shortbread crust.
- Preheat your oven to 375 degrees F.
- Bake the crust for 15-18 minutes, until the the top is golden brown. Set aside.
- Lower the oven temperature to 350 degrees F.
- Meanwhile, add the (completely cooled) chopped toasted walnuts (or pecans) to the remaining dough in the mixing bowl. Add 1 teaspoon cinnamon and 1/4 teaspoon cardamom.
- Mix on low speed just until combined. Cover the bowl and stick it in the fridge.
- For the apple filling: Use a microplane grater to zest 1/4 teaspoon lemon peel into a 12 inch high sided skillet.
- Add 2 tablespoons fresh lemon juice to the skillet.
- Use a potato peeler or this handy apple peeler to peel 3 pounds of apples (about 8 large apples). Slice*** the apples into 1/8 inch pieces. The thinner you slice them, the better! Stir the apples in the pan occasionally to coat everything with lemon juice.
- Once you have all the apples peeled and sliced in the pan, set it over medium heat on the stove.
- Add 1/2 cup granulated sugar, 1/2 cup packed brown sugar, 3 tablespoons flour, a pinch of kosher salt, 1 teaspoon cinnamon, 1/4 teaspoon cardamom. Stir it together gently so you don’t break all the apples.
- Once the mixture is all moistened and you don't see patches of flour or cinnamon, set a timer for 20 minutes. Cover the mixture with a lid but don't walk away. Stick around and stir the mixture every 3 minutes or so, replacing the lid each time. Cook for 20 minutes, until the apples are fork tender but still hold their shape. The apples will not soften more while baking in the oven. So have a taste and see if you want to cook a longer or shorter time. Only you can know your apple al dente perfection level!
- If your apples start to stick to the pan, add 1 tablespoon water as needed; use sparingly.
- Remove the pan from heat and stir in 1 teaspoon vanilla.
- Let the apple mixture cool in the pan for at least 10-20 minutes.
- Pour the apples and all the liquid into the baked crust.
- Get the remaining dough out of the fridge. Use your fingers to pinch medium pieces of dough and drop them over the apples (see photos).
- Bake at 350 for 25-30 minutes, until the top is evenly golden brown across the top. The apple filling should be bubbling on the edges.
- Cool completely (!!!) and cut into bars with a sharp knife. OR don't cool, cut out a falling-apart-piece right away, and top it with vanilla ice cream and Salted Caramel Sauce. You really can't go wrong here!










This sounds amaaaaazing, but it’s just me and my boyfriend at home. Can I freeze leftovers?
Hey Lauren! Yes, baked goods like this usually freeze okay! It won’t be as crispy of course but it will still be good.
Love, love, love your yummy delicious recipes along with your tongue in cheek humor! You make me smile every day!
I saw these Apple Pie Bars and knew #1” must make these bars, then saw that freaking awesome apple 3 layers of heavenly delight and opted for #2, first, then #1, for sure afterwards), to make the pie first (more calories, more goodness) For someone who doesn’t like Apple Pie, you make one that is drool worthy, picture perfect!
Hello! I just found your blog, and this was my first recipe! These were unbelievably rich and so, so good!! I somehow have leftovers? Can I freeze these?
Hi Bethany! So happy to hear you love the bars! Yes you can freeze the leftovers. Let thaw on the counter in the container you froze it in. I don’t think they will be quite as fantastic as fresh (apples tend to mush) but they will still be good! Enjoy!
I did and it was Awesome.Thk u for sharing.
Hoping to try these for Thanksgiving but wondering if gluten free flour will work. My son has celiac disease. My favorite go-to cooks are the Barefoot Contessa and the Food Charlatan. Thank you and hope to hear from you.
That is such a high compliment Roberta! I adore the Barefoot Contessa! You are so sweet. I have not tried these bars with gluten free flour but I think it’s actually a great recipe to swap for a gf flour blend. It’s shortbread, so you don’t need to worry about it rising, and texture won’t be as much of an issue (as it would be in cake or cookies, for example). I would do a 1:1 swap for gluten free flour! Let me know how it goes!
This is the exact recipe that I just made two days ago from Ina Garten’s website. It’s super delicious and everyone who had some loved it!
Yes this is Ina’s recipe! Bring on the butter :) I’m so glad you enjoyed it Denise!
Can I halve the recipe and bake in a 9×9 pan or freeze it? My picky family won’t eat apple pie (or peach pie either, and I love both!). So I’d have to eat the whole thing.
Hi Melanie! Yes you can totally half this no problem. And I haven’t tried freezing it, but I think it would work just fine! Let me know how it goes!
Awesome. Can’t wait to make these bars
Let me know how it goes!
I like to try new recipes every Thanksgiving and this one will definitely be the new addition to our Thanksgiving dinner this year. Can’t wait !!!
This recipe is perfect for T-day! Let me know how it goes Nalo! I think you’re going to love it :)
I made these today with my peaches. It turned out great! So YUMMY! I used 3 lbs. peaches,
1-1/2 cups brown sugar, juice of 1 lemon, 3 tablespoons cornstarch, 2 tsp vanilla, 1 tsp cinnamon, 1/2 tsp salt and 1/4 tsp grated fresh nutmeg, and because my peaches were very ripe, I added 1 tablespoon flour for the filling. It turned out so good. I’ll definitely try it with the apples, but this made an amazing peach pie dessert. I love that shortbread crust and topping. Much simpler than pie dough also. Thanks for the great recipe Karen!
You’re a genius Kris, that sounds amazing! I’m so glad you tried this and took notes, because peaches was going to be the next fruit I tried with this shortbread crust. It’s my new favorite! Next time I want to try it with Rhubarb, what do you think?? I wish I had some right now, I will have to wait until next spring!
I made this apple dessert it was delicious, the next time I am going to use pears I love to mix pears and apples together
Lil
Ooh pears! That’s a great idea Lil! And I love the idea of mixing them. I’m going to try that! Thanks for the tip!
You take the BEST food pics!!! Will definitely have to try this SOON!!! Love your blog Karen AND your sense of humor!!!!
Thank you so much for this Cindy! You made me smile! And YES, definitely try the apple pie bars they are so delicious. Thank you for commenting, you made my day :)
1 1/4 # of butter!! Wow, I have heard of death by chocolate….
With that amount of butter…it has to be good. I am making it this weekend; it will be my first official “let’s pretend it is fall” dessert! 😀
Yes!! I love “let’s pretend it’s fall” desserts! So glad I’m not the only one, haha! These will NOT disappoint Chris! Thanks for commenting, I hope you love them :)
Is it possible to leave out the nuts (allergies) or substitute something else in place of them? Ta Jane
Hey Jane! Yes, absolutely! Just leave them out. Your apple pie bars are still going to turn out amazing! Great question :)
So…butter amount is 1#+1/4 cup? Will definitely be making this, but after my cholesterol blood workup LOL
Yes you read that right, 1 pound PLUS a quarter cup for the apple filling! I couldn’t hardly believe it either. But I’m telling you, they are SO WORTH IT!! :)