
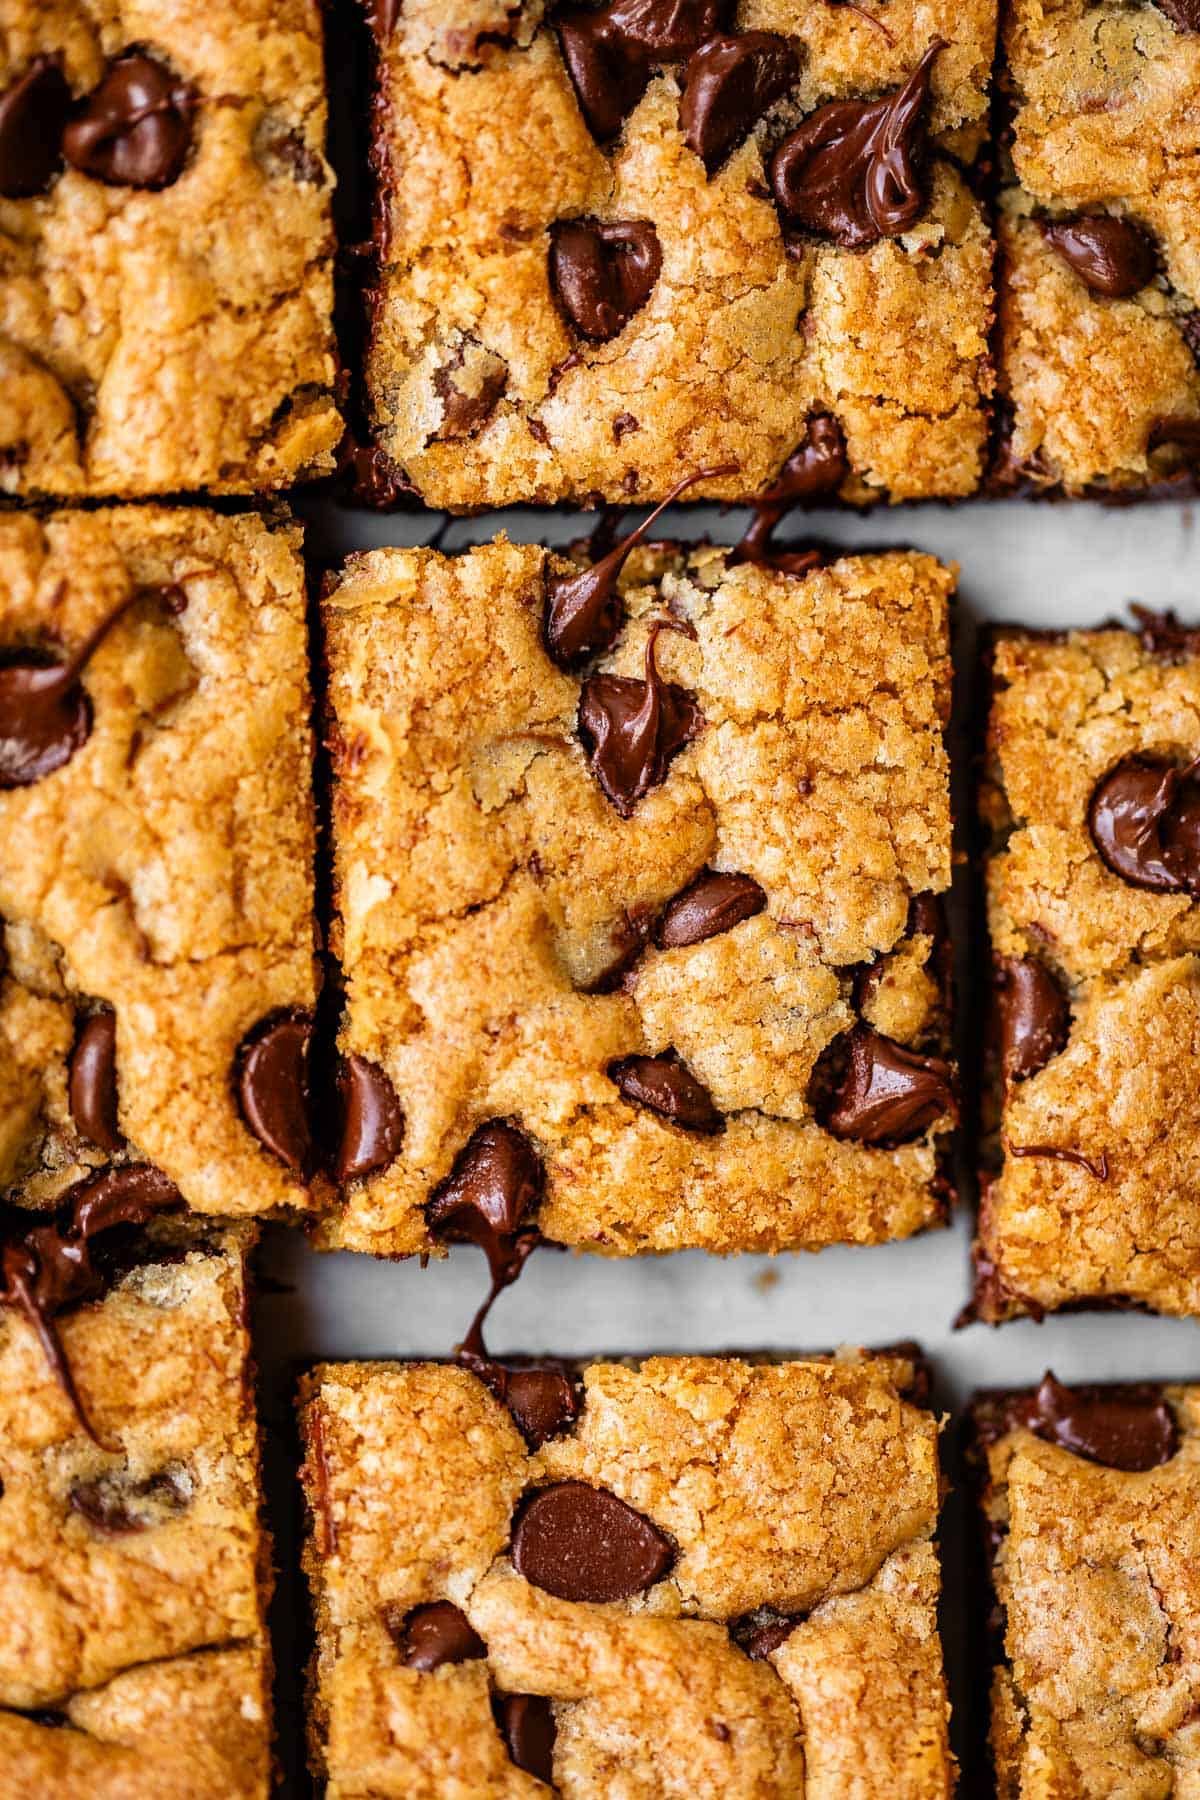
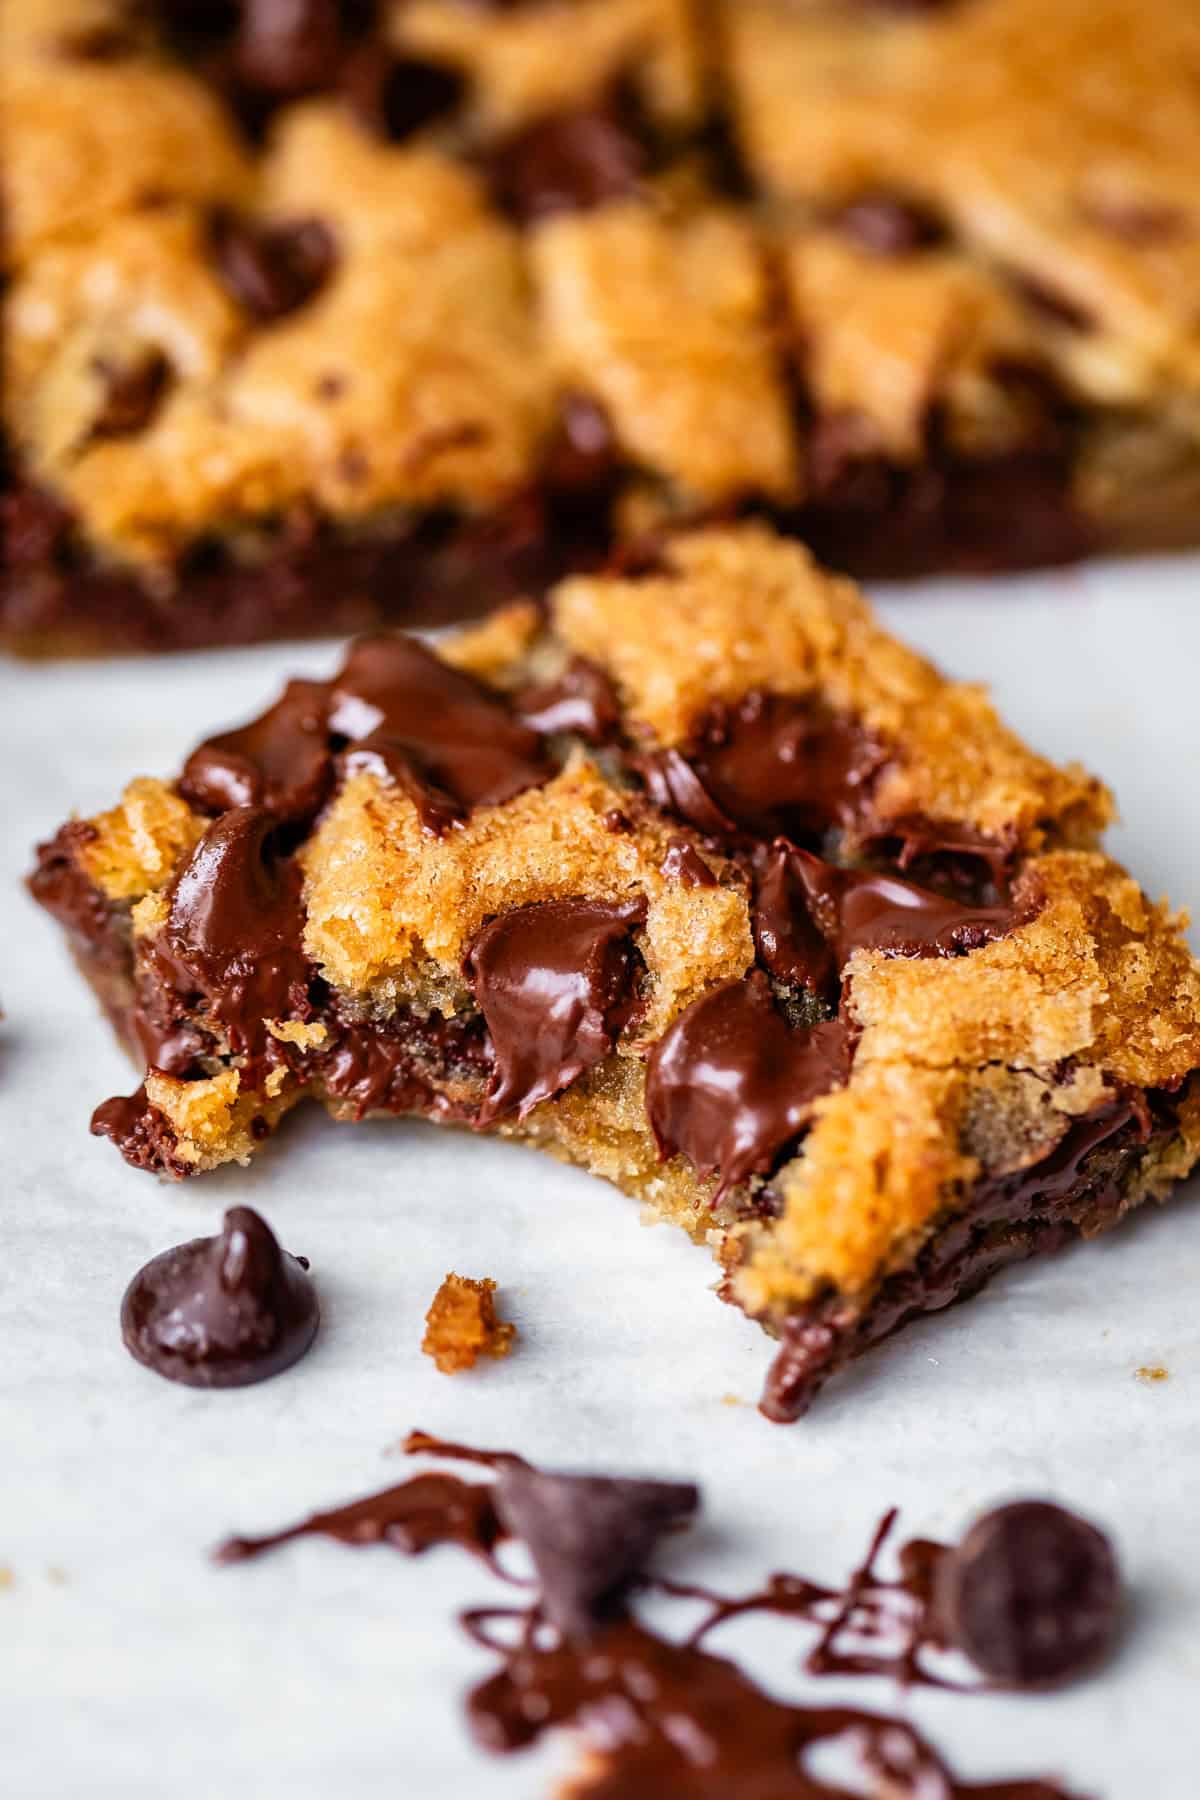
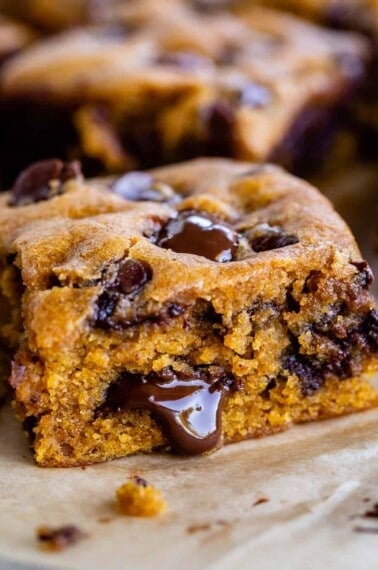
Okay I have NEVER been a fan of Chocolate Chip Cookie Bars, because the edges have a weird texture (overly crispy and chewy). But I’ve finally found a solution! It’s not a secret ingredient but rather a special method that makes these cookie bars bake nearly flat all the way across the top. The edges are the perfect level of crispy, the center is an ooey gooey mass of YES, and you don’t have to scoop anything. Done in 35 minutes! BOOM
So we are renovating our kitchen right now, it’s all very exciting! There is a new crew here every day, pouring concrete, doing inspections, demolition, framing, and all kinds of other words that I do not know. Every day, about 1000 trucks descend on our street and I ponder again how I am ever going to repay my sweet, patient neighbors (maybe they accept Chocolate Chip Cookie Bars??)
When our contractor Jeff tries to explain details to us, I mostly just smile and nod. It’s amazing to me how much I DON’T know about construction.
Last week one of the subcontractors was telling us about how talented Jeff is. He said they were working on a job one time, and Jeff was moving a huge beam into this house. It seemed like an impossible task. He described the scenario: “We had a 40-foot LVL beam and there was this tight setback with no crane access… [I’m losing focus here] and all of a sudden there was a bobcat in there—”
My eyes popped out of my head, I gasped out loud, and Eric quickly had to nudge me and whisper under his breath, “Karen, not a real bobcat, he means like a construction vehicle.”
*blink blink*
GUYS. I’m so lucky Eric was there to smooth this over for me, before I admitted to another human being that I thought an actual wild animal bobcat was crawling through their construction site. Come sell me a conspiracy theory, guys, apparently I will believe ANYTHING, haha!
Okay this segue is too good to be true: you do not have to be gullible to be sold on these Chocolate Chip Cookie Bars!! High fiving myself over here 😅 Seriously though these bars are kind of life changing because now I can have chocolate chip cookies (ish) without having to scoop multiple batches, let me tell you all about it.
Why these bars are the very best
I’ve never been into Cookie Bars. You know, where you just take cookie dough and press it into a pan and bake? The edges always rise up a TON, getting overly brown, and the center falls flat, and the crust has this weird chewy texture that I do not enjoy.
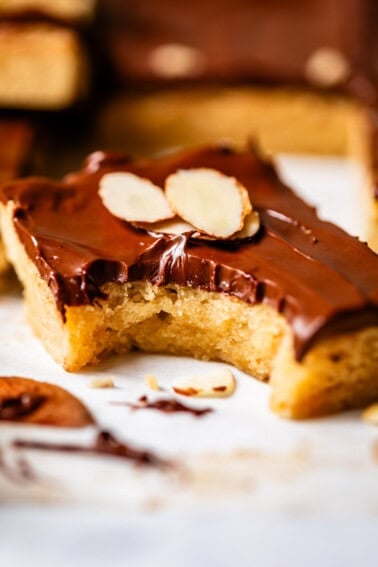
I literally NEVER make them. I will make Chocolate Chip Cookies instead (or brownies or Almond Roca Bars), even though it would be SO much more convenient sometimes to toss cookie dough in a pan, rather than scooping and baking in batches. Cookies are a process!
I’ve tried all kind of methods over the years to get a decent Cookie Bar. I could not figure out how to get the edges to not rise so much. You have to bake them long enough for the center to not be doughy, and it over bakes the edges. I only want to eat the center of the pan.
But then my friend Jackie served these bars one time when we had dessert at her house. Her bars were almost even all the way across the top. They had the perfect texture.
The secret method
I asked Jackie for the recipe and here’s the secret: mix your baking soda with some hot water before adding to the dough. The baking soda starts reacting with the hot water right away, making its rising power not as intense when it’s baked in the bars.
This means the cookie bars don’t rise as much when they bake. So the fall that happens in the center of the bars when you take them out of the oven won’t be quite so dramatic. The bars will be almost even all the way across the top. It’s like low battery baking soda!!
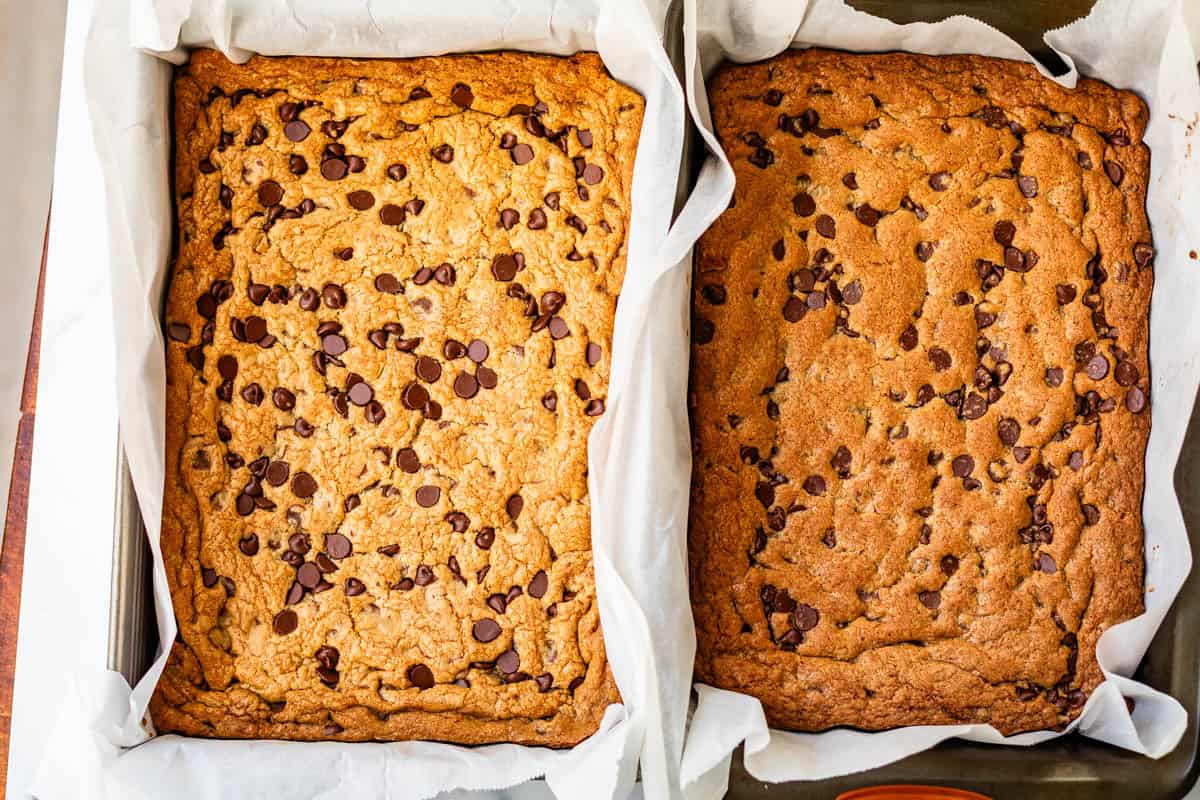
The final recipe is on the left. The pan on the right is made the normal way, just adding the baking soda straight to the dough. Can you see how much browner it is? And the edges are way more ridged. It rose higher, then fell flatter.
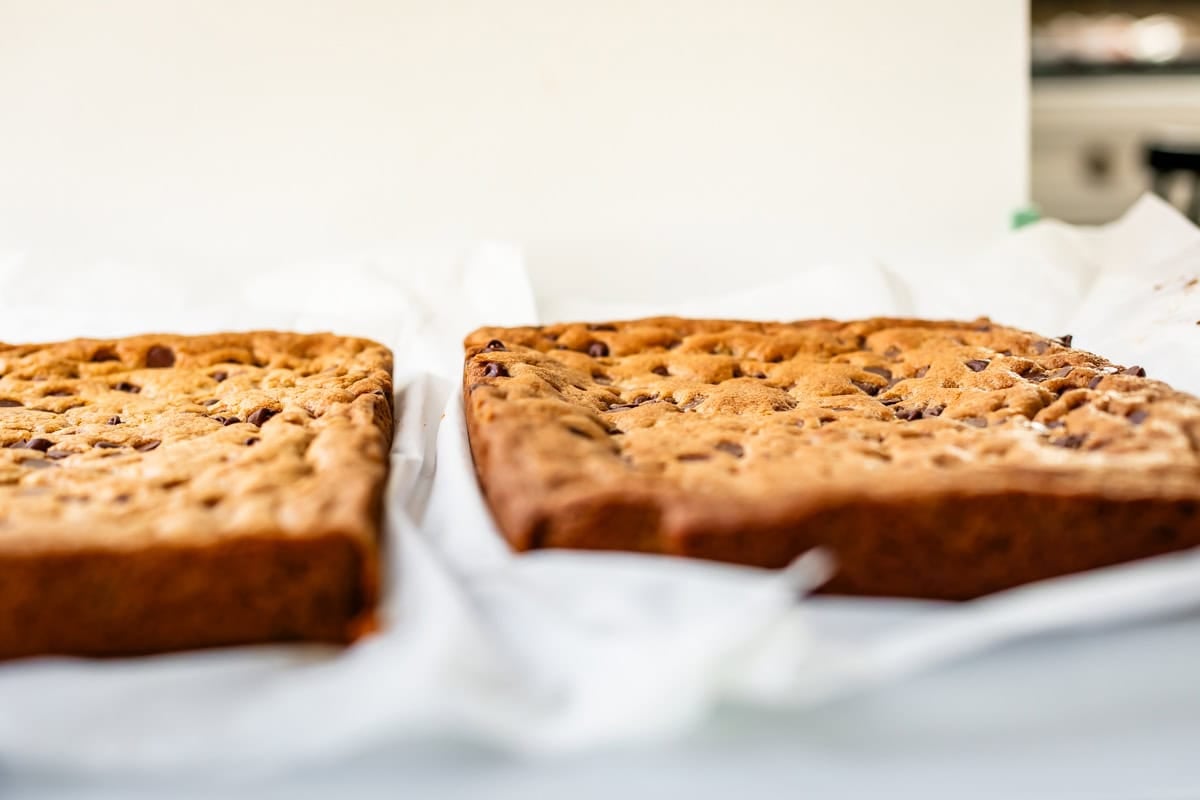
You can kind of see here how the final recipe (on the left) is pretty much even across the top, with some lift right on the edges.
The one on the right is made the “old way.” Can you see the dramatic drop toward the center of the pan? No thank you. The edges are overly browed, over baked, and the center turns into a gummy mass that has no lift (because it rose too high, and then fell too low. (CUE GREEN GOLBLIN IN THE BACKGROUND, the one thing they love more than a hero, is to see a hero fall. Mwahaha. Okay sorry)
This method blew my mind guys. I would never have thought to do this, but I’m so happy with the results. I’m super excited to try it for other bar recipes!
Ingredients that make these the softest bars
There are a few other important ingredients that give our cookie bars the perfect texture, and stay soft for days!
- cornstarch isn’t in your average chocolate chip cookie, but it’s really important in these bars to help keep them soft! Baking bars longer than cookies can make them tough and dried out, and the cornstarch helps prevent that. These bars stay soft for days.
- a little less brown sugar than usual may seem like an odd choice if you know me at all. But again, bars bake longer than cookies, and can get dark and dried out super fast. So we’re keeping a bit for nice notes of brown sugar flavor but using more white sugar so they don’t get overly browned.
- baking soda, as I mentioned before, is activated before being added to the dough, making the whole batch rise less, giving them the perfect texture all the way across!
How to make chocolate chip cookie bars
All you need to make this recipe are Chocolate Chip Cookie ingredients! You have all of this stuff on hand, right?? (One time I was watching my friend Mardee’s kids while she was out of town and decided to make cookies. I couldn’t find the butter. Or the sugar. I finally called her, like where is it? She said, I don’t have any. I was like whaaaaat, does not compute. Mardee, you are going to live to be 105.)
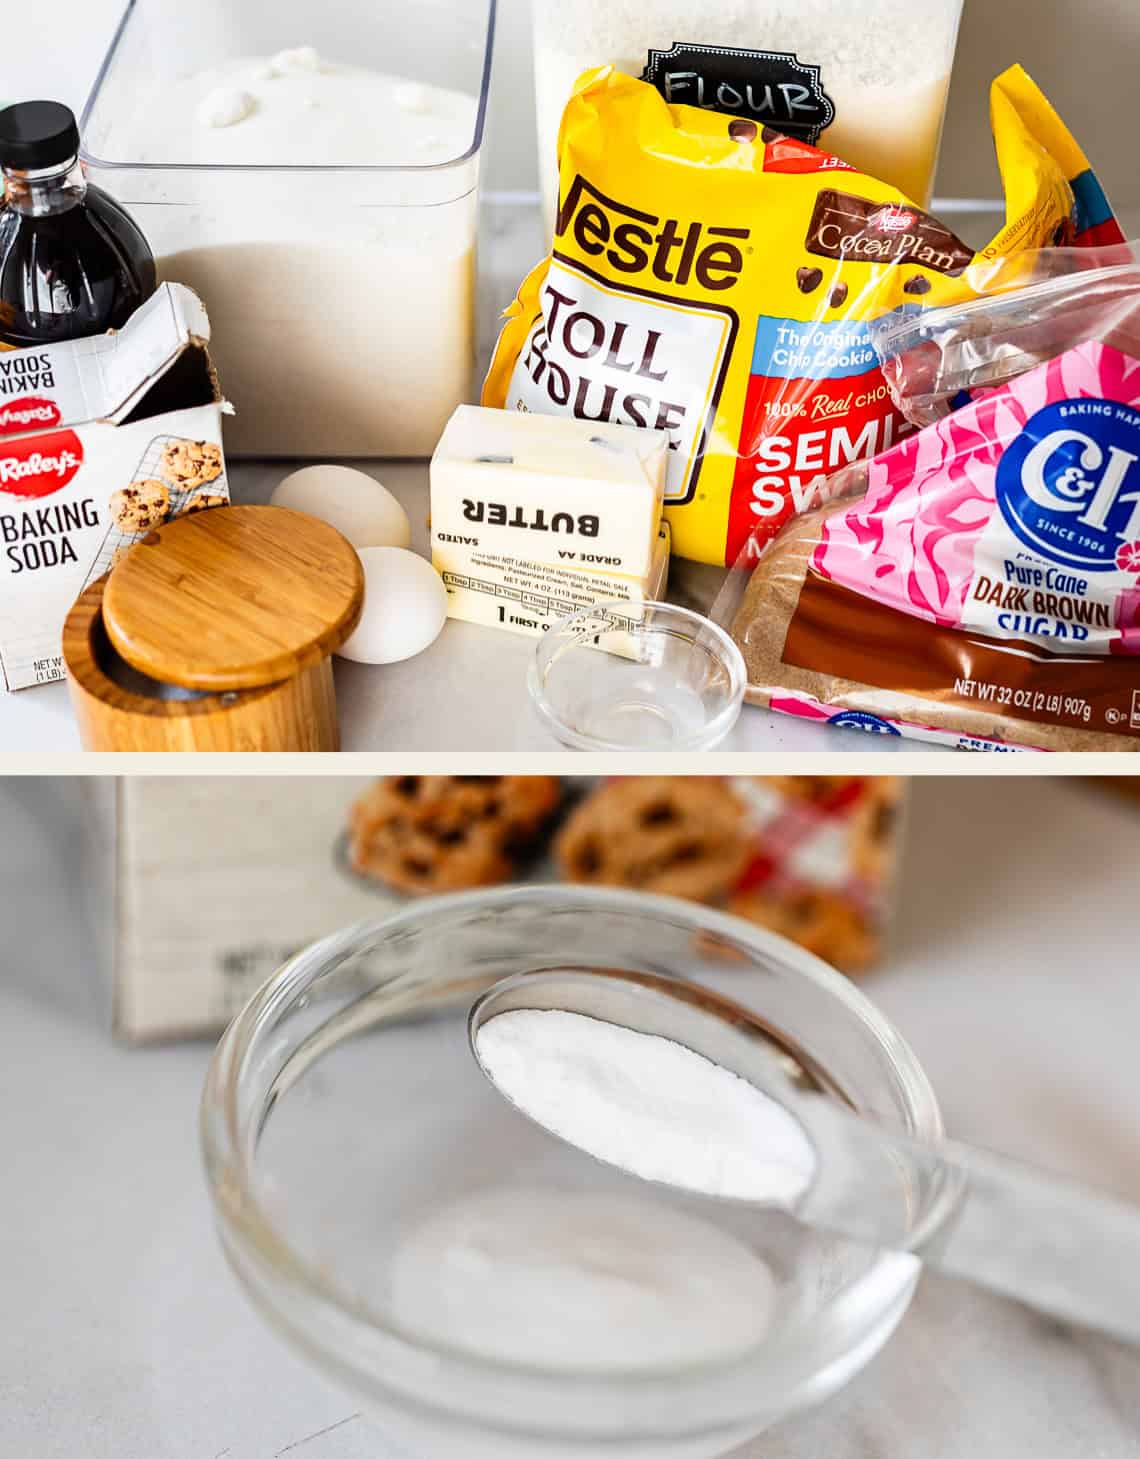
Okay so we are going to start off with a bang! This baking soda hot water step is a game changer. We’re doing it very first thing so that the soda can activate in the hot water for a few minutes while we prep the dough.
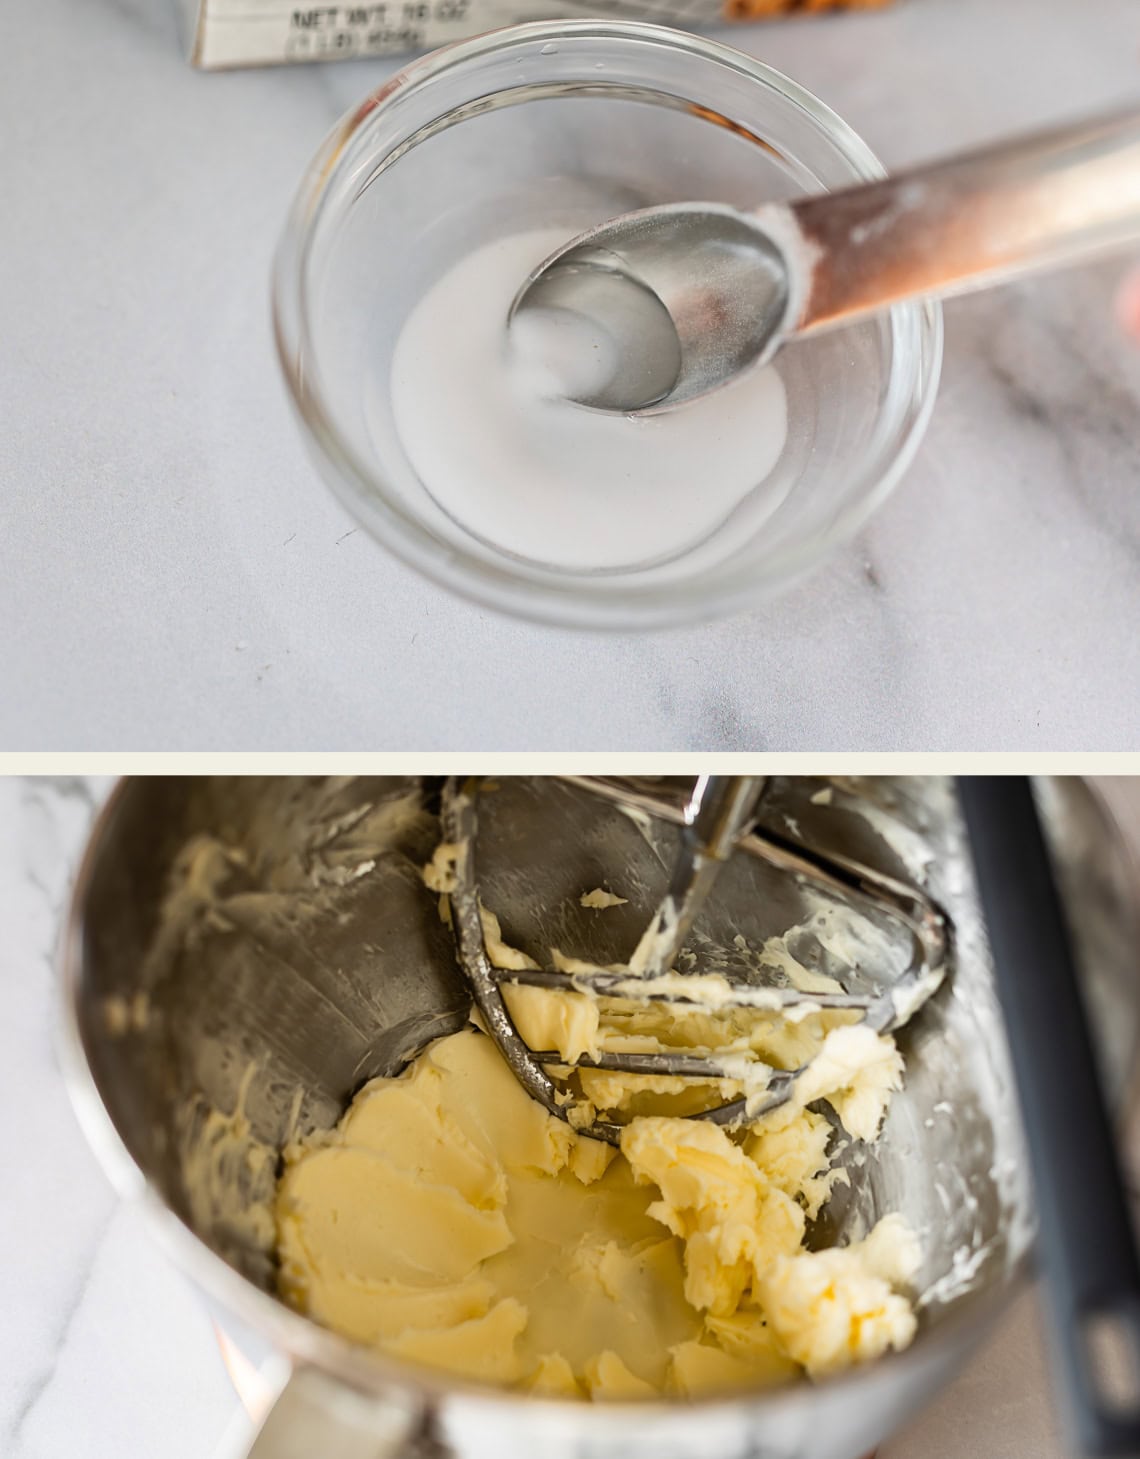
Add some softened butter to a bowl and beat it up. You know the drill!
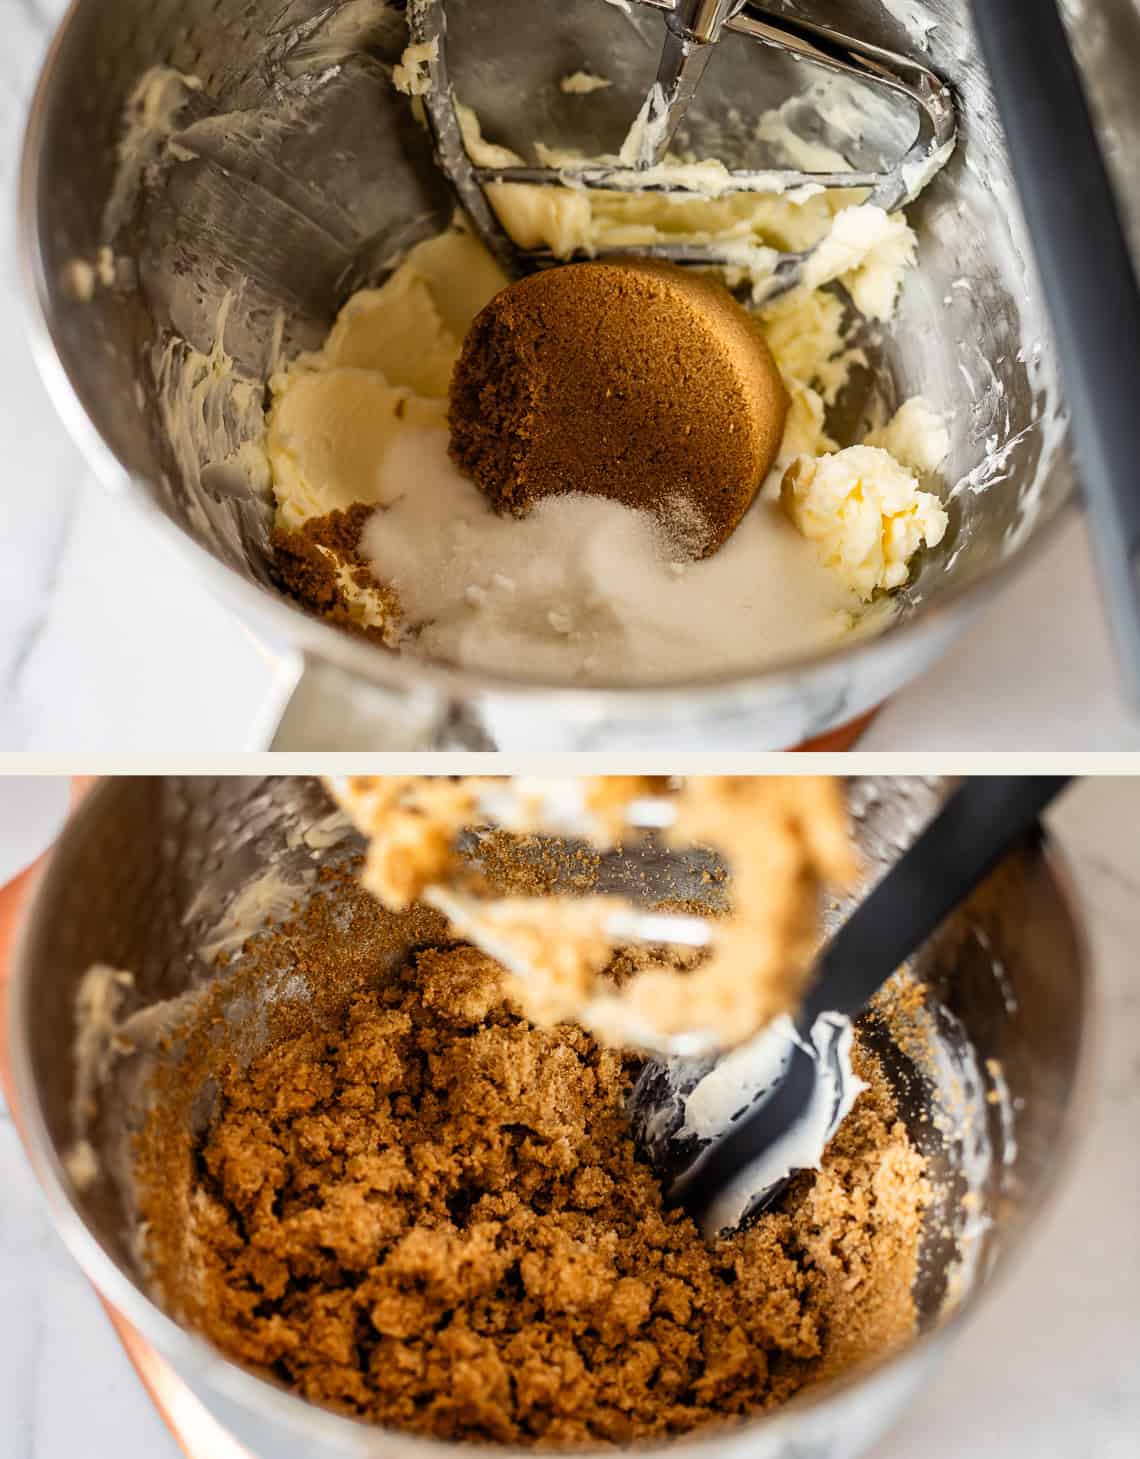
Add in the brown sugar and white sugar and mix it up.
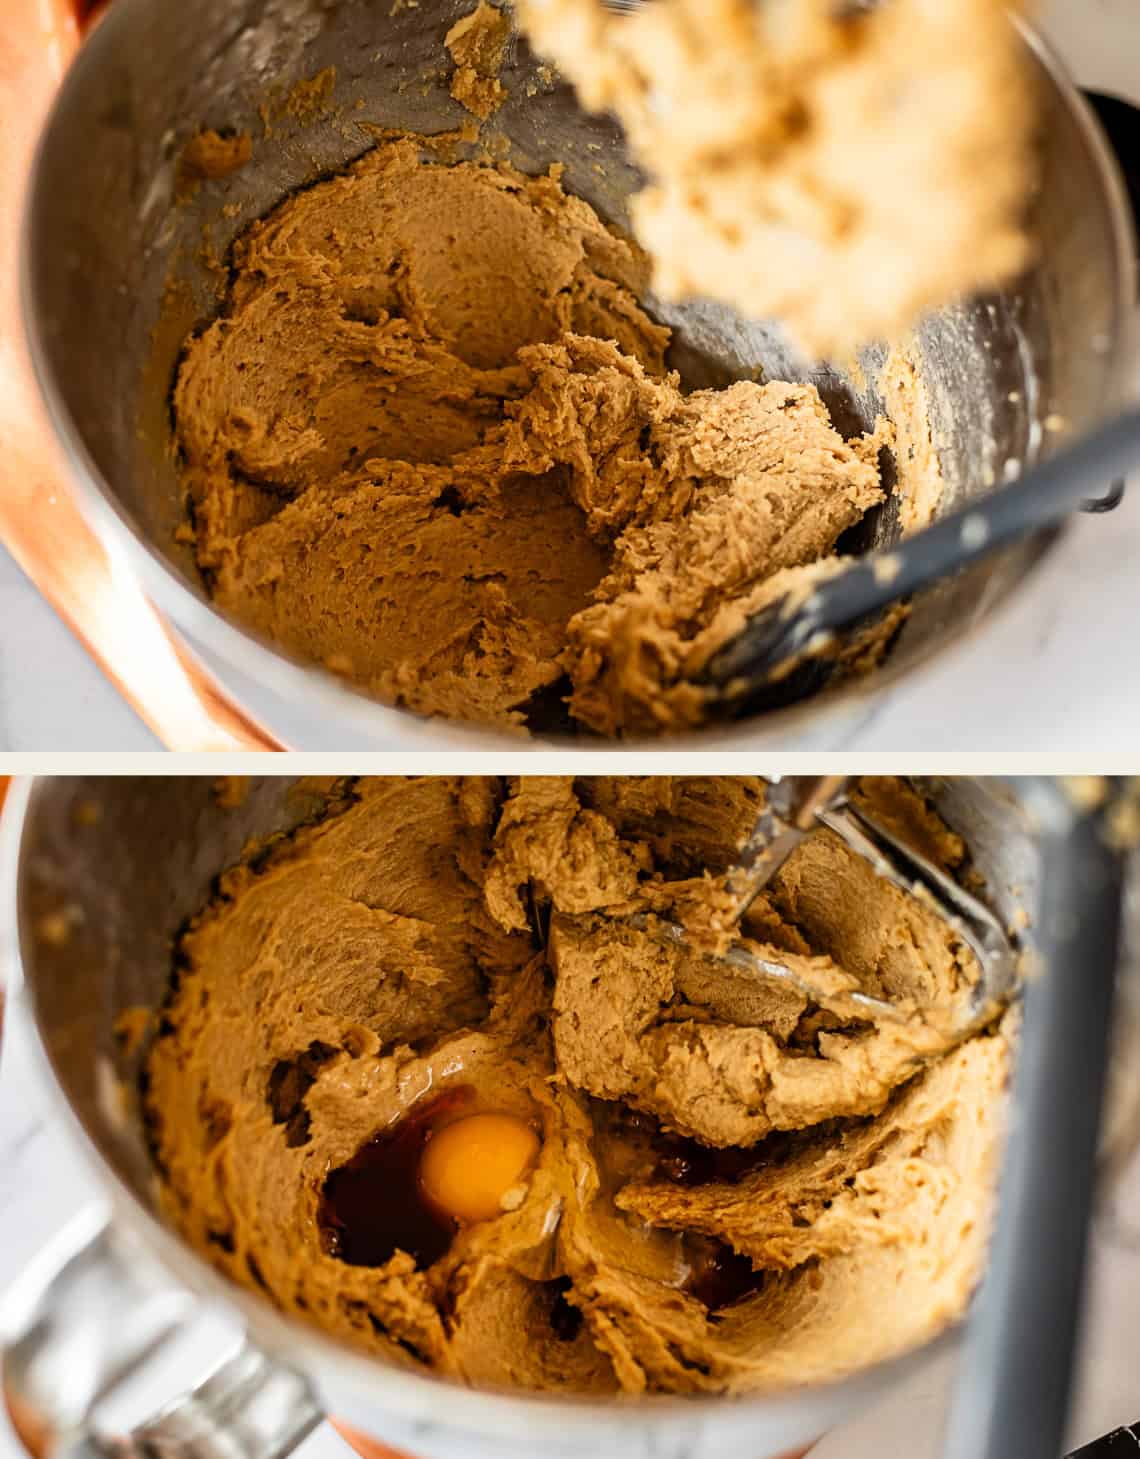
Then add in the eggs and vanilla. Then add in that baking soda with the hot water!

Add in the salt, and the flour and the cornstarch. You don’t HAVE to sift the flour, but my flour was super clumpy so I decided to do it this time. Sifting flour (anytime you bake) makes for a lighter, airier bake.
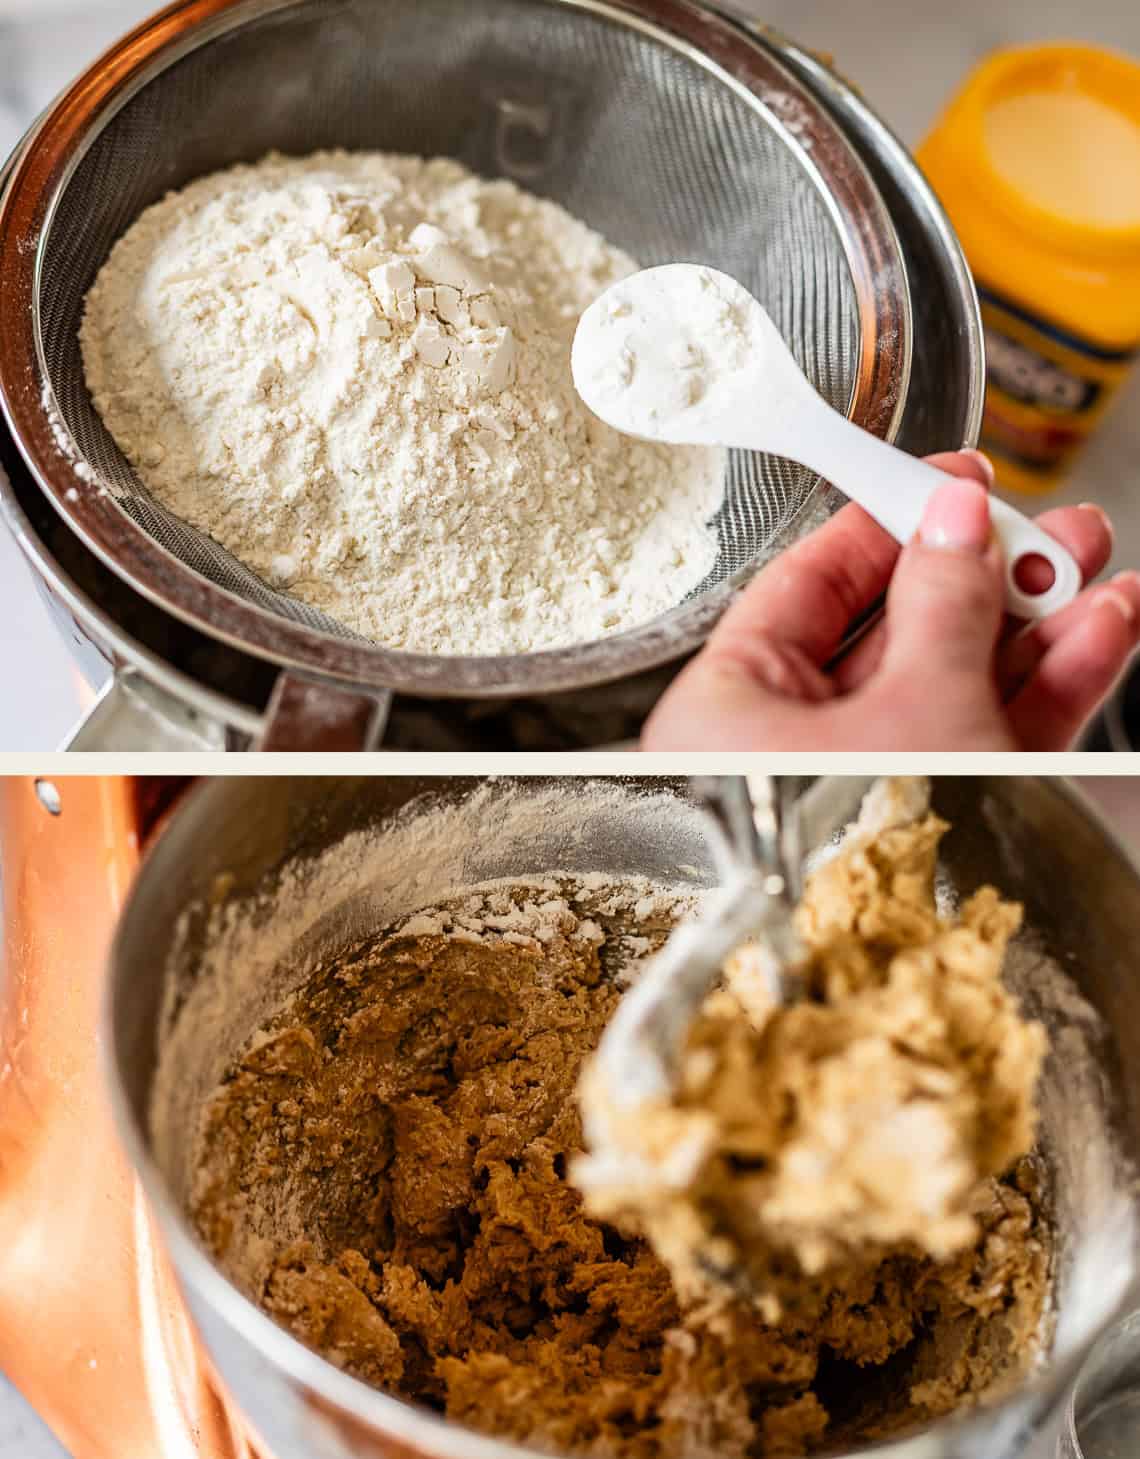
Mix in that flour, but don’t go crazy. Over mixing makes for a tough dough. Then add in the chocolate chips:
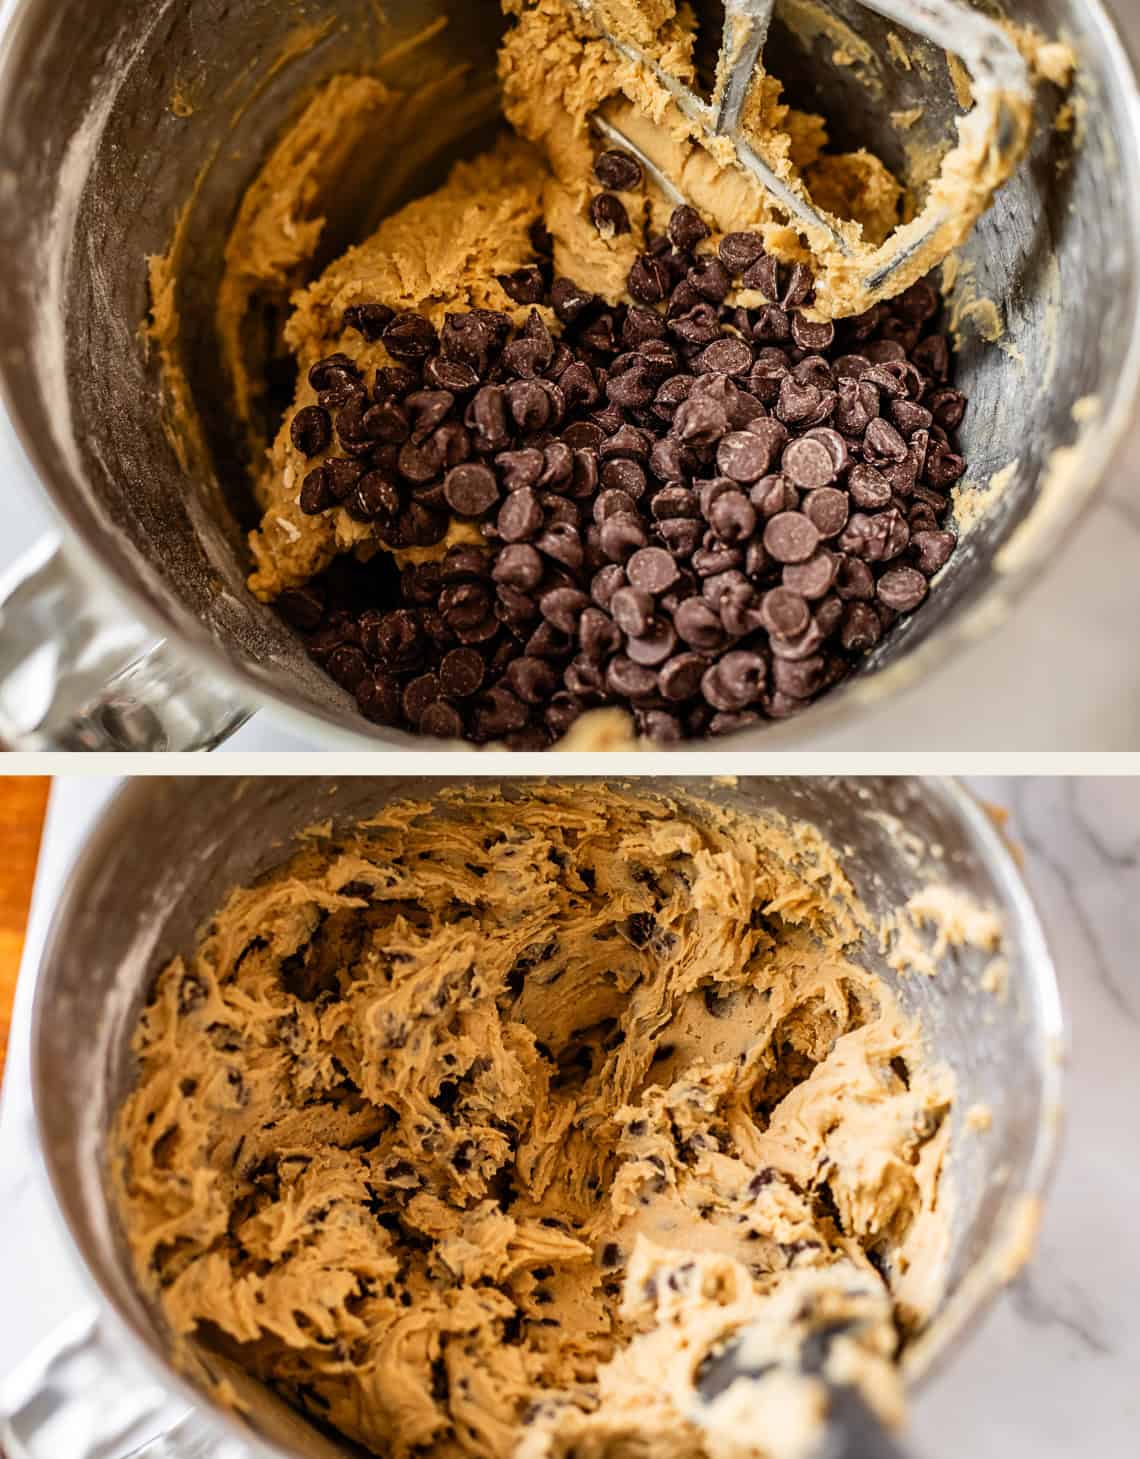
And mix it up. Press it into a 9×13 inch pan (or see recipe notes for other pan options!)
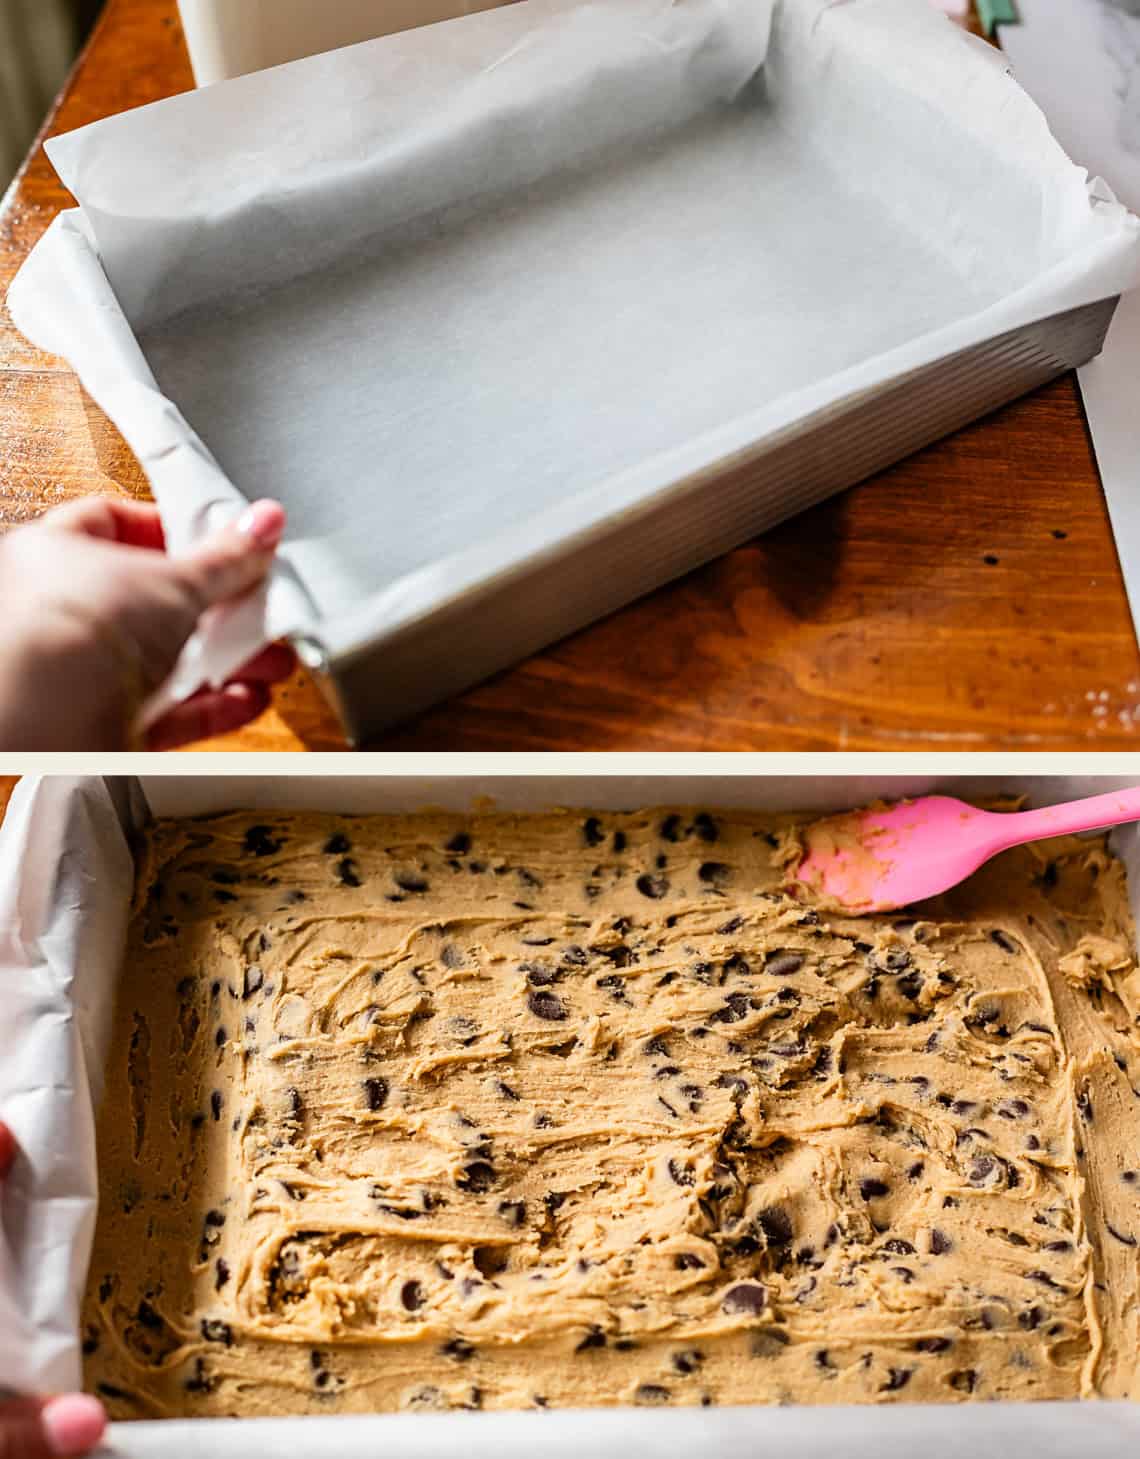
and spread it out so it’s even. Then scatter another 1/2 cup chocolate chips on top and lightly press it in.

and she’s ready for the oven!
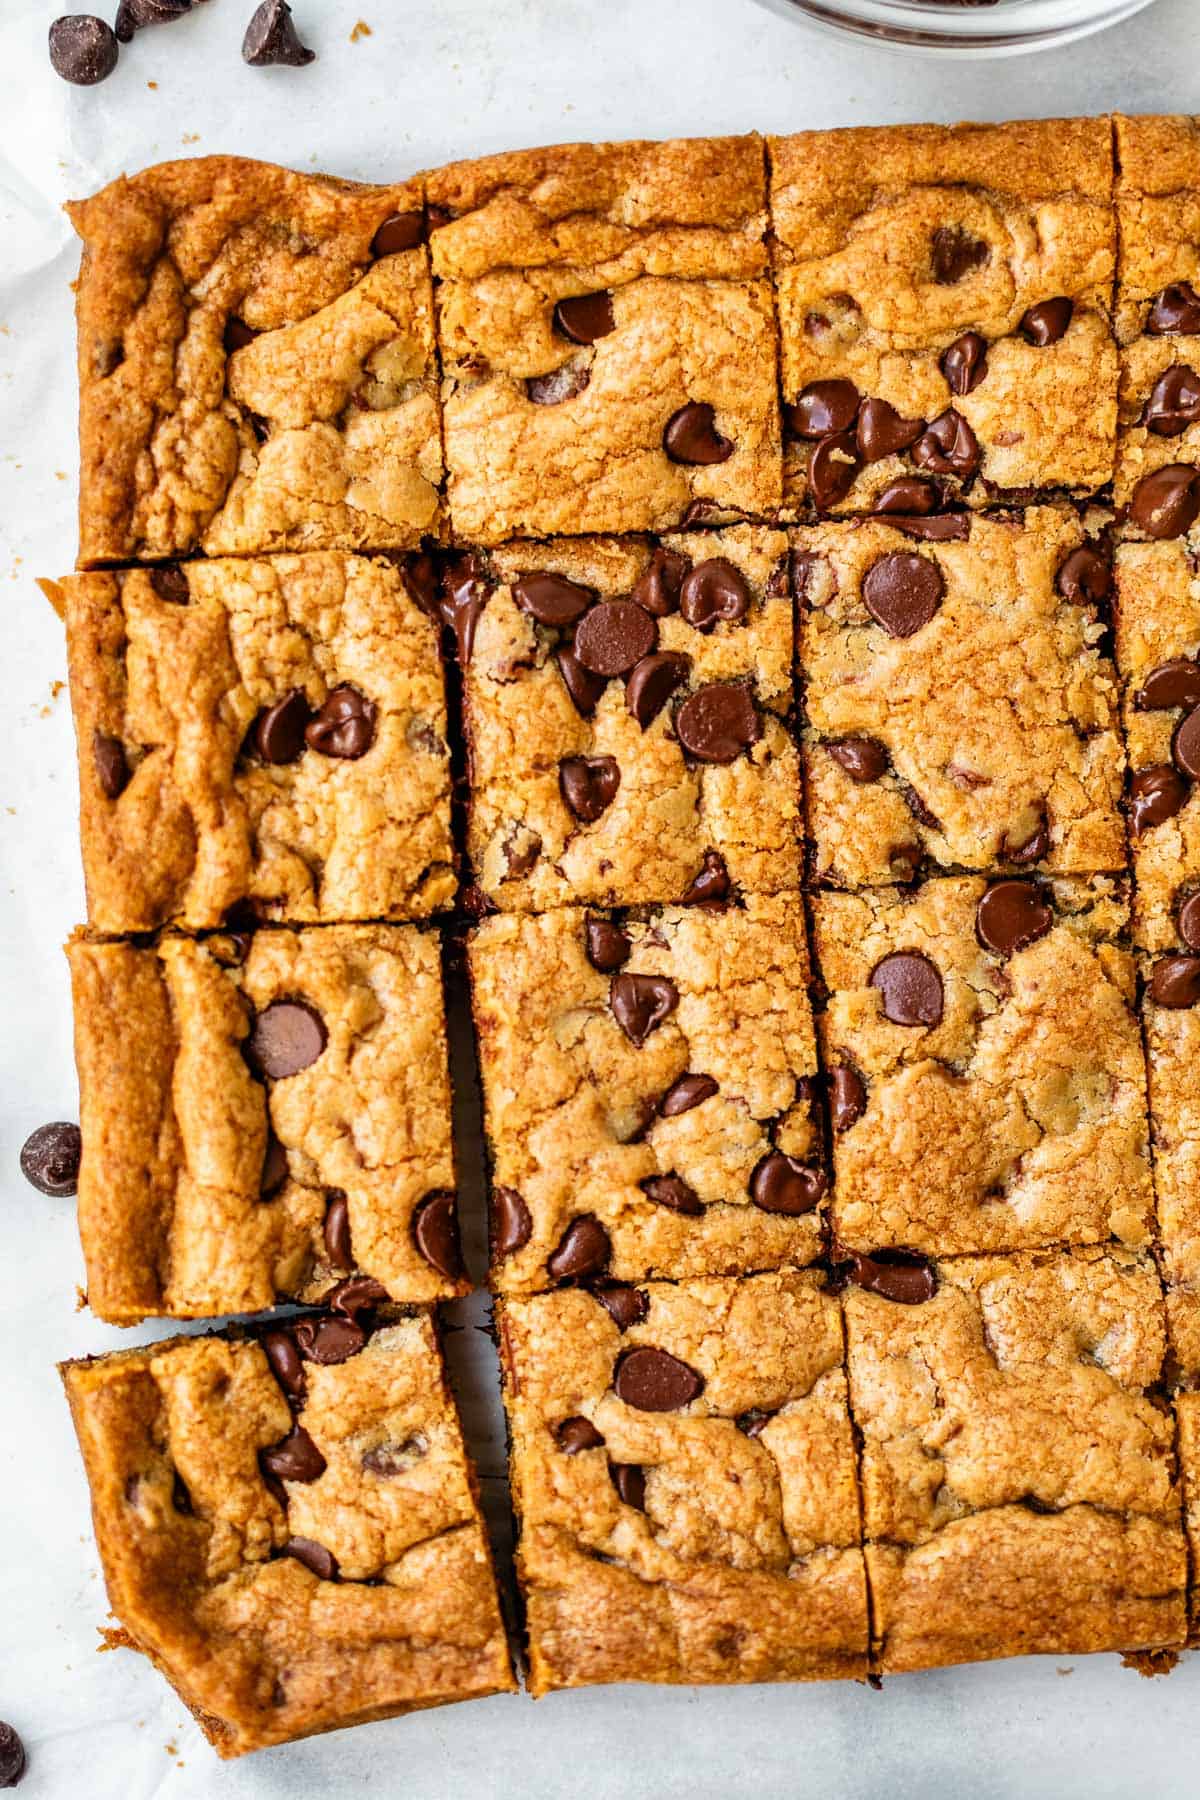
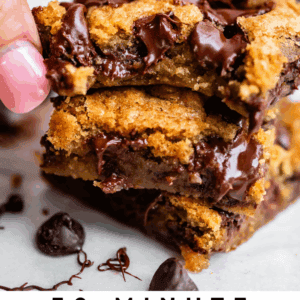
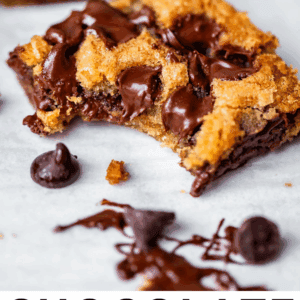
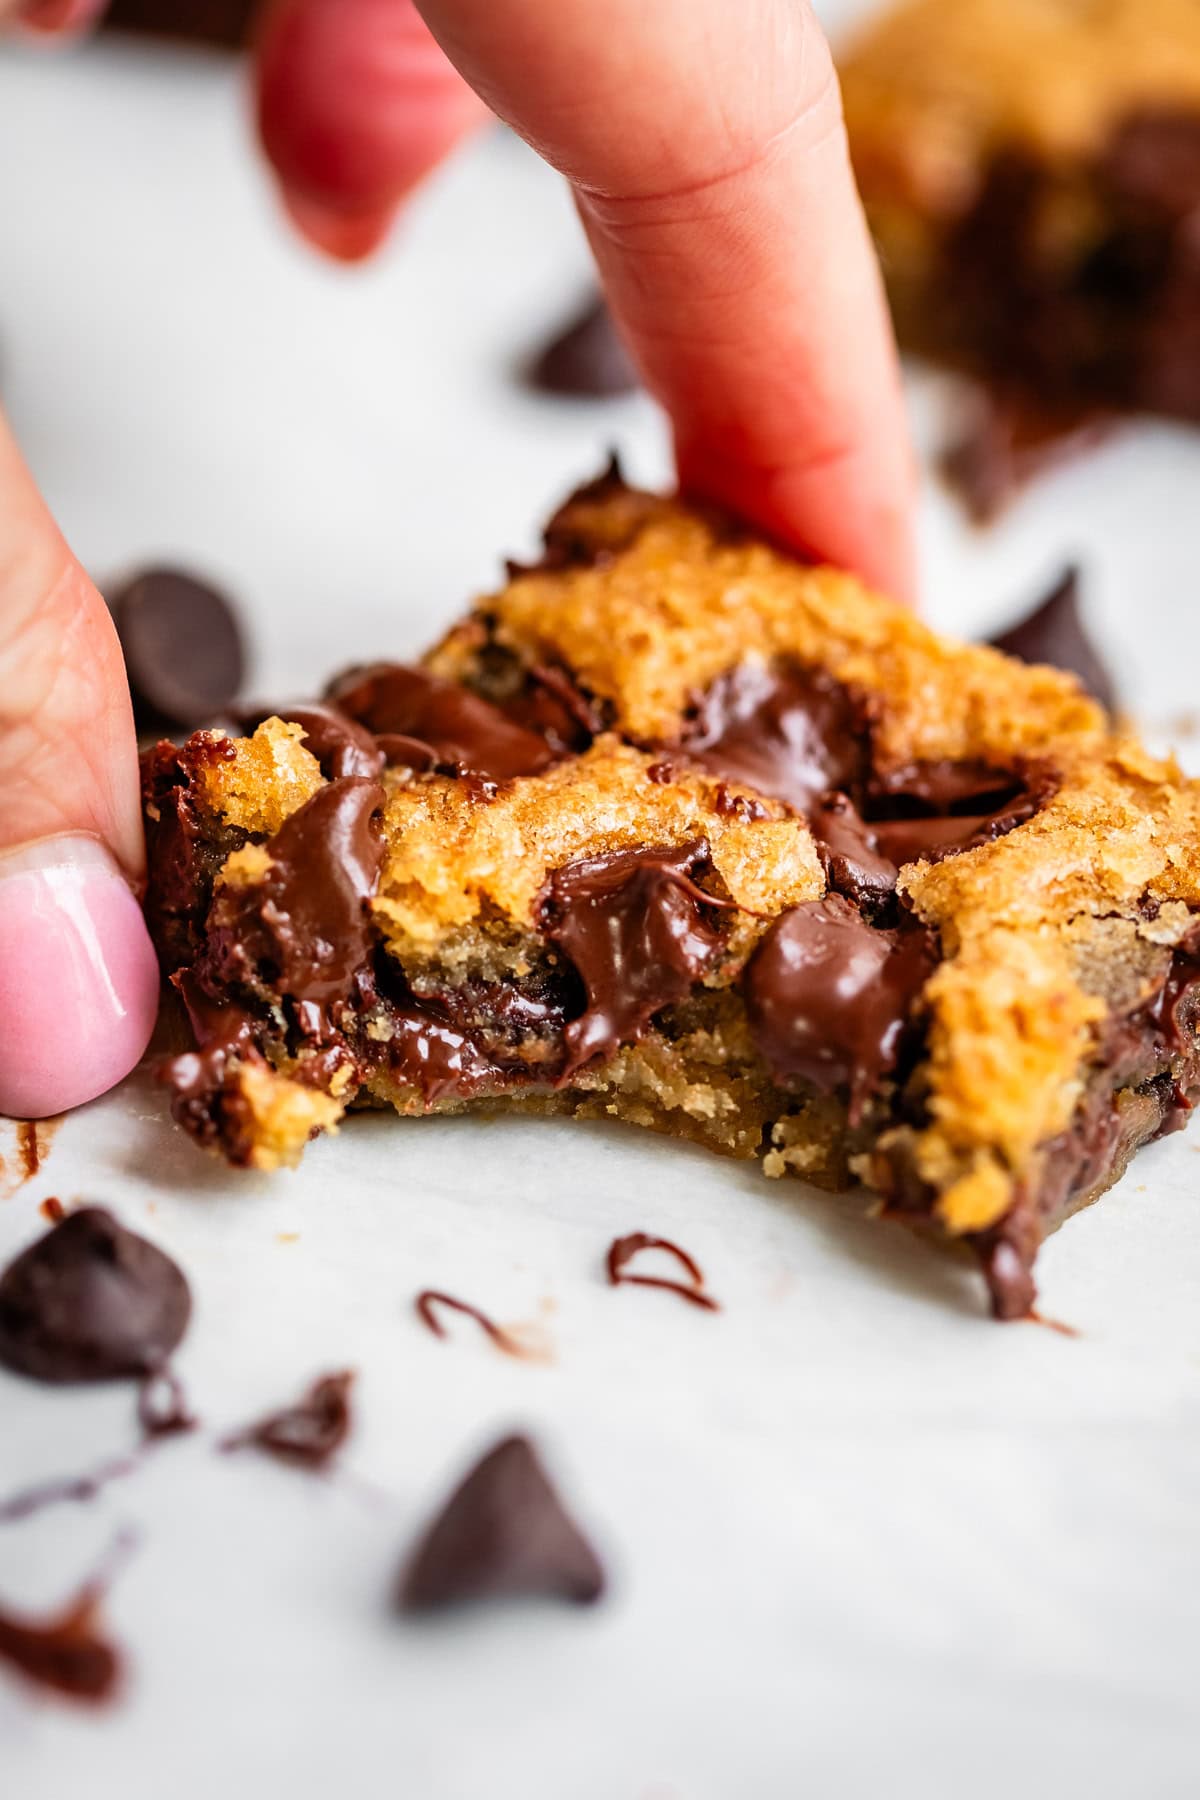
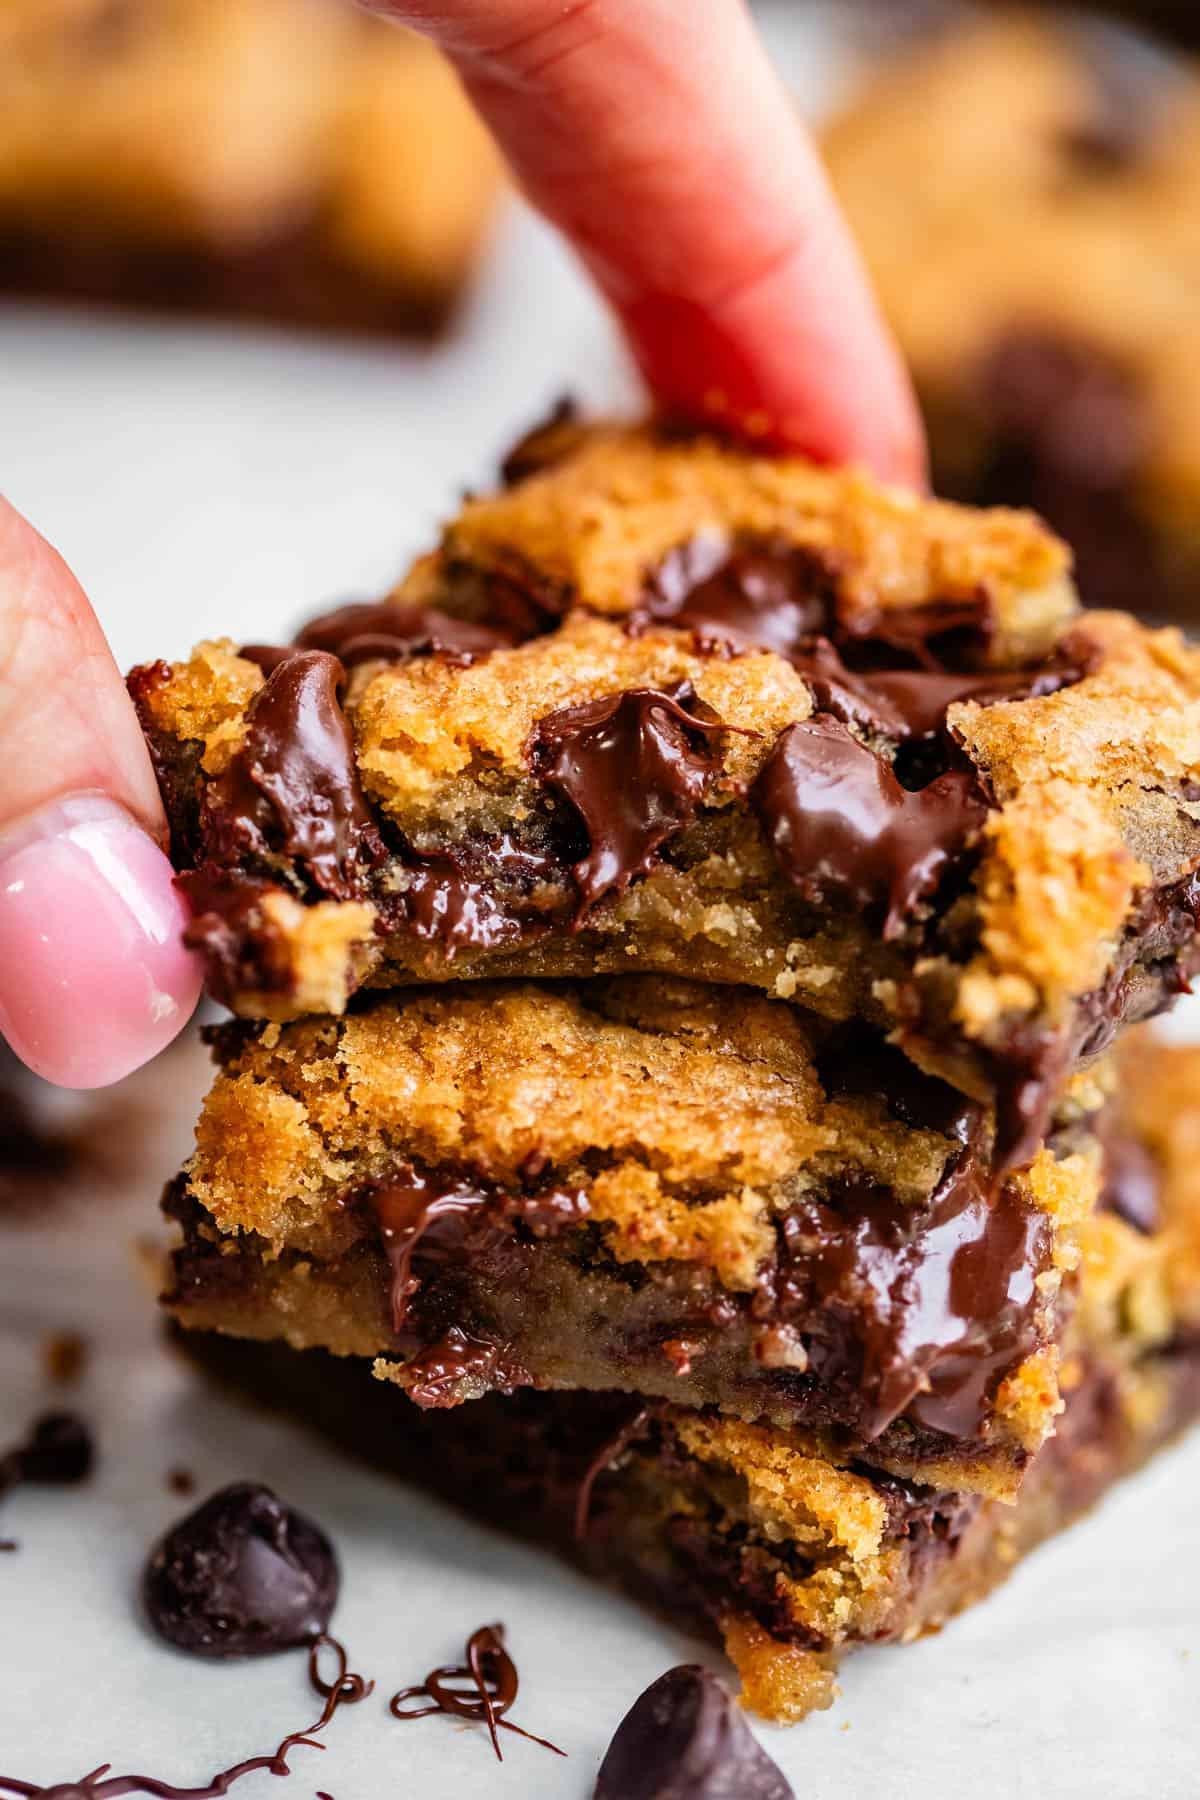
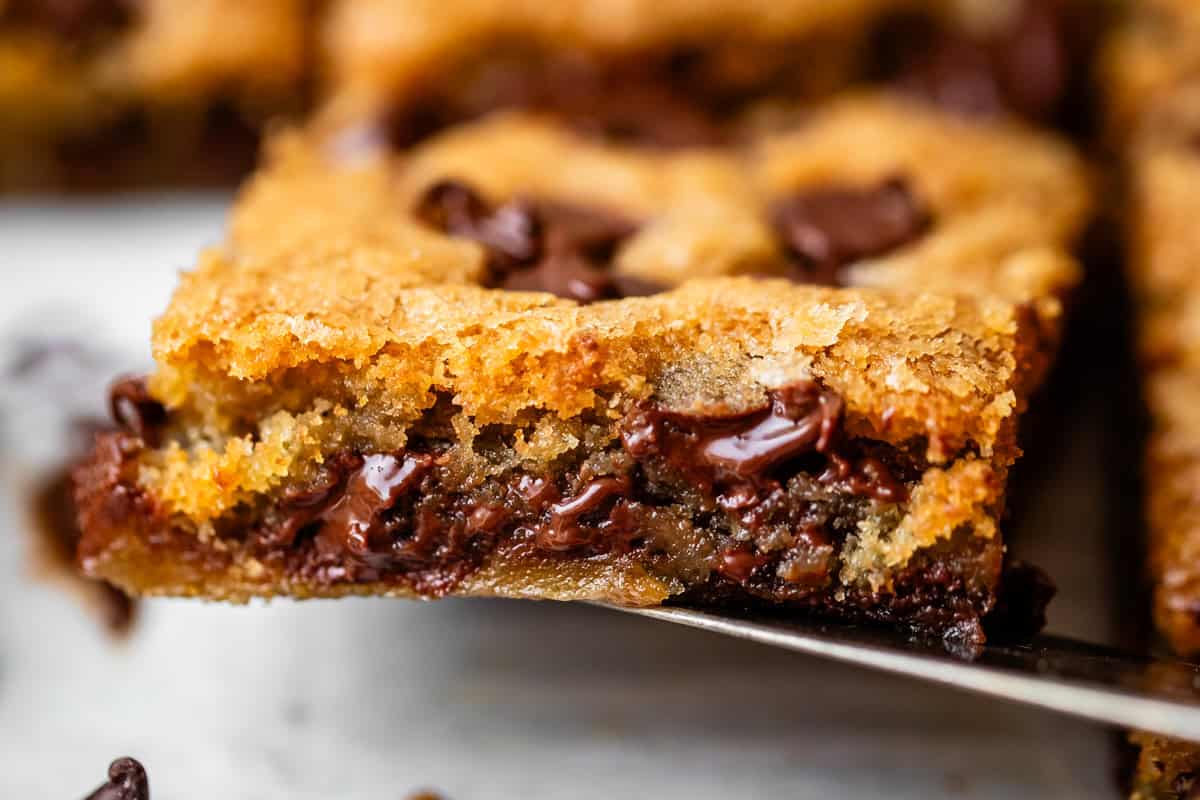
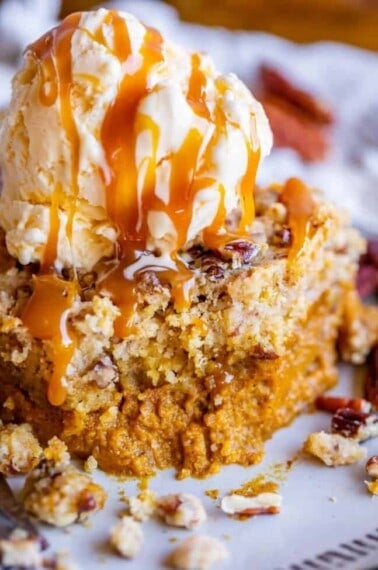
Wait a few minutes and then dive in! These are so good eaten warm on a plate with a fork (and some ice cream!) Or wait until they are fully cool and eat them with your hands, with chocolate dripping down your chin. Live your best life, guys.
How to store leftover bars
If there are uncut bars still in the pan, just cover the pan tightly with plastic wrap or an airtight lid. This is my preferred method as it keeps the bars from getting dried out. If you have leftover cut pieces or don’t want to keep the bars in the pan, you can transfer pieces to an airtight container or a ziplock bag, removing as much air as possible before sealing. They should last on the counter for about 4-5 days, but over time (and with every sneak), they will get dried out.
Can you freeze them?
Yes, it’s so easy! You can tightly wrap a whole pan in plastic wrap two times and then a layer of foil. If you want individual servings, place cut bars on a lined cookie sheet and stick the pan in the freezer for about 30 minutes. After flash freezing, transfer the bars to a freezer ziplock bag and remove most of the air before sealing. You can thaw the whole pan or individual bars on the counter. The whole pan will take a few hours to be soft enough to cut, individual bars (keep them covered!) can take 15-30 minutes.
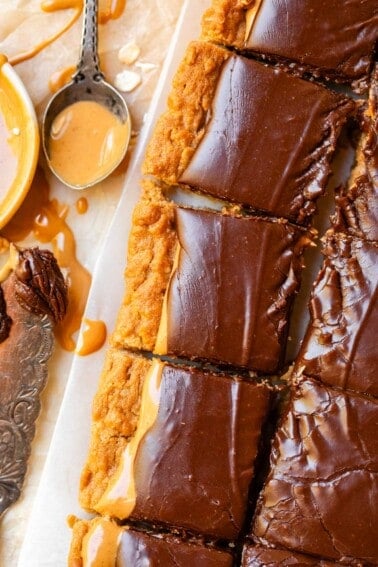
More delicious cookie bars you’ll love
I have a special love for chewy cookie bars. They’re so much easier and faster than scooping cookies or making a real pie. Check out some of my faves!


Chocolate Chip Cookie Bars
Ingredients
- 1 cup butter*, softened
- 1 cup granulated sugar
- 1/2 cup brown sugar, packed
- 2 large eggs
- 2 teaspoons vanilla
- 1 teaspoon baking soda
- 2 teaspoons warm water
- 2 and 1/4 cups all purpose flour, spooned and leveled
- 1 tablespoon cornstarch
- 1 teaspoon kosher salt
- 1 and 3/4 cups semisweet chocolate chips
- 1/2 cup semisweet chocolate chips, to press on top
Instructions
- Preheat your oven to 325 degrees F.
- Line a 9×13 inch pan with parchment paper. Tuck it into the corners and fold the edges. Or, you can grease the glass pan with butter or nonstick spray.
- In a small bowl, add 1 teaspoon baking soda and 2 teaspoons hot water. Stir it together and set aside to dissolve.
- In a large bowl or stand mixer, beat 1 cup softened* butter until fluffy, about 2 minutes. Remember to scrape the sides and bottom of the bowl at least once.
- Once your butter is creamy and smooth, add 1 cup granulated sugar and 1/2 cup packed brown sugar. Beat well until fluffy, another 2 minutes. Scrape the sides halfway through.
- Add one egg. Beat well, scraping the sides.
- Add the second egg and 2 teaspoons vanilla.
- Add in the baking soda and hot water that you dissolved earlier. Beat all of this into the butter, stopping to scrape the sides and bottom, and then beating again for at least 1 minute.
- Add 2 and 1/4 cups all purpose flour but don't stir yet. (Make sure you spoon the flour into the measuring cup, then level it off so that it's even. Do not overpack your flour.)
- Add 1 tablespoon cornstarch and 1 teaspoon kosher salt (use less if you have table salt) into the flour
- Turn the mixer on low and beat until there are still a couple streaks of white flour. You want to stop mixing when the flour is not quite all the way incorporated. Scrape the sides and bottom and stir it again for a few turns.
- Add 1 and 3/4 cups chocolate chips and mix until just barely combined. Don’t over mix, or you will get tough cookie bars! Scrape the sides and mix one last time.
- Scrape the cookie dough into the prepared 9×13 inch pan.** Press the dough into the corners and make it flat all across the top.
- Scatter another 1/2 cup chocolate chips on top of the flattened dough. Use your hands to press the chocolate chips into the dough a bit.
- Bake at 325 degrees for 25-27 minutes. The cookie bars will be golden all the way across the top. When you shake the pan, the center should not be wobbly or jiggly in the center. (A gentle wobble that is even all the way across the bars is ok.) A toothpick inserted in the center will come out with chocolate on it, but should not have thin wet batter on it. It is VERY important to not over bake these bars!
- Slice and eat! With a glass of milk!
- Store leftovers right in the pan, just cover the top tightly with plastic wrap. They will be good on the counter for 4-5 days but will start to dry out over time.
- Freeze bars by wrapping the cooled pan with a few layers of plastic wrap, and then a layer of foil. Or, place cut bars on a lined baking sheet, flash freeze for 30 minutes, then transfer to a freezer ziplock bag. Thaw frozen bars on the counter until soft.


Okay, that dissolved soda trick TOTALLY changed the texture of the batter! I’ve been making bars for years by digging a trench down the middle. It helps it bake more evenly by giving it somewhere to grow to. It works pretty well, and I like this even better!
FABULOUS cookie bars!
Have you ever doubled it and baked it on an 18 X 12?
RIGHT Dana?? I’m glad to know someone else has resorted to caps lock to exclaim about these, haha. Trench down the middle is smart too, I never thought of that. I have not doubled these to bake in a 18×12, I think it would be a bit much. Try 1.5ing the recipe and see how that goes. I made it as is (single batch) and spread it in a 18×12 and it didn’t quite spread to the edges in all corners. When it came out of the oven I “spooned” the edges toward the center to give them a little shape, and it turned out alright. Let me know if you try the 1.5! Thanks Dana!
These bars were so good! They didn’t have the extra-hard edges that can plague bar cookies. I’m trying to think how I can use hot water and maybe a little cornstarch the next time I make brownies, which can have the same problem 😋
Yay I’m glad you liked them mom!! But hold up, you’re adding baking soda to brownies?? that’s cake. no soda in brownies!!
Oh, bummer! No, I don’t want cake-brownies, haha!