

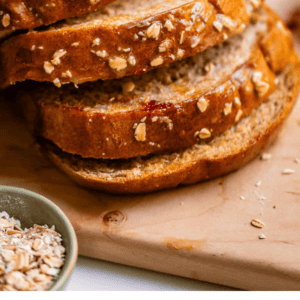


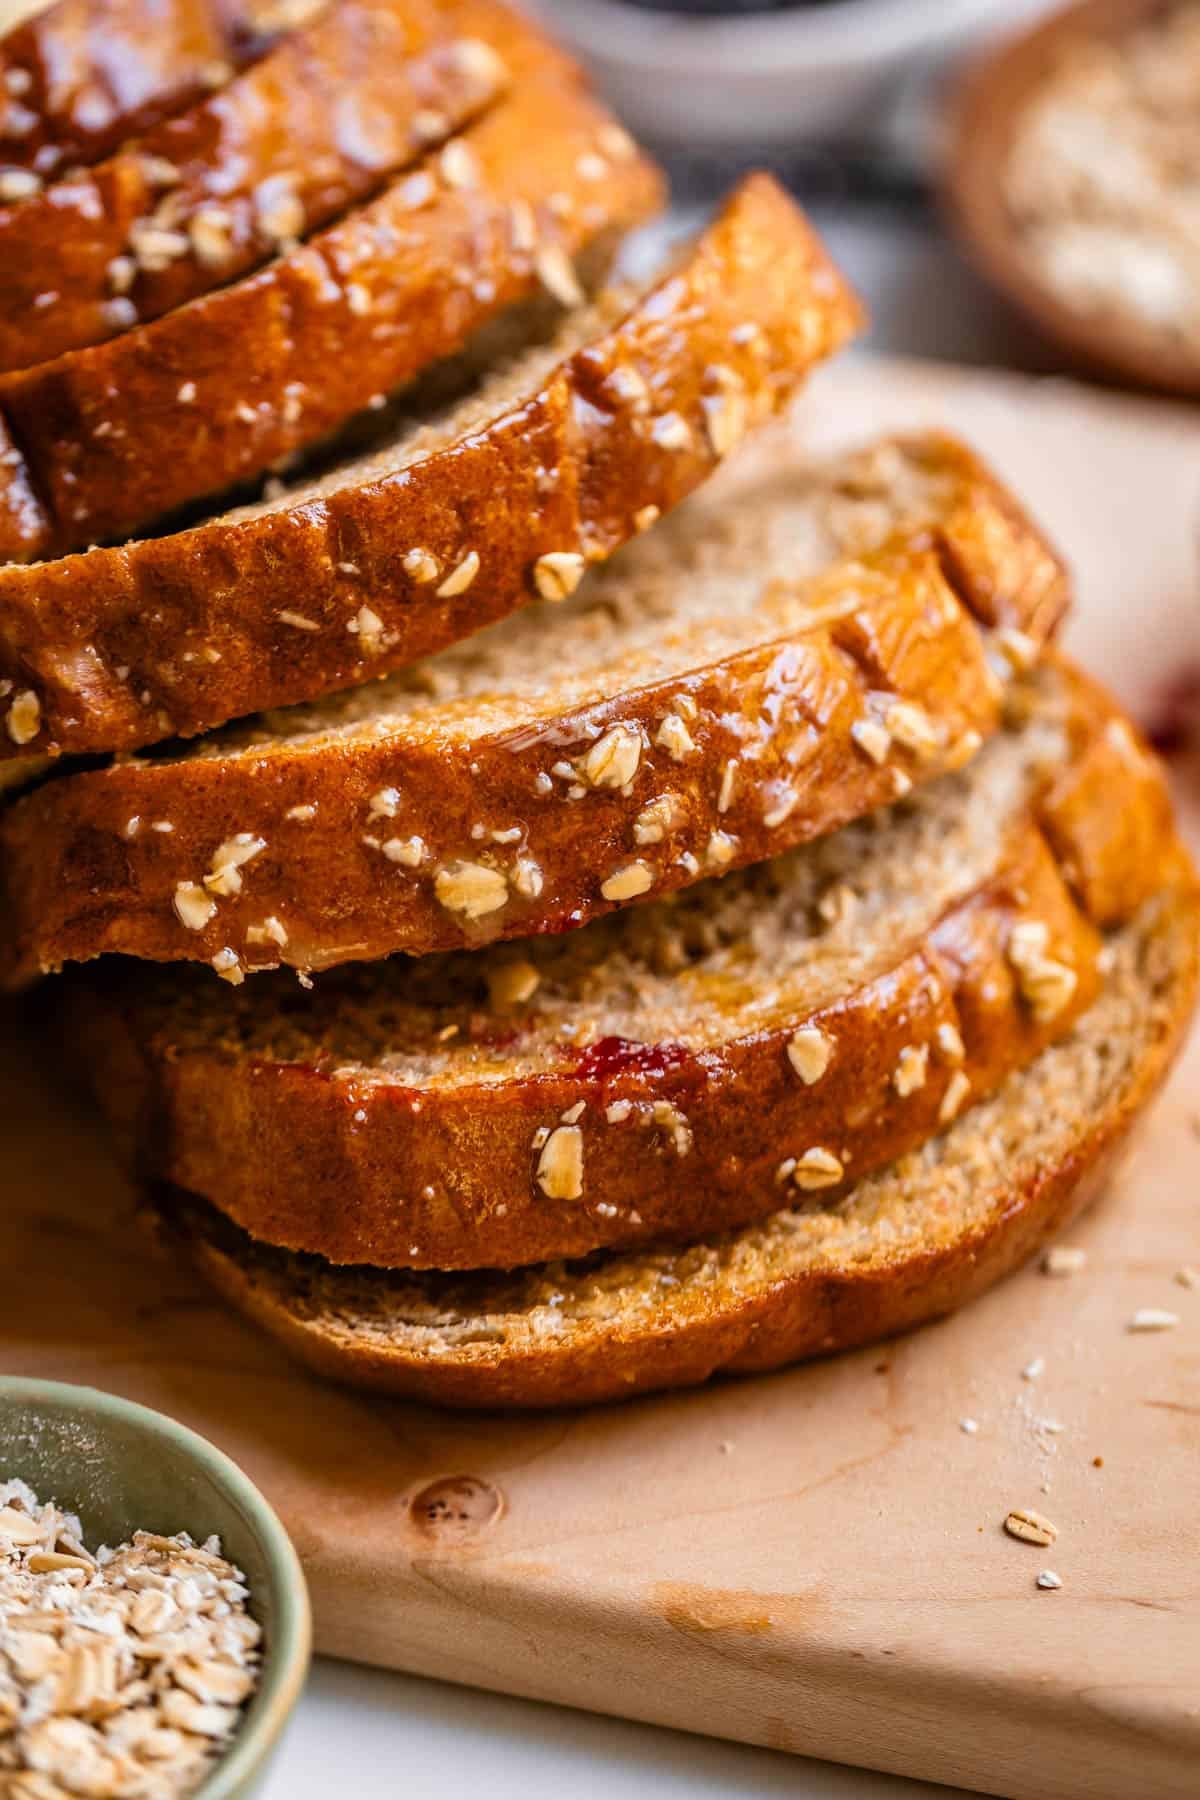
HALLELUJAH! I have finally found the secret to whole wheat bread that is SOFT and FLUFFY! It is bouncy, tender, rises higher than a kite, and is super easy to make. This whole wheat bread is sweet with a touch of honey flavor, plenty of salt so that it doesn’t taste flat, and a secret ingredient that keeps the crust soft for days. Perfect for sandwiches, toast, or the best PB&J of your life!
Charlotte, who is a sophomore, had a bunch of friends over last weekend. These kids have all known each other from church since they were kids, but still hardly talk to the opposite gender.
I think they are starting to figure it out though. When left to themselves these days, bored teens start doing social media challenges. The biggest hit of the night was the Tortilla Slap Challenge (this is exactly what it sounds like, but add a mouthful of water. The rule: no laughing.)
There was ice cream, there was giggling, and eventually one kid got tossed in the pool, which made ALL the kids jump in the pool (fully clothed.)
If you are worried about kids these days…don’t. They are awesome!!
Bread bread bread
While the teens learned how to be teens this week, I’ve been busy making 12,000 loaves of wheat bread.
My friend Jackie asked me the other day, “How do you know when you are done working on a recipe?” She knows that I spend a long time testing recipes (not every recipe, but for some it’s necessary, especially with baking.)
I said “Oh, that’s easy. I know it’s done when I would make the recipe for my family again.” There are too many good recipes out there to make crappy ones. So I keep testing until I bring a recipe to the point that it’s the one I want to make for my family again and again. Will I want to make this recipe again in 2 months? 2 years? 20 years? Or will I be tempted to tweak it or look for a new recipe?
Now, of course I’m ALWAYS tweaking recipes, just for fun. But I know when I am “done” developing a recipe when I’m excited to tell my friends about it, have no disclaimers to make when someone eats it in front of me, and would happily share the recipe with the tens of thousands of you who subscribe to The Food Charlatan. (I won’t lead you astray!! It’s got to be good.)

This wheat bread was a DOOZIE for me though, guys. I don’t claim myself to be an expert bread maker. I feel like that’s a lifelong process, and at 39 I’m still too young 😂 But I am working on it.
I had a goal: I wanted whole wheat bread that was healthy and full of whole grains. (and not just white bread with a tiny bit of whole wheat flour to make it tan.) I wanted it to be light and fluffy. I didn’t want it to have any weird ingredients. Weird like dough enhancers, emulsifiers, soy lecithin, or enzymes. (I have nothing against these ingredients in moderation; I’m a loyal Orowheat bread buyer. But if I’m making bread at home, I want the ingredients to be simple, and I especially want them to be easy to find at the grocery store.)
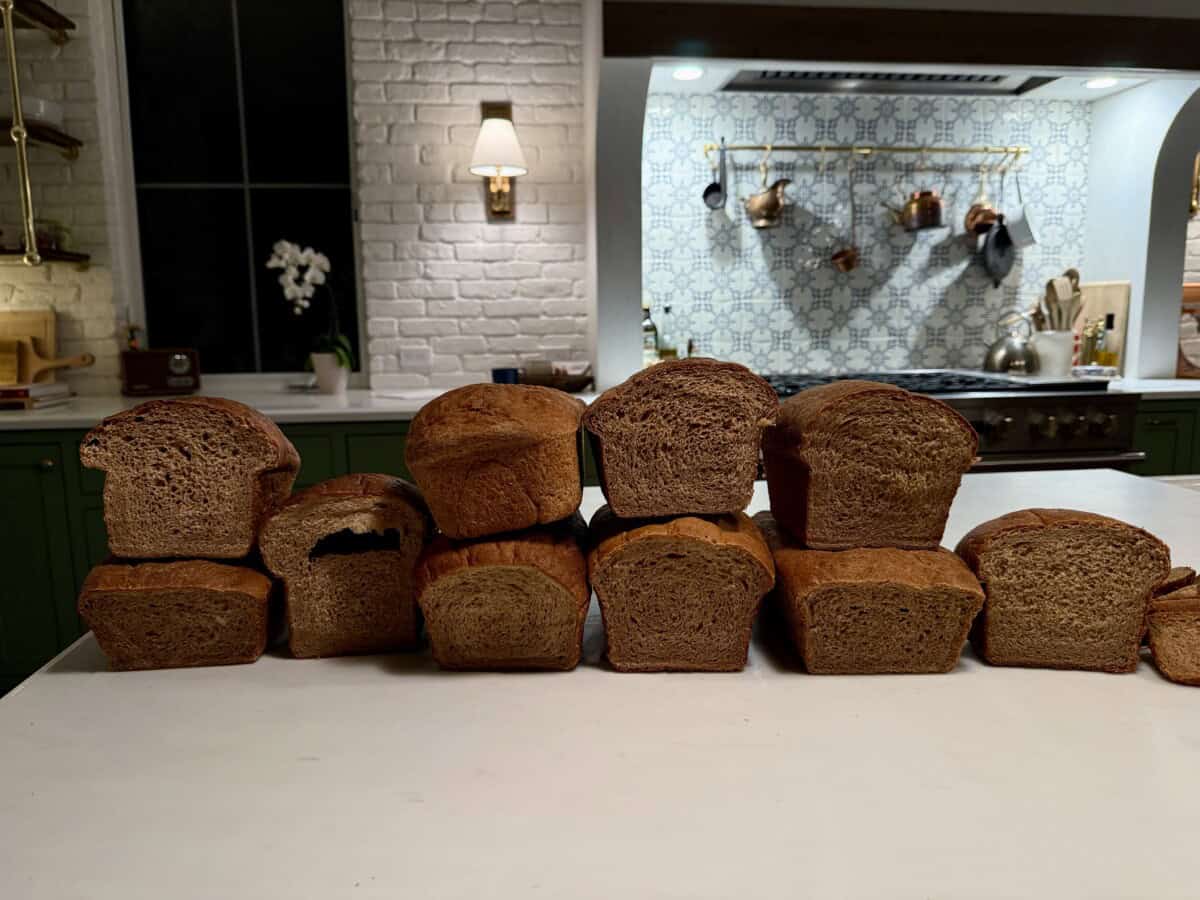
I made about 18 test loaves in the course of a week and a half. I actually wish I was joking! You should see my freezer. It’s full of bricks of dense wheat bread with one test slice out of each one. (My poor kids are going to be eating it for their sandwiches all year probably…) None of them were absolutely terrible. I nailed the flavor I wanted pretty early on.
But I could NOT get a decent rise, not to save my life. It would either fall in the oven (usually a result of over proofing) or just not rise to my satisfaction. I wanted FLUFF. So: research.

What is whole wheat bread, anyway?
The thing about whole wheat bread is that you need whole wheat flour to make it. And whole wheat flour has all this STUFF in it. Stuff that’s good for you, but stuff that literally gets in the way of a decent rise:
- Bran (the sharp outer layer of the wheat kernel)
- Germ (the heavy, nutrient-rich embryo)
- Endosperm (where the starch and most of the gluten-forming proteins live)
Normal all-purpose white flour uses only the endosperm. Without the bran and the germ getting in the way, the gluten is able form it’s ladder-like structure, where the gas released from the yeast has the perfect space to get caught in, pushing the bread up and making the loaf light and fluffy.
When you use whole wheat flour, the sharp edges of the bran literally cut through the gluten. The germ is heavy. This makes it really hard for the gluten to form into that ladder. Without the gluten ladder, the gas from the yeast is able to escape out of the bread. The remaining loaf ends up dense and heavy, womp womp.

The solution
So, what to do? How do we get whole wheat bread that will actually rise?
- Add extra gluten (to help build that ladder)
- A sponge step in the beginning to soften the bran and the germ and make them not so sharp.
- Secret ingredient: a little bit of mashed potato! Potatoes are almost all starch. Starch feeds the yeast, making it like, Super-Yeast, with a cape and everything. The starch in the potato also absorbs water and helps the bread stay soft for days.
- And finally, instead of dough enhancer (the enzymes and lecithin that factory breads use to get whole wheat bread to rise) we are using about a cup of bread flour.
The bread flour addition technically makes this bread NOT 100% whole wheat. It took me a while to make peace with this! I really wanted a 100% whole wheat bread made at home. But my family just didn’t like it. And I knew I wouldn’t make it again.
But I actually feel pretty good about the compromise. This recipe has 2 full cups of whole wheat flour in one loaf, and zero chemicals/additives to help with the rise. It has all the health benefits from using the whole grain of wheat. And it rises perfectly, thanks to the bread flour (which adds more of the endosperm, providing more gluten-ladder forming structure to make a fabulous rise.)
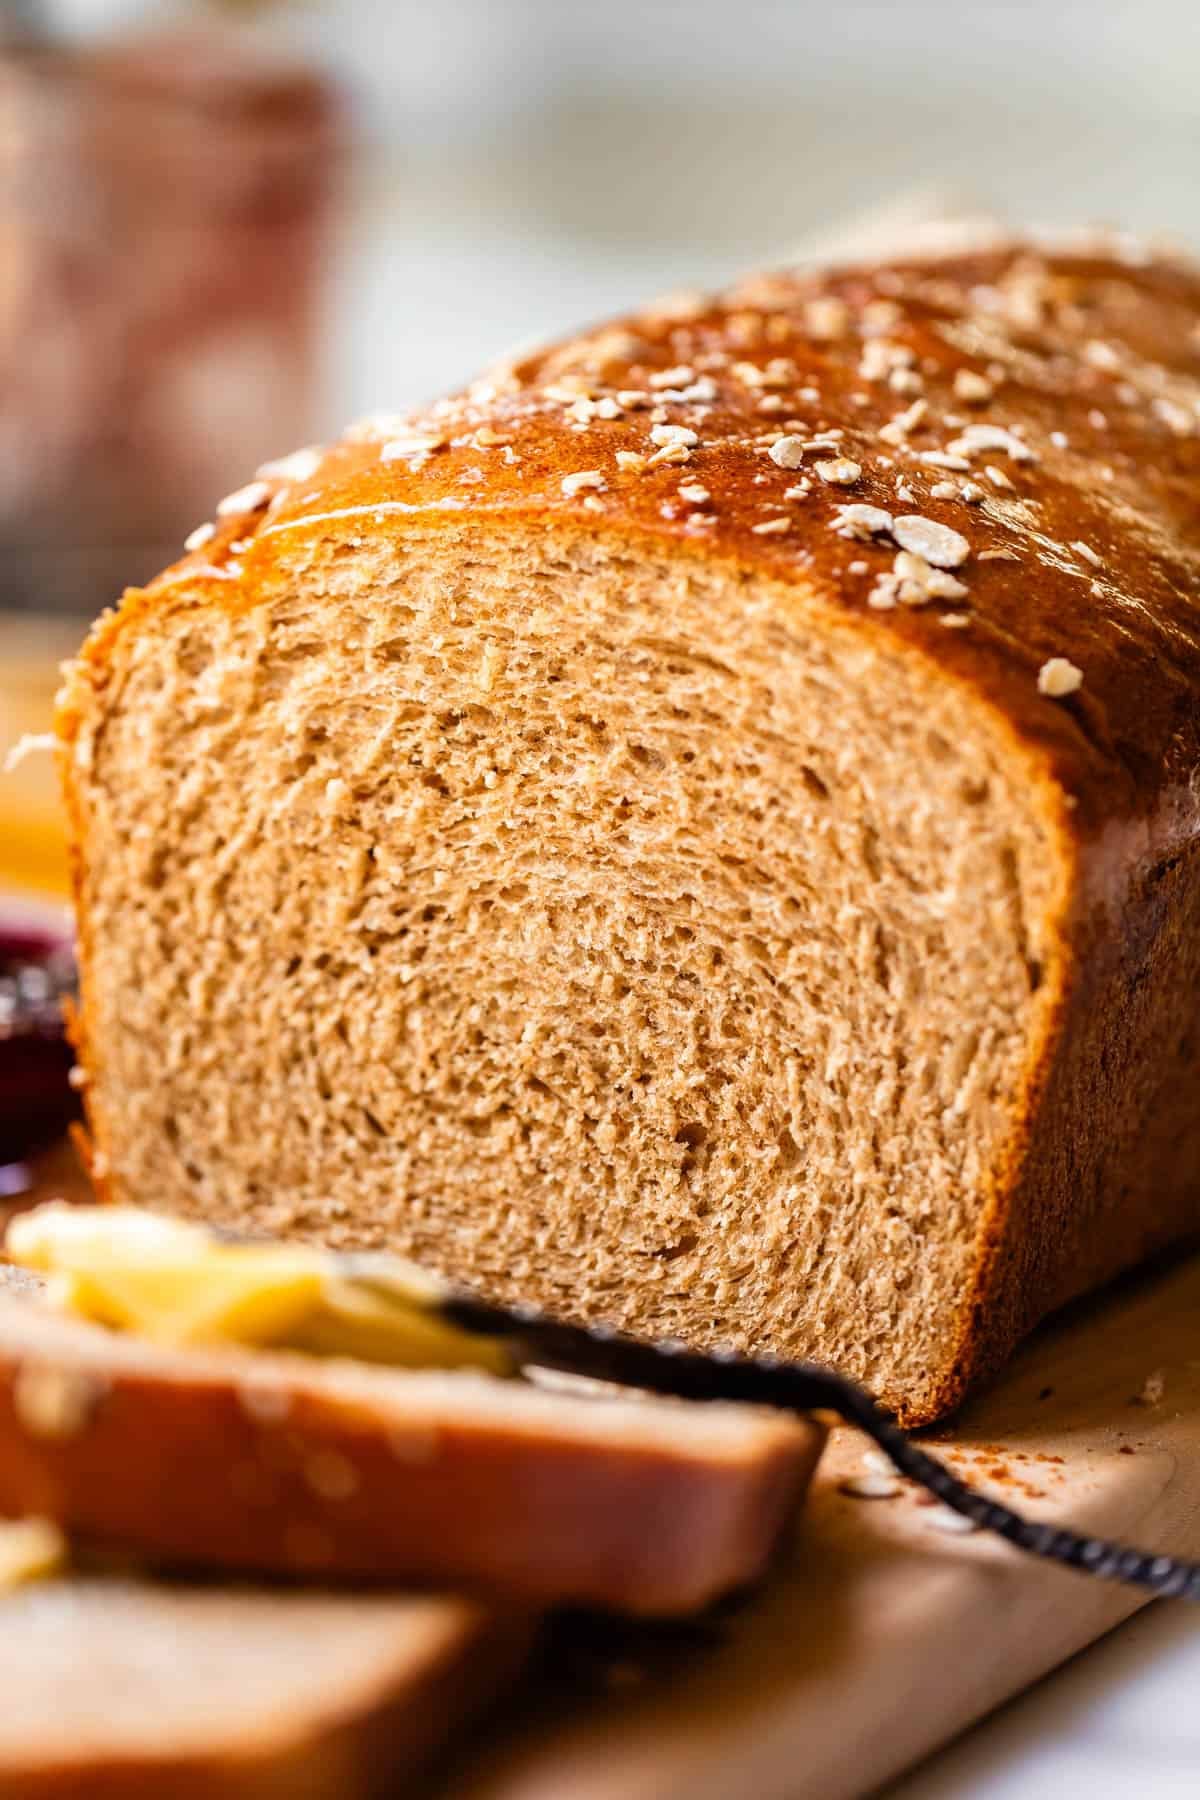
Red wheat vs White wheat
When you go to the store, you will notice two types of whole wheat flour.
Hard red wheat is what people think of when they think of the flavor of wheat bread. It is nutty, earthy, and has a rich, deep flavor that is quite distinctive. It is a whole grain with tons of fiber and nutrients in the bran and germ.
Hard white wheat is it’s cousin. It is simply a different variety of wheat. It is lighter in color and texture. It is still a whole grain, and has all the great nutrients from the bran and germ that red wheat has! But it lacks the distinct flavor that you dream of when you think of hearty brown wheat bread.
Bread made with white wheat (King Arthur labels it “Golden Wheat”) will rise a lot better than bread made with red wheat, because the bran in white whole wheat is milder and less rigid. It’s much easier to work with. But it will not taste quite the same, and it won’t be a “brown bread.” It will look only slightly darker than bread made with regular all-purpose flour.
So why not just use White Wheat for our wheat bread, if it’s easier to work with and rises better? For me, it’s about the flavor. I LIKE the way red wheat tastes. It’s nostalgic and delicious to me. There is nothing quite like it! Either type of wheat will work really well for this recipe!
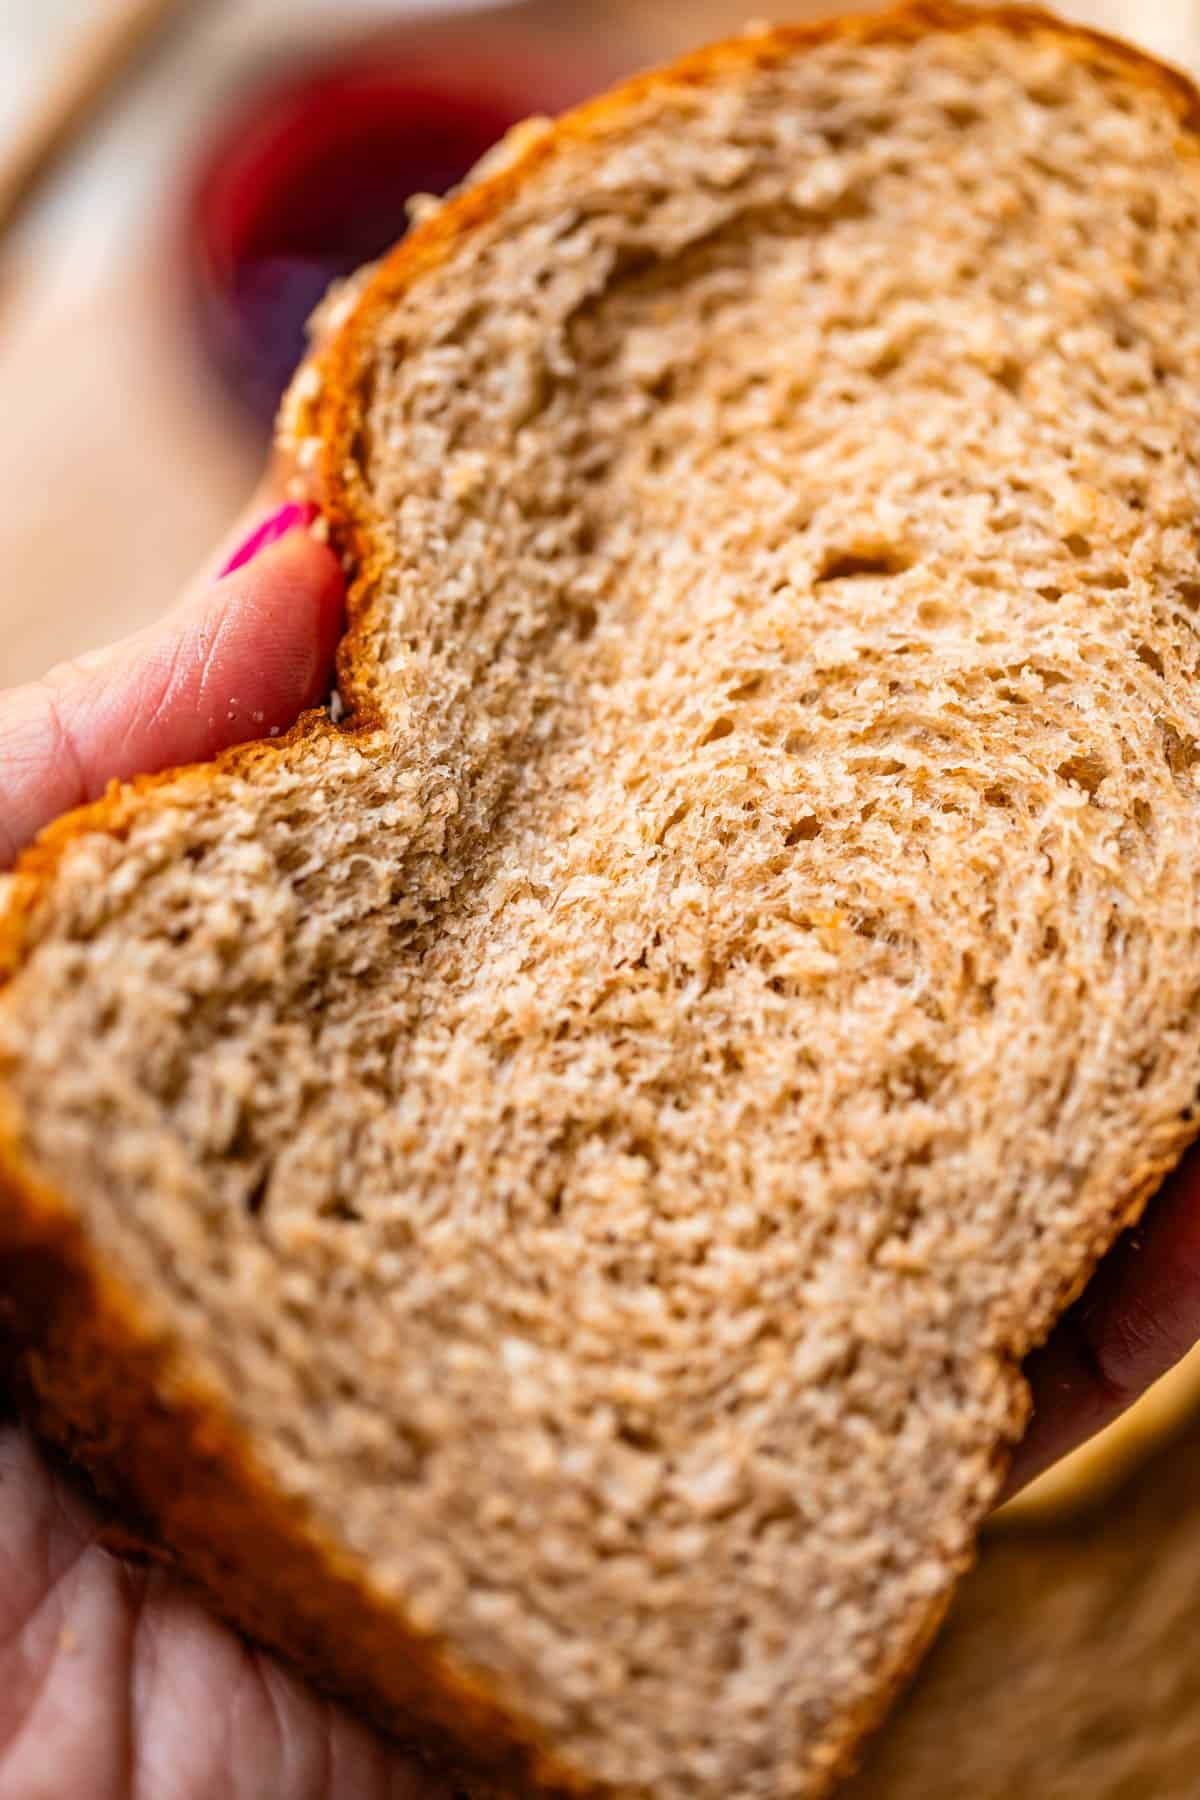
Why do we need a sponge step?
The sponge step in the beginning is there so that the water in the recipe can soften the bran and germ parts of whole wheat flour. It makes our bread taste better, and makes it rise higher!
Why does wheat bread take so long to make?
Whole wheat bread takes longer to make than normal white bread. Our poor gluten is working so hard to form those ladders! It has to be kneaded longer to get this result.
The first rise is 2 to 2 and 1/2 hours. (Normal white bread is just 1 hour) It takes a while, because the bran and germ get in the way of the gluten trying to form. The gluten ladder is what forms the little pockets for the carbon dioxide being released by the yeast to go. So give it some time! It’s worth it!
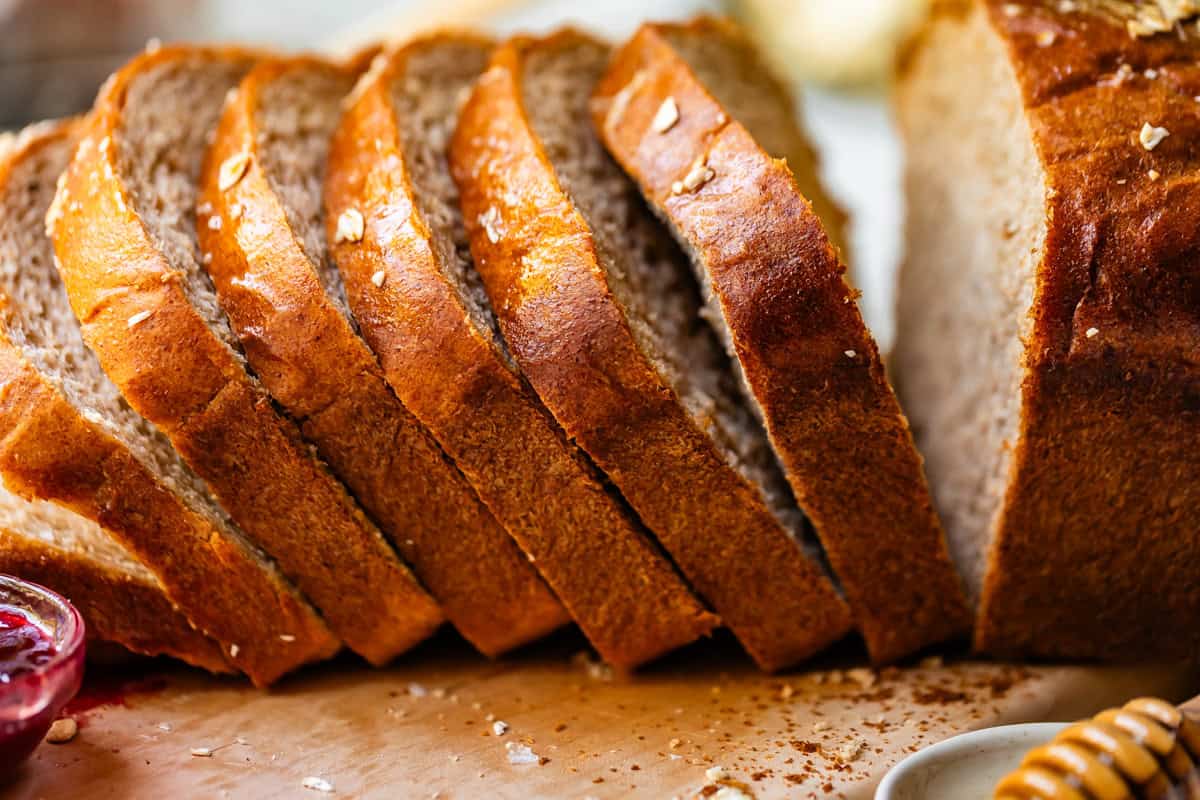
Ingredients you should know about
This is a basic recipe, but there are certain things that will make or break your bread, so pay attention!
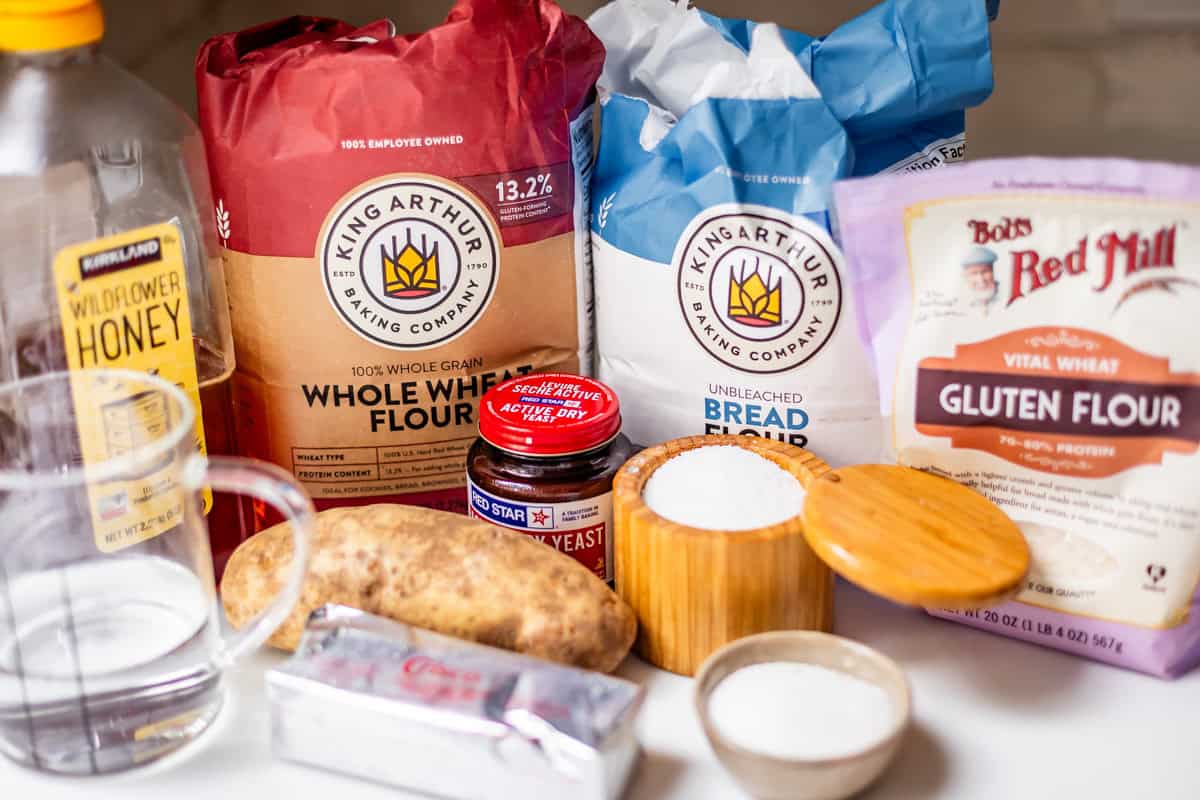
- Whole wheat flour is of course the star, and make sure to get red wheat for that distinctive flavor and dark color. (You can totally use white/golden wheat if you want! It just won’t taste as much like wheat bread.)
- Vital wheat gluten may sound like a super weird ingredient, but basically it’s just more of the gluten (a group of proteins) naturally found in flour that gives bread its signature springy, chewy texture. As opposed to white flour, whole wheat flour has bran and wheat germ that cut the gluten strands. In other words, its a lot harder for the bread to hold it’s shape and stay risen, and can be too dense and tough. Adding in extra gluten adds the structure and springiness back in. Yay!!
- Mashed potatoes OH YEAH baby. I’m telling you right now that you will never have softer, more pillowy wheat bread than when you make it with a russet potato in it. The starch helps the bread rise beautifully, and keeps the bread soft for days. Boiling one potato doesn’t take long, I promise.
- Diamond Crystal Kosher Salt not only brings flavor (the bread will taste flat, flat, flat without it) but it actually also plays a role in adding structure to the loaf by strengthening the gluten strands and slowing down the fermentation of the yeast so the bread doesn’t rise too quickly and then collapse! You can use table salt if you must, see notes.
How to make whole wheat bread
Here’s our line up! Easy, grocery store items.
First, make the sponge. Add some vital wheat gluten to some hot water in a bowl.
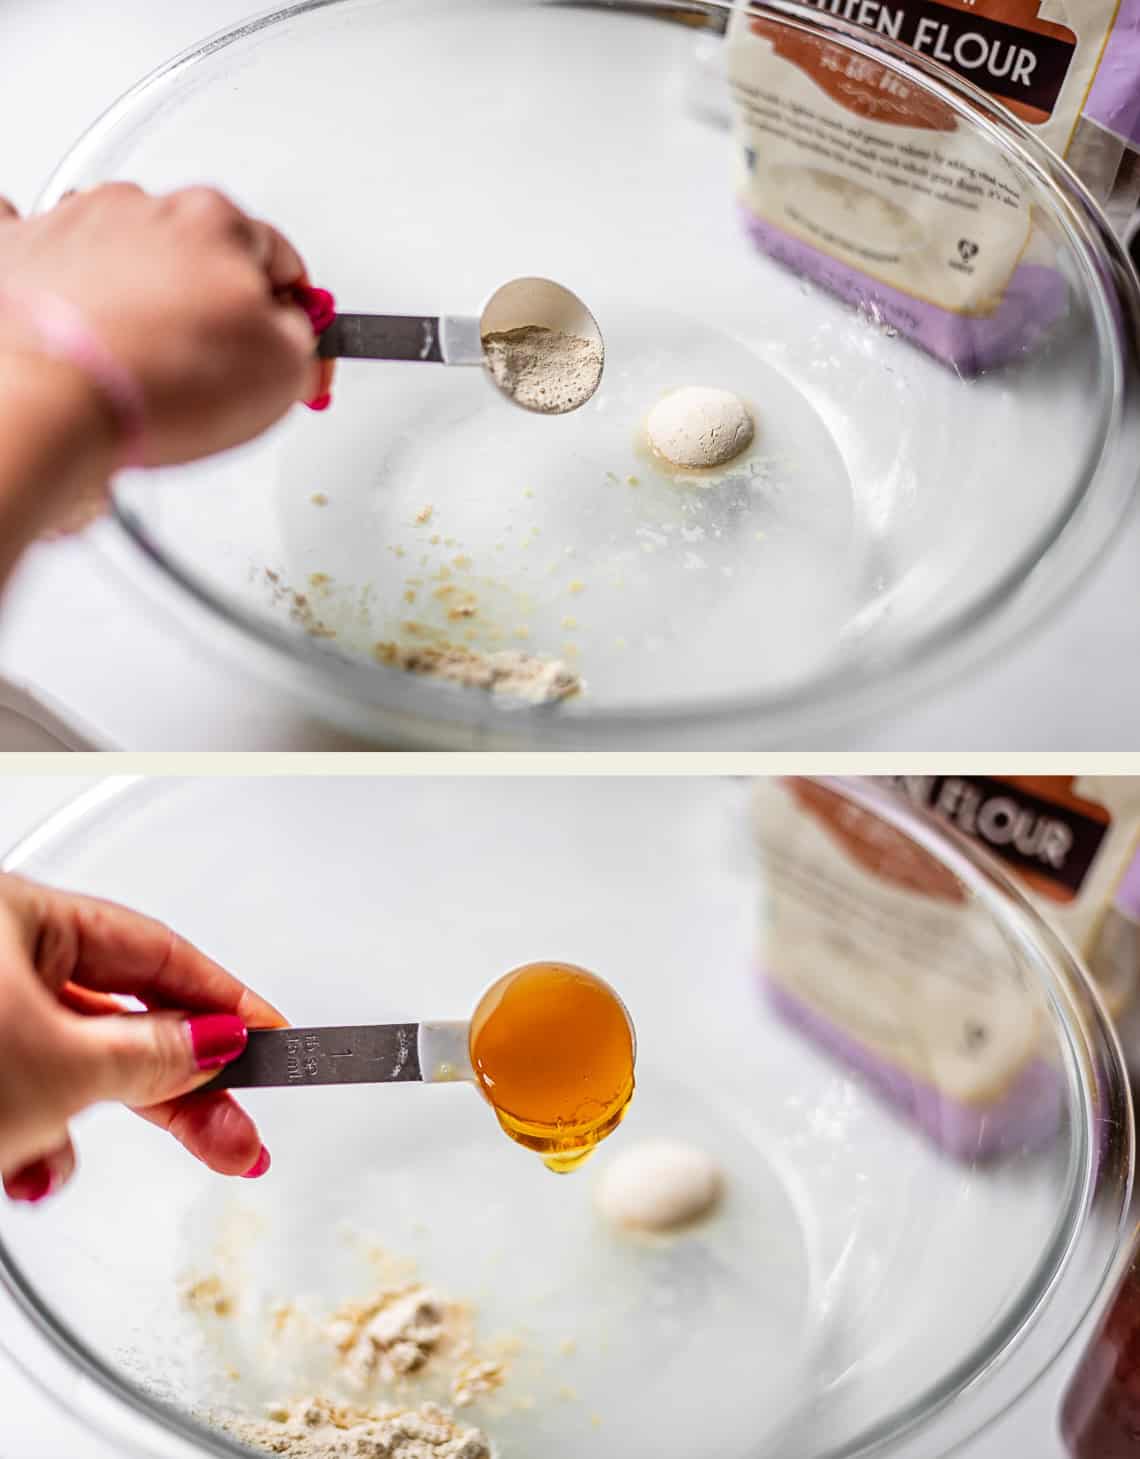
Add in some honey for the best flavor! There is something special about honey and whole wheat together.
Here is how to spoon and level flour. Scoop it into your measuring cup…

Then level it off. Don’t pack it in!
You can also make this bread by weighing the flour. 1 cup of spooned and leveled flour is about 113 grams. Even when spooning and leveling though, you’l still probably end up with a little more flour than if you weighed it. So keep that in mind, whatever method you choose.
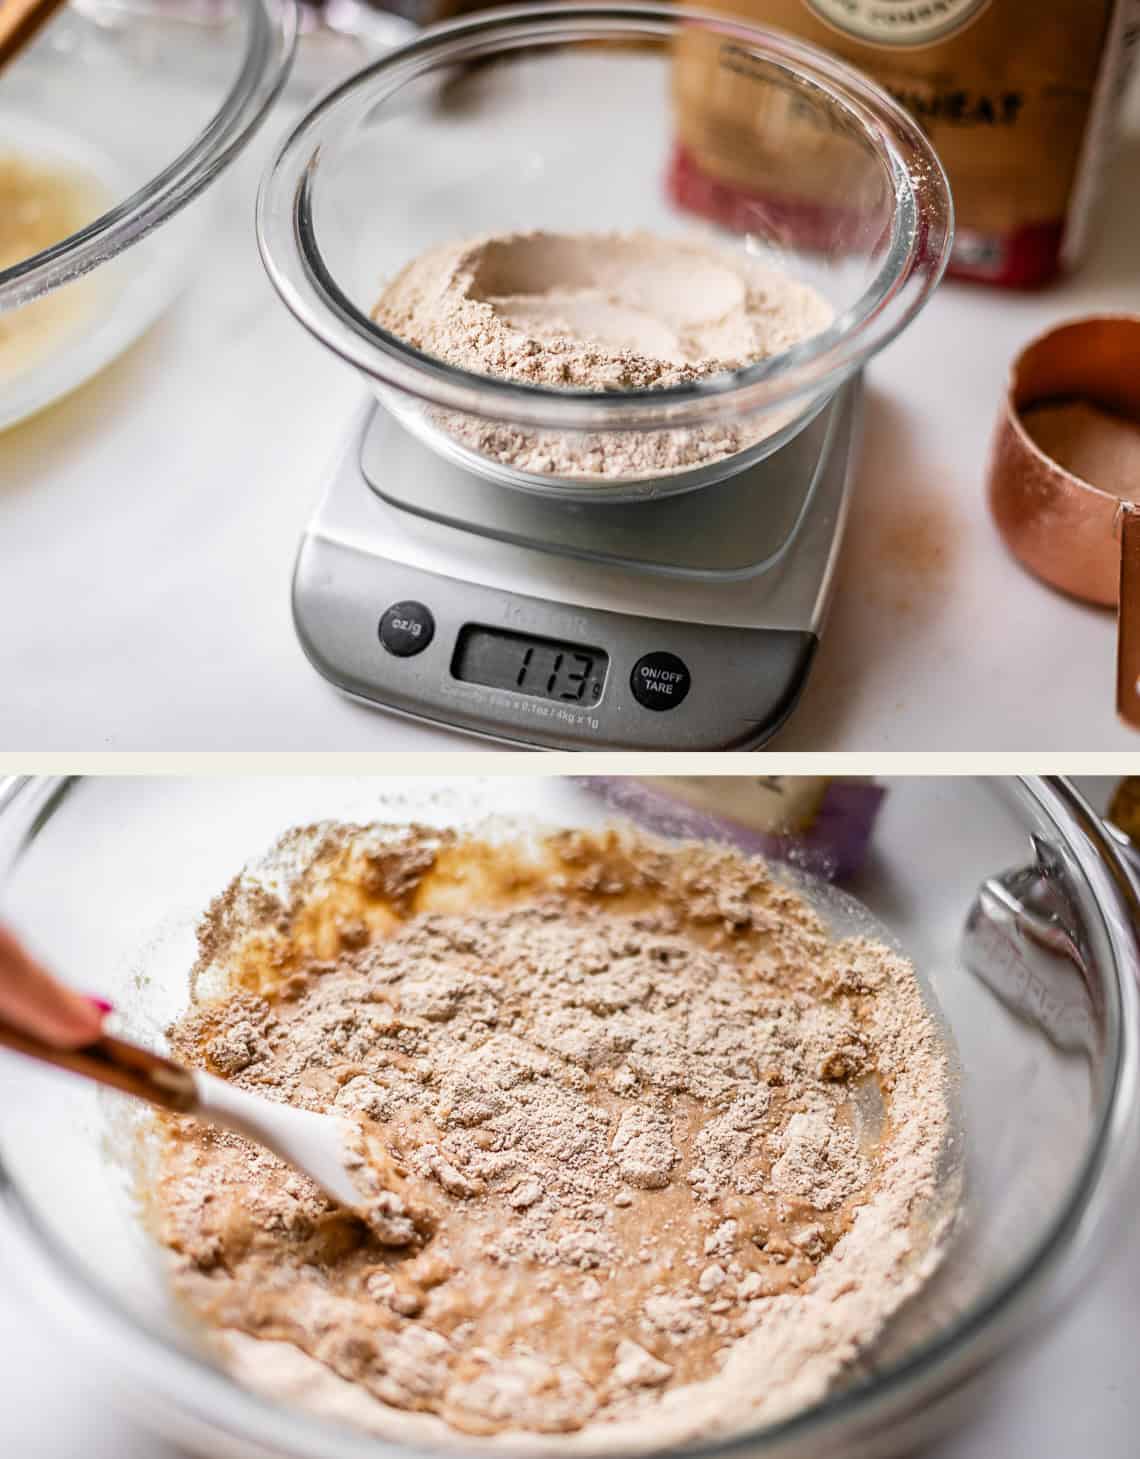
Stir it up and let it sit for a hot minute.
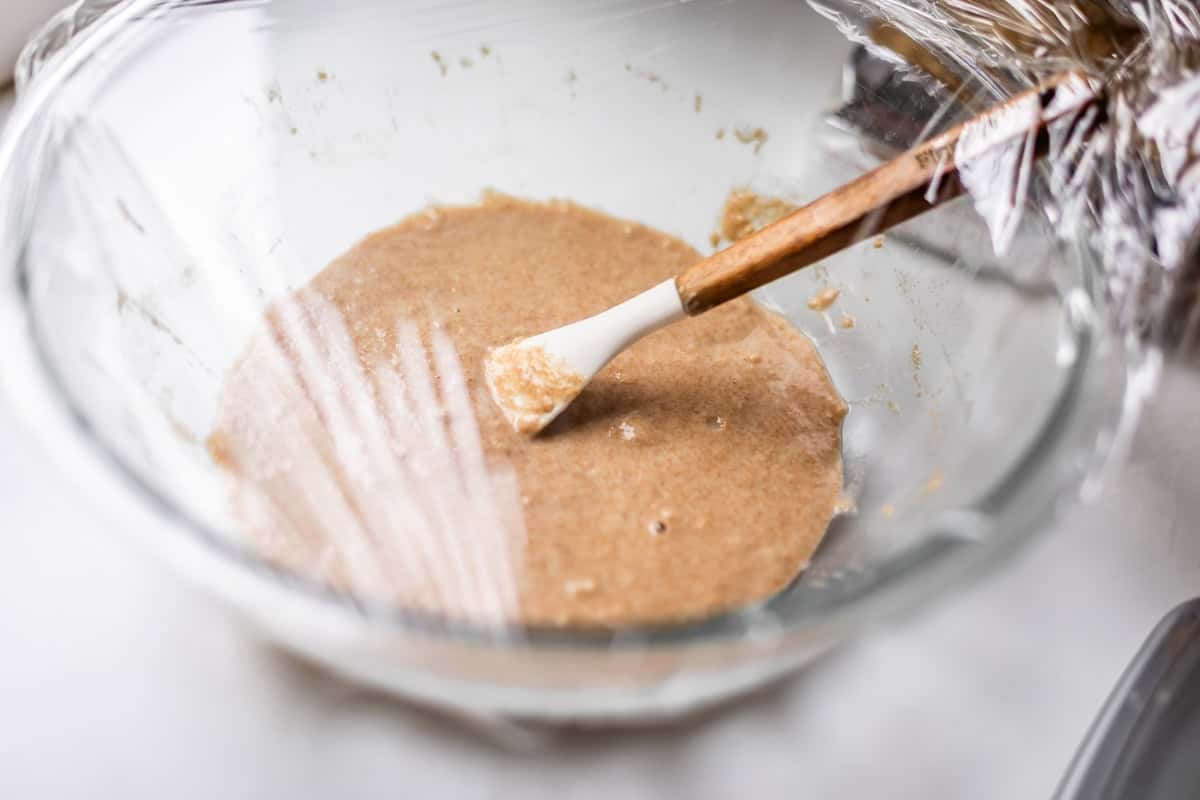
Now it’s time to boil a potato! Didn’t you want some mashed potatoes for lunch?? It’s your lucky day.
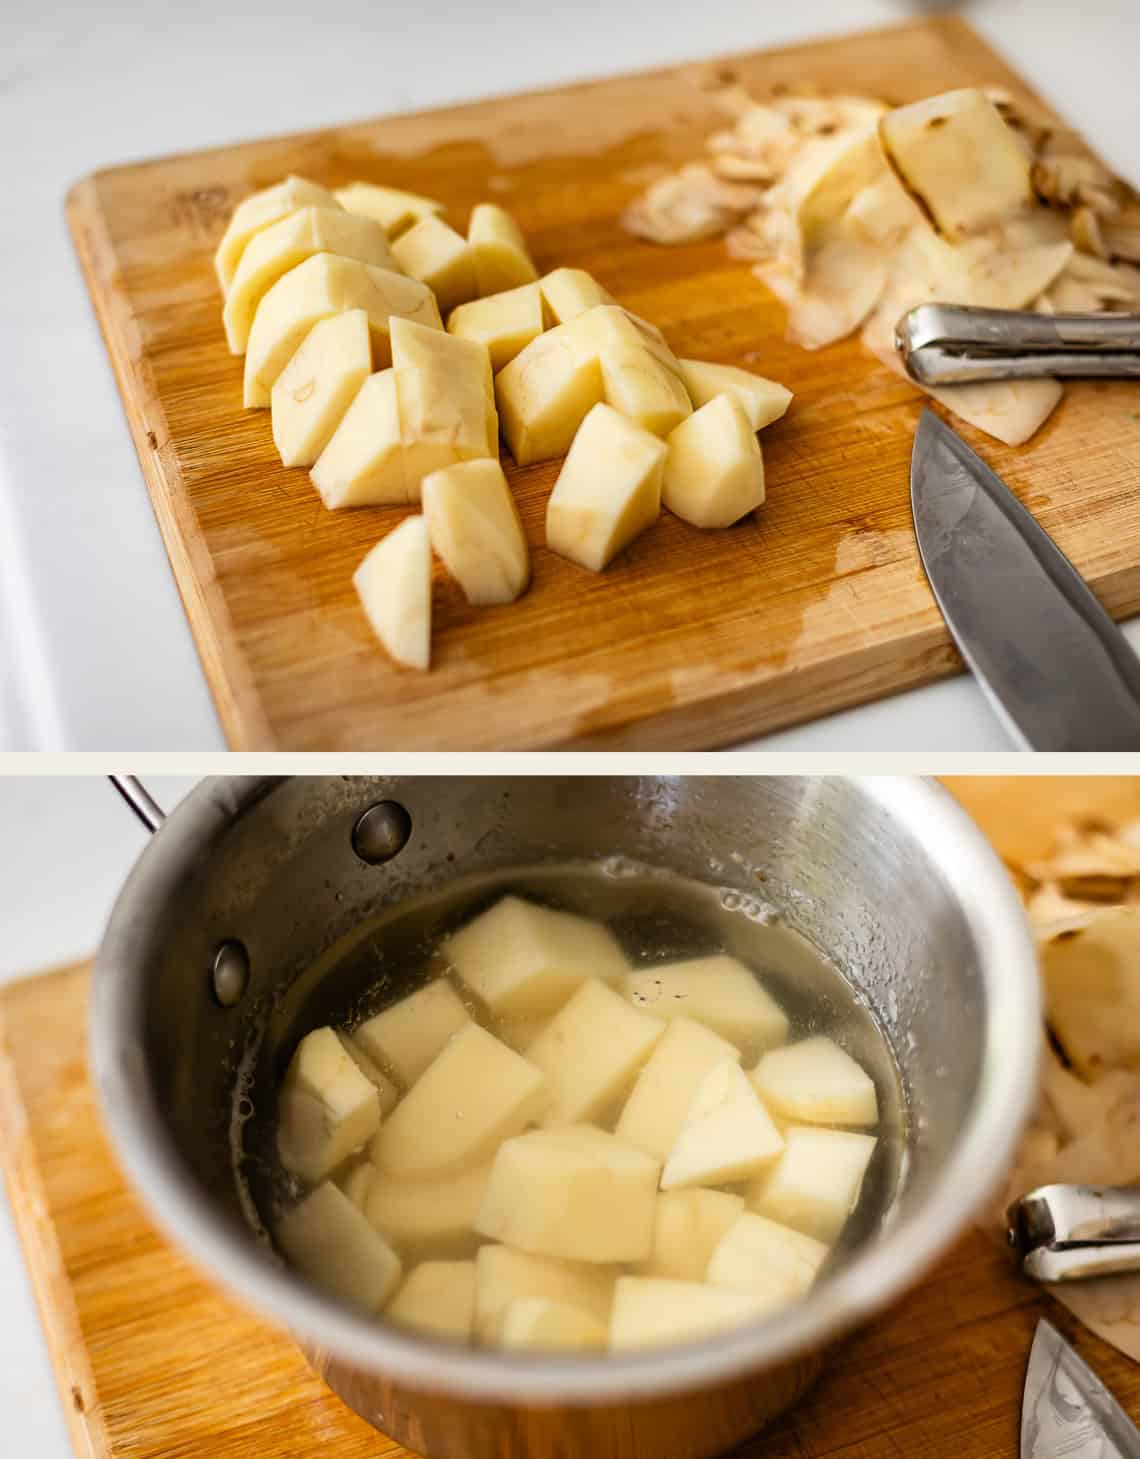
Boil the potato until it’s fork tender. Then put some on a plate and mash it up. You don’t need all of it!
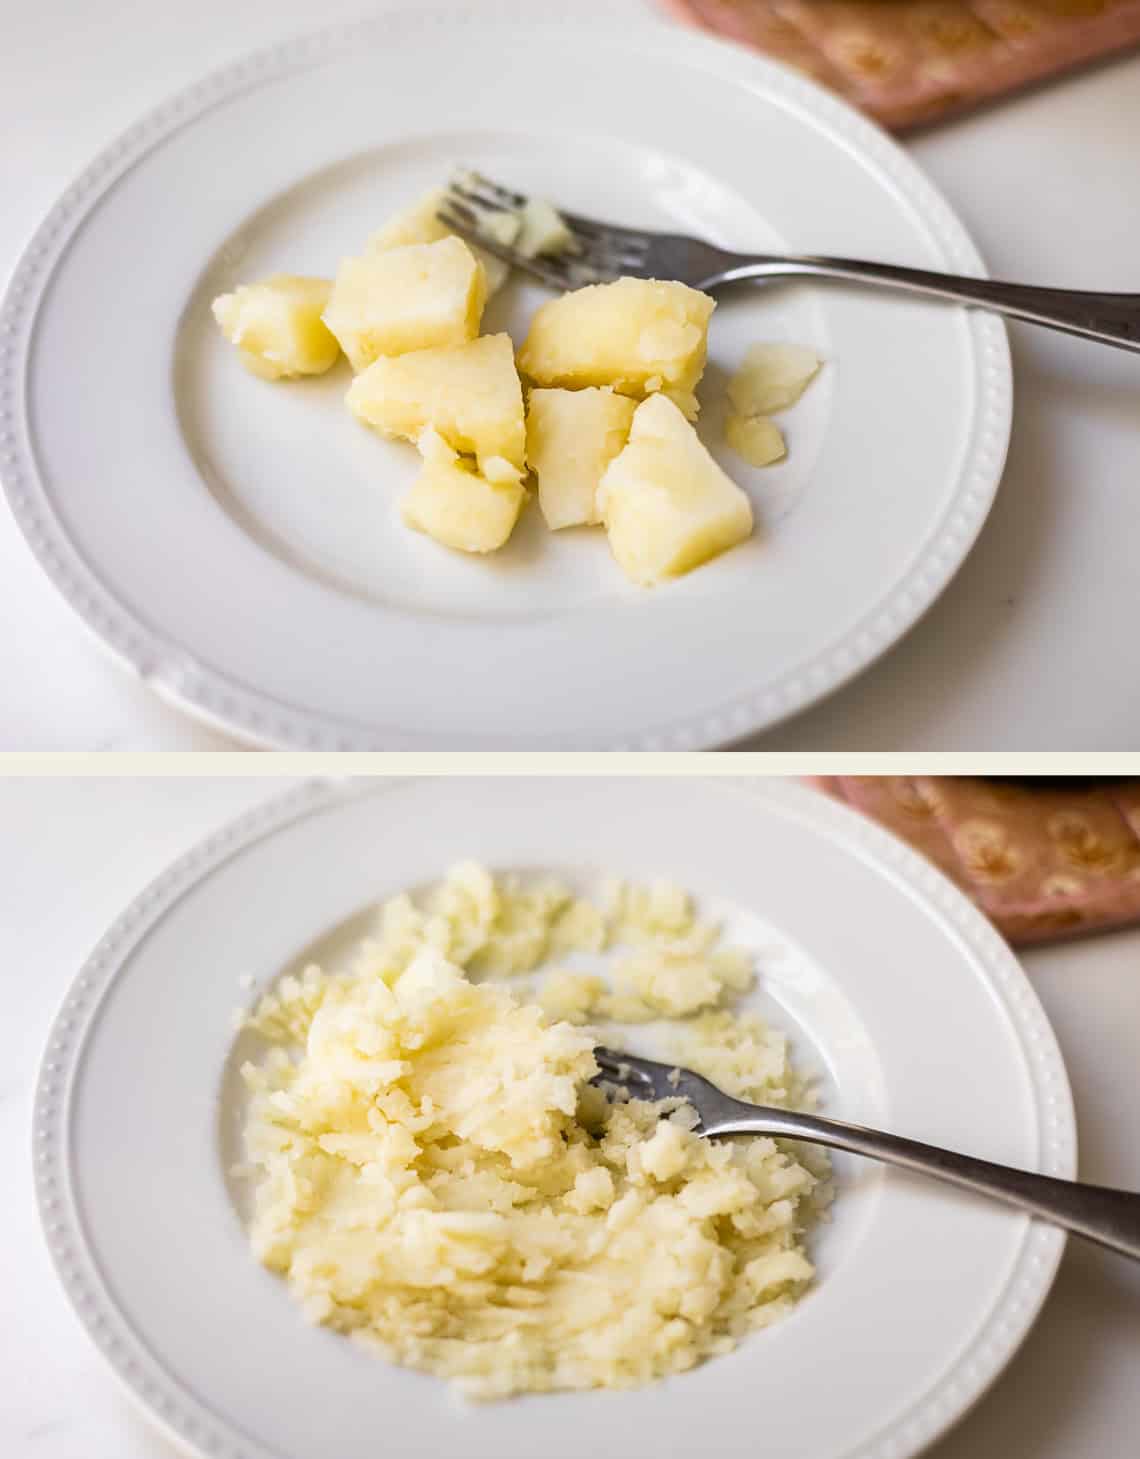
If you have anything in your kitchen that has colander-ish size holes, press your potato through it. We really don’t want potato chunks in our bread! A sieve is too small. This is the strainer to a gravy separator I have. It’s not that big of a deal, just use your fork if that’s all you have, and try to do a really good job mashing.
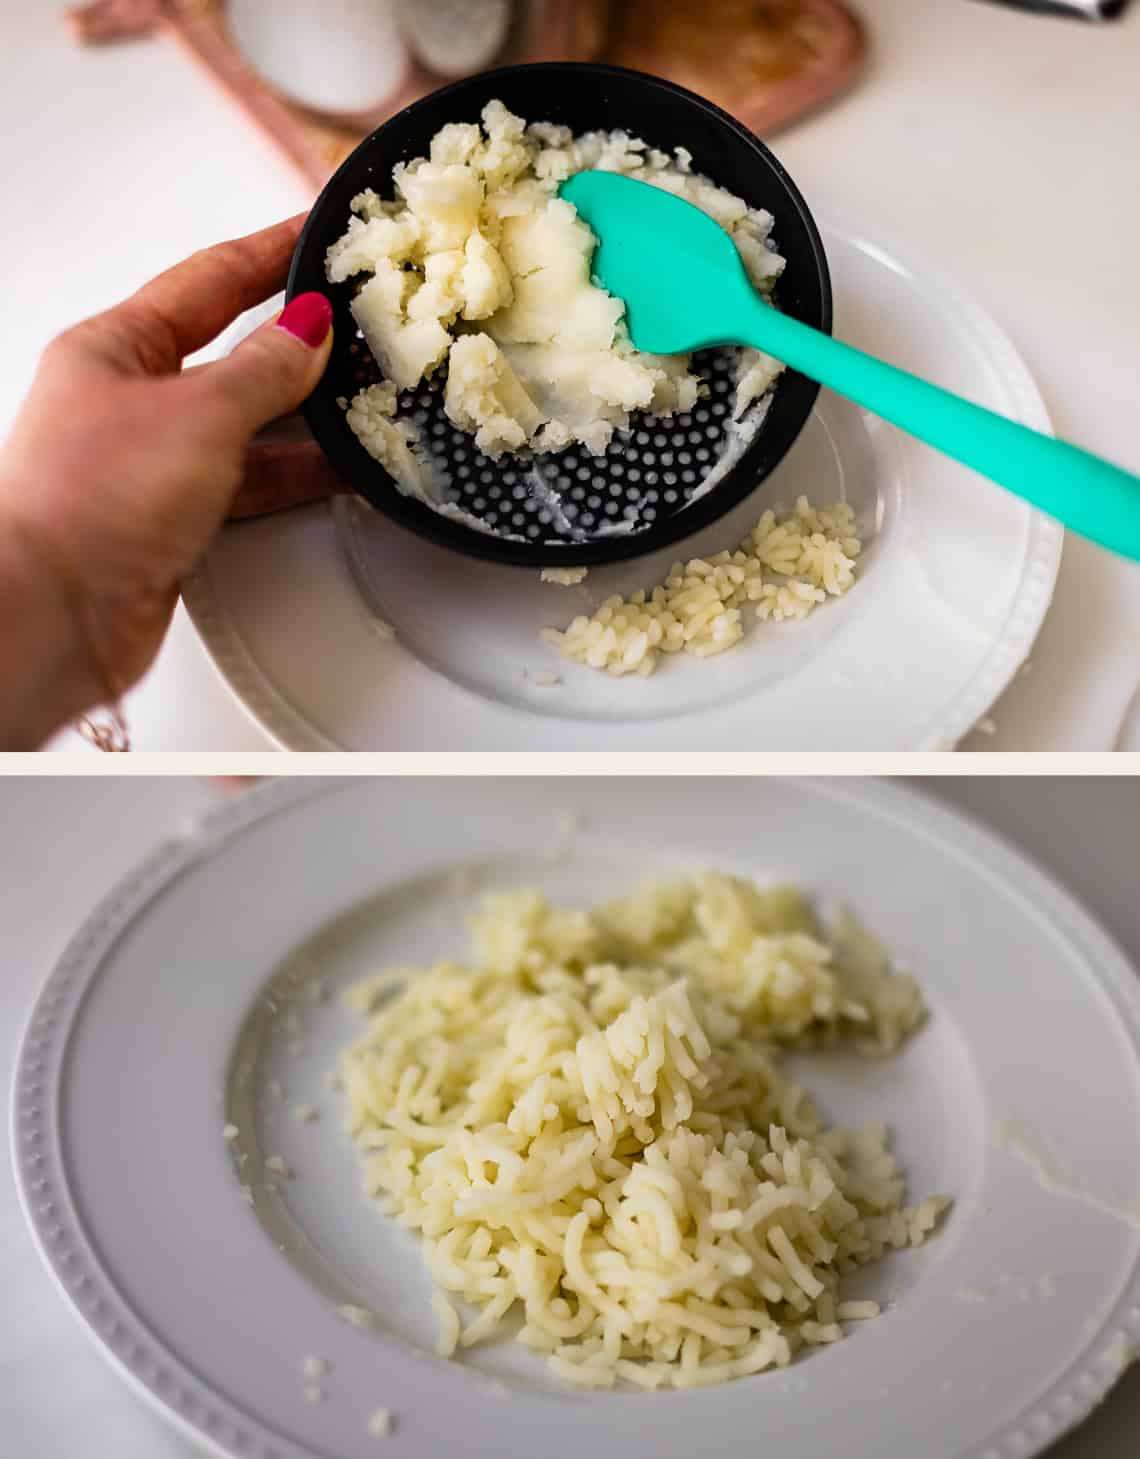
Set this aside. Once your sponge has rested for about 30 minutes, it’s time to proof your yeast. Add some yeast to warm water with a bit of sugar, to feed it.
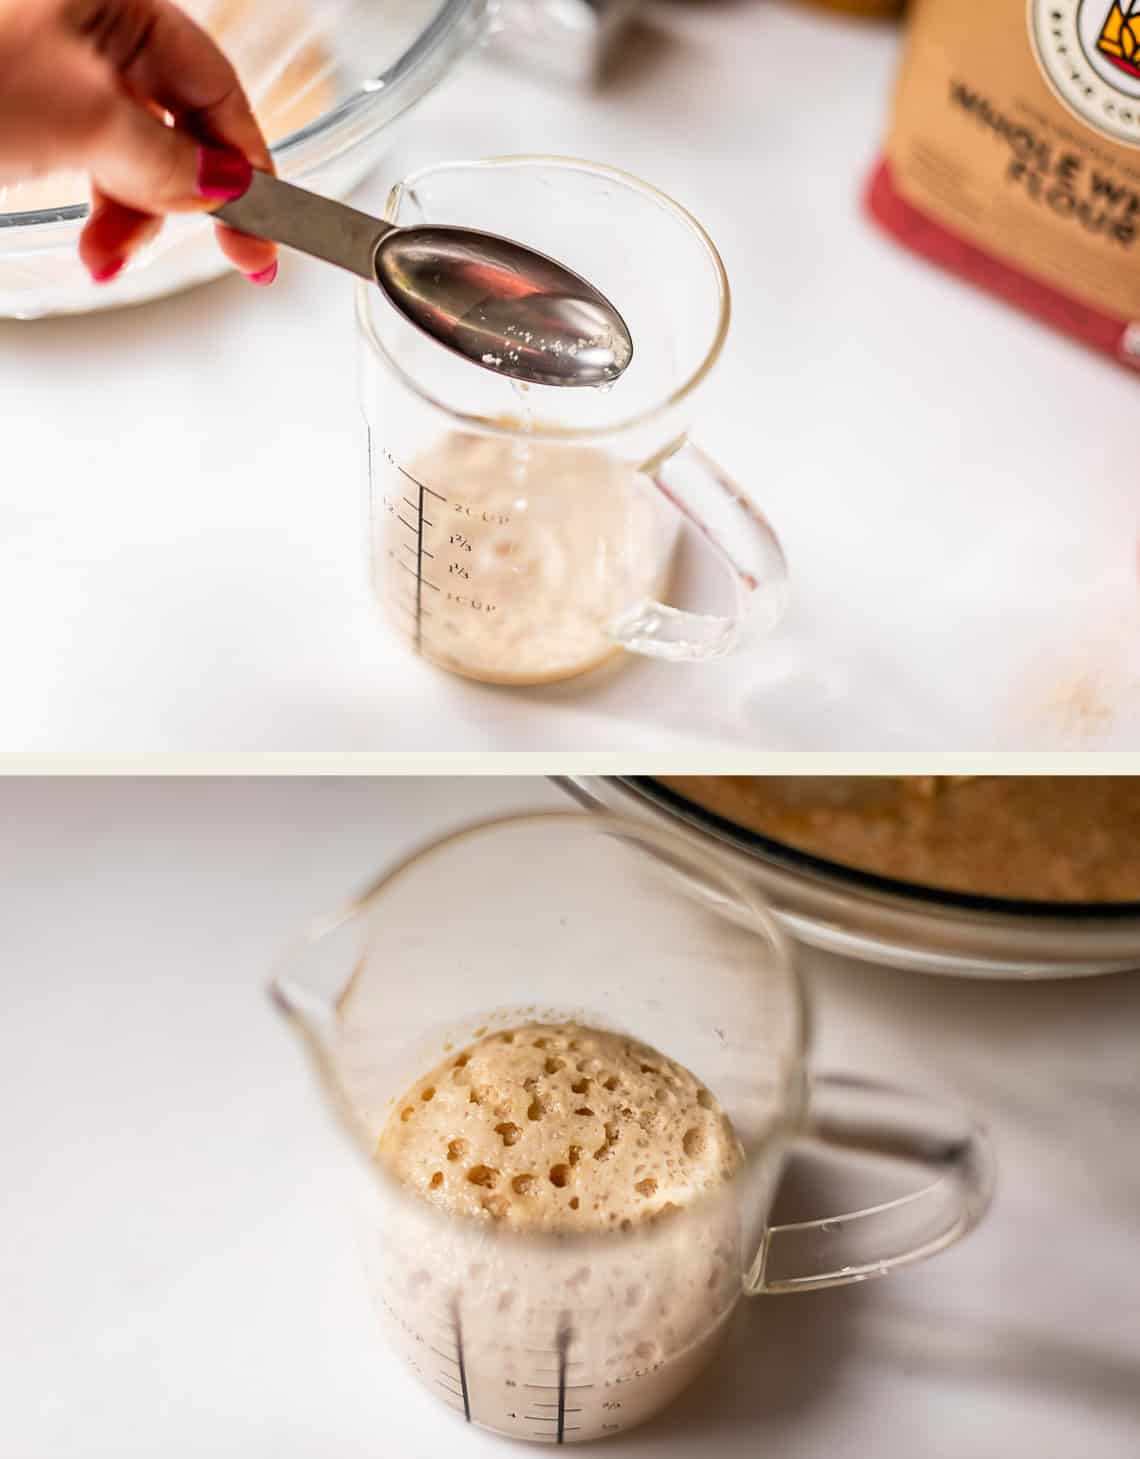
Look at these bubbles! It’s perfect 🥹
Add 3 tablespoons sugar to the sponge.
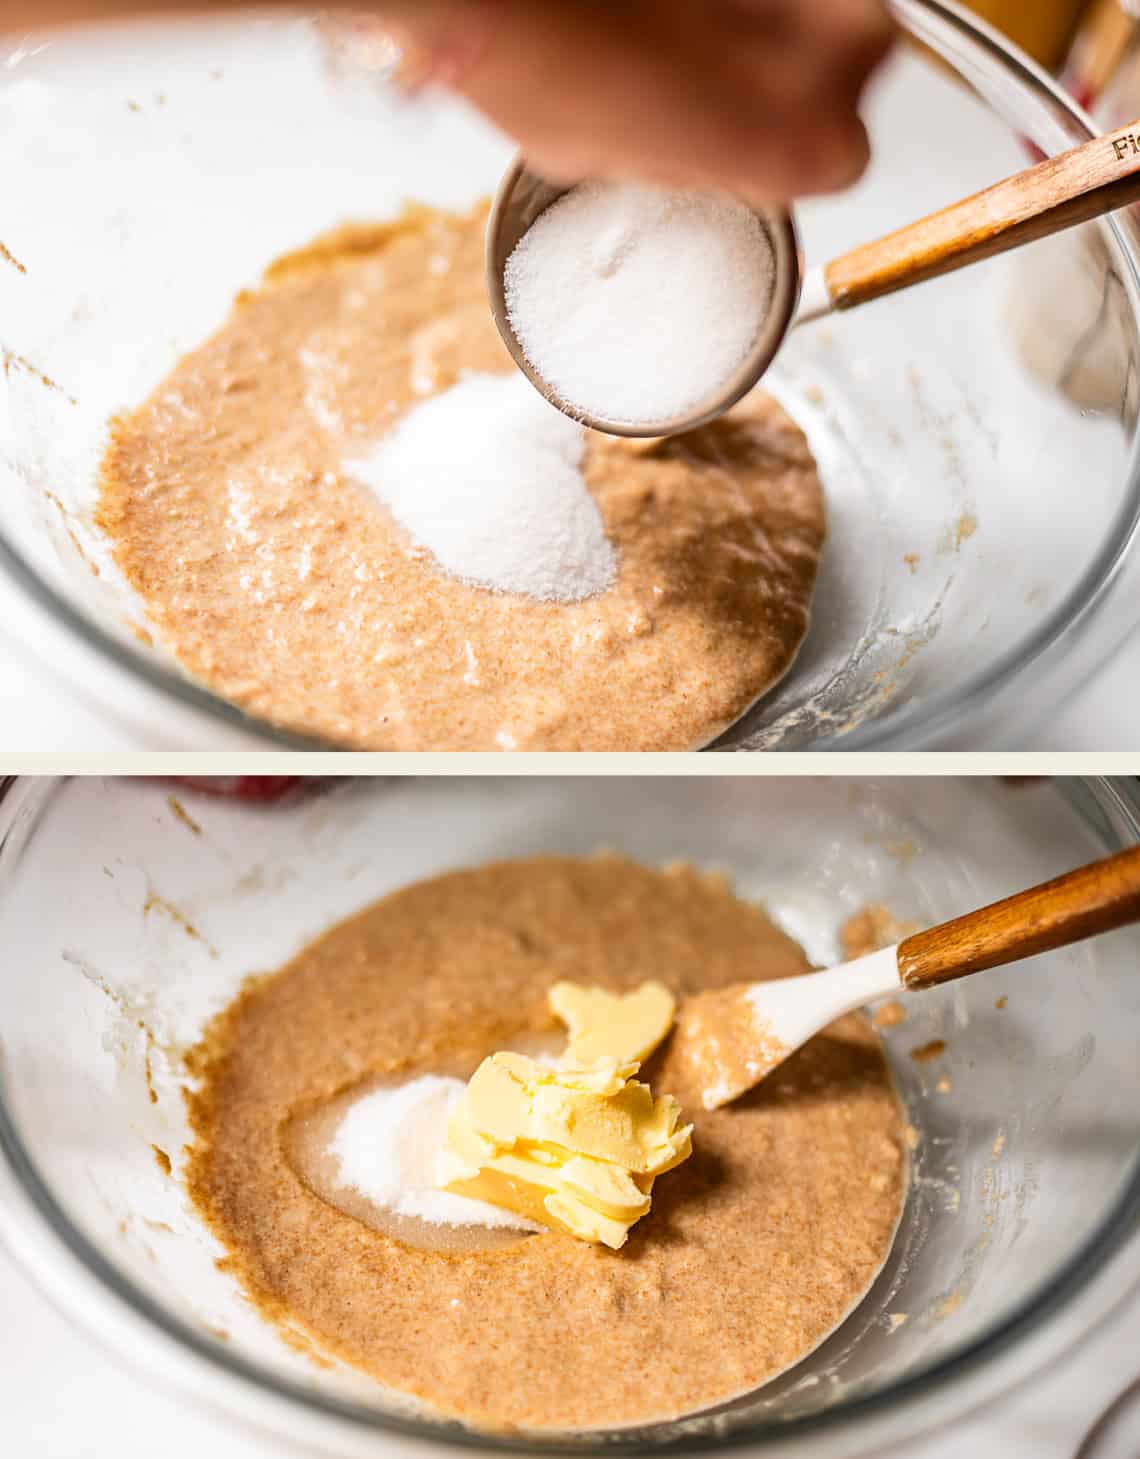
Add in the shortening. If you have a hate-hate relationship with shortening, use lard! If you are also a lard hater, use butter! But your bread won’t be as soft. Butter is not 100% fat. Shortening and lard are. You can use oil (also 100% fat), but you will have to add a bit more flour while kneading, because it’s liquid at room temp. You do you!
Now add in a full tablespoon of kosher salt. Yes, 1 tablespoon! Use less if all you have is table salt. But I promise, if you have the right salt, it’s perfect, and doesn’t taste salty. The salt just acts as an amplifier to the other flavors in the bread.
Oh and you can see here I added the yeast mixture to the dough here:
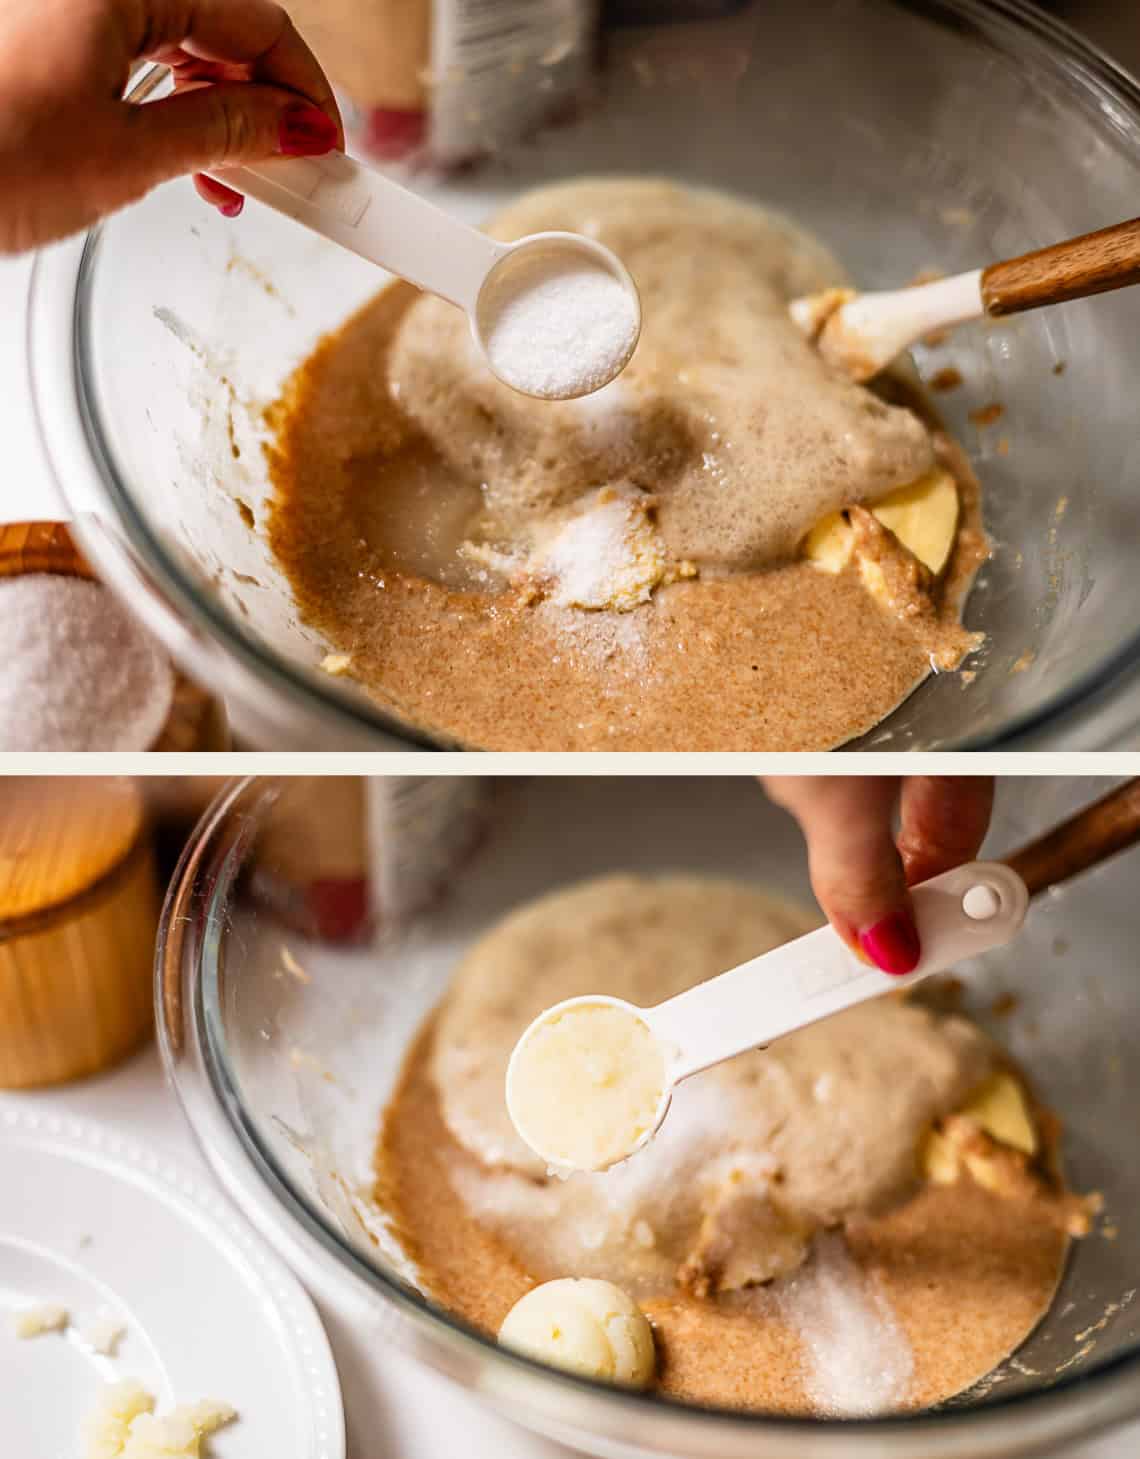
Now add in your mashed potato! Soft, soft, fluffy potatoes makes soft, soft, fluffy bread!
Add in 1 cup whole wheat flour:
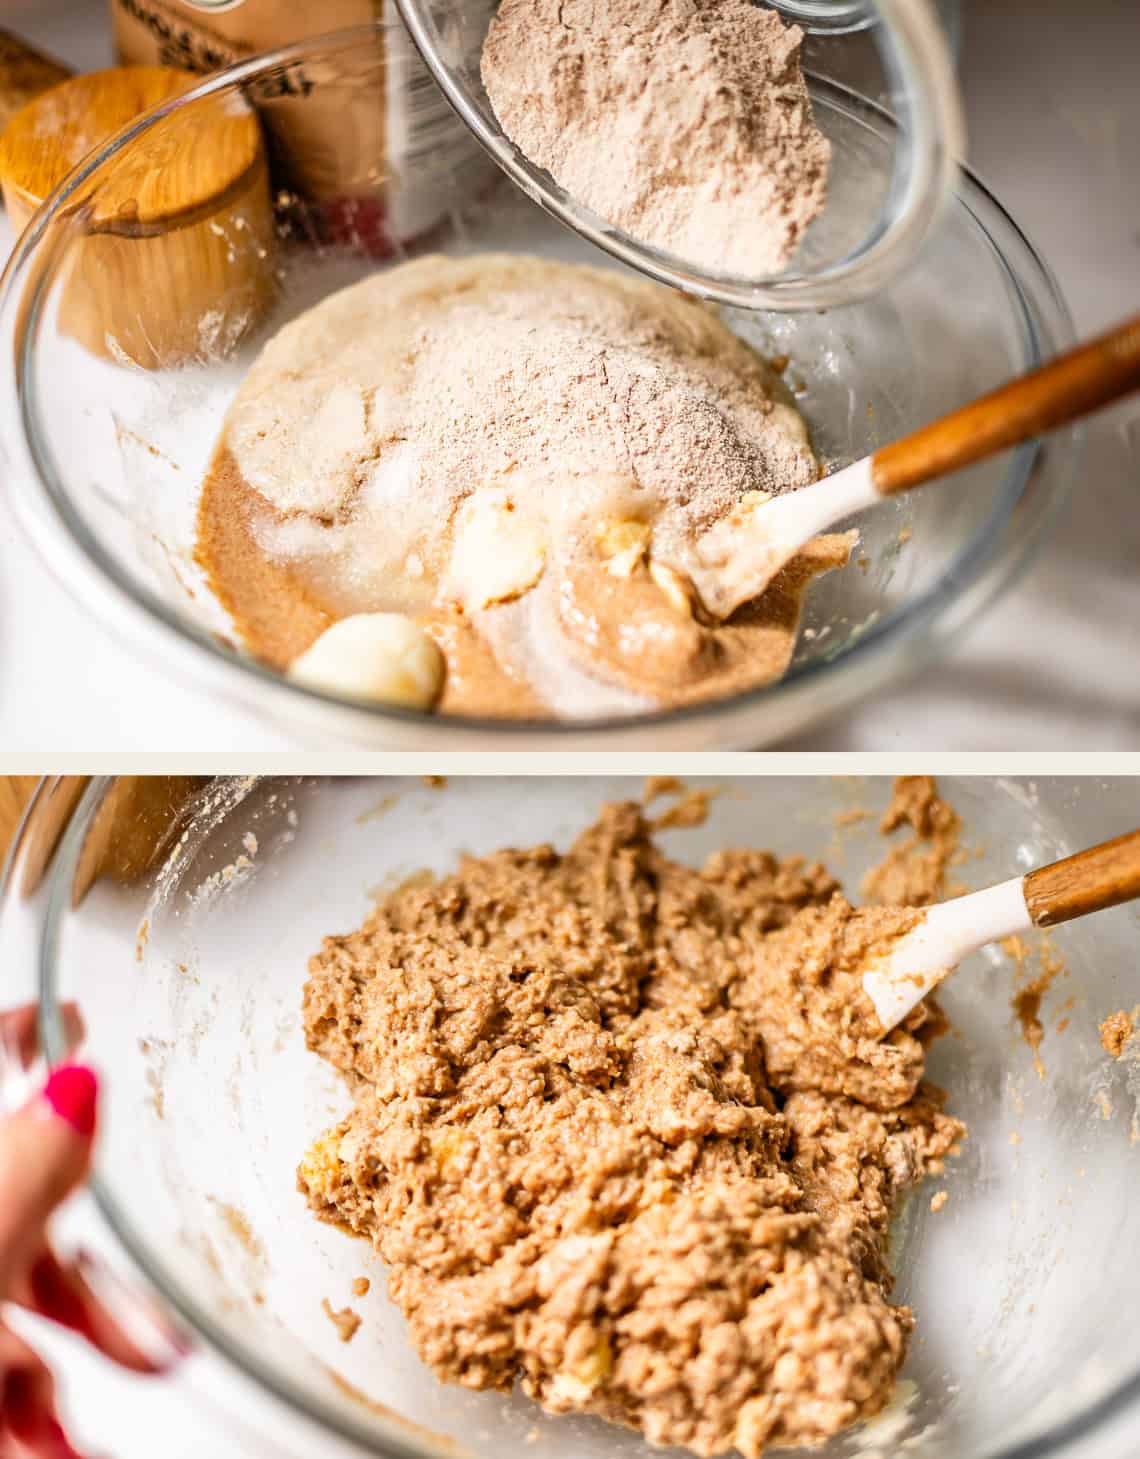
And stir it all up. At this point I moved it to my kitchenaid. (You should do the whole thing in your kitchenaid. The glass bowl is just better for pictures.)
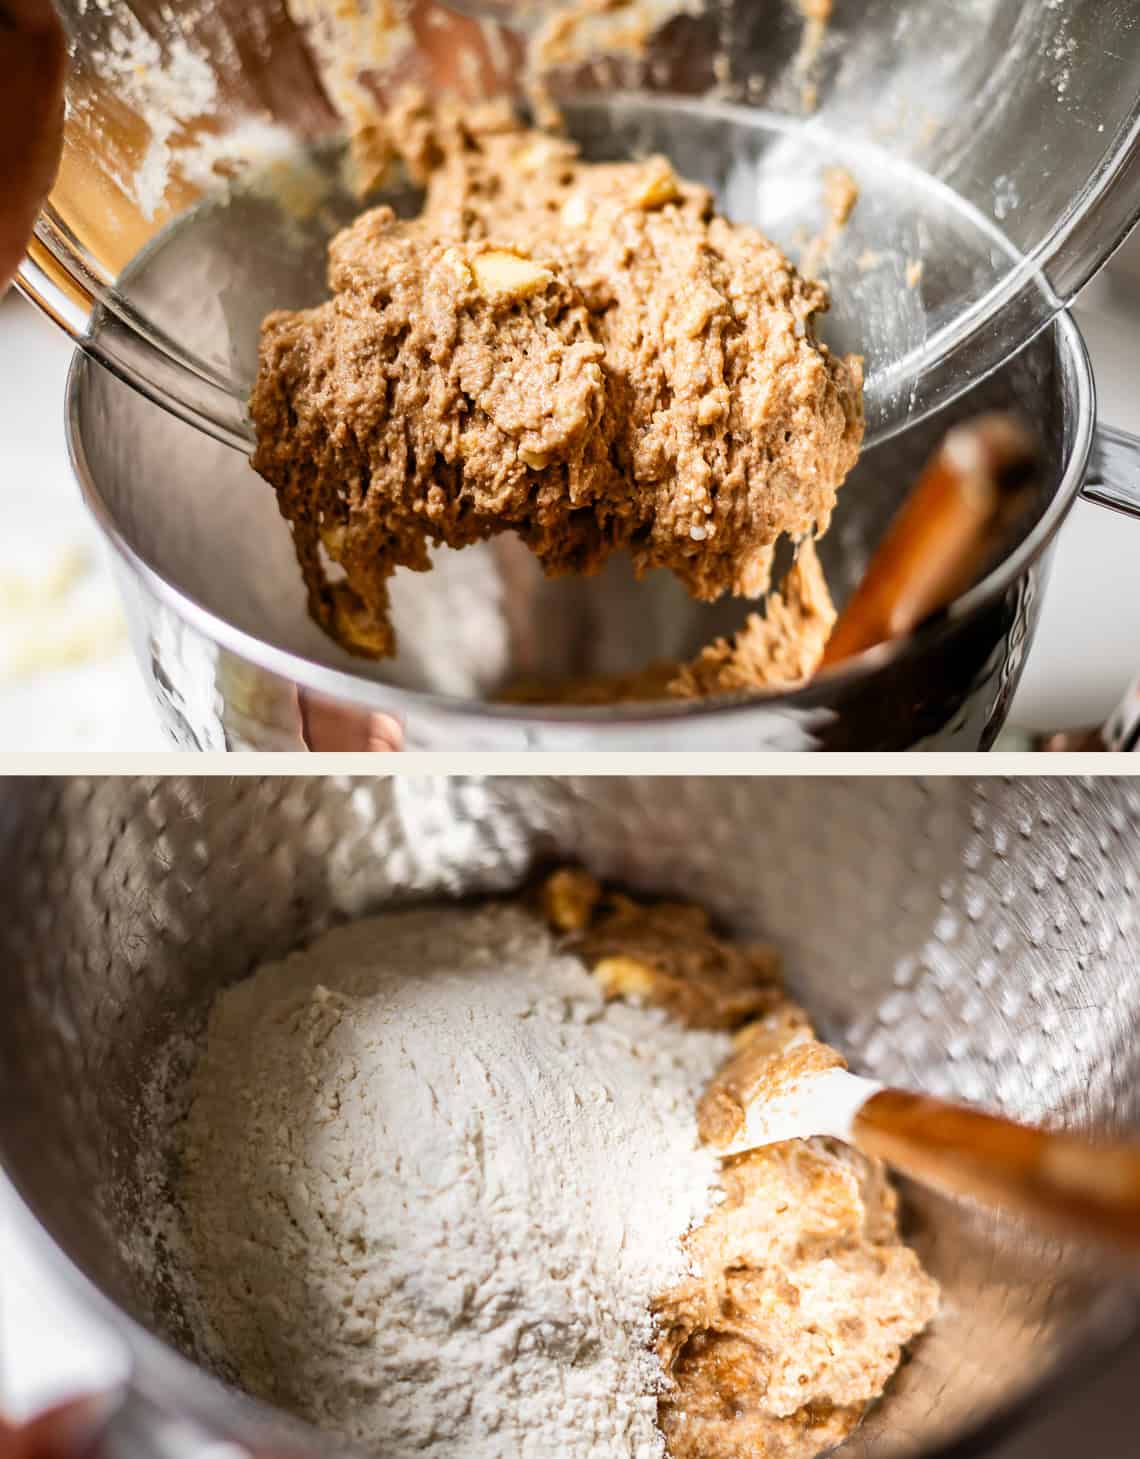
Now add in 1 cup of bread flour!
And start kneading, either by hand or with the dough hook.
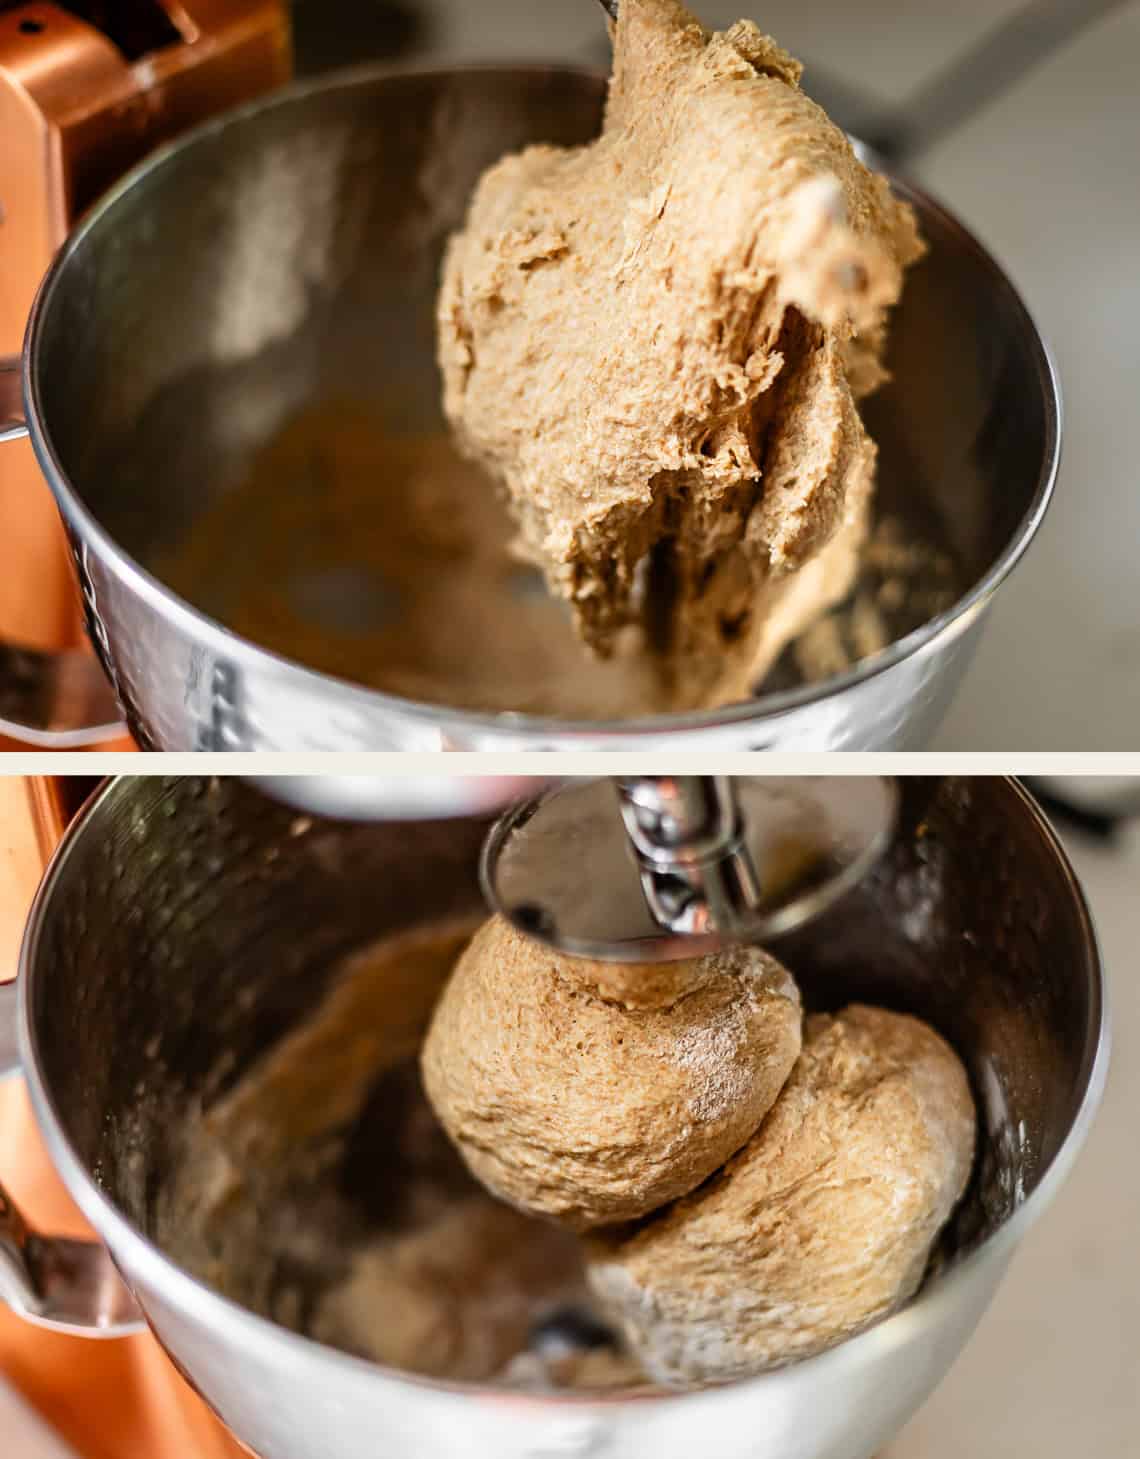
It starts out pretty sticky. Keep adding the last bit of bread flour called for until your dough is cleaning the sides of the bowl. The dough should feel MORE sticky than regular white bread at the end of kneading.
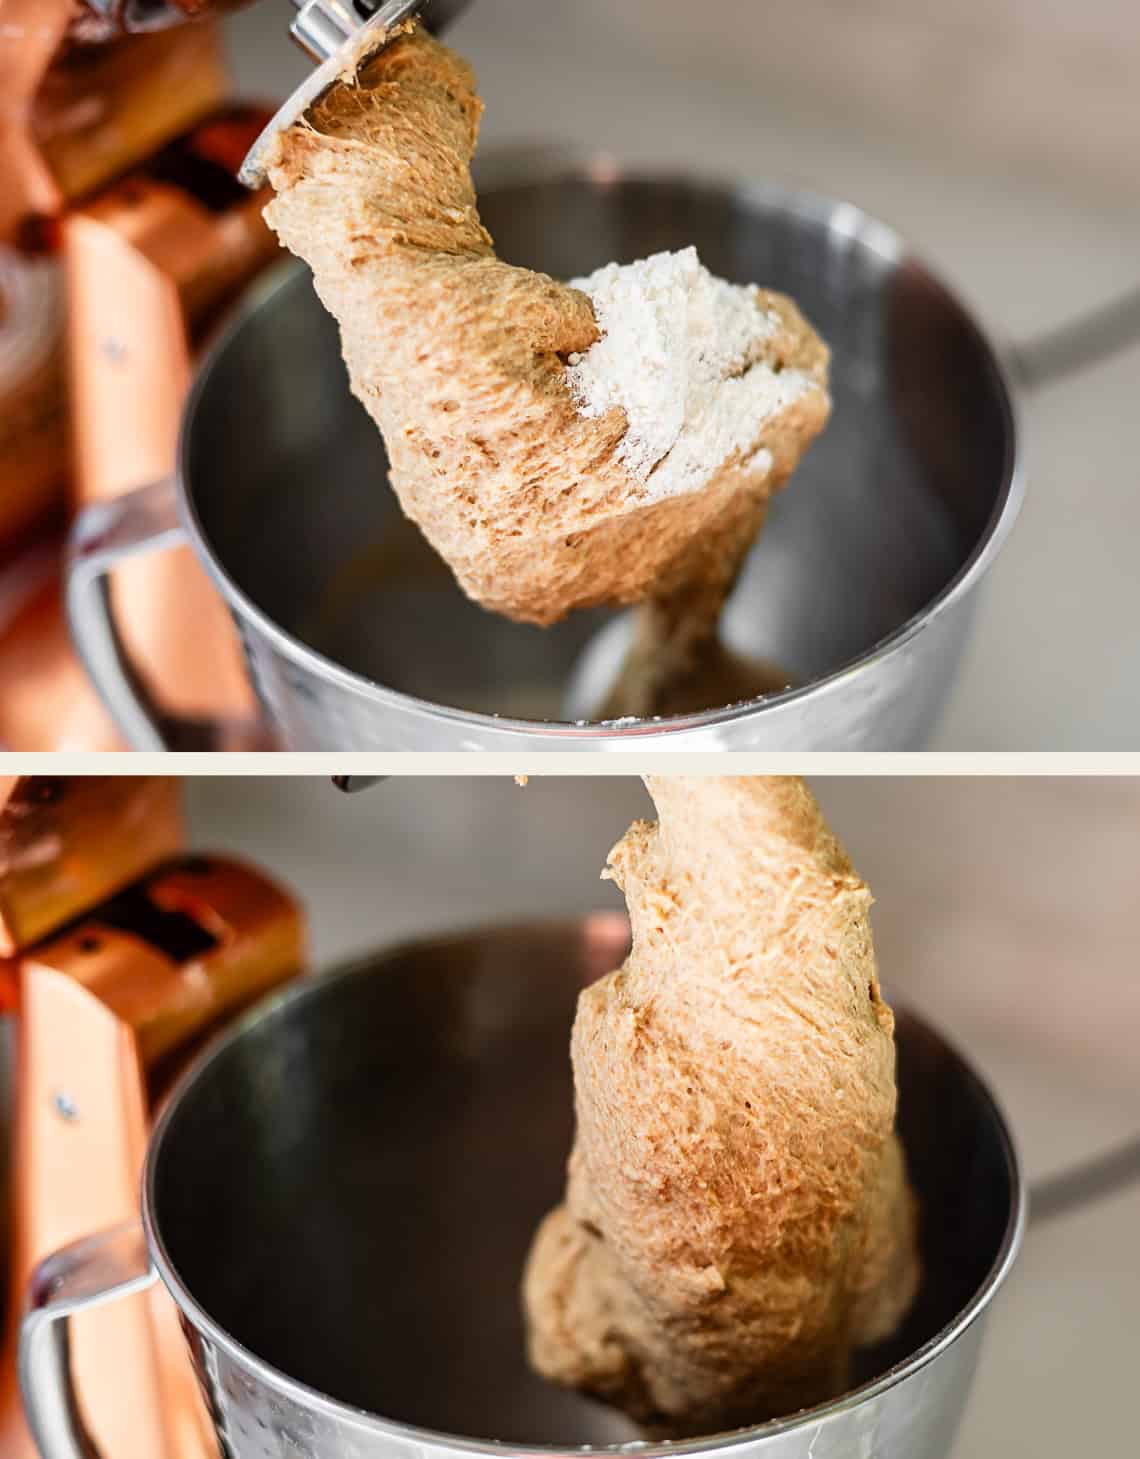
Here she is! Your dough should be stretchy and elastic after 10 minutes of kneading.
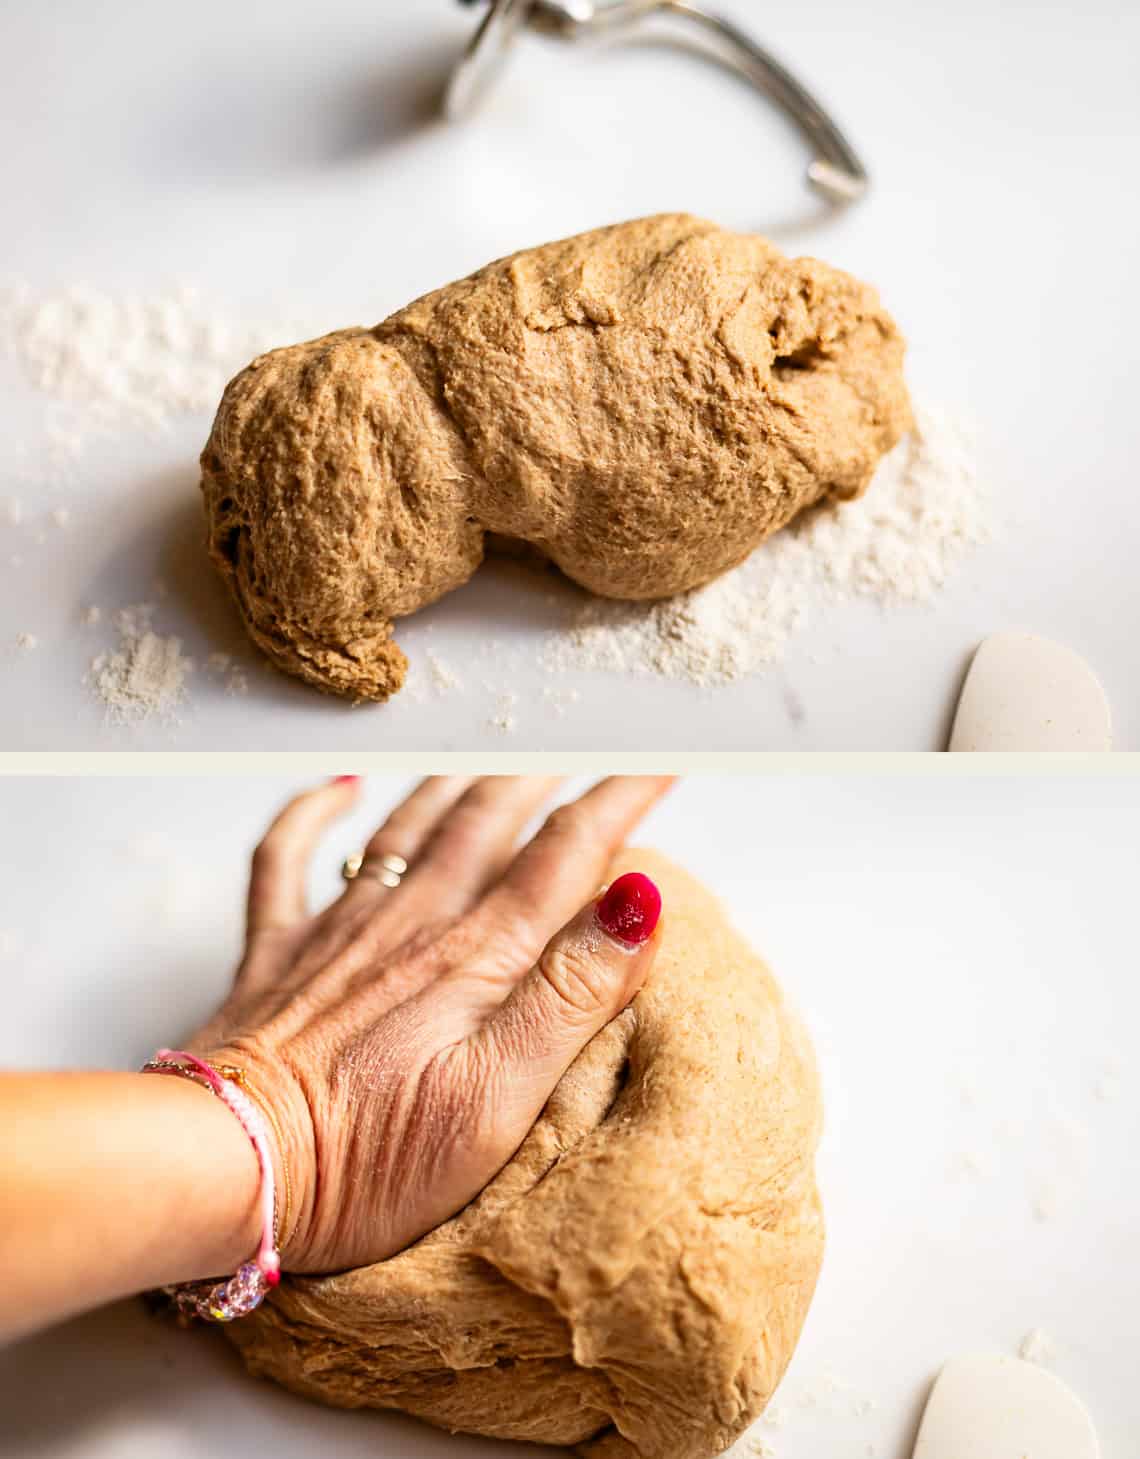
I find it’s best to hand knead the dough at the end, just to get a feel for how it’s doing. Can you stretch it like this, with no breakage? If it breaks, keep kneading.
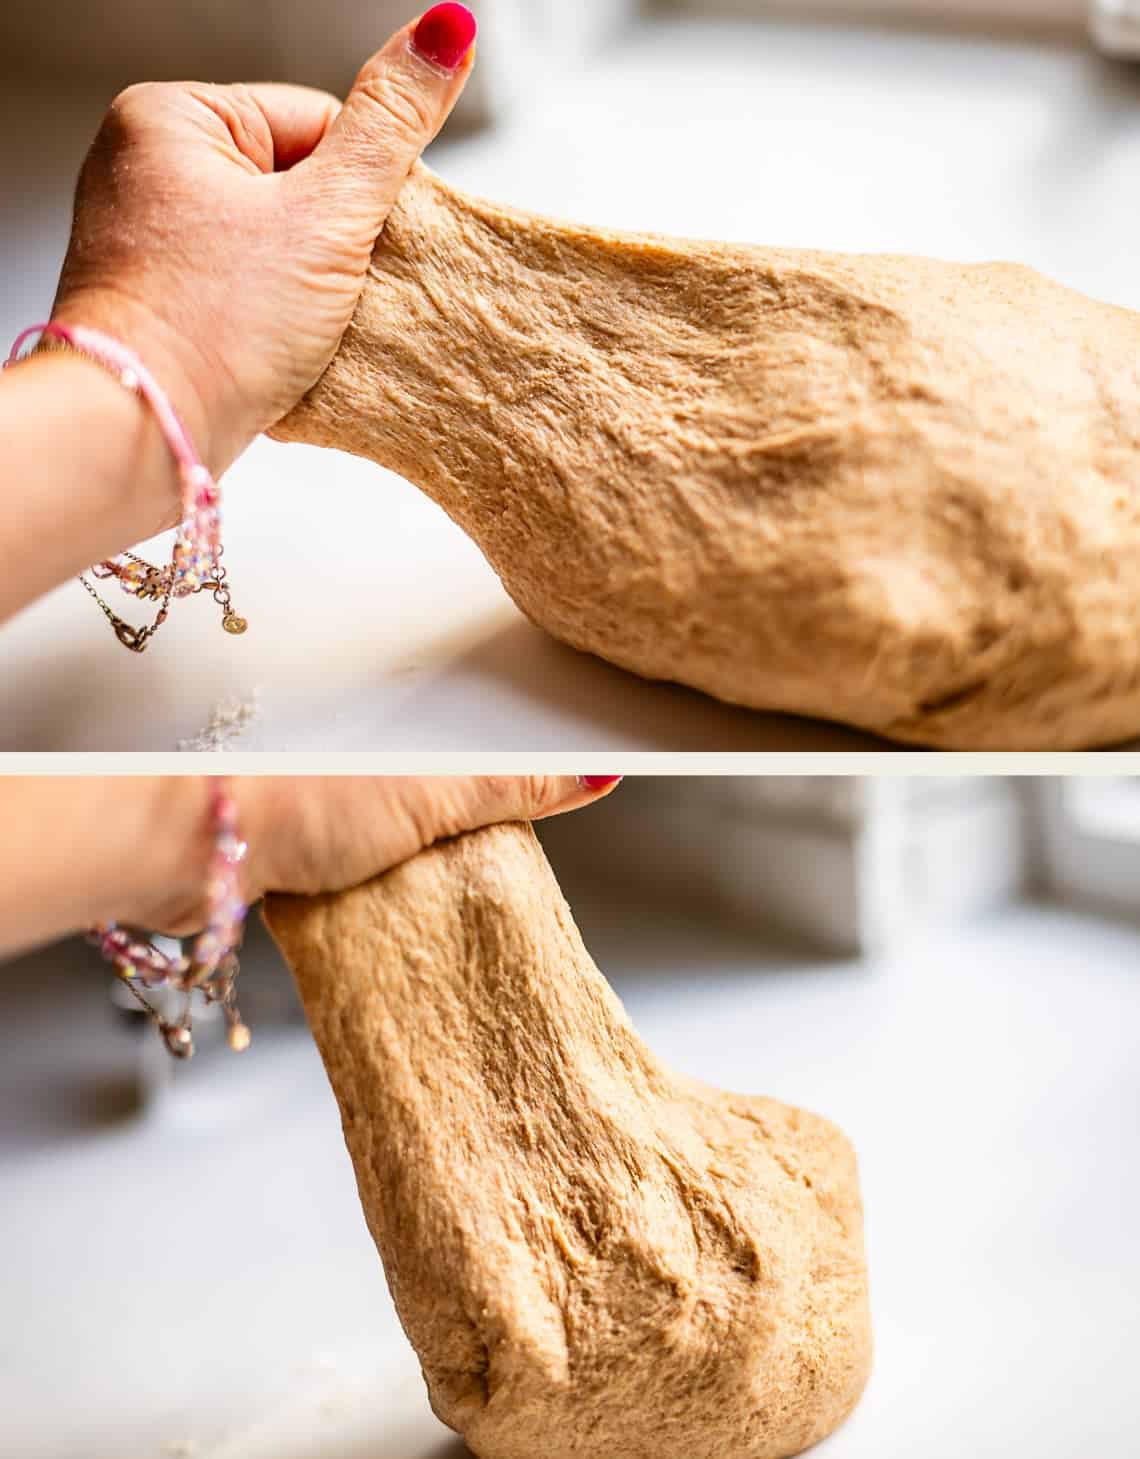
Once it’s smooth and elastic like this, it’s ready to go. It should be sticky but not so much that it sticks to the counter a ton. If you shape the dough into a ball and it slowly starts to flatten into a pancake, it needs more flour.
Now get a bowl all ready for rising. Add a lot of oil!
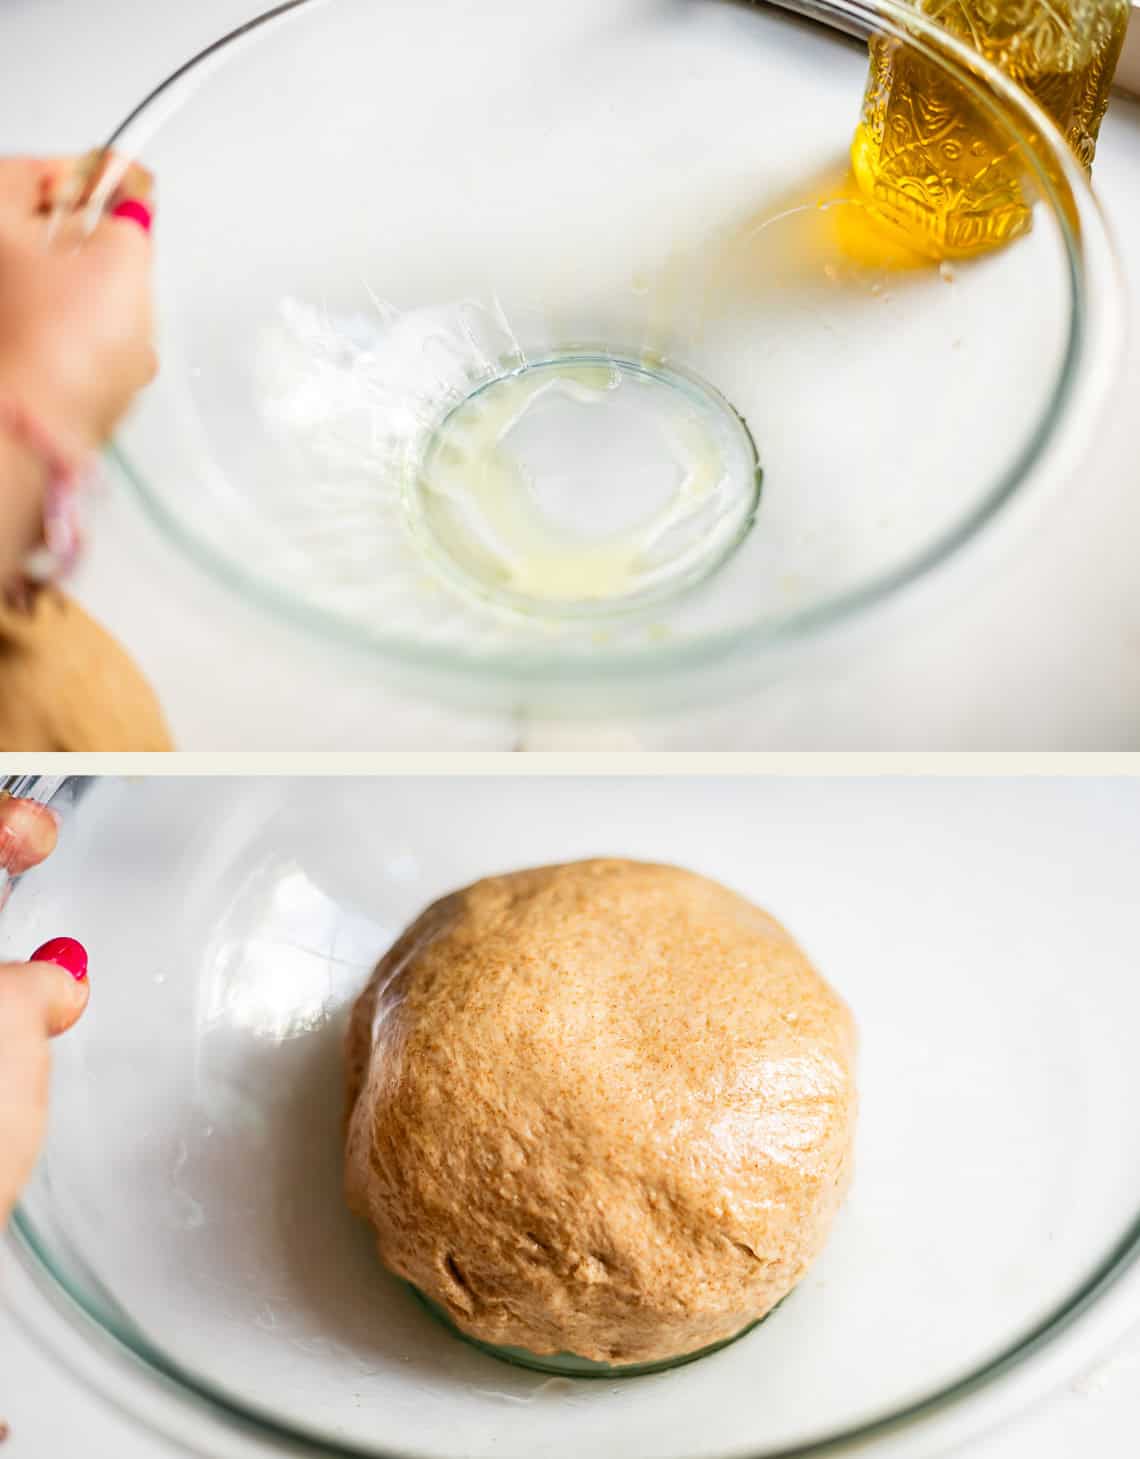
Smooth out the dough and turn it over in the bowl so that the top is oiled.
Then cover carefully with greased plastic wrap, and let it rise until doubled! This takes a while. You can’t rush whole wheat bread. Depending on the temperature of your house, it could be 2 hours, or up to 3 hours. You want it to double in size.
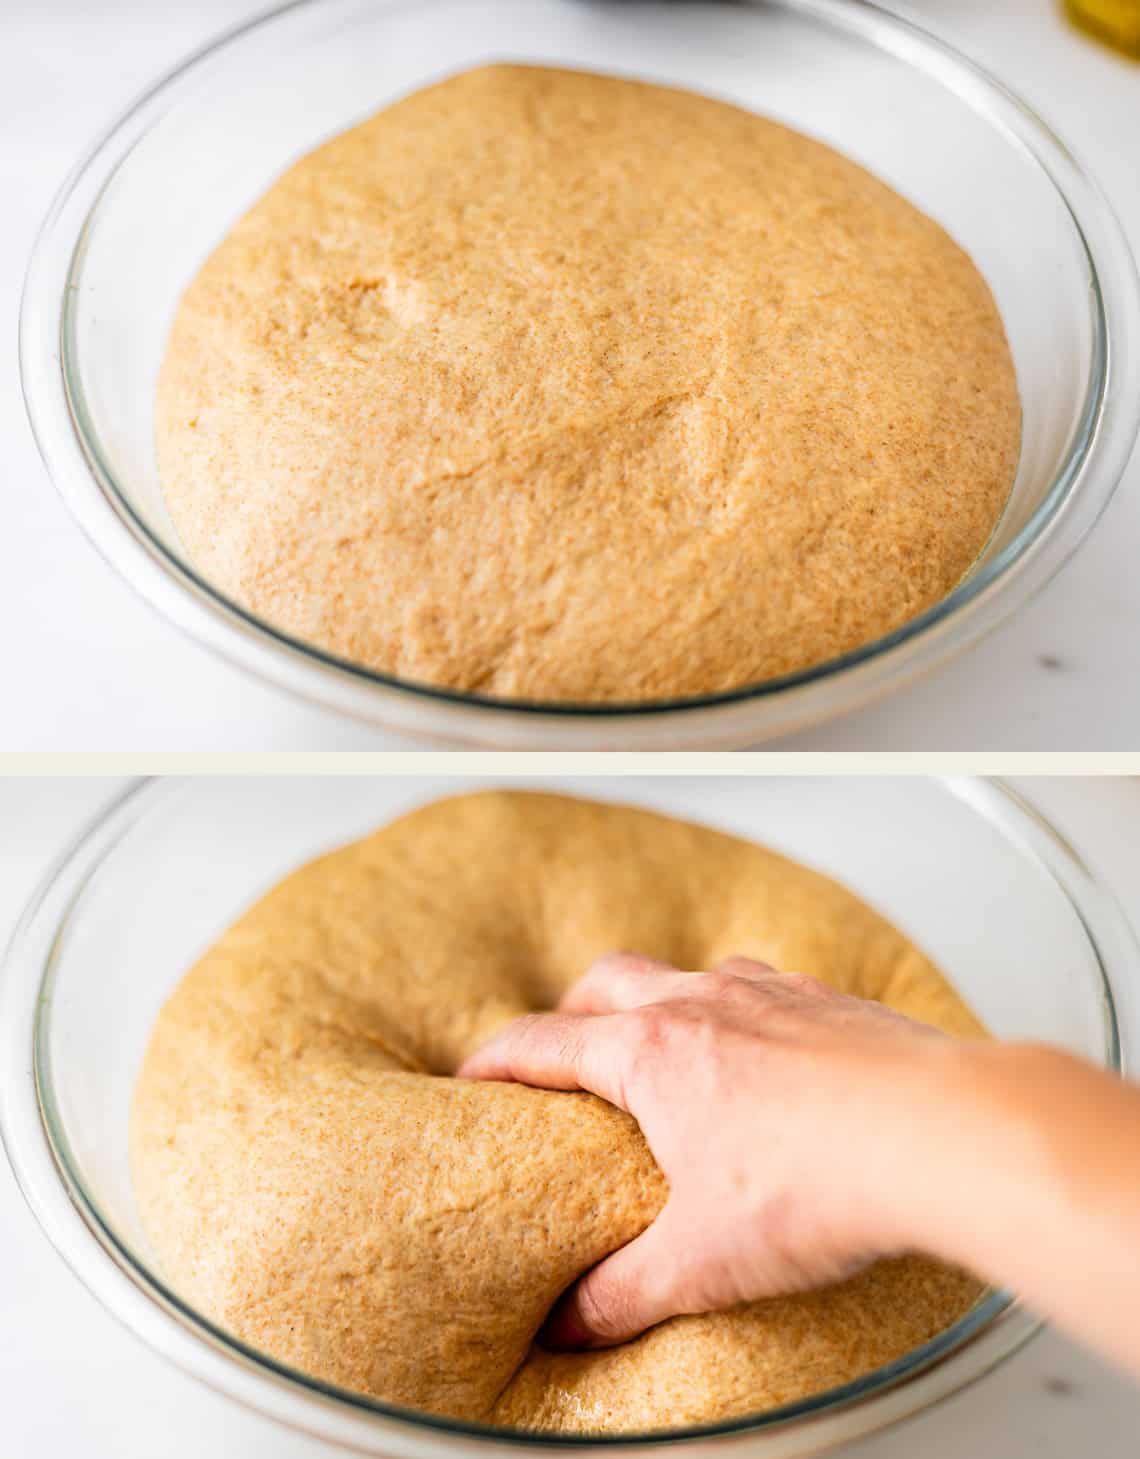
Pull it onto a work surface that has been dusted lightly with bread flour.
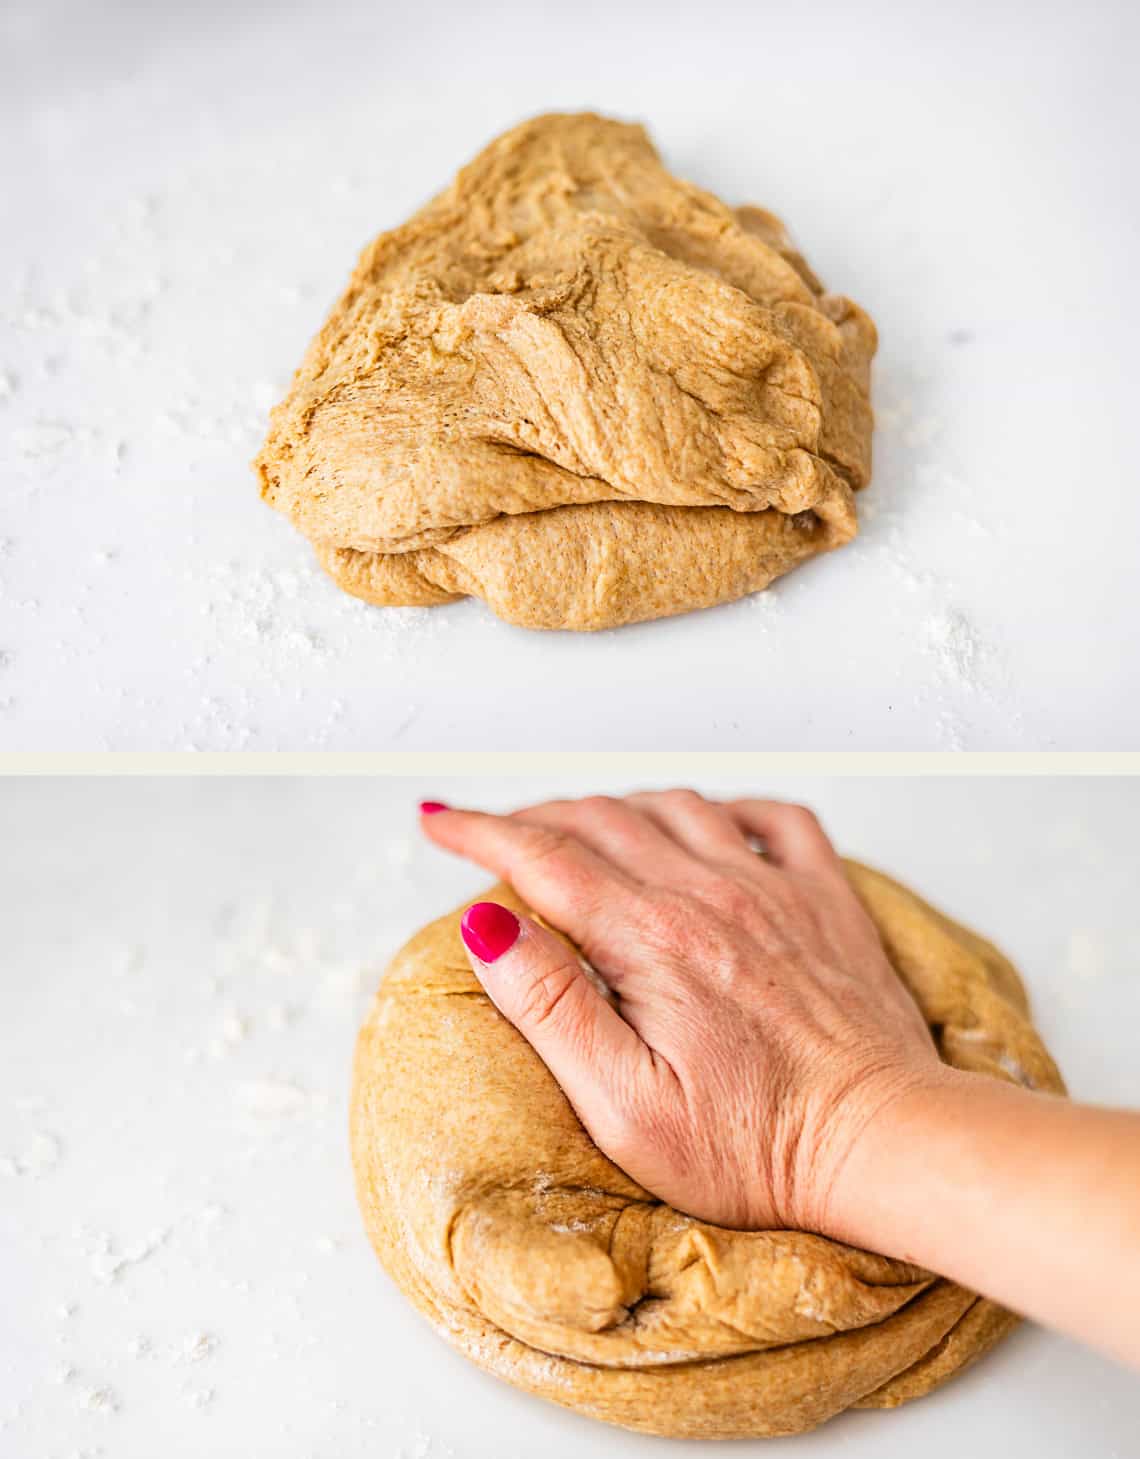
Knead it a few times to get out any air pockets.
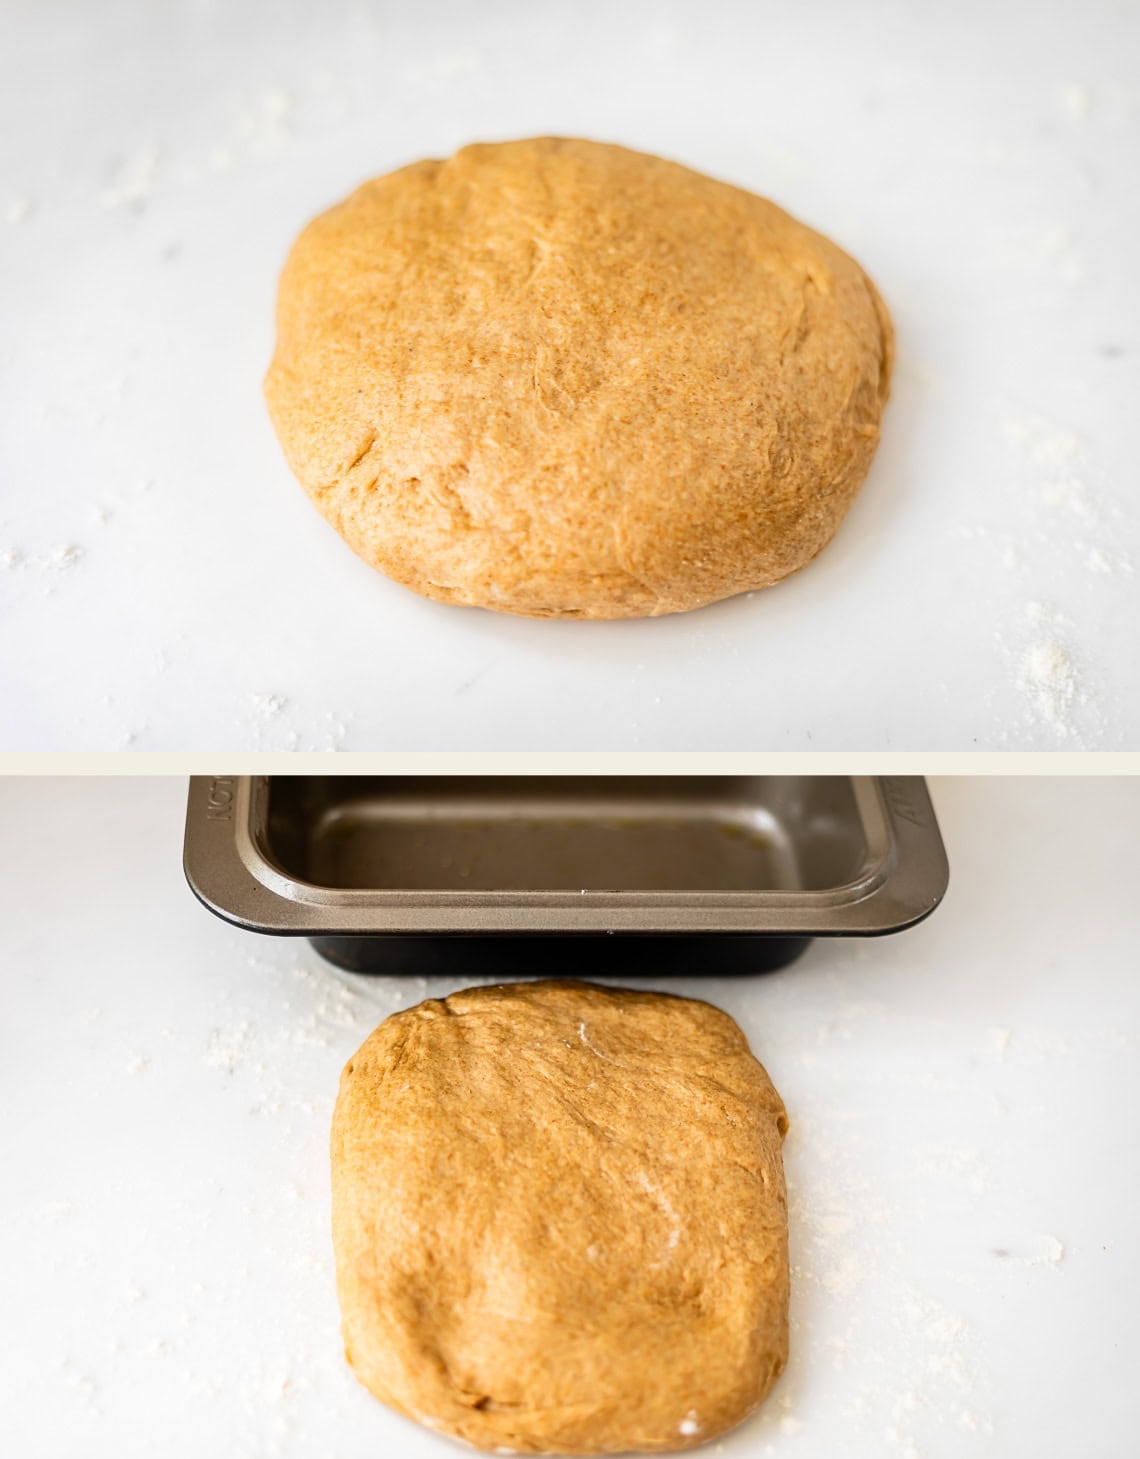
Shape it into a rectangle. The short end should be a little smaller than the length of your 9 inch pan.
Use your hands to press the dough into a longer rectangle. The goal is to get out all the air pockets. Use a rolling pin if that’s easier for you!
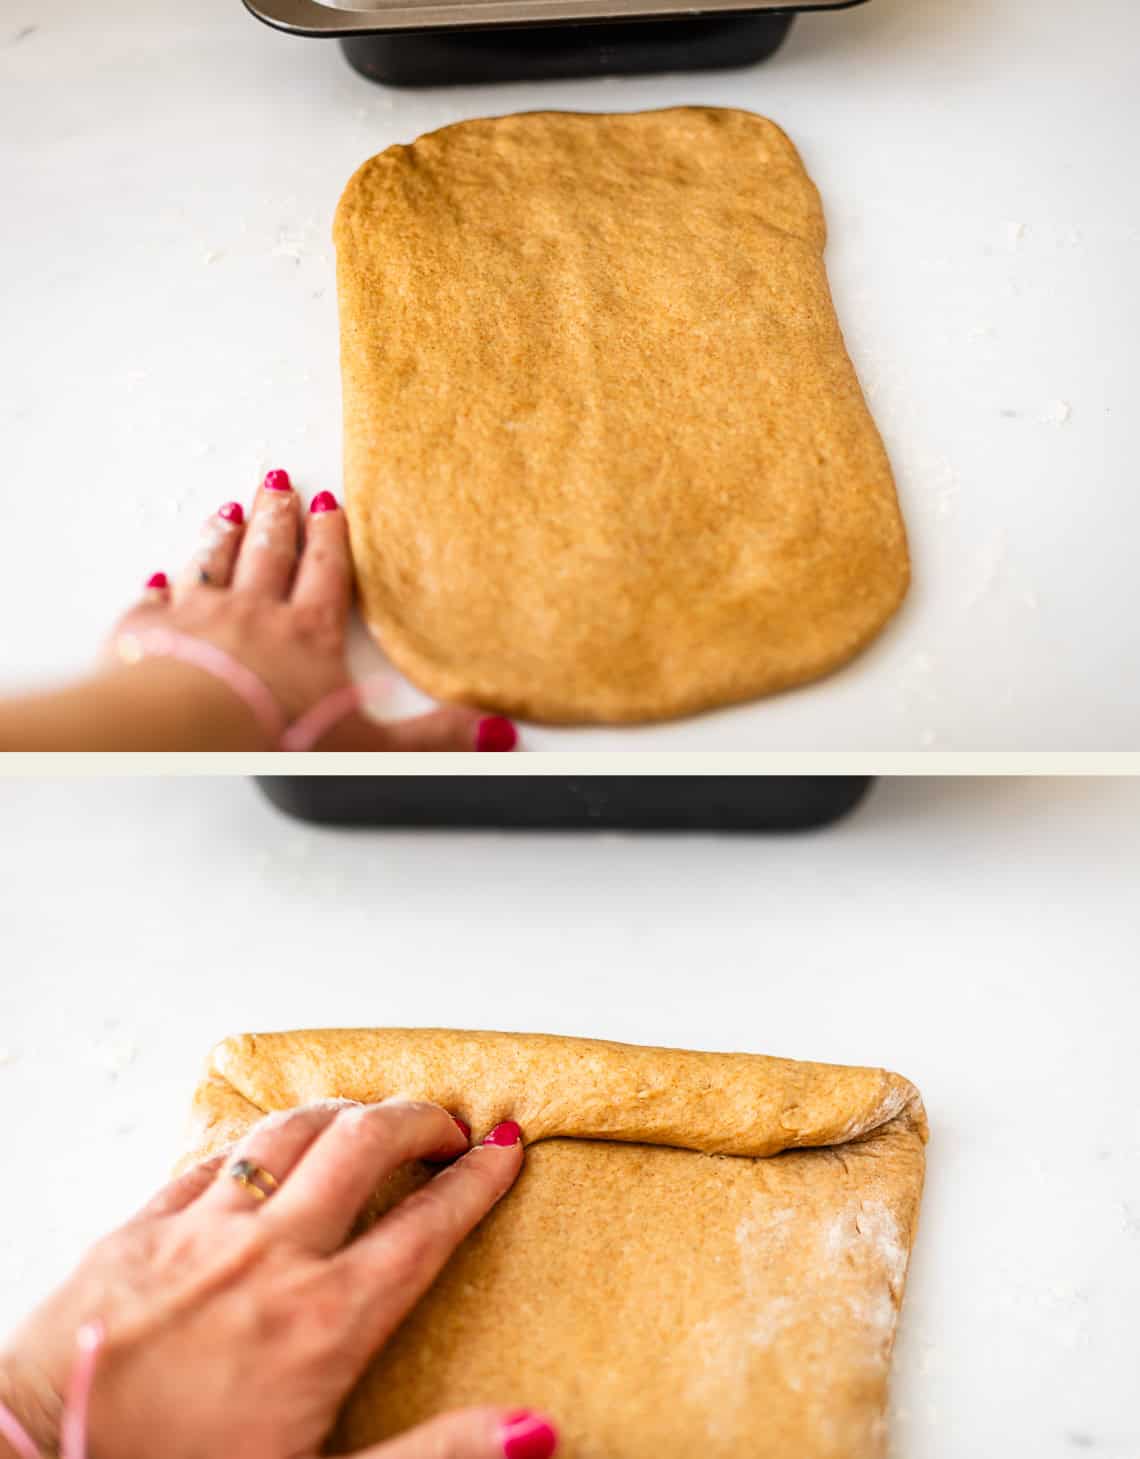
Then, start rolling your dough. I like to pinch it as I roll like this, to help avoid air pockets. Air pockets create big holes in your bread, not what you want.
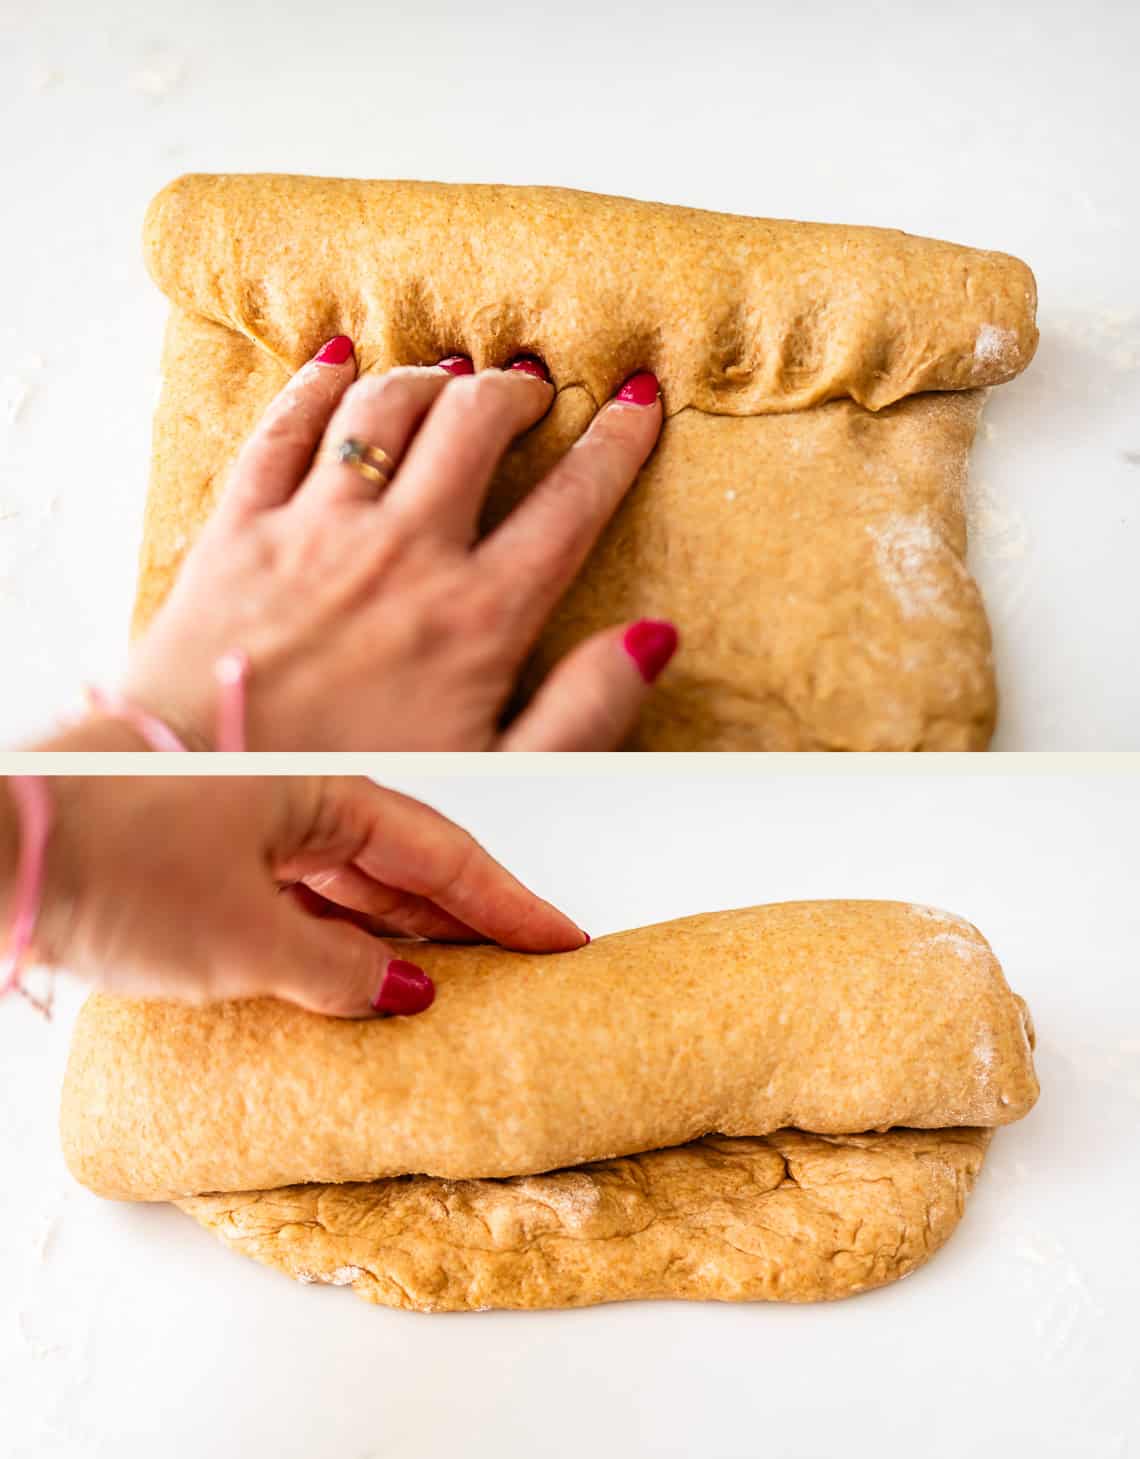
Keep rolling…
until you have a cute little loaf.
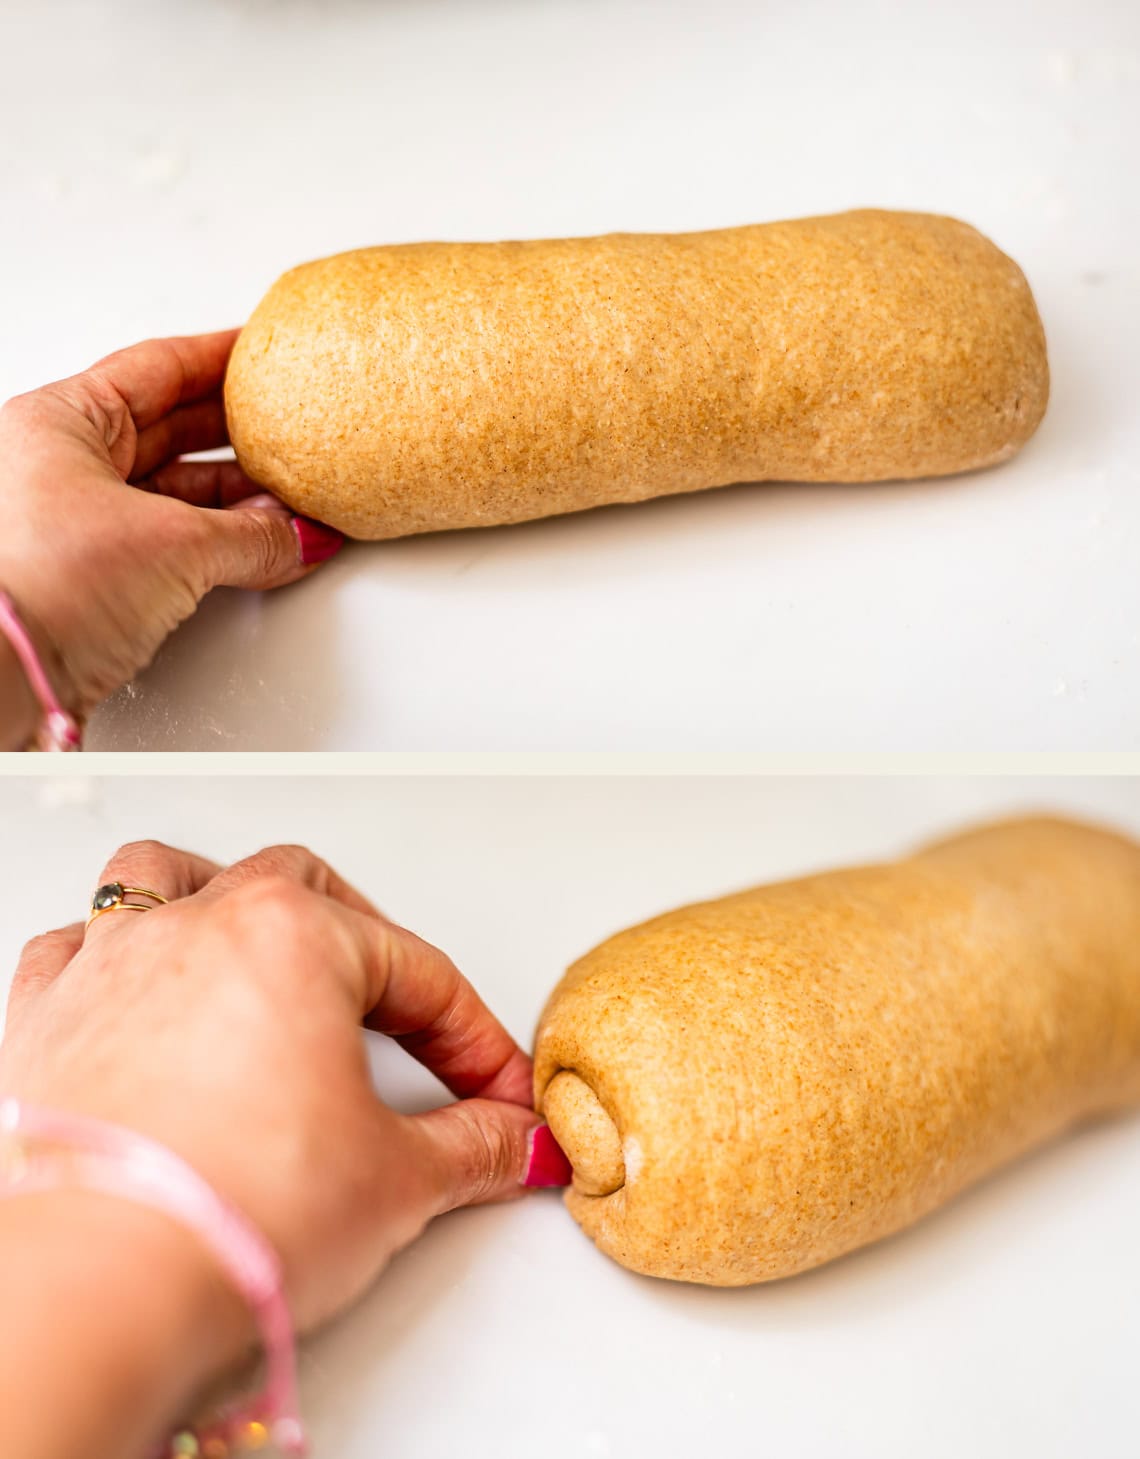
I like to pinch the edges down to make a smooth end.
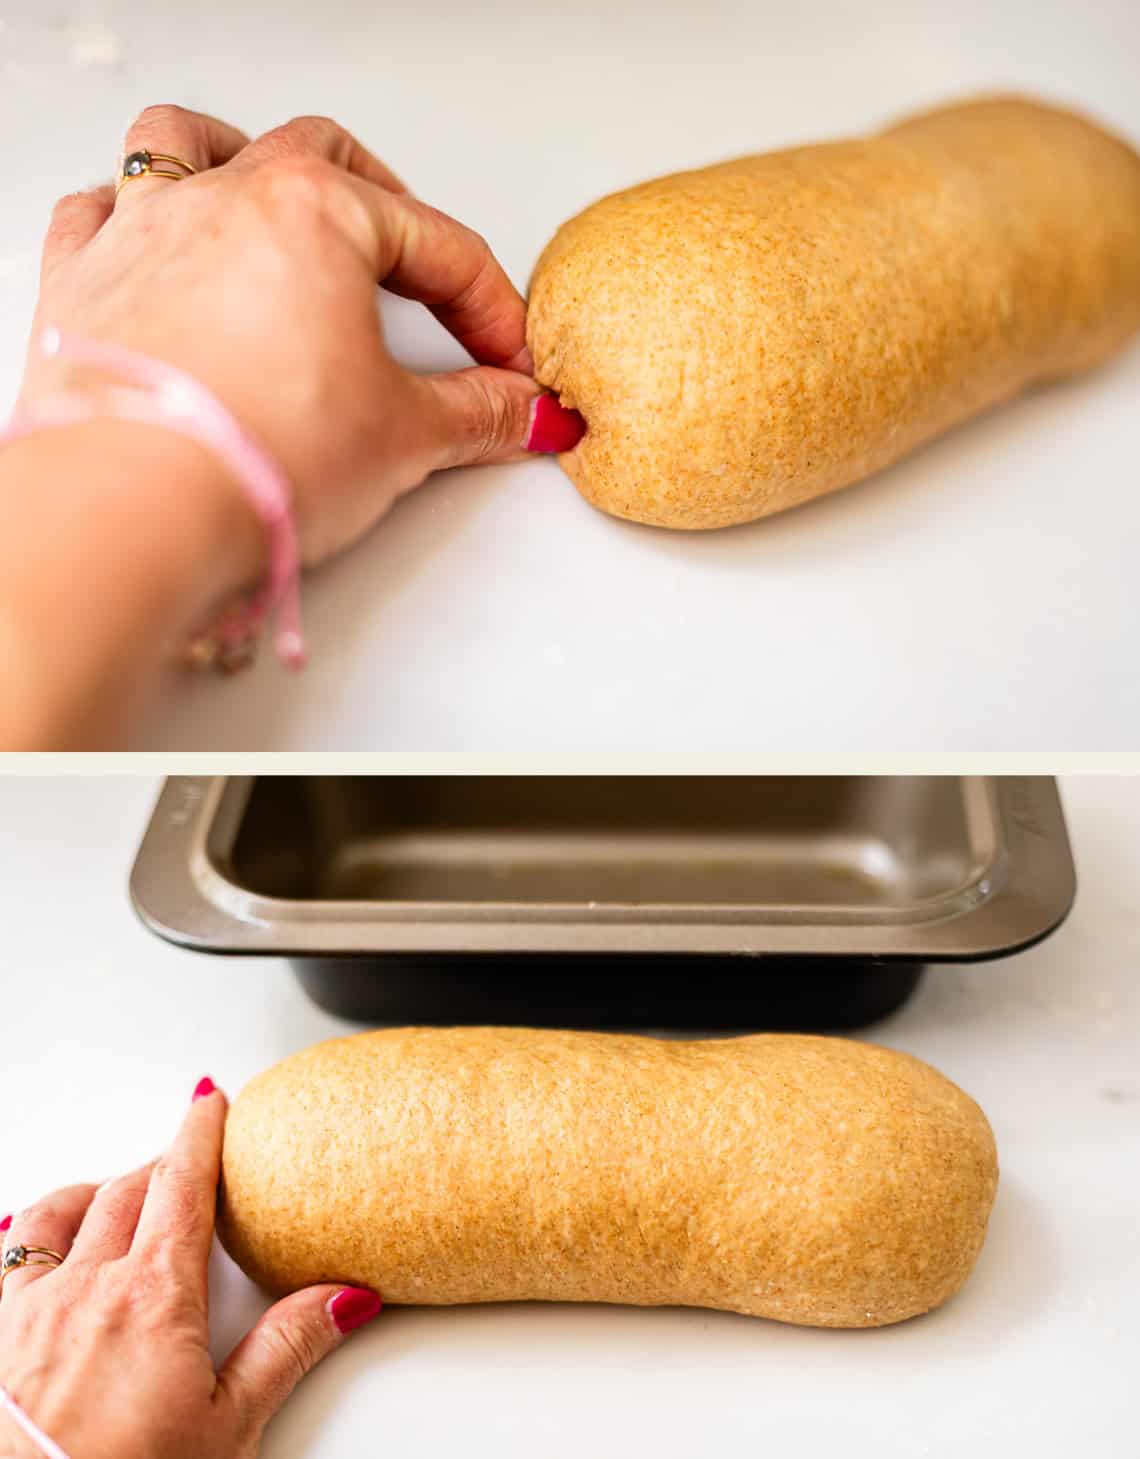
Then, transfer it to the pan, tucking in the edges neatly.
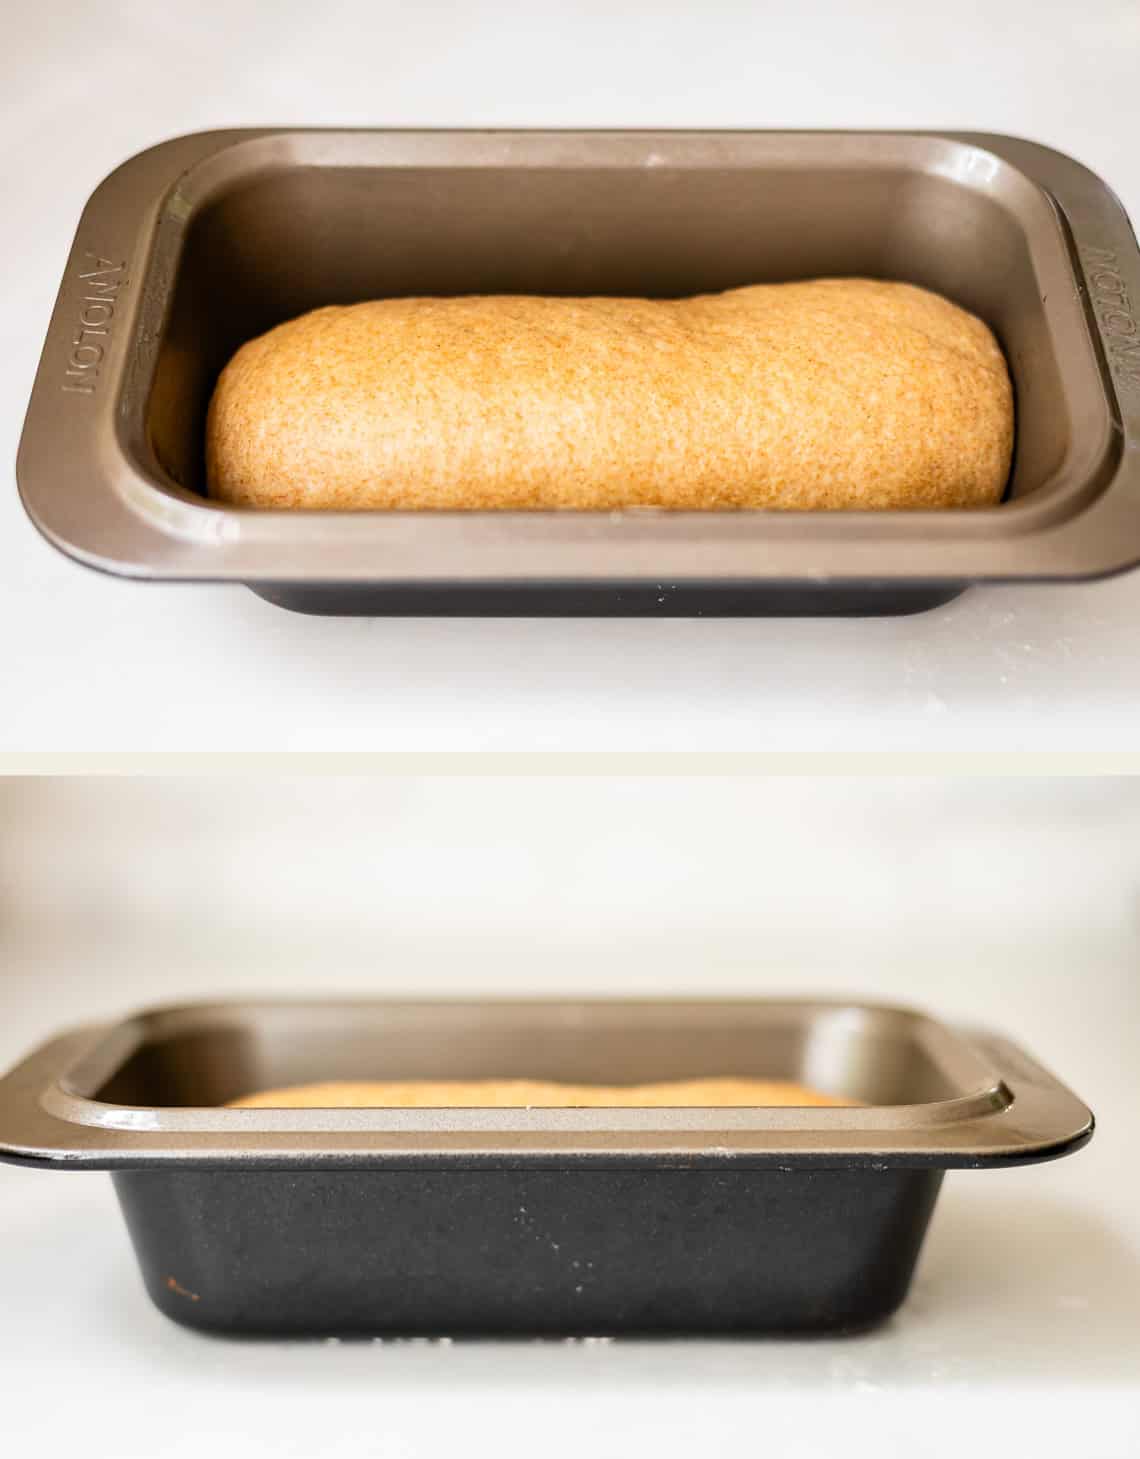
Look at how low it is…
And look at how high it rises!! This second rise is a lot faster, it only takes 30-45 minutes.
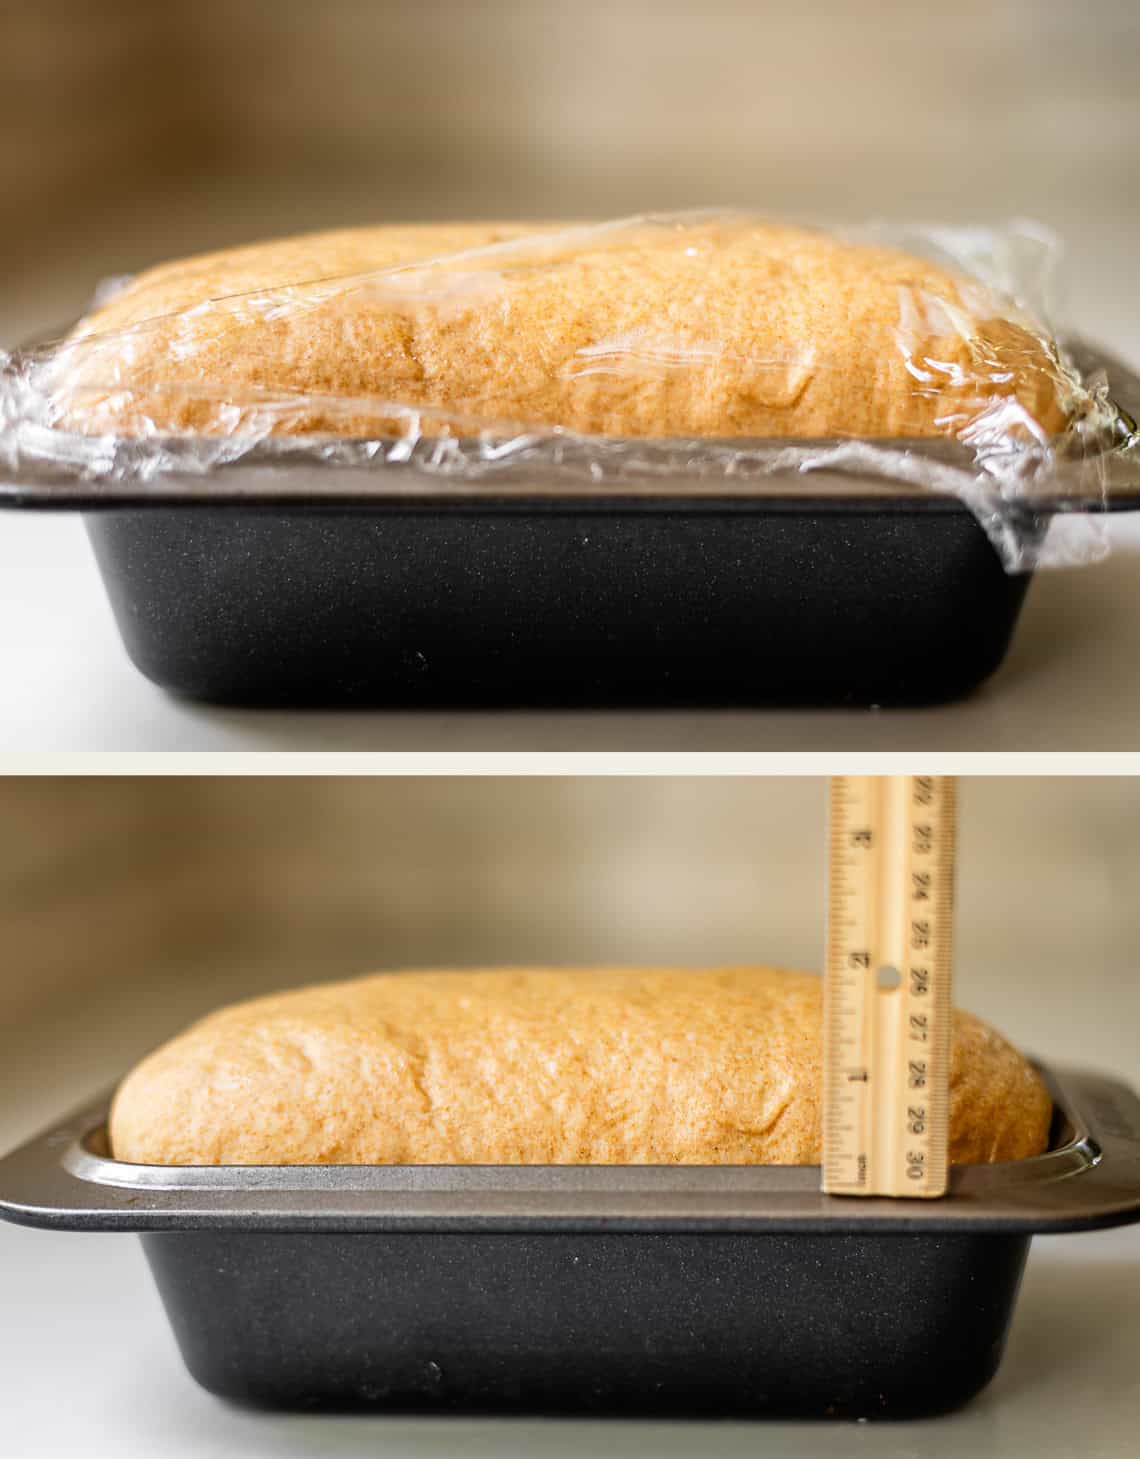
DON’T over proof your dough at this point. It will make your bread fall in the oven! You want your dough to rise about 1 and 1/2 inches above the edge of the pan.
Bake in a hot oven for 10 minutes…
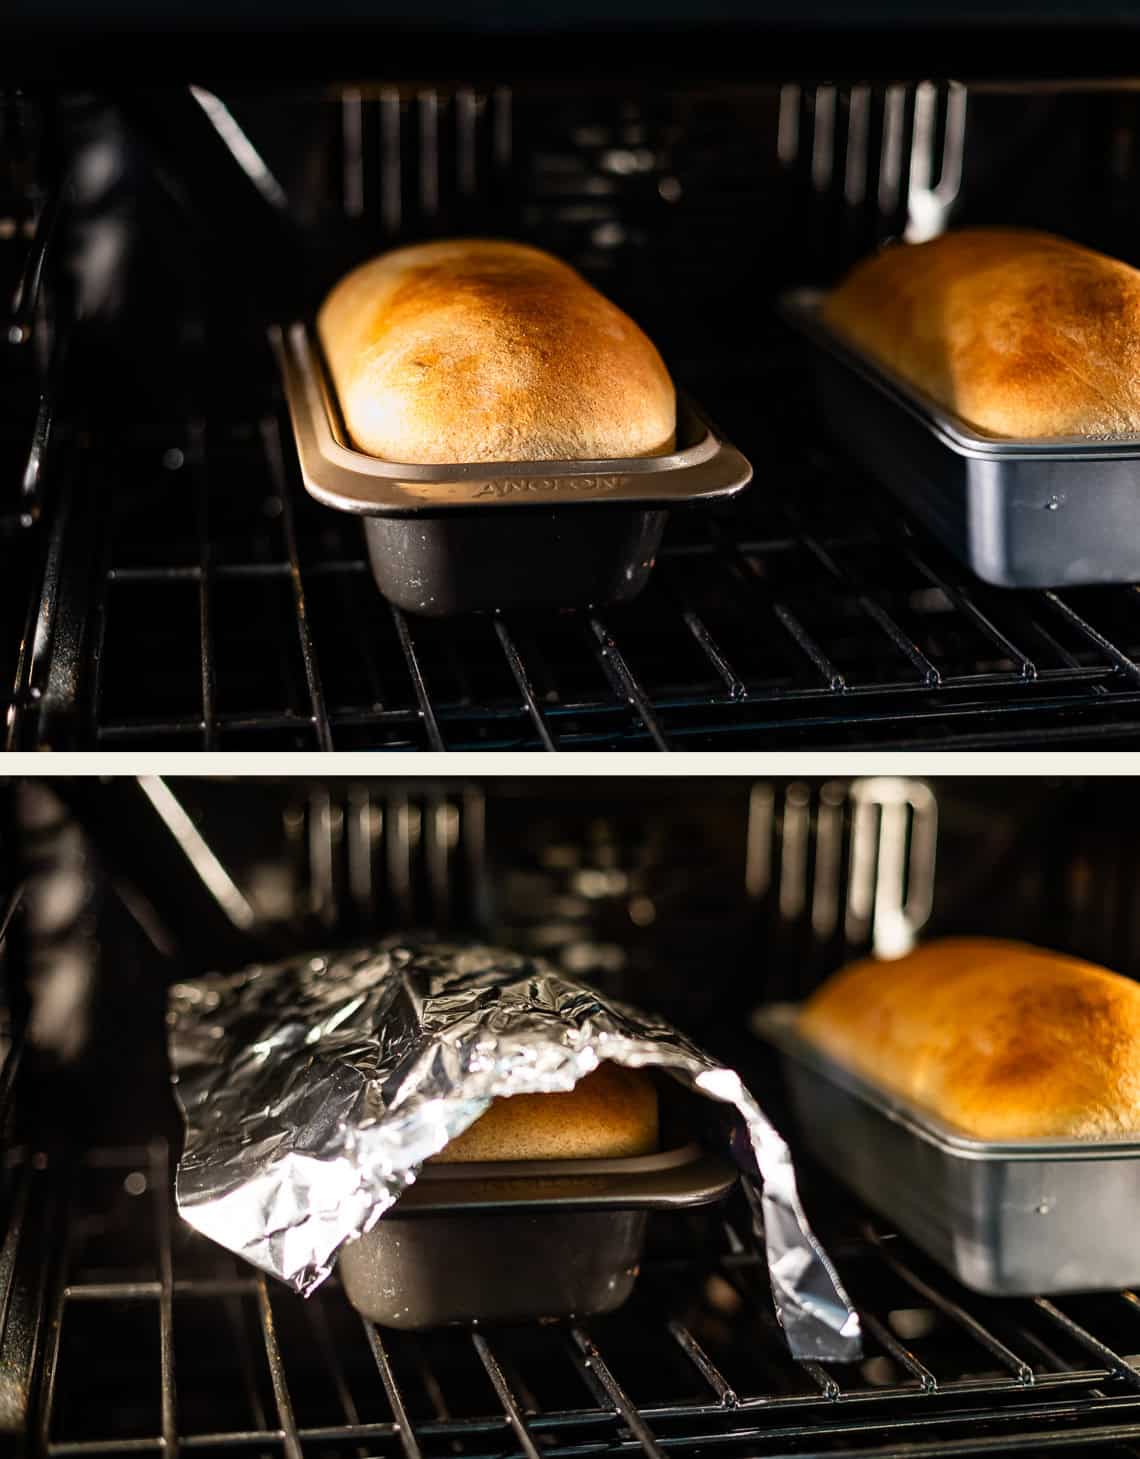
then lower the temperature and cover with foil to keep it from getting too brown. The initial high heat helps boost the dough to rise really high really fast, then we lower the temp and cover it so the top doesn’t burn.
Your bread is done around 205 degrees! Sadly, there aren’t that many reliable tests when it comes to knowing when bread is done baking. I ALWAYS use my thermometer. The edges should be pulling from the pan, and it will sound hollow if tapped on the bottom, but I find those cues to be quite elusive. Have you ever done the hollow tapping thing?? Sounds like a nightmare with burned hands.
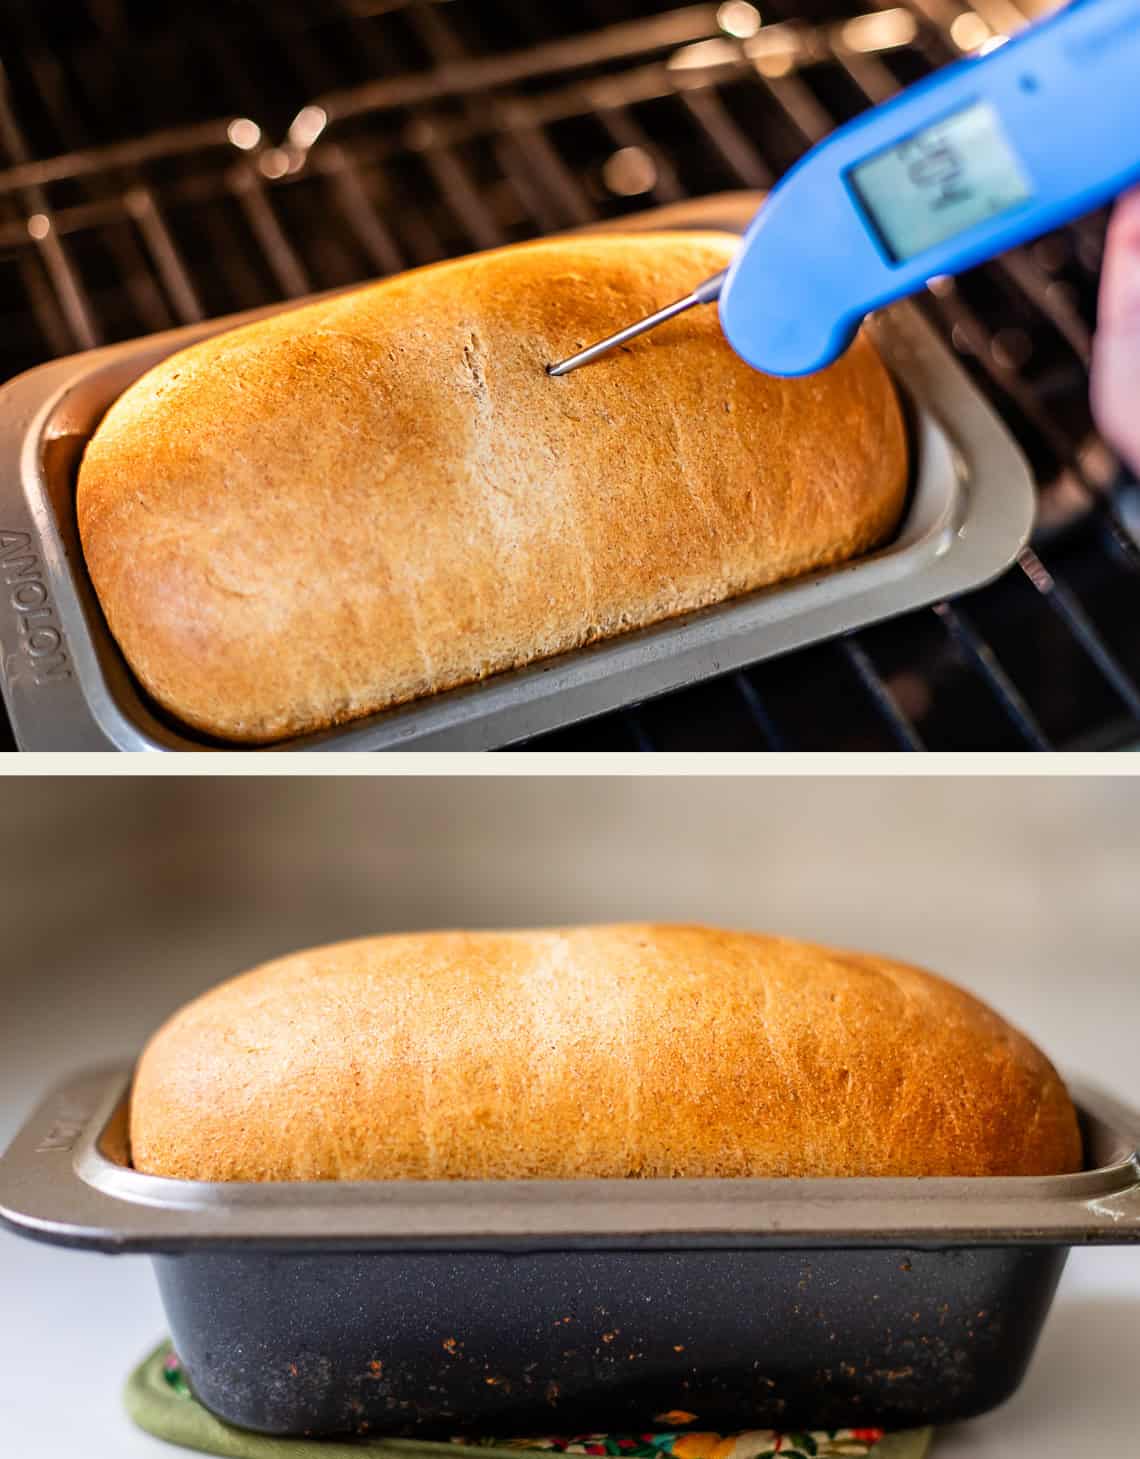
Pop it out of the oven and start rubbing it with butter!
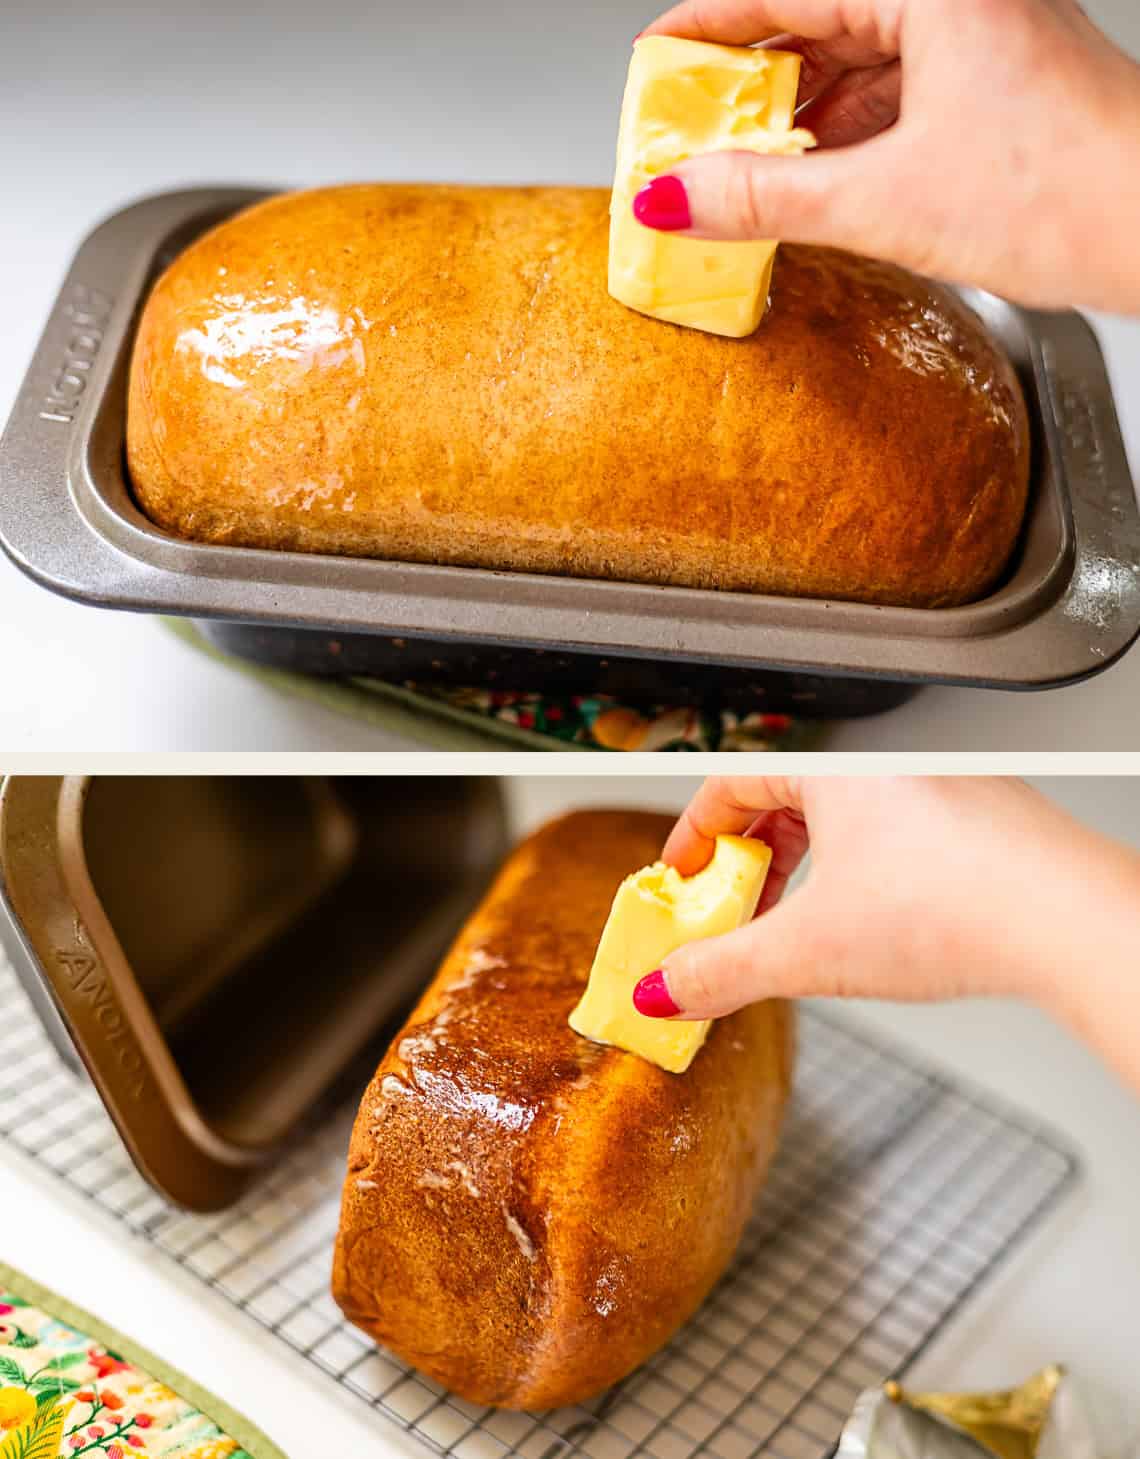
Remove the bread from the pan within 2 minutes of taking it out of the oven. Use hot pads!! This will keep the crust from getting soggy.
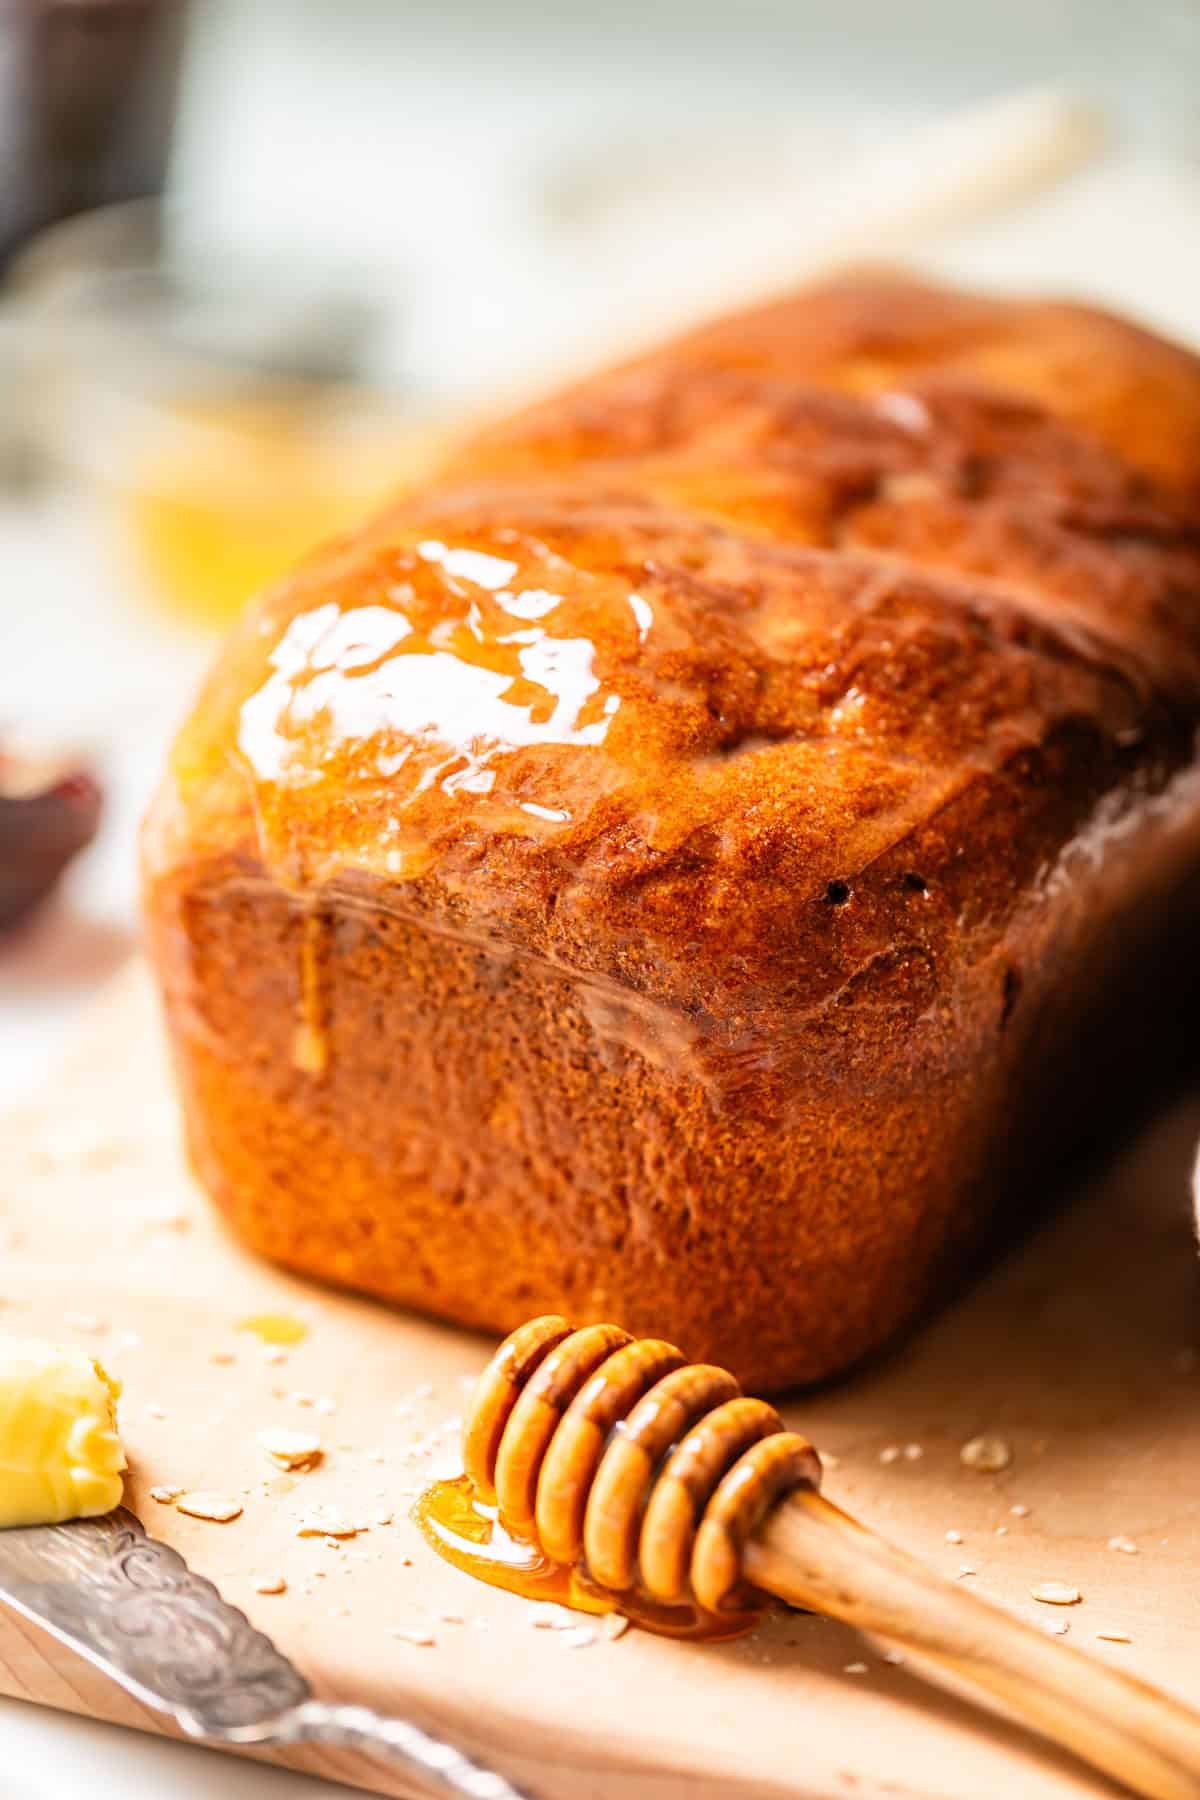
I like to rub then ENTIRE loaf in butter, top, bottom, and sides. It helps the crust to stay nice and soft for days! Just look at this gorgeous loaf!!
Ways to use your whole wheat bread
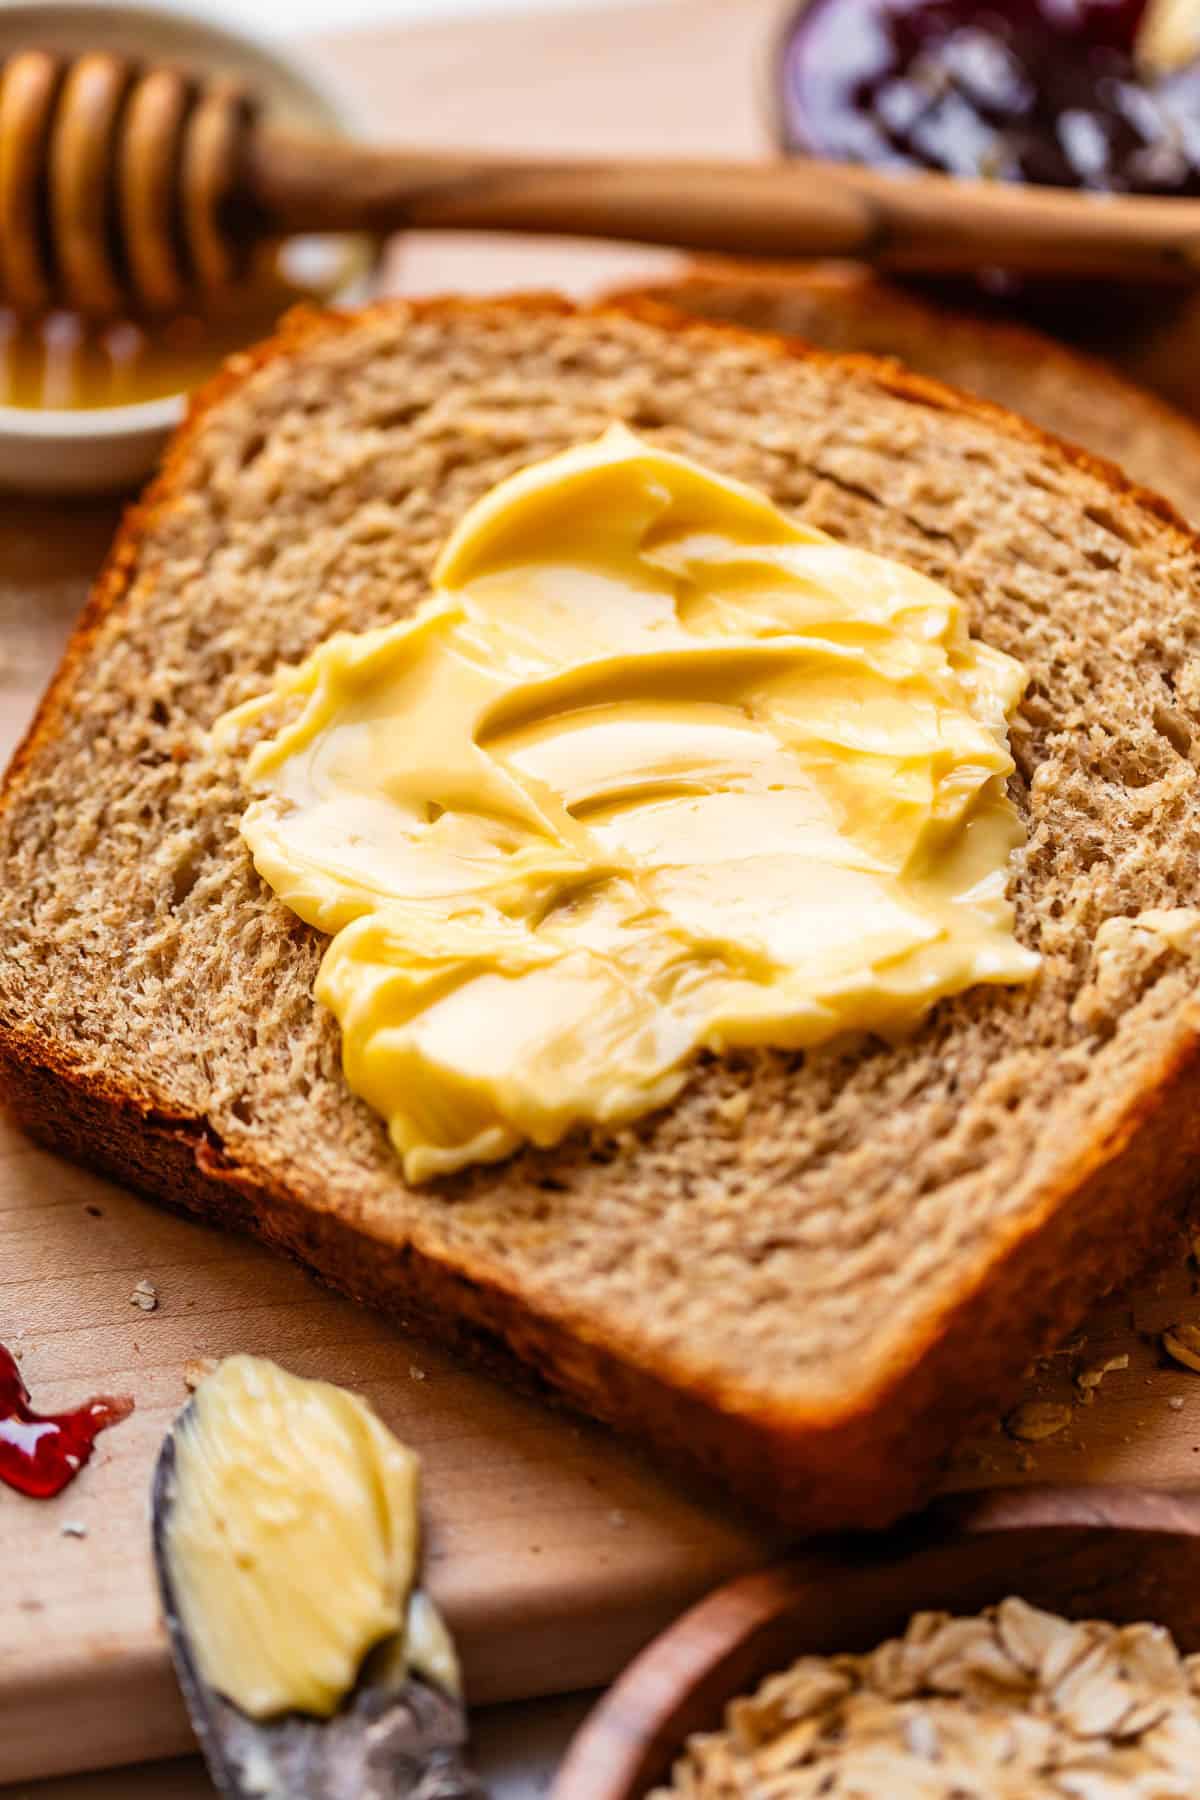
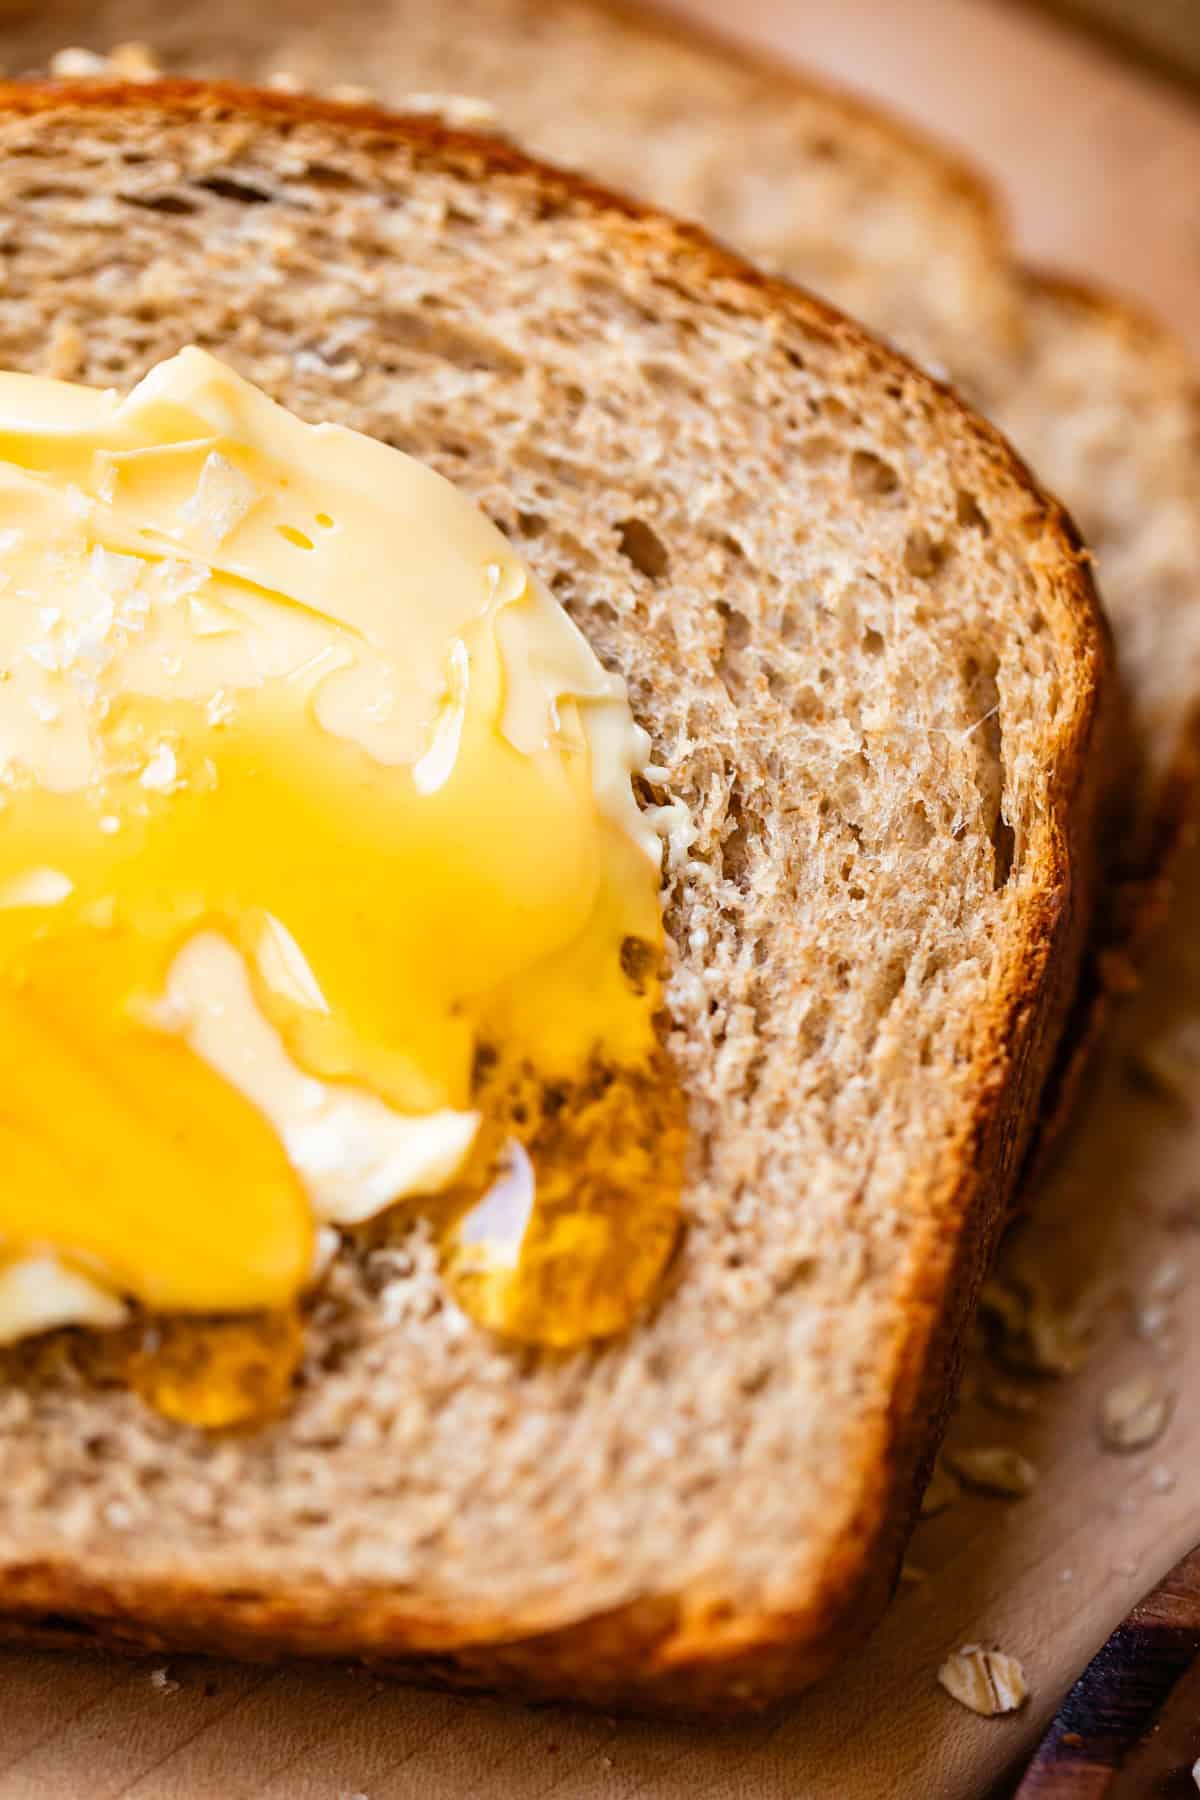
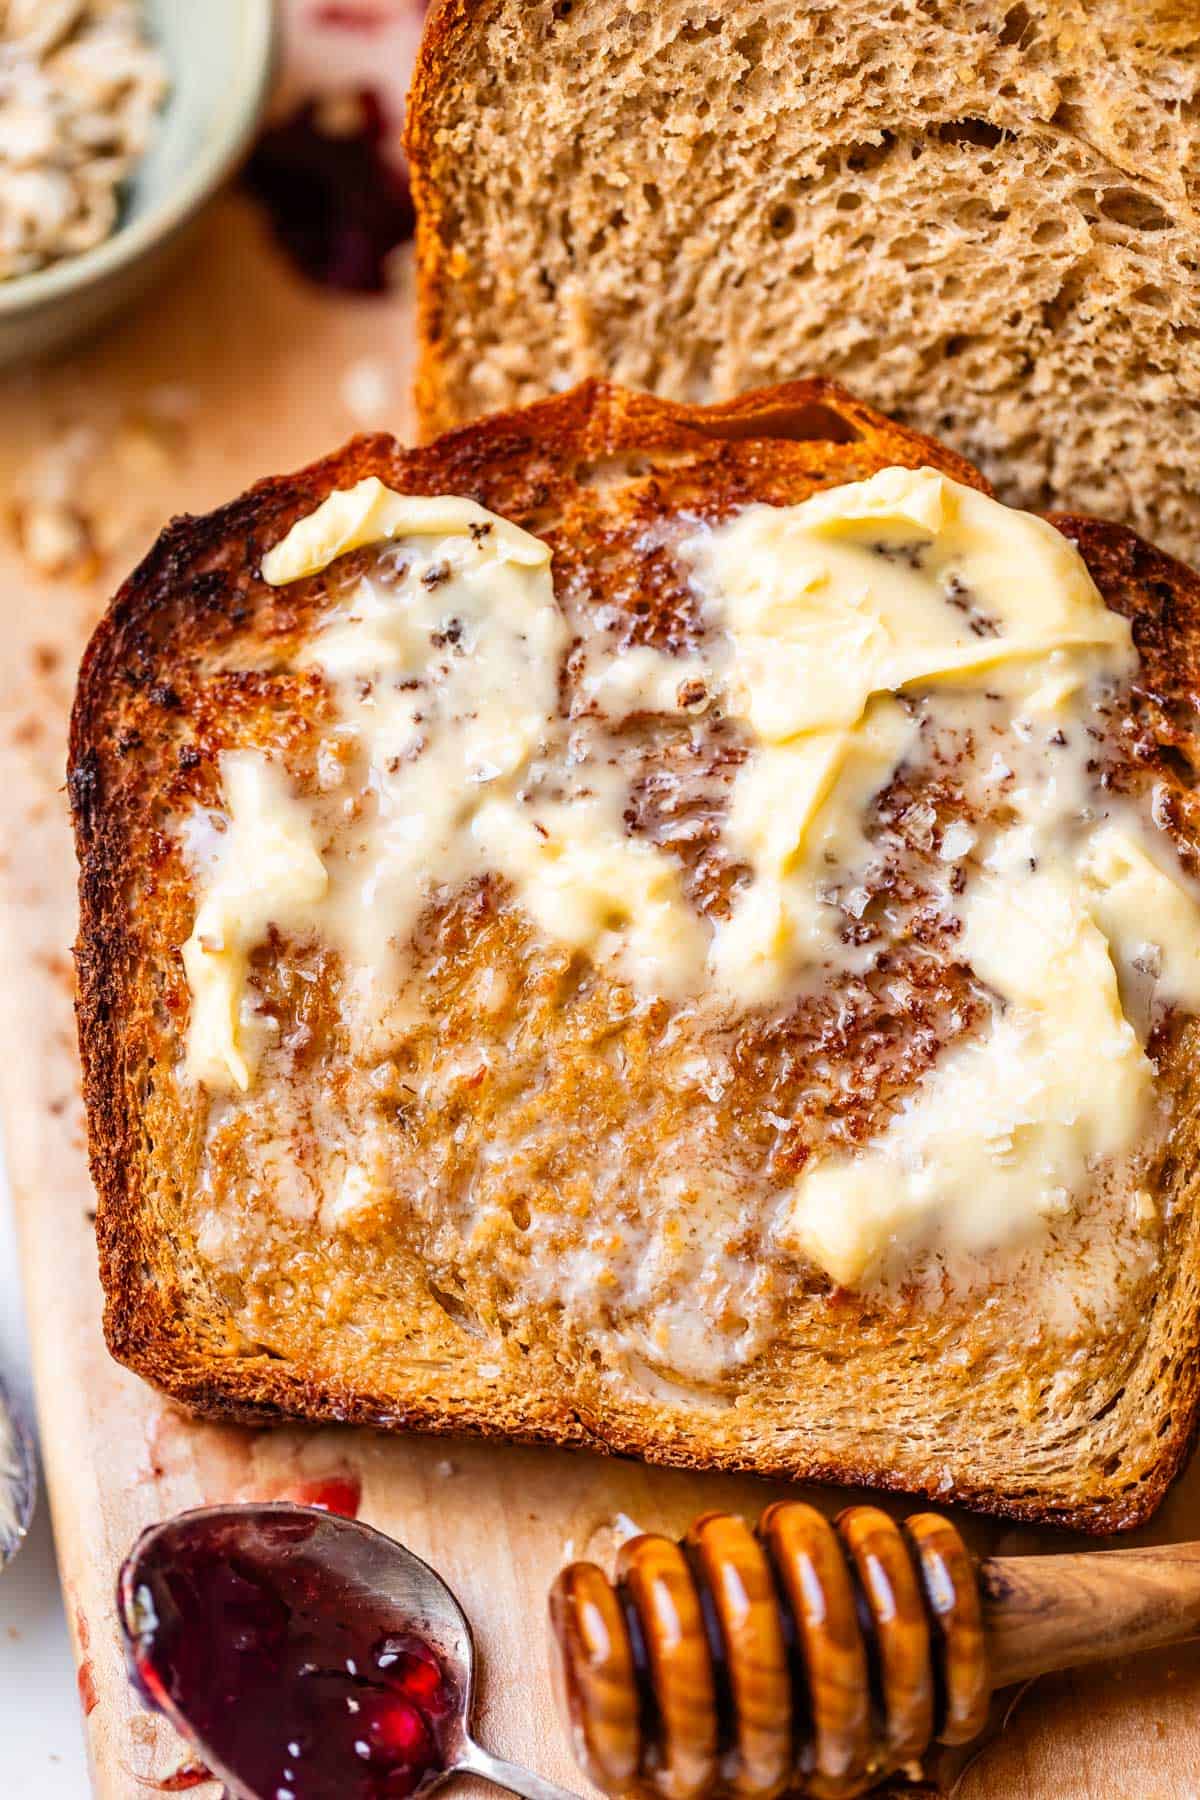
Obviously, the BEST way to eat this bread is still slightly warm, freshly sliced, and smothered in butter and possibly jam. Mmmm… but if you’re looking for more ways to serve up this bread, here are some great options!
- Slice and use in the morning as toast with butter, or avocado toast, or even Egg in a Hole!
- It’s the perfect bread for every day sandwiches. Lunchmeat, chicken salad, pb&j… they’re all amazing, trust me
- Cut slices to your desired thickness and use to make classic French Toast or even this Savory French Toast with Hollandaise
- Cut into larger chunks or pieces and dip into this Extra Cheesy Spinach Artichoke Dip or this Easy Hummus Recipe
- If you happen to get any dried out pieces or the bread is older than a few days, it would be a great option for making Stuffing, or homemade croutons or breadcrumbs
How to store your bread
Let the bread cool completely before storing, or you’ll get a lot of condensation which will turn to gummy bread. Unless you know you’ll be using it all pretty quickly, it’s best to not pre-slice the bread as it will dry out much faster that way. If this bread is something you’ll be making on the regular for your family, I highly suggest buying plastic bread bags. You can get them on amazon or even at places like Walmart or Target, and then it’s just like having a loaf of bread from the store! If this will be an occasional thing, then I recommend you cut off what you plan to eat and storing the rest in a ziplock.
Can you freeze it?
YES! It’s the best. Sometimes I double the recipe and stick the extra in the freezer so when I want some I can skip the work, pull out the loaf, and say “thank you former self!” To freeze, wait for the loaf to cool 100% , then wrap the entire loaf really well in two layers of plastic wrap. Once it’s covered well in two layers, wrap the whole thing again in foil to help prevent freezer burn. Or use a ziplock! To thaw, set the loaf on the counter for 1-2 hours before slicing.
Facebook | Pinterest | Instagram

Honey Wheat Bread Recipe
Equipment
- instant read thermometer
Ingredients
For the sponge:
- 1 cup warm water
- 2 tablespoons vital wheat gluten
- 3 tablespoons honey
- 1 cup whole wheat flour, spooned and leveled (113 grams)
In a small bowl:
- 2 tablespoons warm water, 105-110 degrees F
- 1 tablespoon active dry yeast
- 1 teaspoon granulated sugar
For the dough:
- 3 tablespoons granulated sugar
- 1 tablespoon Diamond Crystal Kosher salt**, not a typo. (Use 2 teaspoons if table salt is all you have.)
- 3 tablespoons shortening***, I like butter flavored shortening
- 2 tablespoons mashed russet potatoes, freshly boiled and mashed, no seasonings
- 1 cup whole wheat flour, spooned and leveled (113 grams)
- 1 cup bread flour, spooned and leveled (113 grams)
- up to 1/2 cup bread flour, spooned and leveled (57 grams)
- 1 tablespoon oil, for greasing the bowl and bread pan
- butter, for rubbing on the baked bread
Instructions
- Make the sponge: In a large bowl or stand mixer, add 1 cup of warm water, 2 tablespoons vital wheat gluten, 3 tablespoons honey, and 1 cup of whole wheat flour, spooned and leveled (or 113 grams). Whisk thoroughly, cover, and let rest for 30 minutes. Set a timer!*
- Boil the potatoes: While you let the sponge soften the wheat bran, boil your potatoes. Peel 1 small russet potato. Cut into even chunks. Add to a small pot and cover with water. Bring to a boil over high heat. Lower the heat to a simmer and let cook for 10-15 minutes, until the potato easily falls apart when you poke it with a fork.
- Remove a few of the potato pieces to a plate. Mash the potato with a fork. Do a very thorough job! If you have a colander or strainer of some kind, force the potato through it to make the potato as fine as possible. (A potato ricer is best, but who has one of those??) If you don't have anything, just do your best with the fork. Set aside.
- Proof the yeast: When the 30 minutes for the sponge is up, proof the yeast. Add 1 tablespoon yeast to a small bowl. Add 2 tablespoons warm water (105-110 degrees F, warm tap water is perfect) and 1 teaspoon granulated sugar. Stir it together and let it sit for about 5 minutes until it bubbles.
- Meanwhile, add the rest of the ingredients to the sponge. Add 3 tablespoons granulated sugar, 1 tablespoons Diamond Crystal Kosher Salt,** 3 tablespoons shortening,*** and 2 tablespoons finely mashed potato.
- Add the bubbly yeast mixture to the sponge.
- Add 1 cup whole wheat flour, spooned and leveled (113 grams), to the bowl. Stir it together with a rubber spatula.
- Add 1 cup bread flour, spooned and leveled (113 grams), to the bowl. Use a sturdy wooden spoon to stir it in, or use the dough hook on your machine to stir it in.
- Knead the dough (either by hand or using the dough hook) for 10 solid minutes. Set a timer and don't fudge on this. Wheat bread needs a LOT of kneading to develop the gluten it needs to rise properly.
- As you knead for 10 minutes, gradually add another 1/2 cup of bread flour, spooned and leveled (about 57 grams). You don't need to add the full amount if your dough does not need it. By the end of kneading, you are looking for the dough to be able to stretch without breaking. It should be smooth and elastic. It should be a little sticky, but cleaning the sides of the bowl. If you are new to bread making and using a stand mixer, it's helpful to flour a surface and knead the dough by hand a few times, just to get the feel of it. If it's sticking to the counter a lot, add a tablespoon more flour at a time. If the dough feels hard and not supple, don't add more flour, just keep kneading a while longer.
- Coat a large bowl with about 1/2 tablespoon oil. Use your hands to rub it all the way up the sides. Shape your kneaded dough into a ball and place it in the bowl. Turn it over so the top has oil on it. Cover the bowl with plastic wrap that you have sprayed with nonstick spray, or rubbed with oil.
- Turn your oven on to 350 degrees for about 1 minute. Set a timer! Turn the oven off right away. Your oven should be about 100 degrees inside. It should feel pleasantly warm. You should still be able to touch the racks with your fingers with no problem. Place the covered bowl in the oven and let rise for 2 to 2 and 1/2 hours. The risen dough should be doubled in size.
- Coat the bottom and sides of a 9×5 inch loaf pan with 1/2 tablespoon oil. Rub it all around, even the upper edges that flatten out.
- Uncover the dough (save the plastic wrap.) Turn the dough onto a lightly floured work surface (use bread flour). Use your hands to knead the dough 5-10 times.
- Use your hands to press the dough into a rectangle that is a little shorter than the length of your loaf pan. Press your fingers into the dough from the center working outward, specifically looking for any air pockets. (These air pockets will make big giant holes in your bread which we don't want.) Keep the rectangle the length of the pan, and the other side of the rectangle can be as long as you need it to be to get rid of air pockets.
- Once the dough is air pocket free, flip the rectangle over, if the top of the dough is smoother than the bottom. (You want to roll smooth side out, so your loaf is nice with no marks.)
- Start rolling from the end that is the length of the loaf pan. Slightly pinch the dough as you roll it up (see photos) to avoid air pockets.
- Once it's rolled up, make sure the seam is on the bottom. (I never bother sealing it, the weight of the bread keeps it together.) Use your fingers to round out each end of the loaf, where you might see the rolled edges. Use your fingers to fold it underneath and pinch a bit. See photos.
- Carefully transfer your baby loaf (it's progeny, at this point) into the greased loaf pan. Tuck the ends in and straighten it out.
- Cover the loaf with the greased plastic wrap, adding more oil to the plastic as necessary. You don't want the plastic sticking, it will ruin your rise!
- Let the bread rise in a warm place for about 30-40 minutes. 10 minutes into your rise time, turn your oven on to 375 degrees so your oven has time to get REALLY hot. Watch your bread carefully at this point: over proofed dough will collapse when it hits the oven. You want your dough to rise about 1 and 1/2 inches above the edge of the pan.
- When your dough has risen, remove the plastic wrap carefully. Gently pick up the loaf pan and move it to the oven. Don't bang it around too much! You don't want it to fall.
- Bake at 375 degrees F for 10 minutes.
- Lower the heat to 350 degrees F.
- Get a large rectangle of tin foil. Use your fingers to gently scrunch up the foil a bit, so that it is still flat but holds its shape without flopping around so much. Shape the foil into a tent, dull side down.
- Open the oven door and place the foil, dull side down toward the bread, over the top of the bread. Try not to touch the bread too much.
- Close the door. Remember to lower the heat to 350 degrees.
- Bake at 350 degrees for 20-25 minutes, until an instant read thermometer inserted into the center of the bread reads 205-210 degrees F. The top of the bread should be browned. The edges of the bread should have pulled away from the edge of the pan. The best way to know is with the thermometer. I don't make bread without it.
- Remove the bread from the oven and place on a wire cooling rack. Within 2 minutes, use hot pads to turn the loaf on its side and release the bread from the pan. (You don't want the crust getting soggy.)
- Cool the bread on its side, so the rounded part is on the side. This will help the top-heavy bread from crushing itself with its own weight. We want to keep that nice tall rise we fought so hard for!!
- Brush all the sides of the bread with a stick of butter. Yes, even the sides and bottom! This will help the crust stay soft for days.
- Let cool completely. I know, this is tough. Wait at least a half hour, if you can't wait until it's completely cool. If you try to slice hot bread, it will just crush it, and ruin your rise.
- Use the sharpest serrated knife that you have to slice the bread.
- Toast. Top with obscene amounts of butter. Drown in jam. Or sprinkle with enough cinnamon sugar that the top layer of sugar stays visible, in granules. Live. your. best. life!!!! Or, use the soft bread to make the most amazing PB&J of your life. Or a dagwood sandwich with all the fixins. Yummm guys it's so good!!
Notes
Nutrition
More delicious breads to love
I never regret it when I put in the work to make homemade bread! It’s so much better than what you can get at the grocery store. Here are a few of my favorites!

Breads, Muffins & Rolls
The Only White Bread Recipe You’ll Ever Need

Christmas Recipes
Garlic and Rosemary Skillet Bread
Breads, Muffins & Rolls
Grandma Prudy’s Rye Bread Recipe

Breads, Muffins & Rolls













Oh my gosh, Karen! I can’t wait to try this! I’m drooling just looking at the pictures. I used to make half wheat and half white bread all the time and it was good but I could never make all whole wheat bread that actually turned out soft and delicious. It looks like you nailed it!
I doubled the recipe and prepared it all by hand, no mixer involved. The loaves turned out beautifully! Thank you so much for your very thorough step by step instructions.