
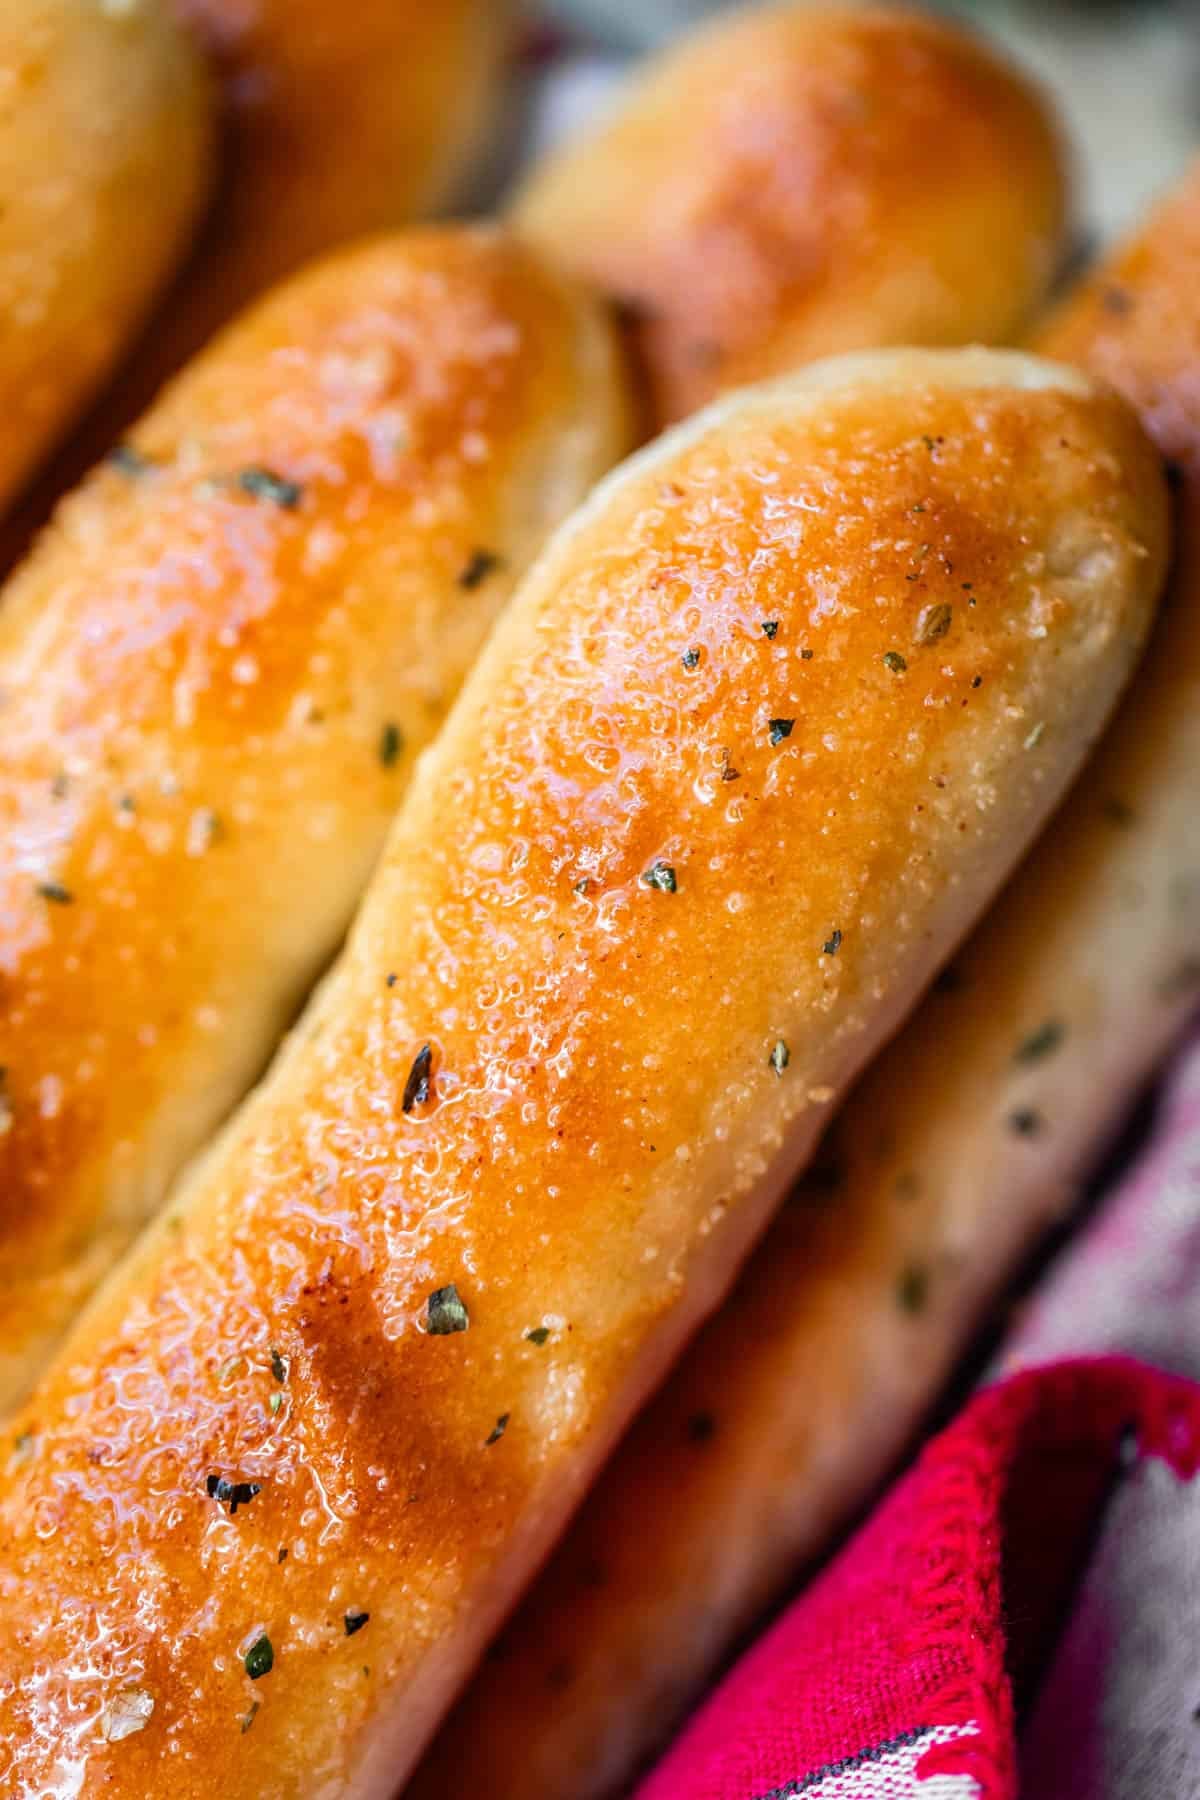
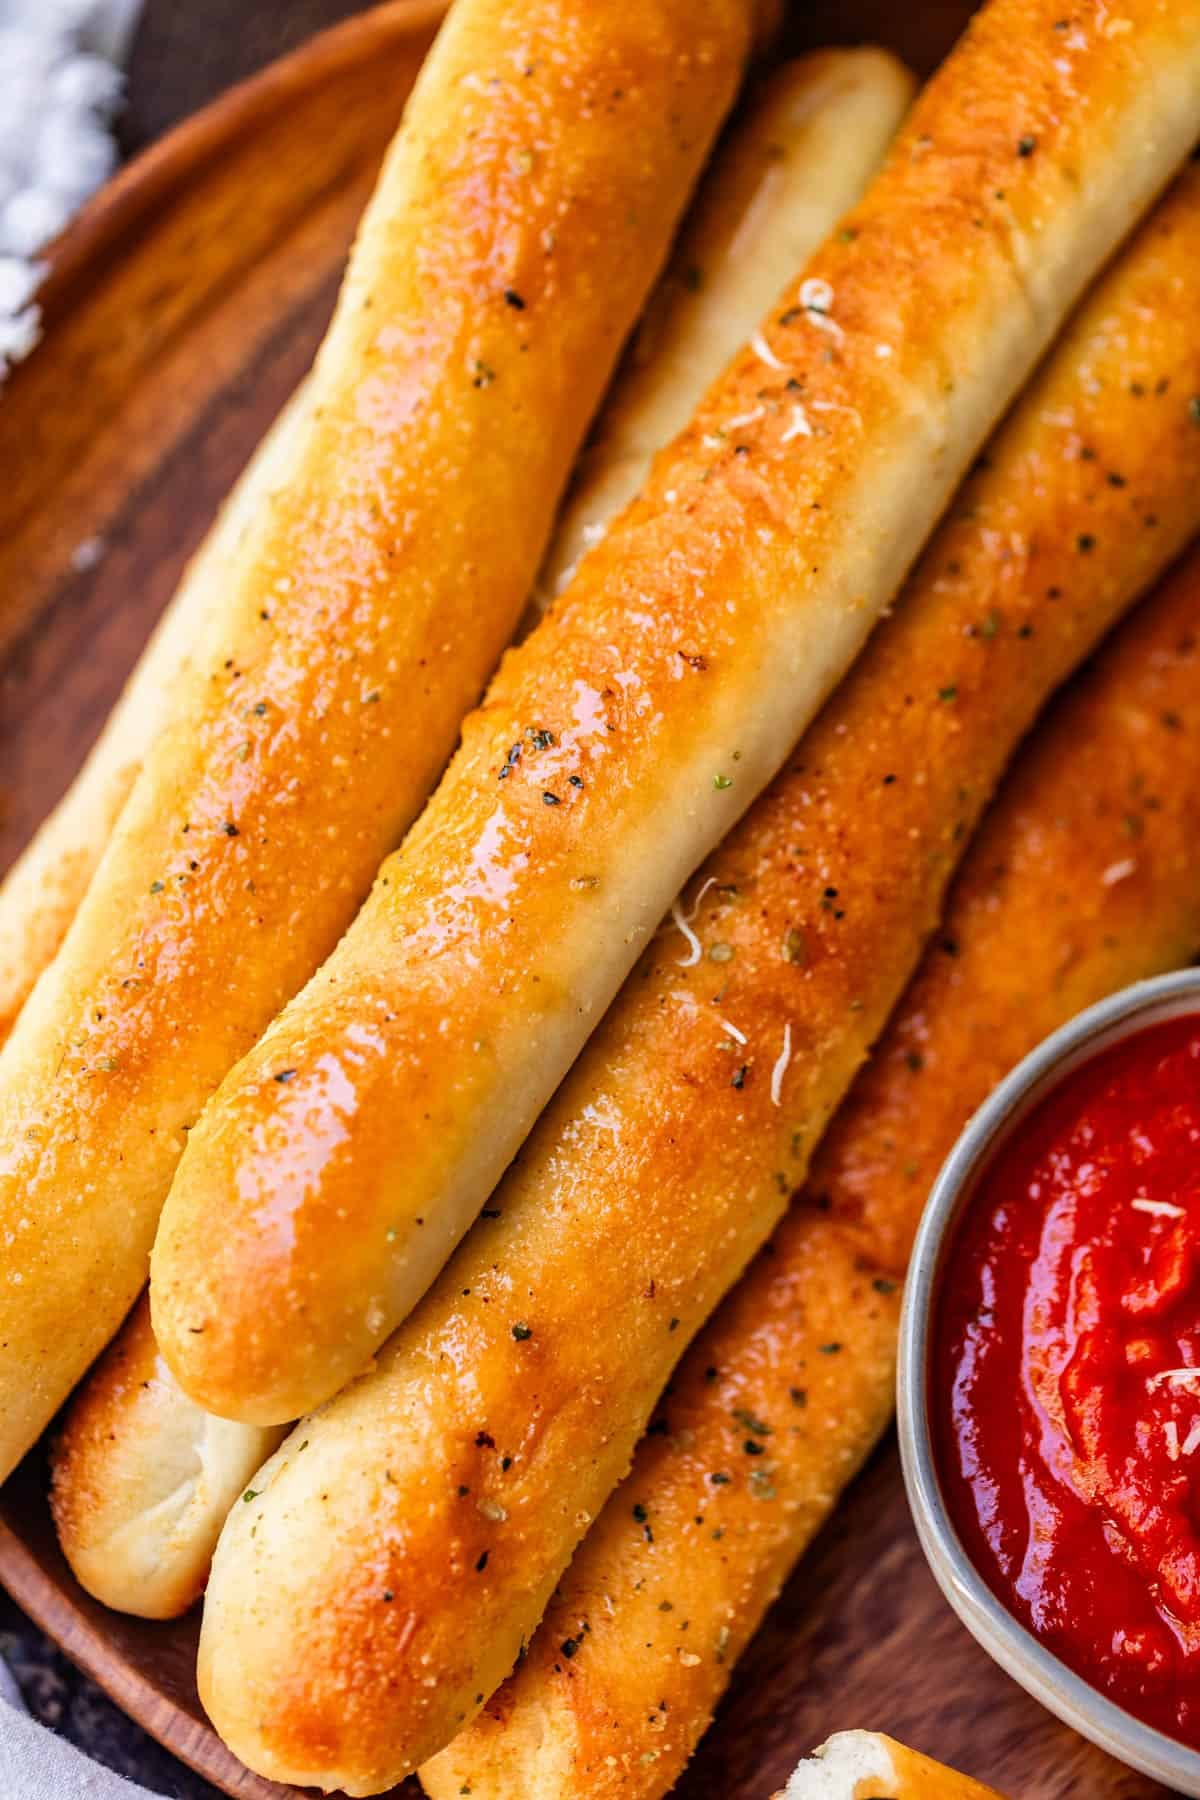
We all know the best thing about Olive Garden is their awesome soup-and-salad deal. For just a few dollars you can get unlimited breadsticks. Oops, I mean unlimited soup and salad. (We all know the breadsticks are where it’s at though!) These copycat Olive Garden Breadsticks are even better than the originals, because we are brushing the tops with butter and garlic. They are sooo fluffy! Originally published July 25, 2012.
I have a friend who used to work at Olive Garden. On her first day she accidentally dumped an entire glass of soda on a customer’s lap. Times like these I’m grateful I never worked in food service. That is so me. I prefer to dump food on people in the comfort of my own home. That special touch, you know?
These breadsticks, sing it with me now, “are even better than the originals!” I know, I know, people always say that, but I promise it’s true! Are those Olive Garden waiters delicately brushing your breadstick with garlic butter 3 seconds before you shove it in your mouth? I didn’t think so.
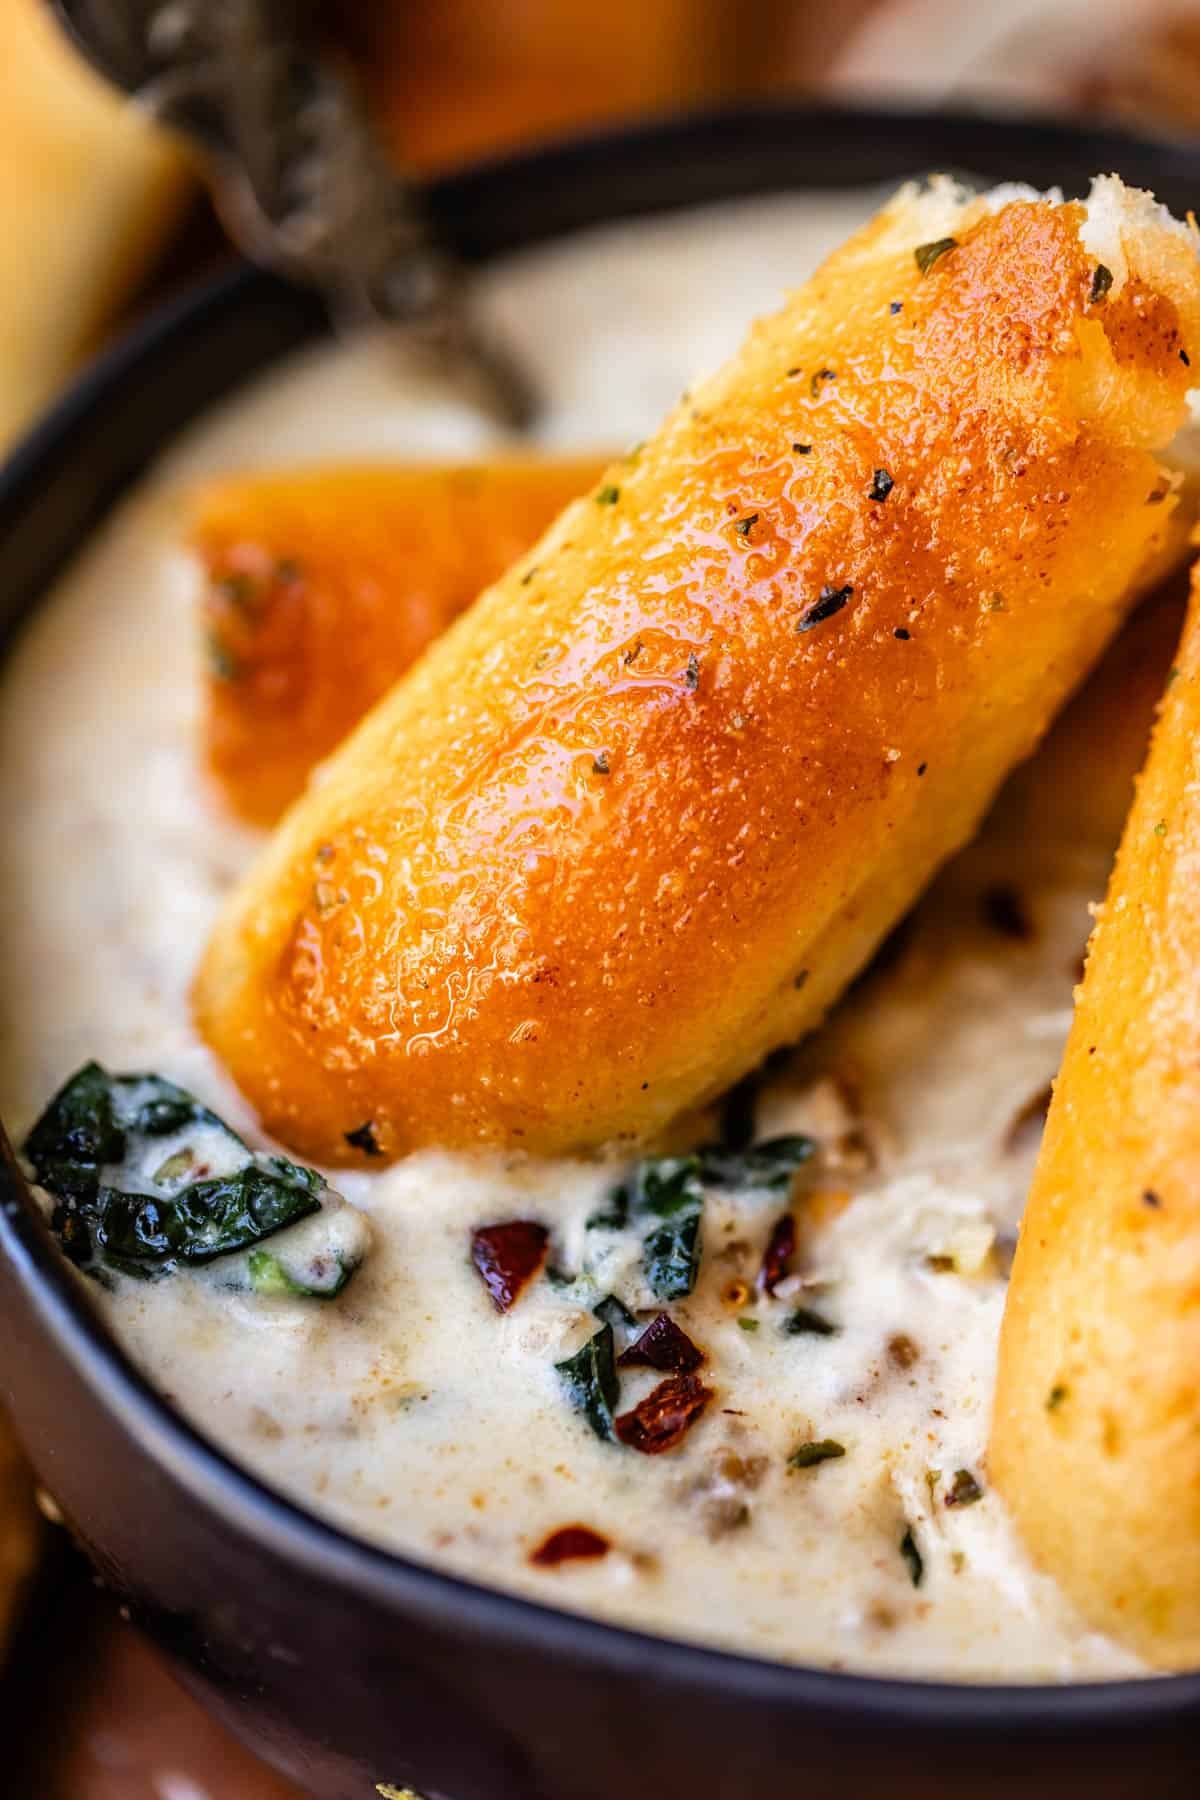
Have you eaten the Olive Garden breadsticks with their famous Zuppa Toscana? Yes, I have a copycat recipe for their famous soup, too, I’m not a monster. How could I give you one without the other?? It’s a classic recipe of mine with over 150 reviews, you will love it!
I can’t think of anything more comforting than soup and bread, honestly. In tandem, I swear, they are more than the sum of their parts. Add in some chilly weather to this combination and a new level of nirvana is reached.
My children understand this wizardry, and have fully bought into the ritual. Soup and bread is a meal to them, not an appetizer or a snack (I know rejecting soup-as-a-meal is a thing for some people, especially men, I have found. Weirdos.)
My son Truman is in 8th grade. Every day he eats whatever the lunch ladies are cookin up. One time they served tomato soup and grilled cheese. California has all these laws about school lunch, so the rule is, if a kid is getting lunch from the school, they can’t just take part of it. They have to take everything being offered, even if they aren’t going to eat it all.
Well, I’m sure you’re not surprised to learn that these little squirts in 2026 only want the grilled cheese. Because bread. They don’t want the tomato soup, but they have to take it, if they want to get the grilled cheese. (unrefined beasts, the lot of them. No I don’t have a judgy personality, why do you ask?)
So this day (it must have been rainy, I swear that feeds the soup lust) Truman eats his grilled cheese dipped in the soup, as one does. Then he looks around and realizes that no one is eating their tomato soup.
He asks his neighbor if he can have theirs. “Sure, I don’t want it.” He asks again, and again. He slurps down 7 extra bowls of soup that day. After that he had PE and a stomachache, but he said, “It was worth it. Soup is delicious.” I’ve honestly [wipes a tear] never been more proud in my entire life.
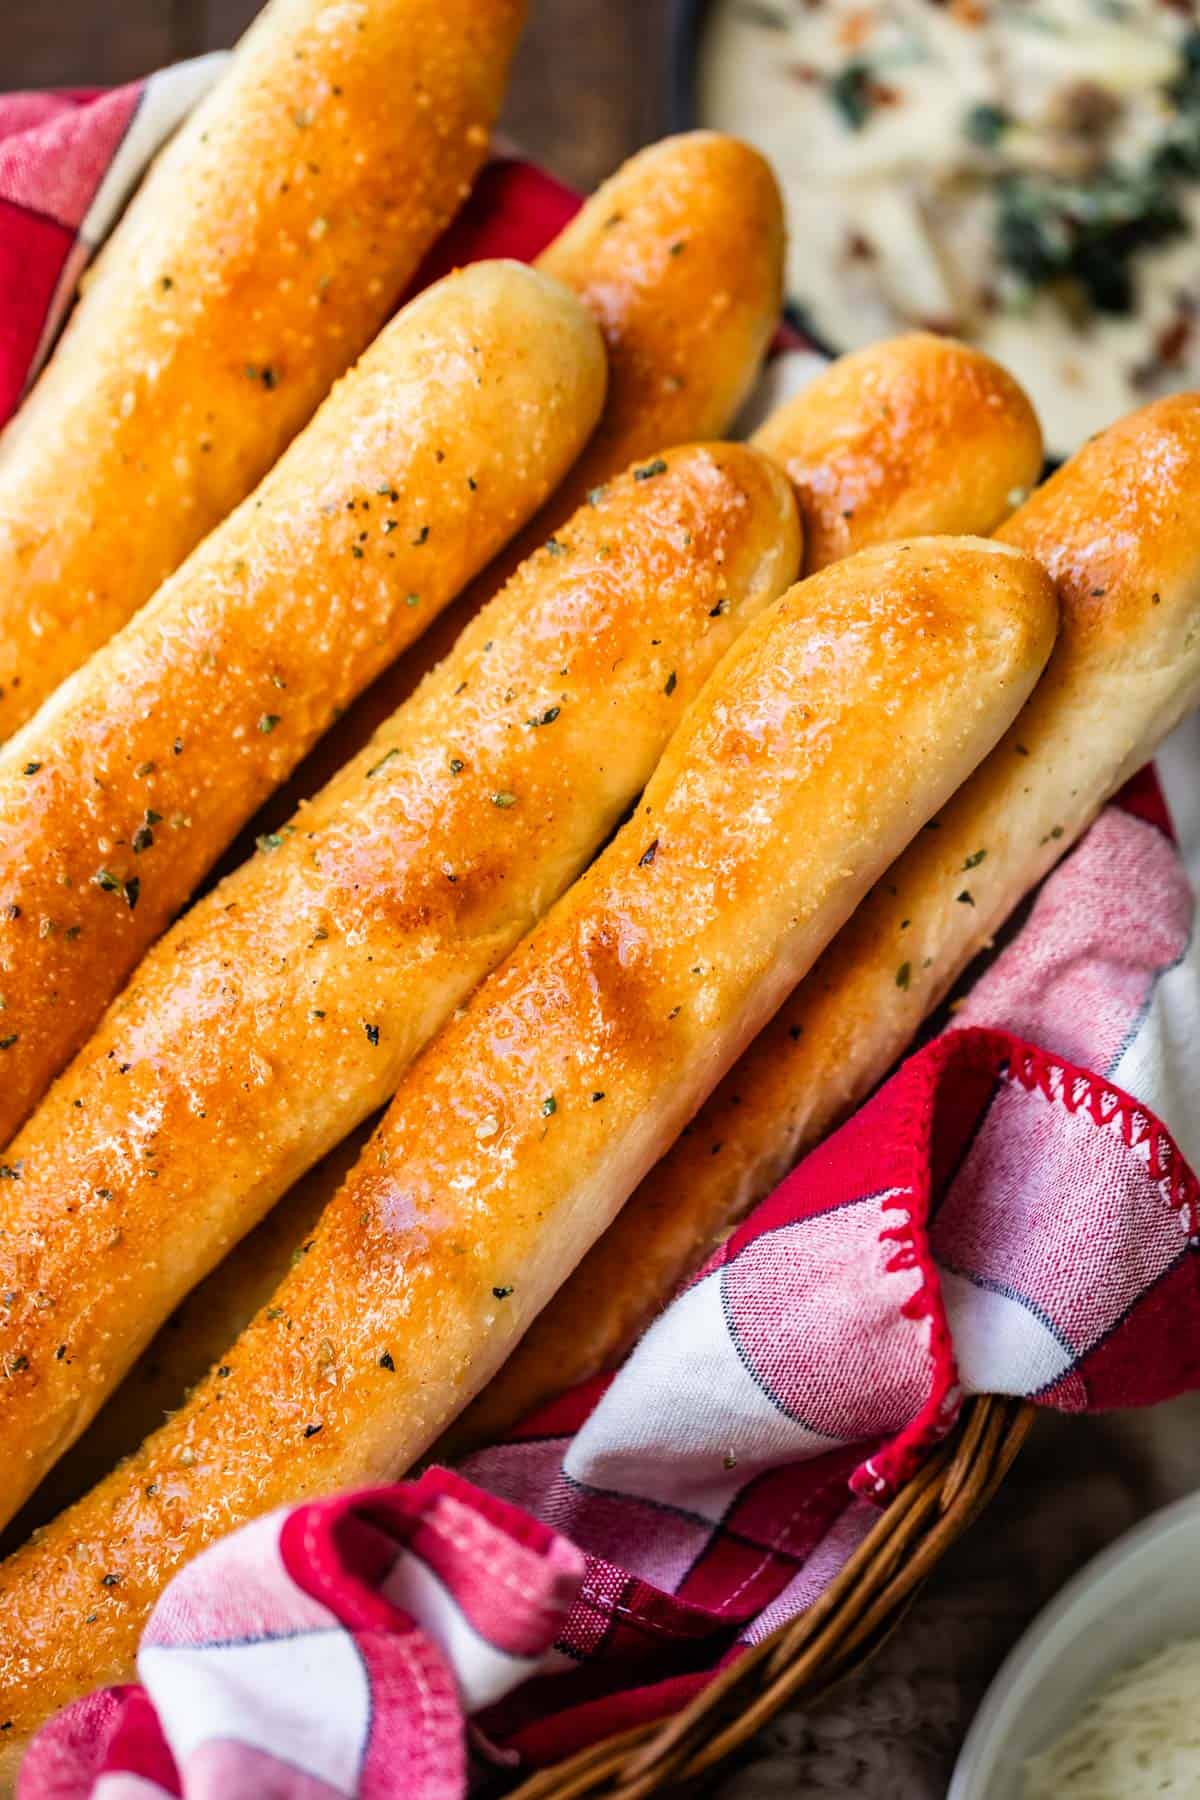
Now just imagine how much more soup he could have eaten if he had had these breadsticks to go with it. There is a reason Olive Garden promises “bottomless” soup, salad and breadsticks! It’s for the Truman’s of the world, and all those of us who can just keep going, and going, and going…
Breadsticks become the star of every dinner
I know technically breadsticks are considered a side to whatever entree is being served. BUT!! These breadsticks. THESE BREADSTICKS, you guys! They always end up stealing the show, just like how at Olive Garden you end up full on breadsticks before your pasta even hits the table. *guilty*
What to serve with these bad boys
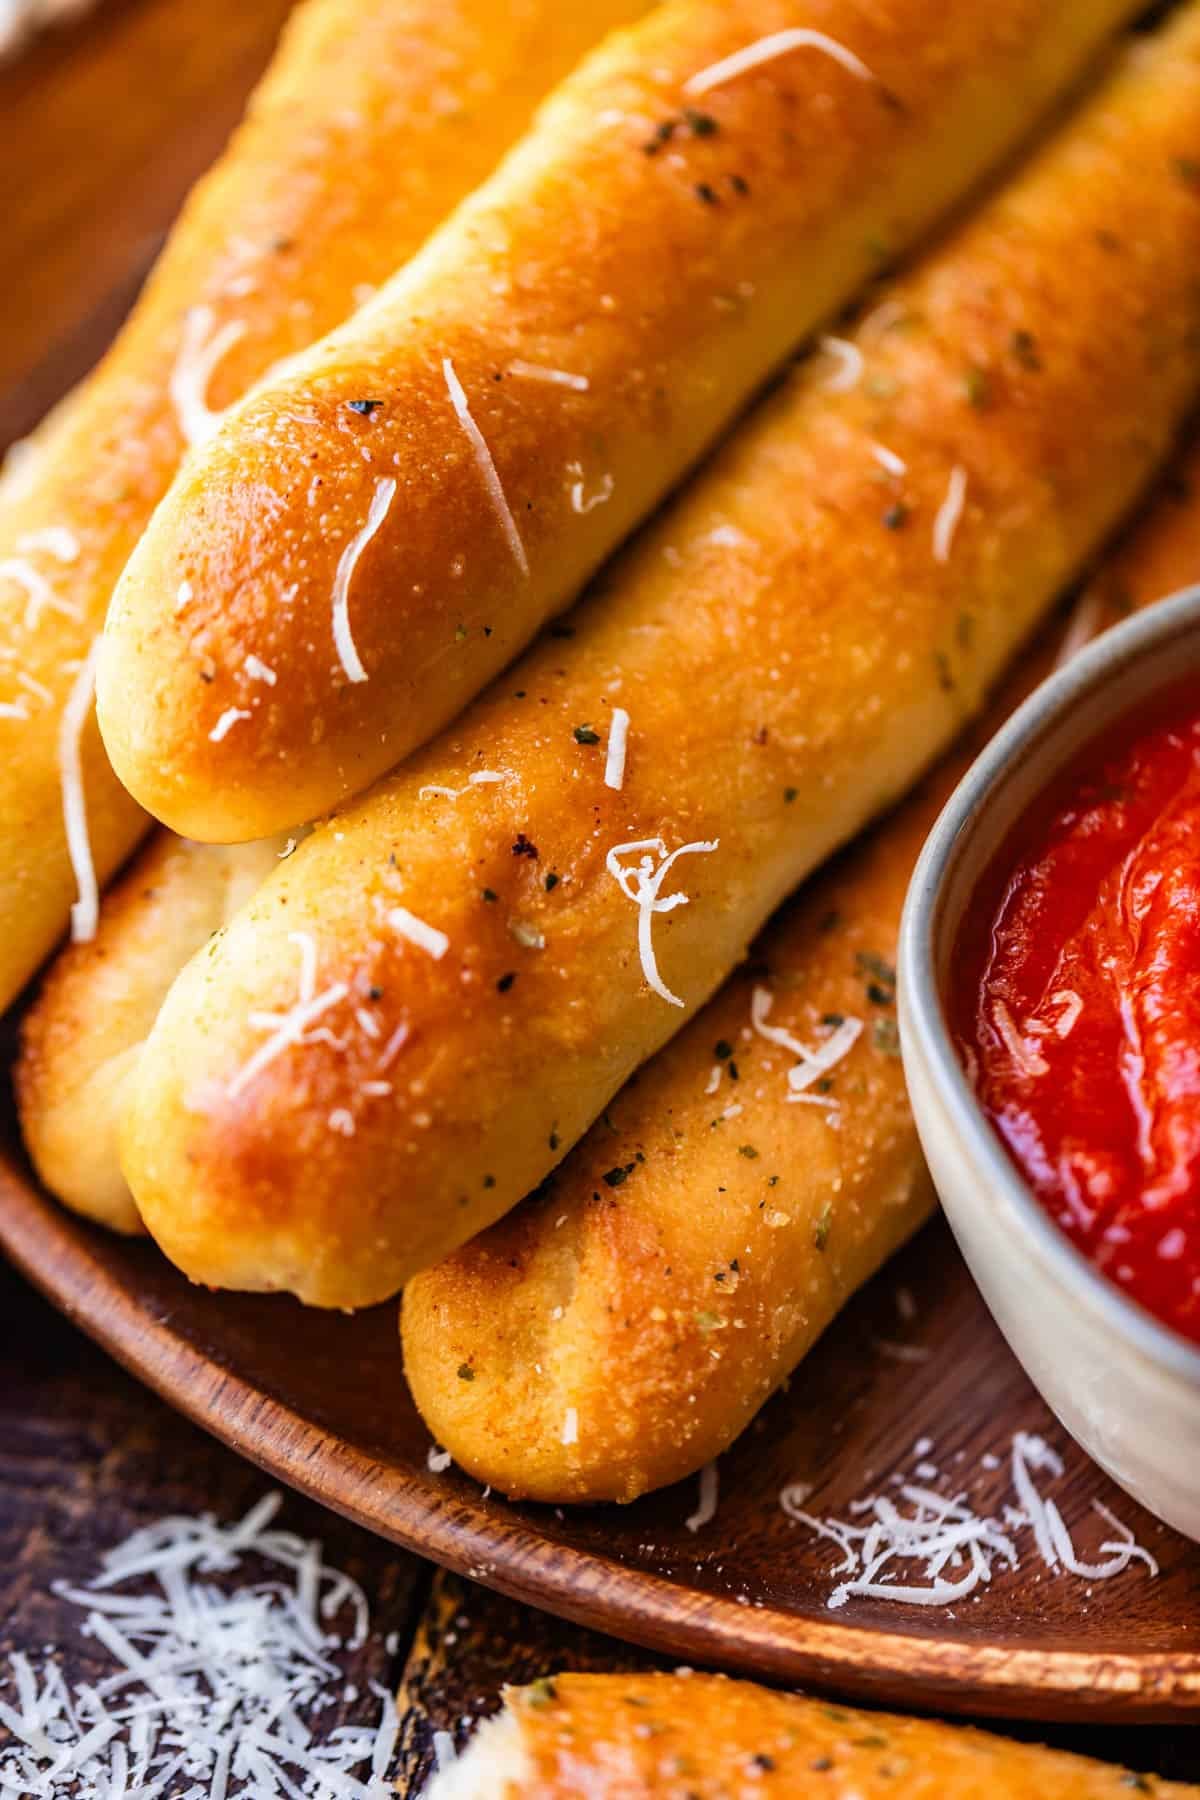
Here’s what I like to pair them with. I mean, if I’m being honest, the more apt question would be what NOT to serve with these breadsticks, because I’ll take them with anything, all day long. But there is something heavenly about dipping one of these into the right sauce or soup. Here are a few of my absolute faves!
- Laura’s Tomato Bisque Soup >> the richest, creamiest tomato soup ever, I promise. You think regular Tomato Soup is amazing? Try the bisque version and you will never be the same. I could eat 7 bowls, just like Truman.
- Sausage and Kale Soup (Zuppa Toscana) >> here is my knock off of Olive Garden’s version, but I like it even better than theirs! My sister tried to sell this soup to her picky 4-year-old once: “Cora, it’s like eating melted ice cream!” Minus the sugar, plus sausage. YUM. (It didn’t work, btw. 4-year-olds are a tough crowd.)
- Best Chicken Alfredo Recipe >> How could anything be better than carb-loading with Chicken Alfredo, just like Michael Scott right before a 5k? ADDING BREADSTICKS, that’s how.
- The Best Bolognese Sauce Recipe >> My favorite version of the most classic Italian sauce! Breadsticks are PERFECT for mopping the plate at the end.
Ingredients
This is a very simple recipe, it’s just bread! Rolled into logs! But there are a few ingredients that are important to know about:
- Butter, in the dough and brushed on top, adds a rich, savory flavor and keeps the breadsticks super soft!
- Sugar does not make them sweet! But it does add a very subtle flavor that balances the salt and yeast. It also helps make the breadsticks more tender and keeps them from drying out too quickly.
- Yeast, of course! Yeast breads have such a distinctive taste to them, and that rise from the yeast makes the breadsticks light and fluffy, just like your favorite sandwich bread.
How to make breadsticks
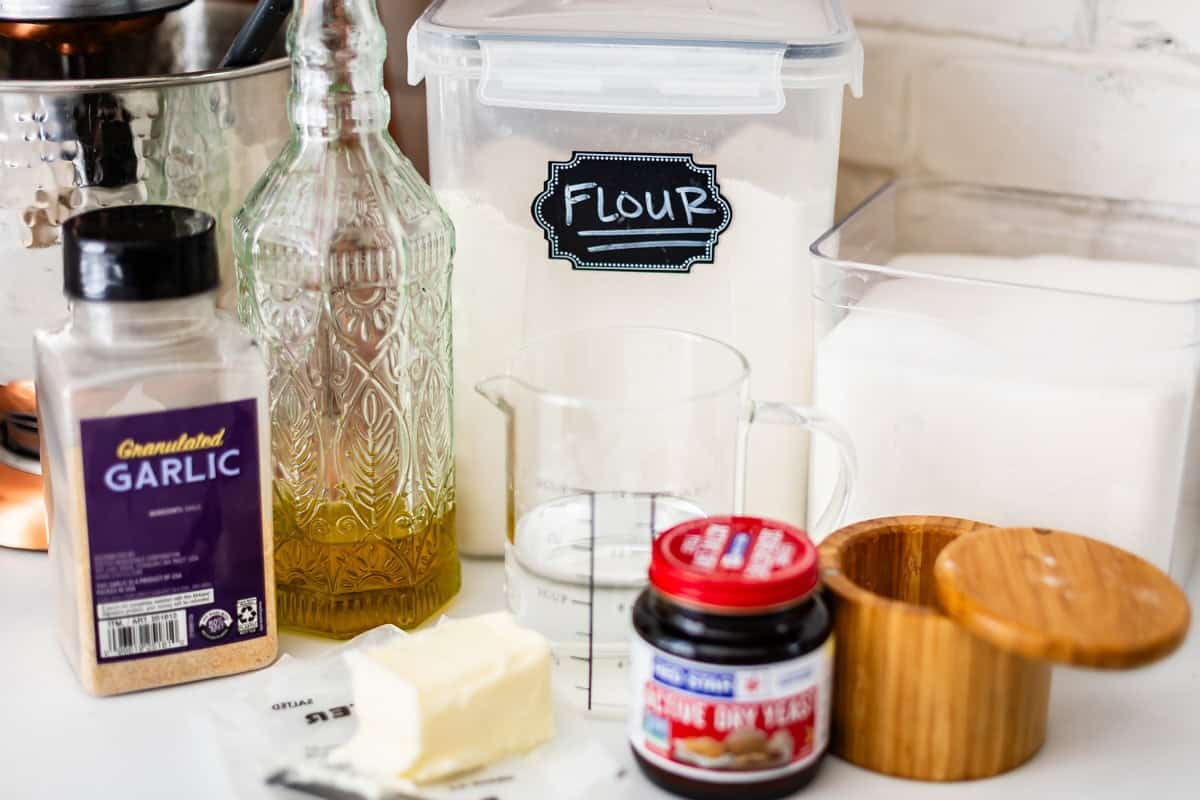
Here’s your lineup! Super simple, all pantry ingredients!
First add some warm water to a bowl.
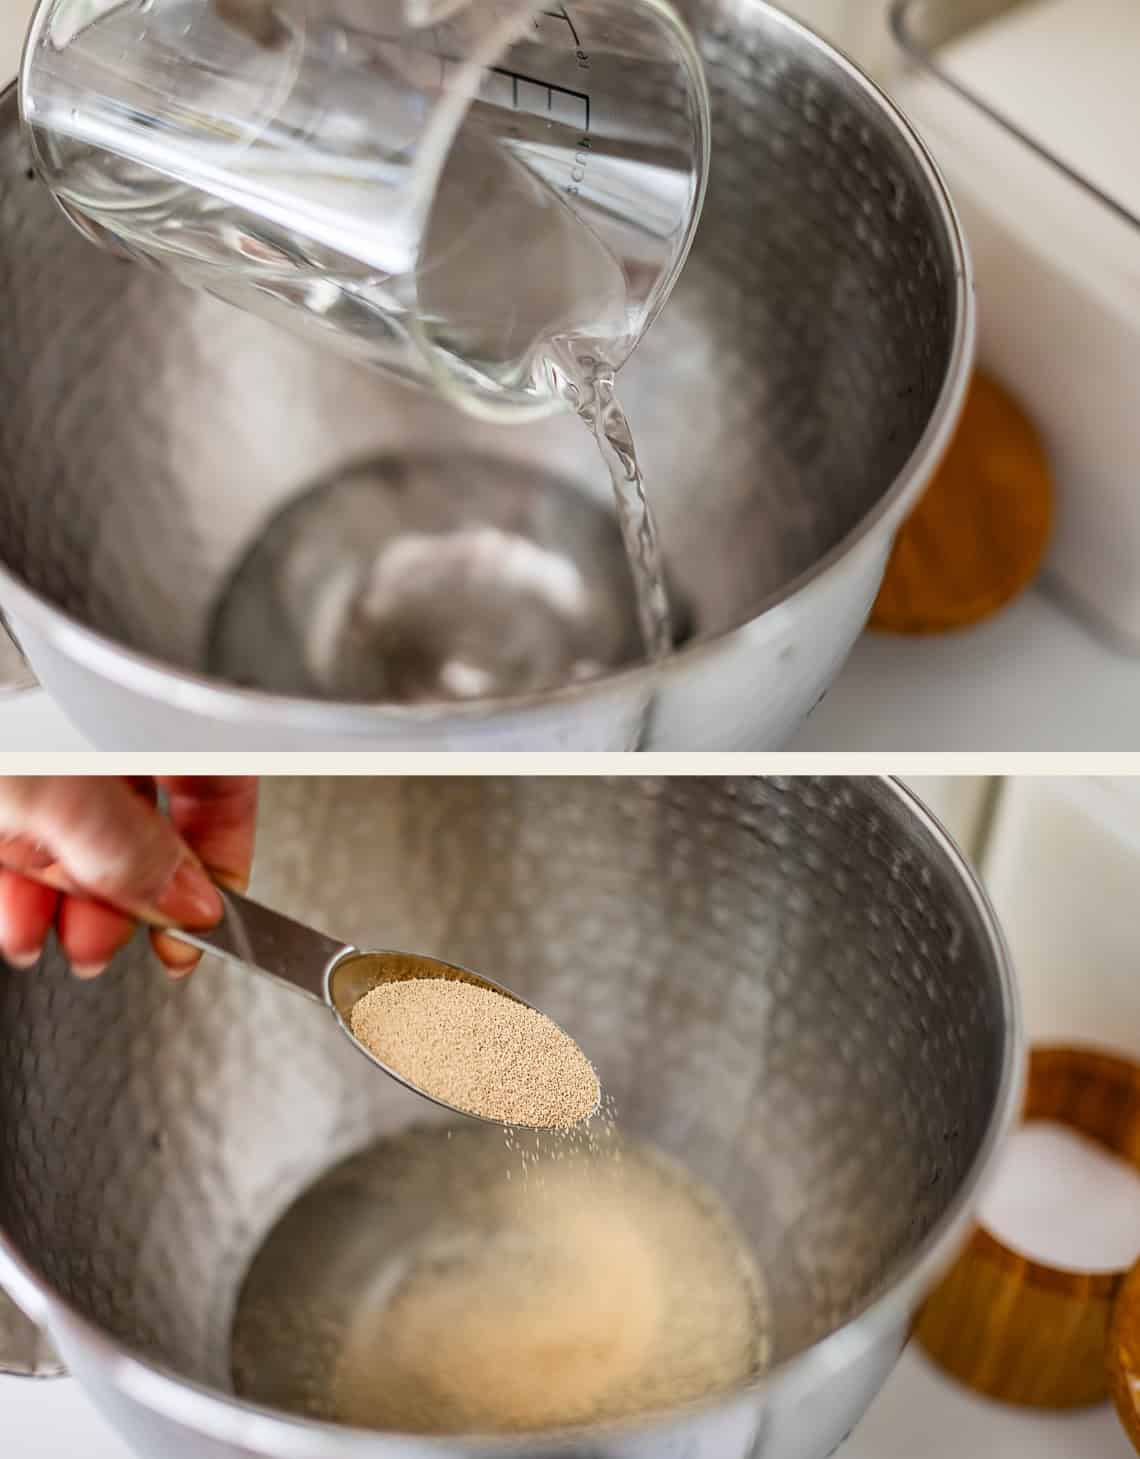
Then add in the yeast and sugar and wait for it to bloom.
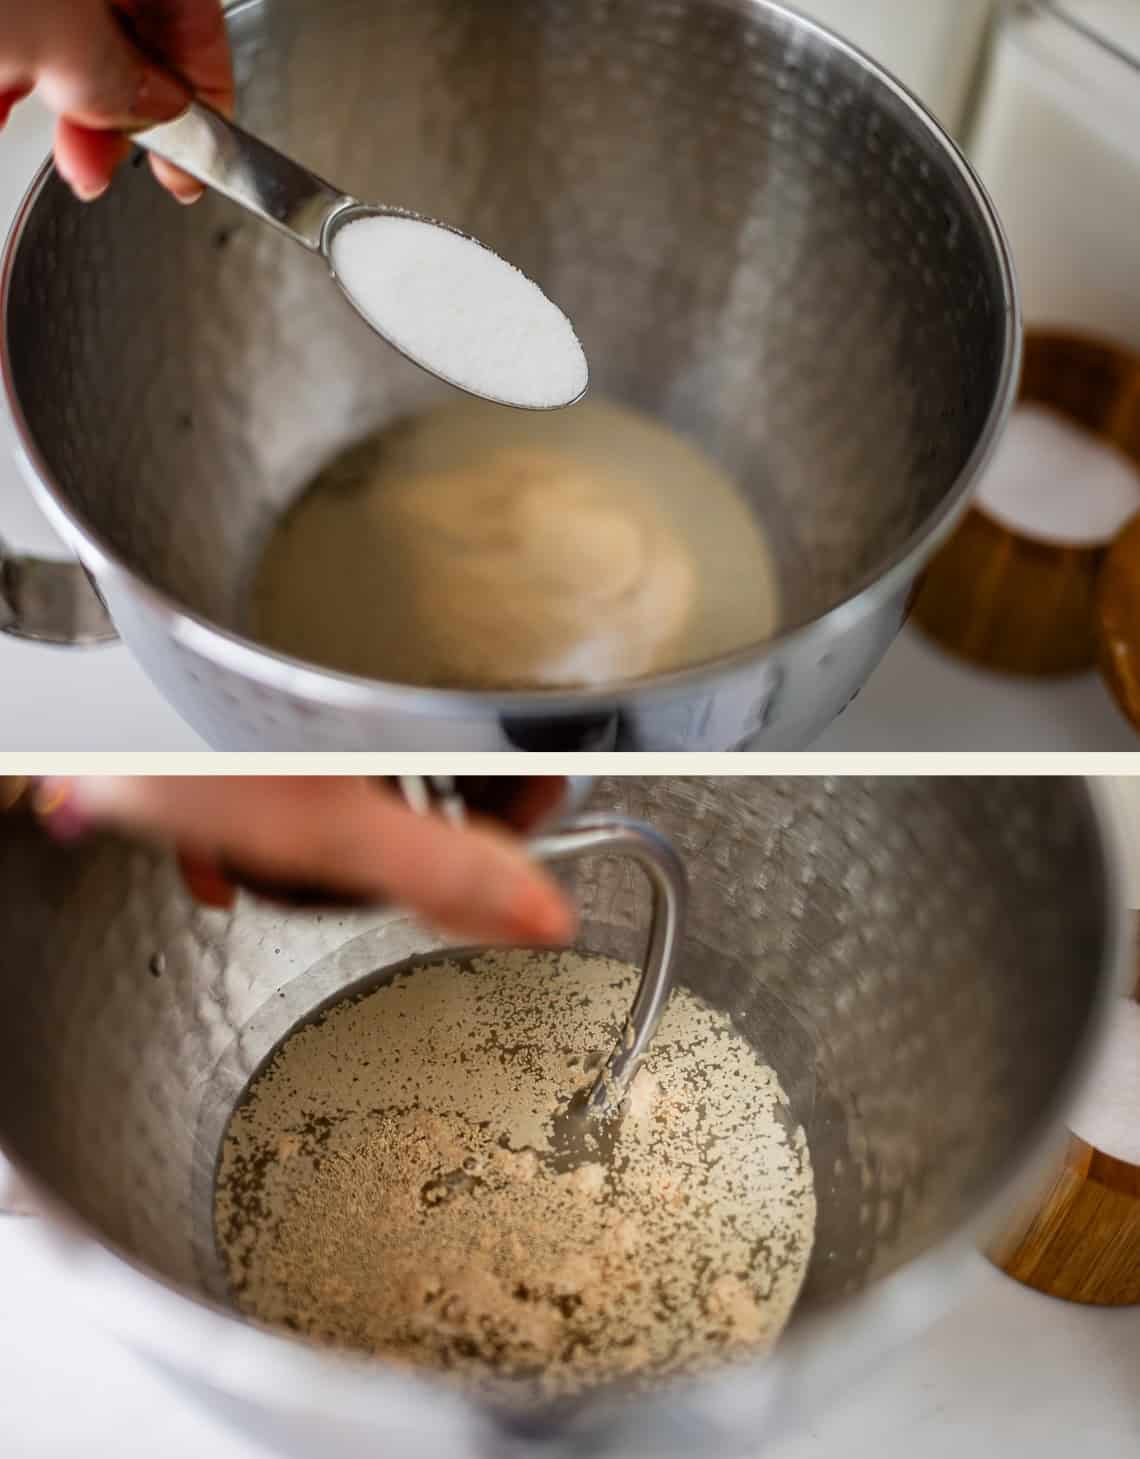
Voila! You don’t have to wait more than a couple minutes. And any amount of foaming is ok. If your water looks completely flat and there are no bubbles at all, ya done killed yer yeast, probably with too-hot water. Start over!!
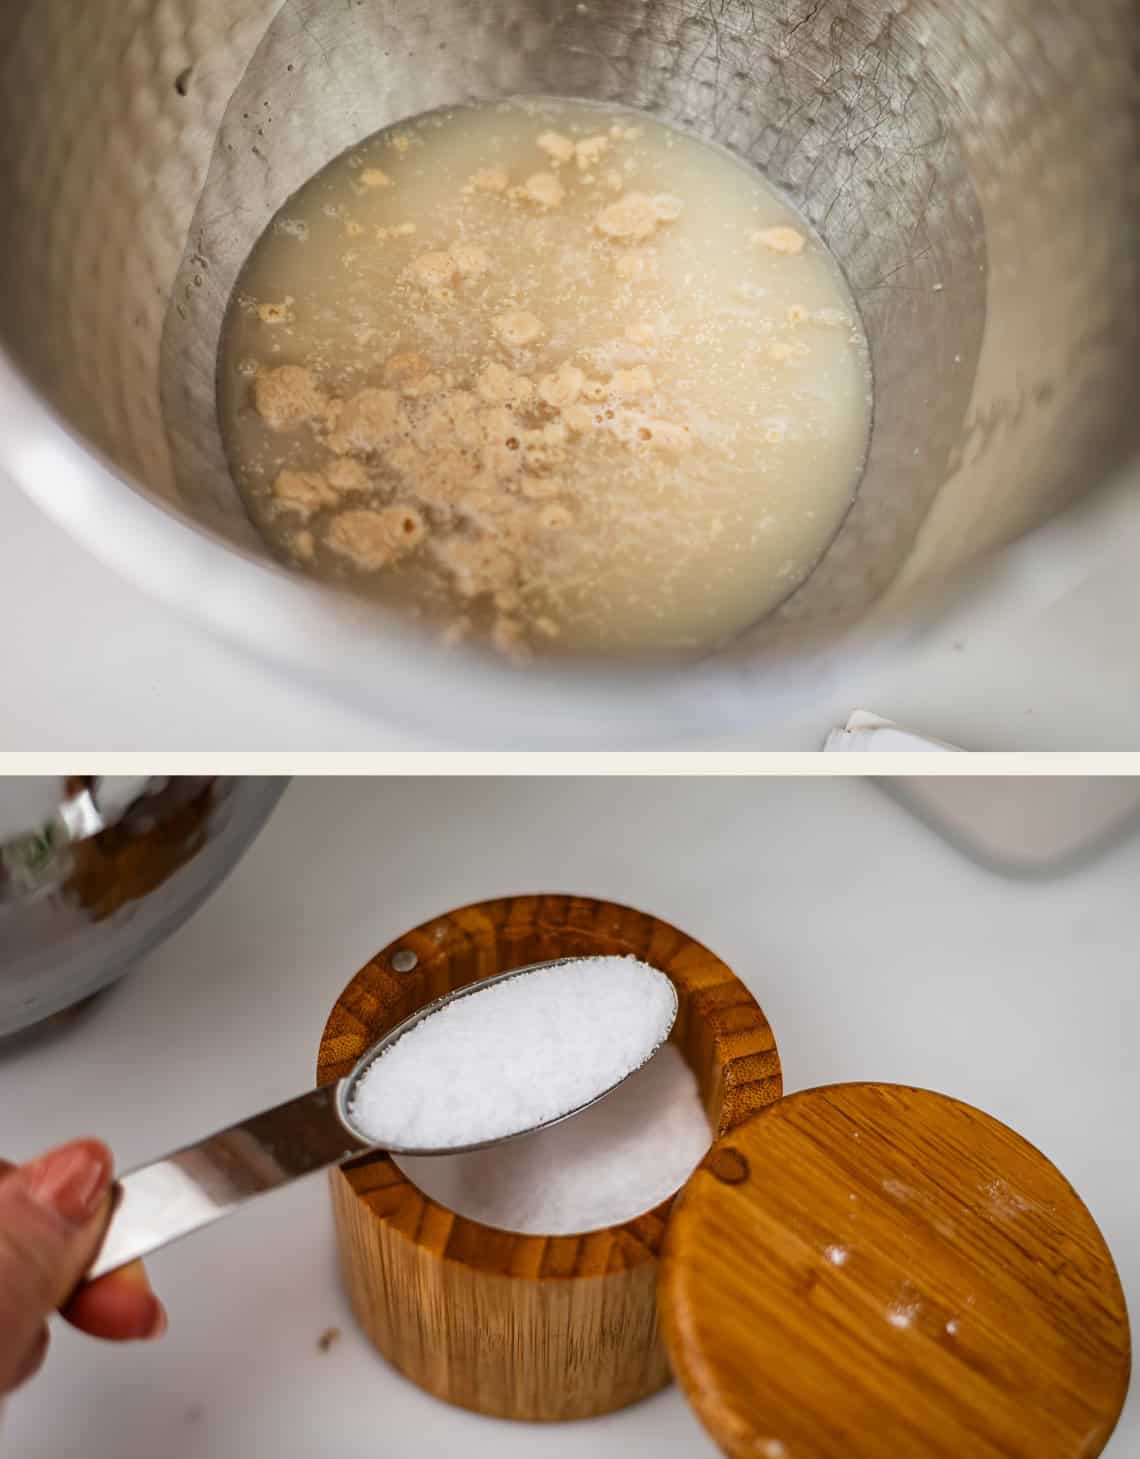
Add in a bit od salt, a full tablespoon of kosher salt, trusttt
Add in some oil. Oil is 100% fat and makes our dough PUFFY and soft.
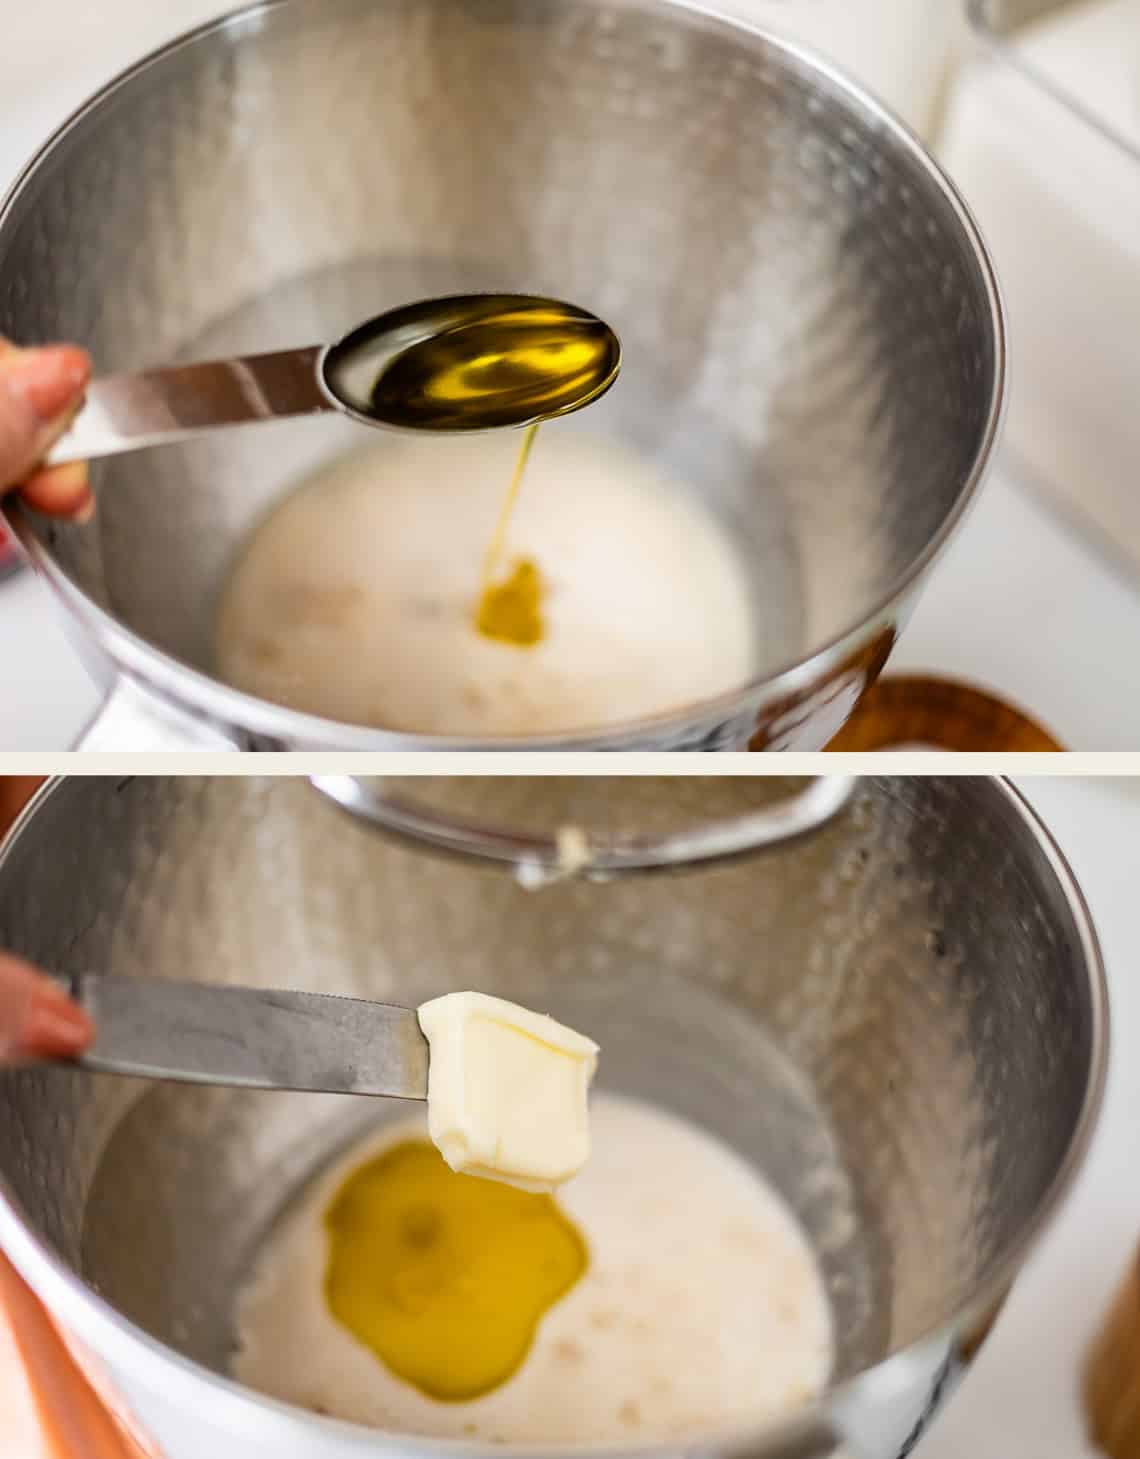
But…butter has the best flavor. It’s only 80% fat, which is why I like to add the oil. But butter has such great flavor, so we are adding both.
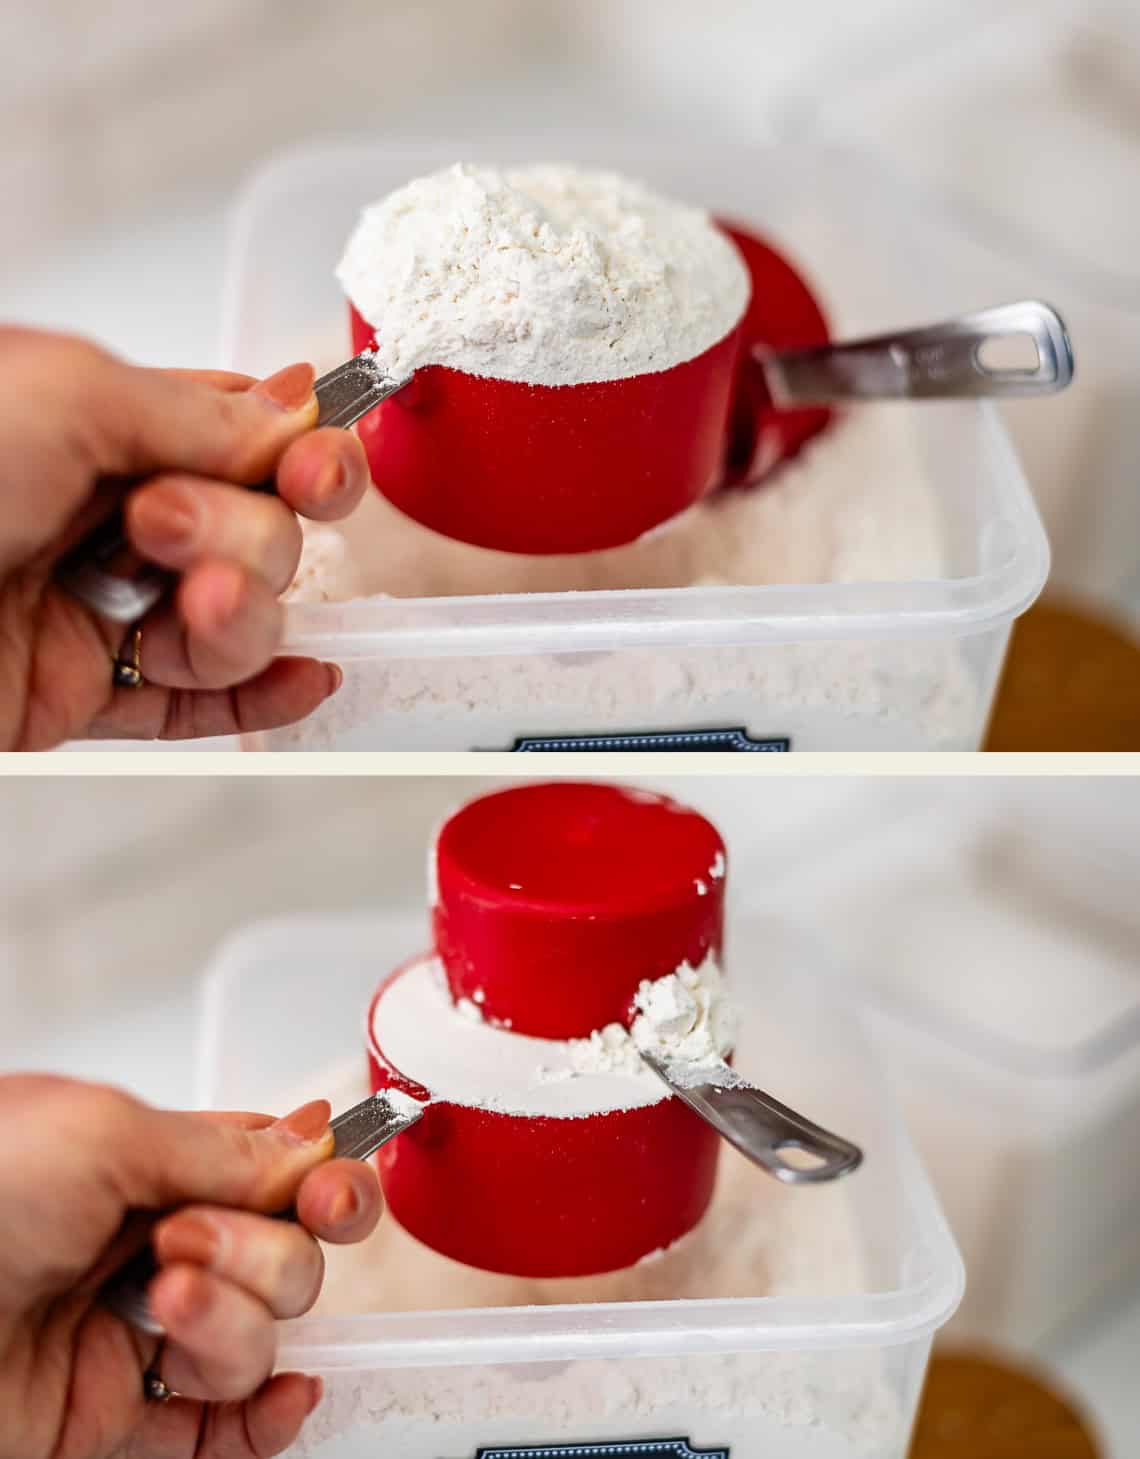
Now add in your flour. Here’s a little refresher on how to spoon and level your flour! Don’t pack it in, you want it nice and fluffy.
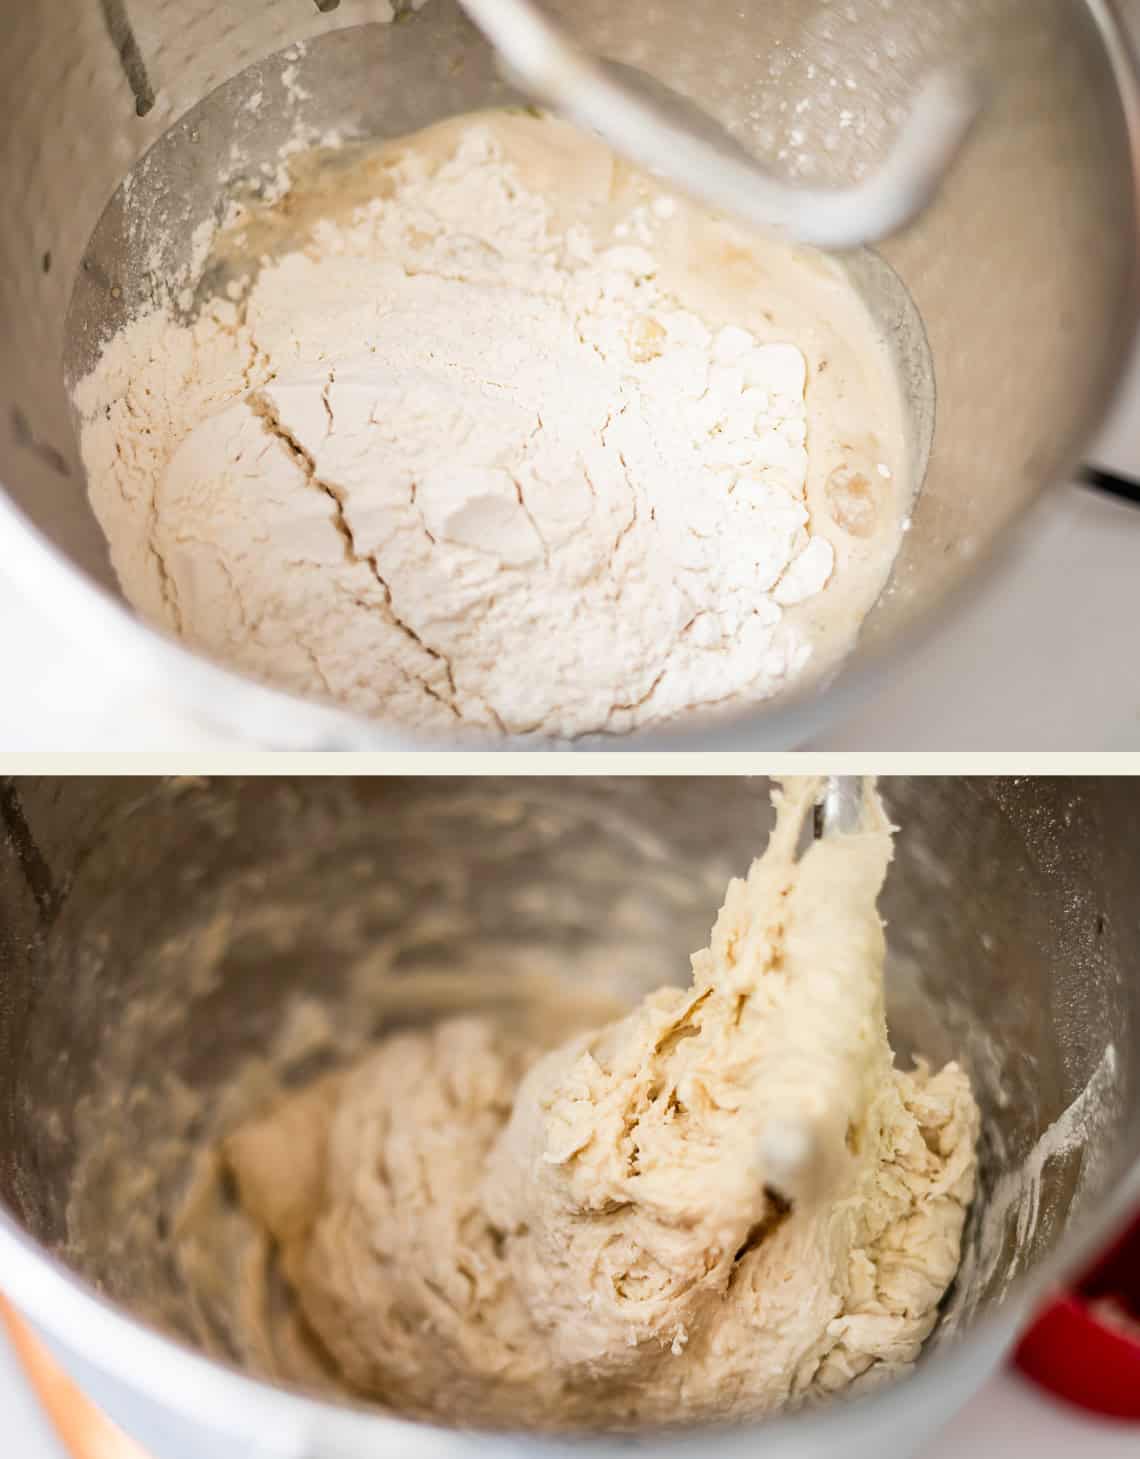
Start mixing…
This is the point where you need to decide if you want to add a bit more than 3 cups of flour.
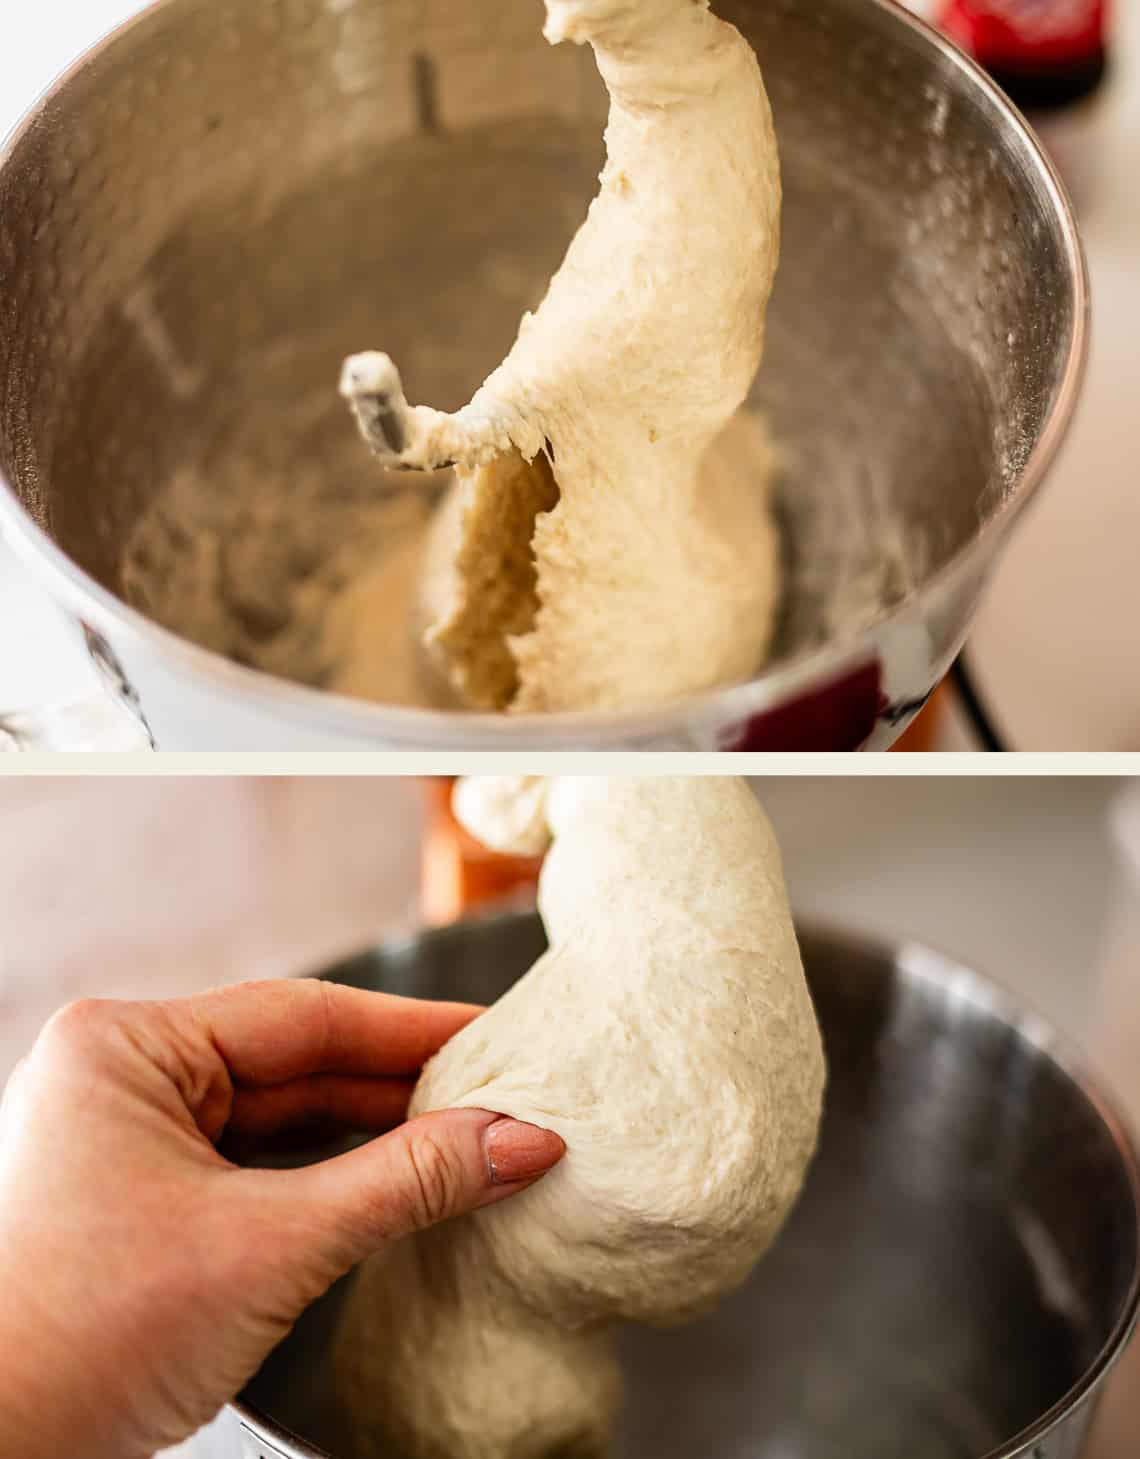
This dough will NOT QUITE form into a ball in the mixer. It is pretty tacky. Do not over flour! If you reach your finger in and press the dough, your finger should come away glossy but with no dough stuck to it. But if you take two fingers and pinch it harder, you will have dough stuck to your fingers.
After you add the flour, knead for about 5 minutes! And shape into a ball:
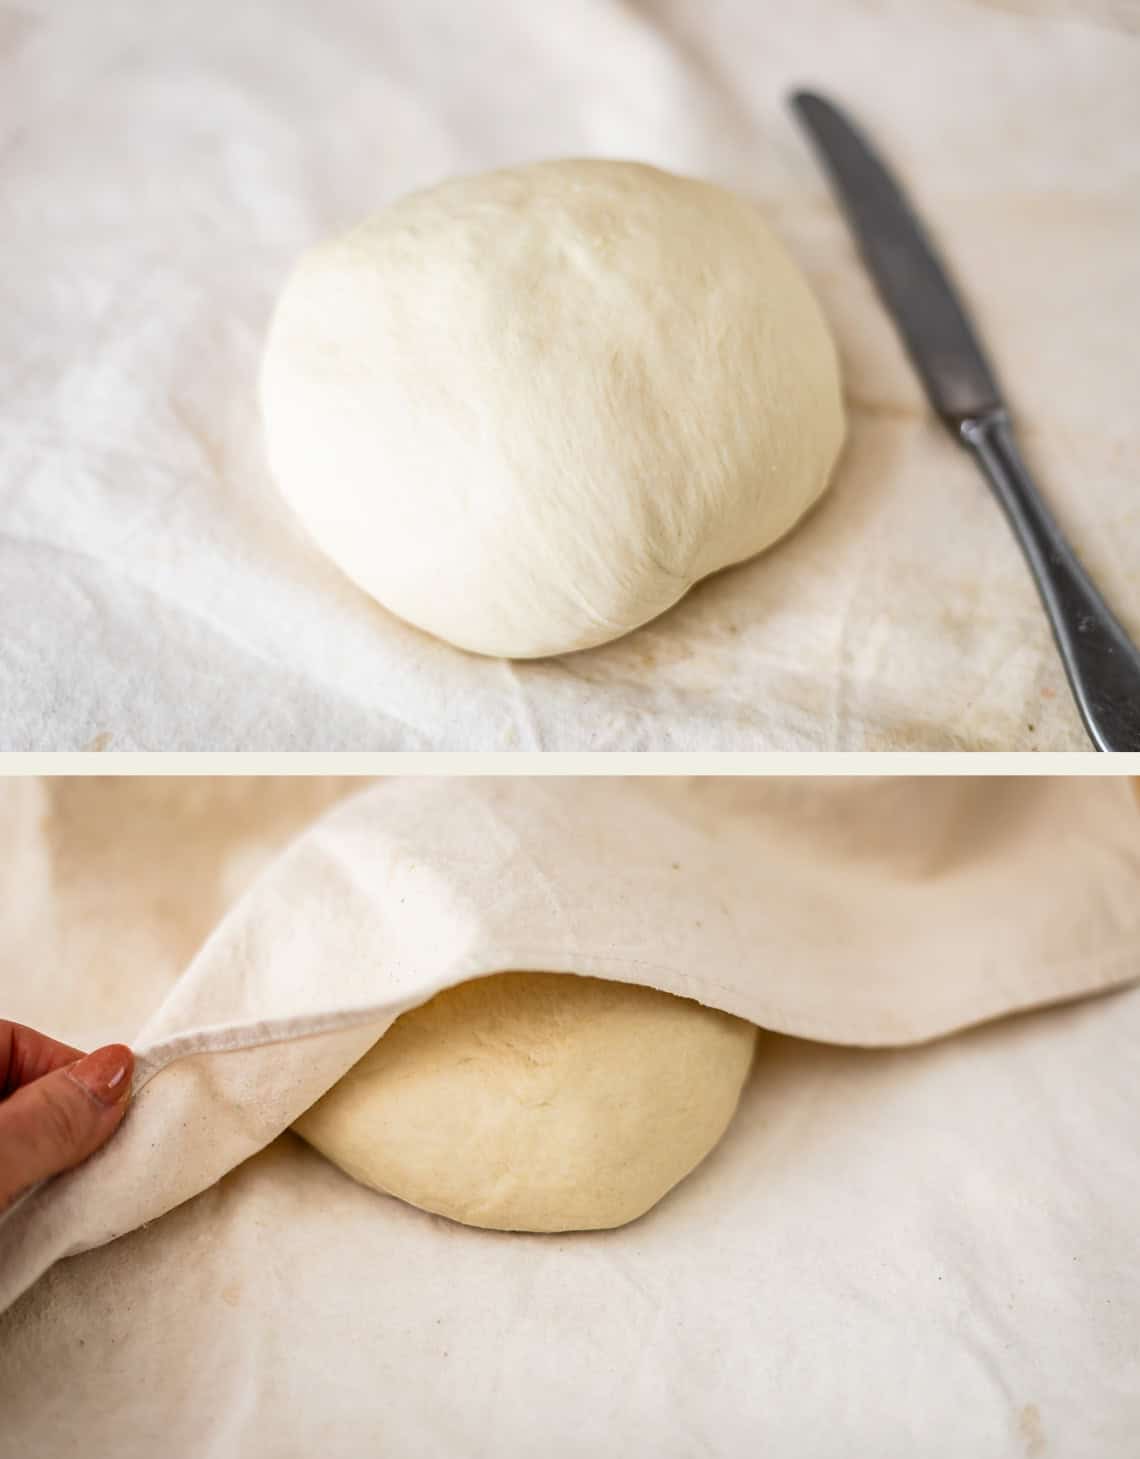
Now let your little bun take a nap for about 10 minutes.
Divide it in half…
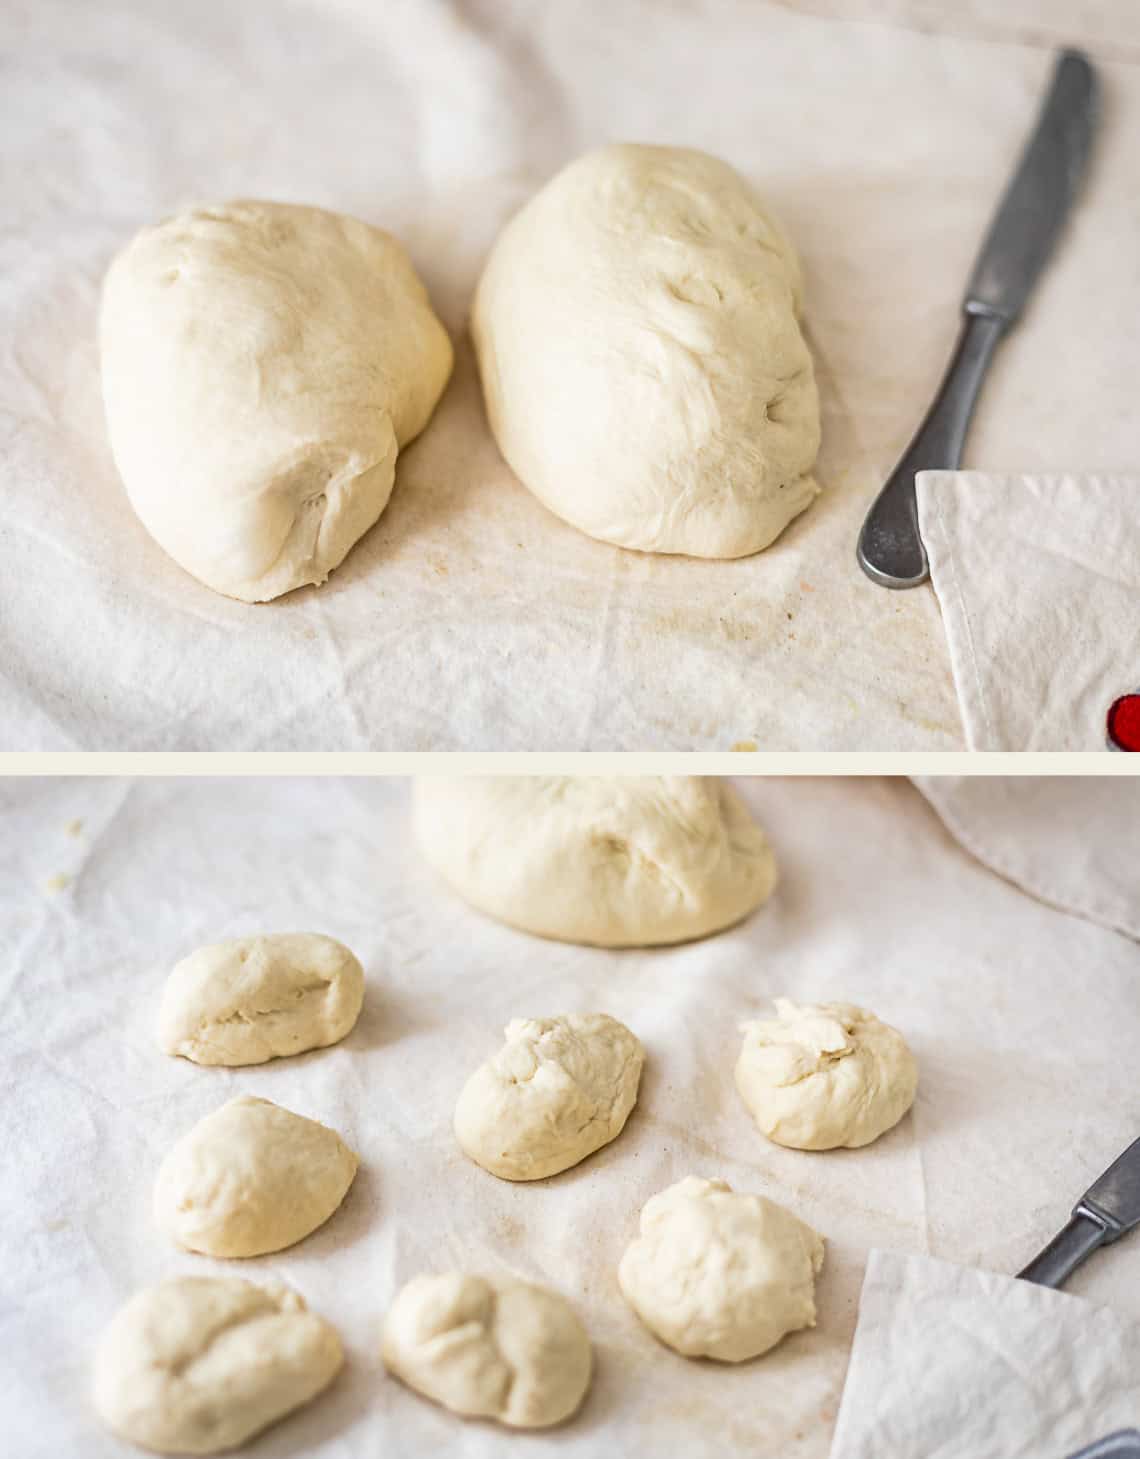
Then split each half into 7 pieces, to make 14 total.
Pinch the ends to form a neat little ball,
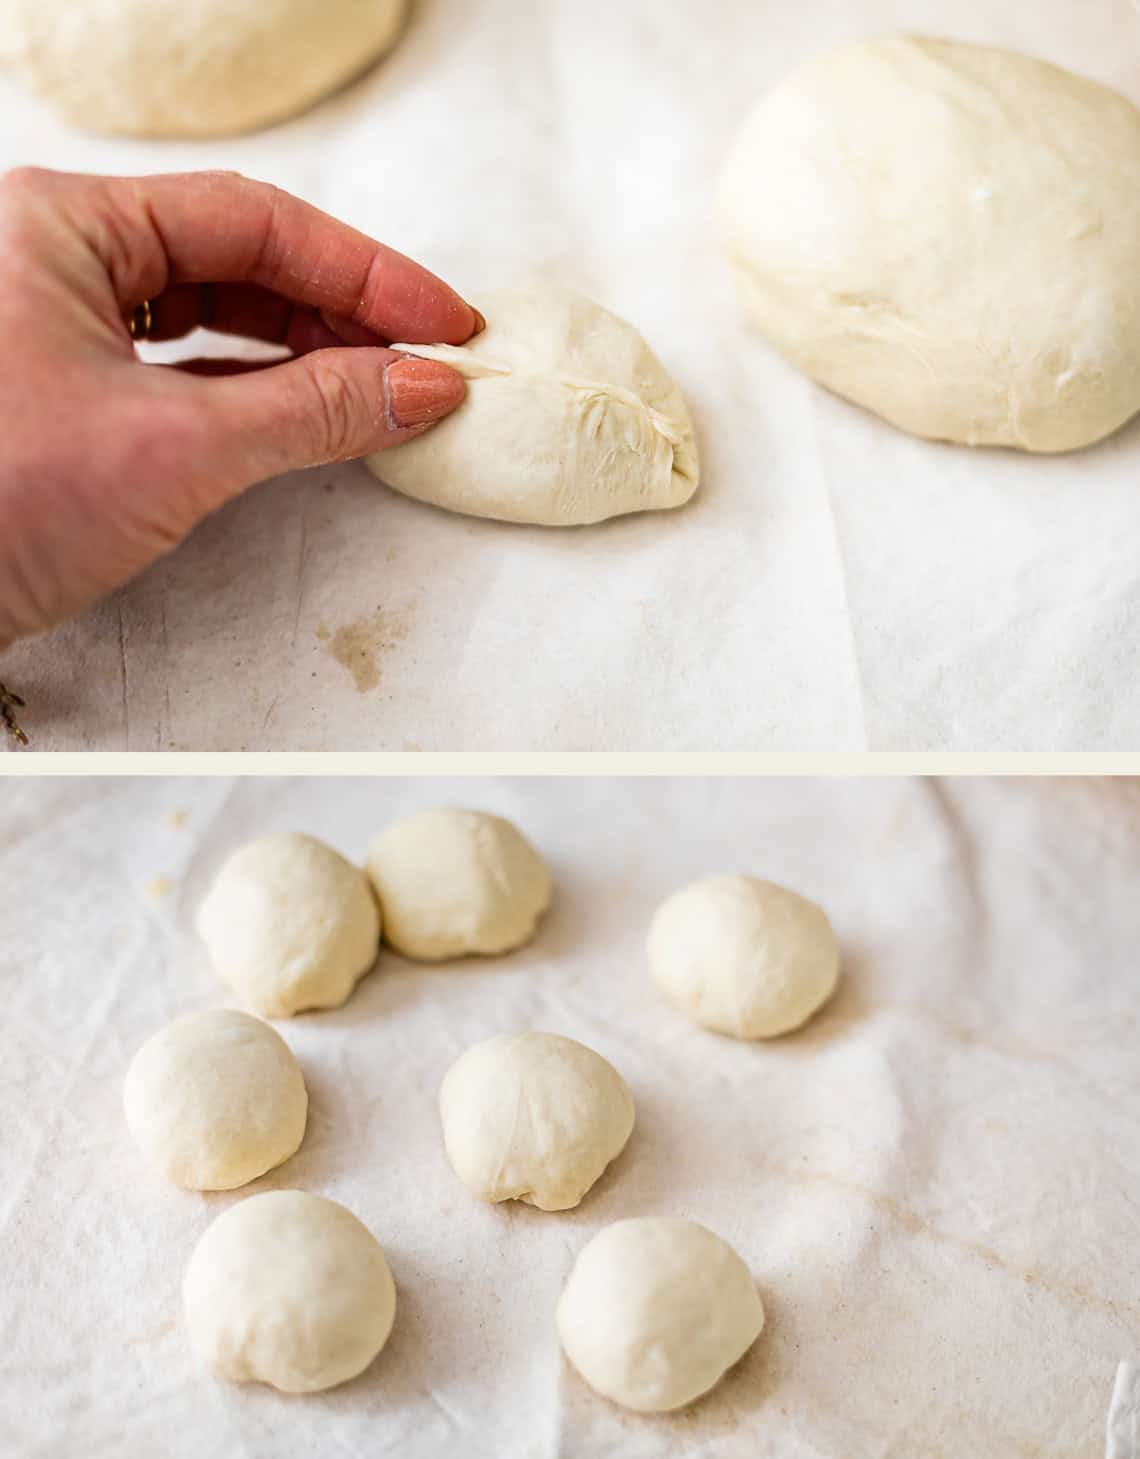
like this. Then start rolling! Just like when you were a kid! Breadstick snakes. If your 5 year old self could see you making this, the world would all make sense.
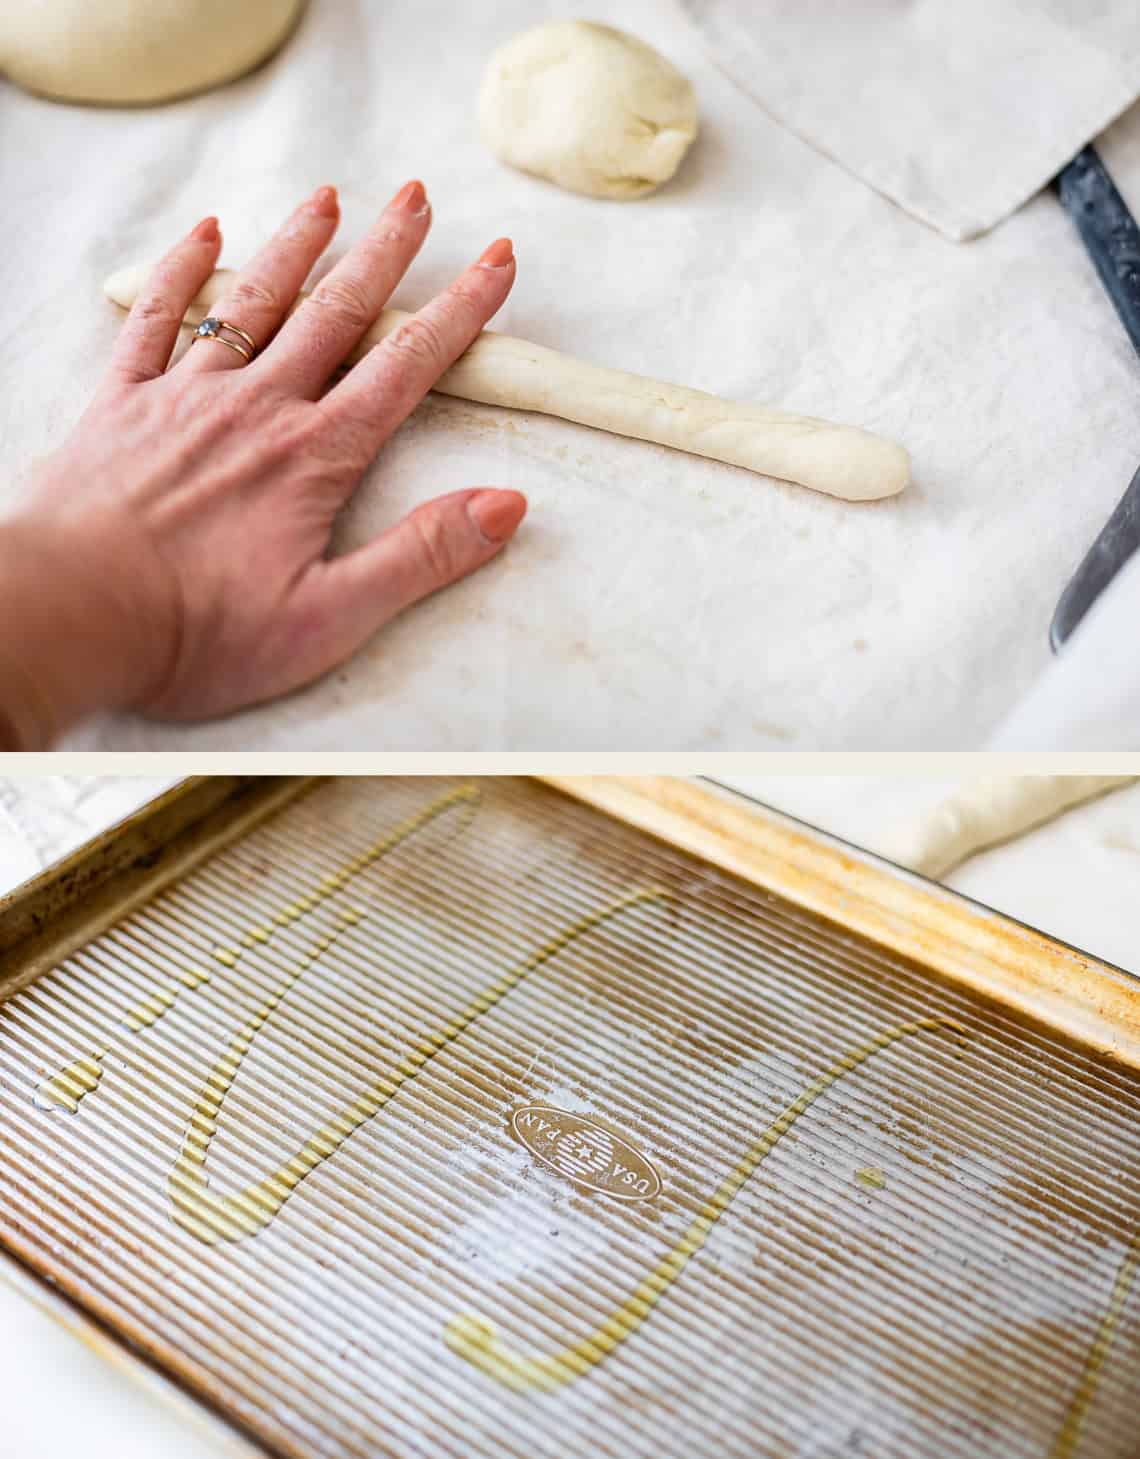
Then drizzle a couple pans with oil, get them nice and greasy so our little breadsticks can bake in all the fat.
Line them up this way on the pan (not touching..unless you want them to, of course!):
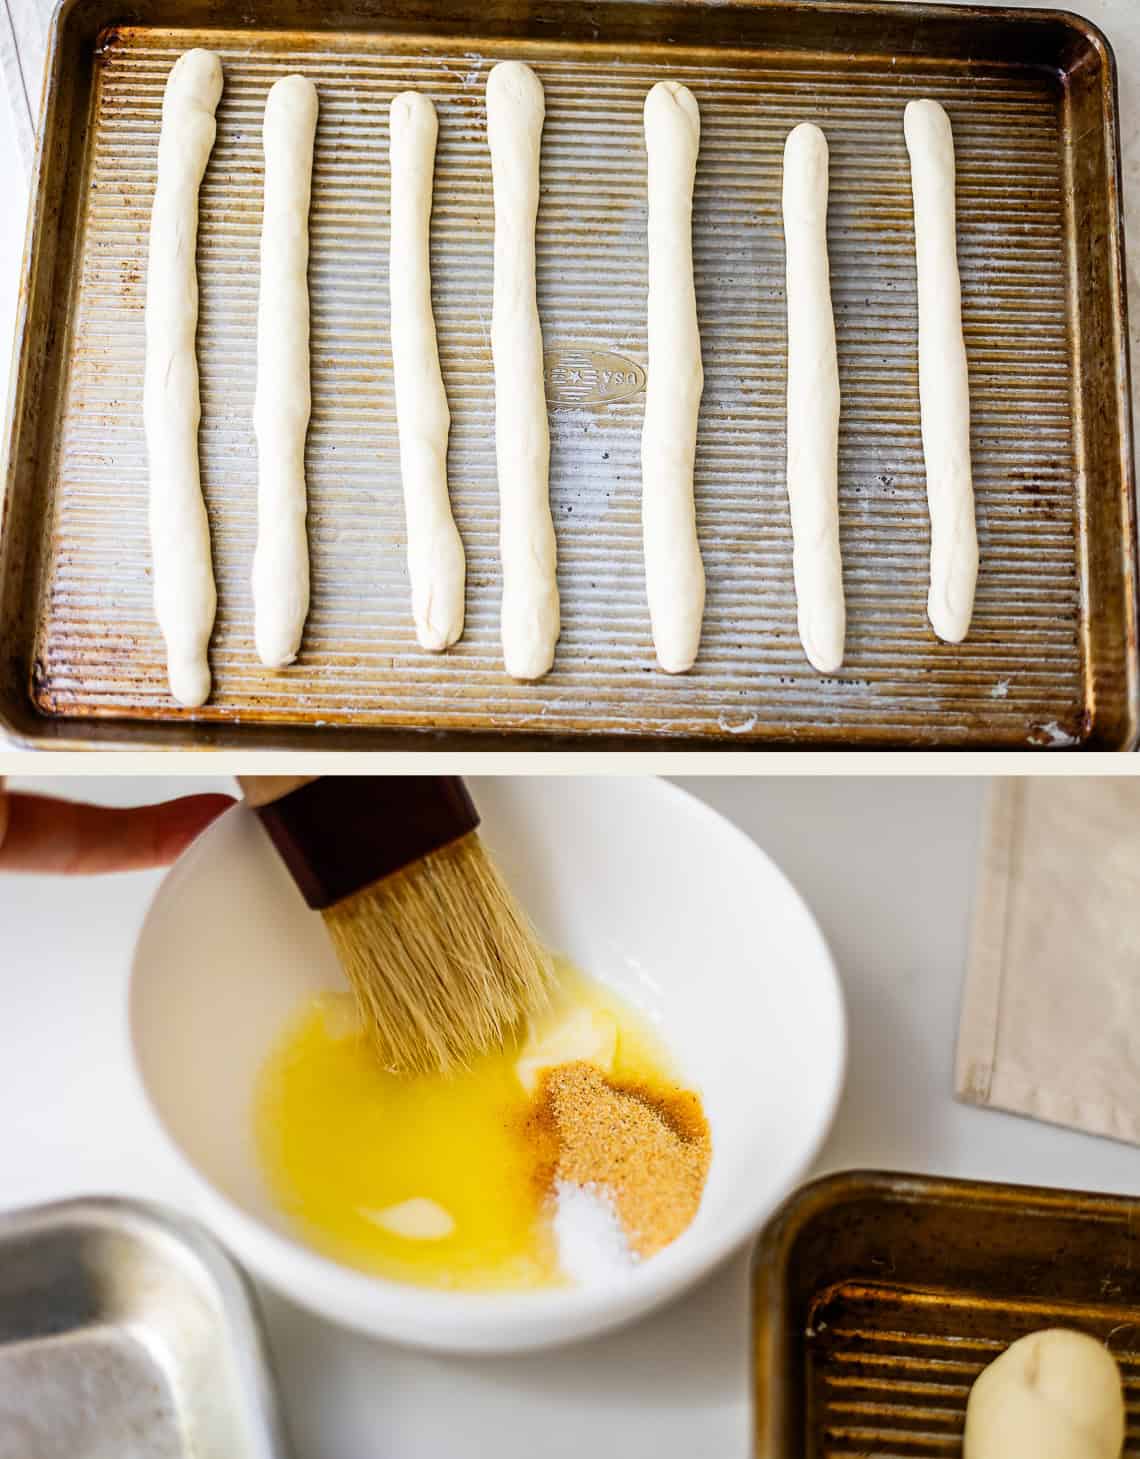
And let them rise! Once they are risen, just before going in the oven, brush with butter+salt+garlic powder. This is the besssst when it bakes in.
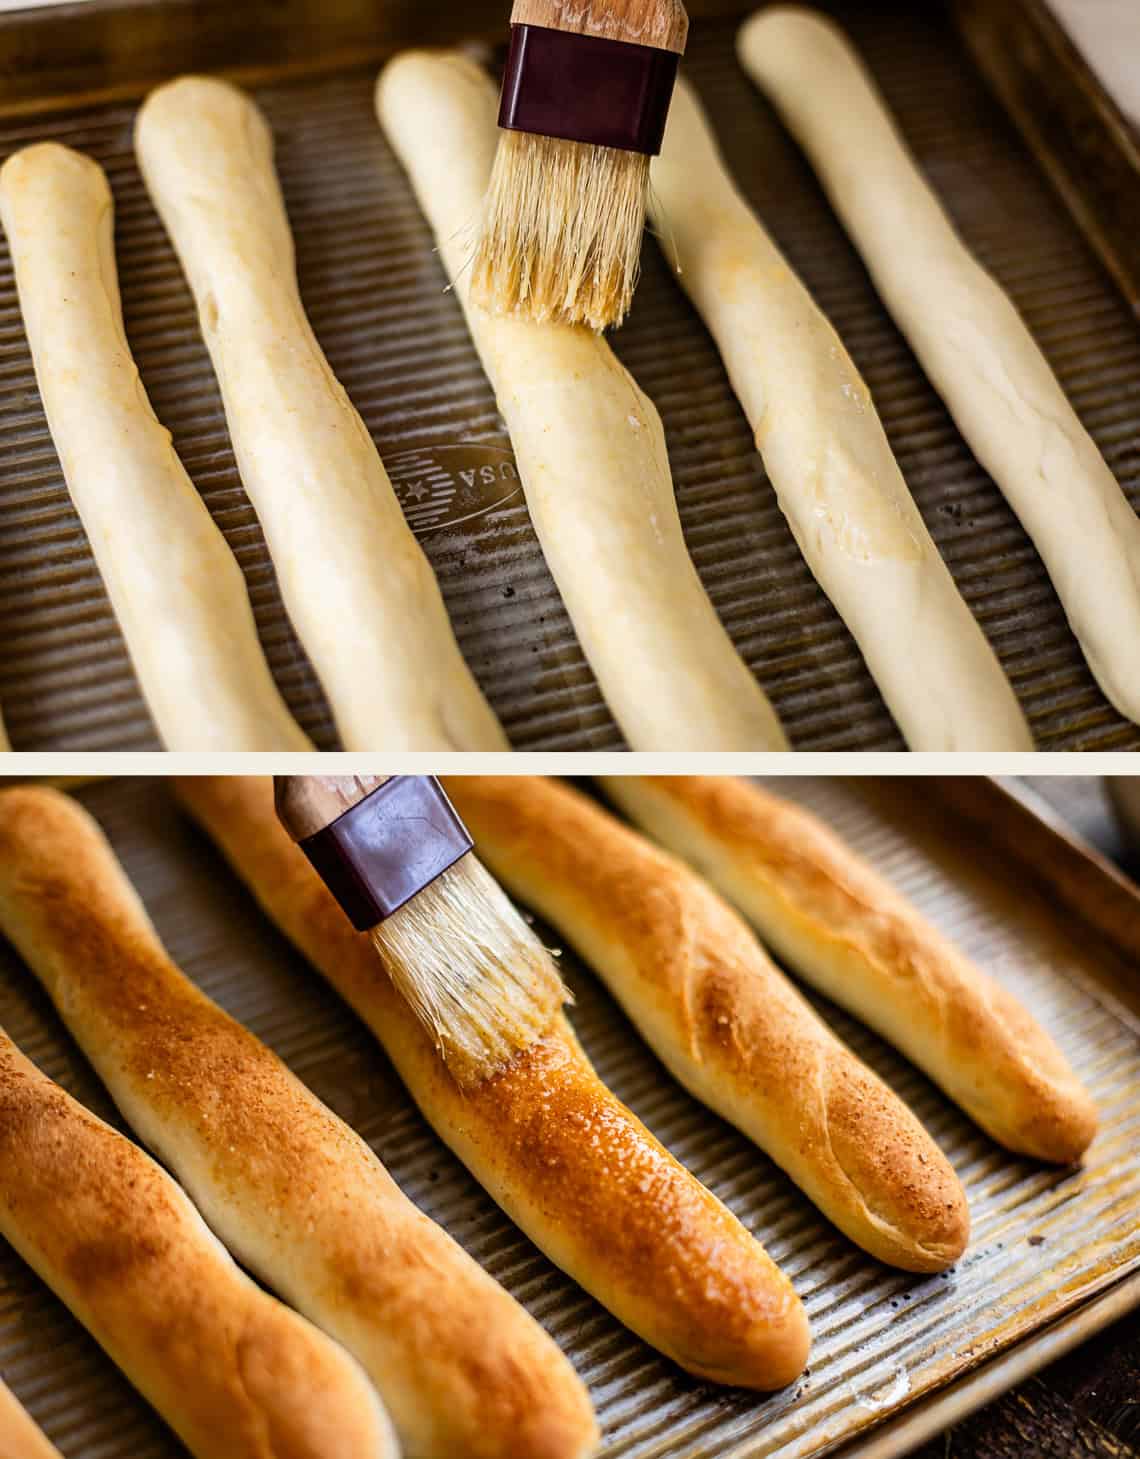
Bake until golden, then brush with the same butter mixture AGAIN. Soooo good you guys!
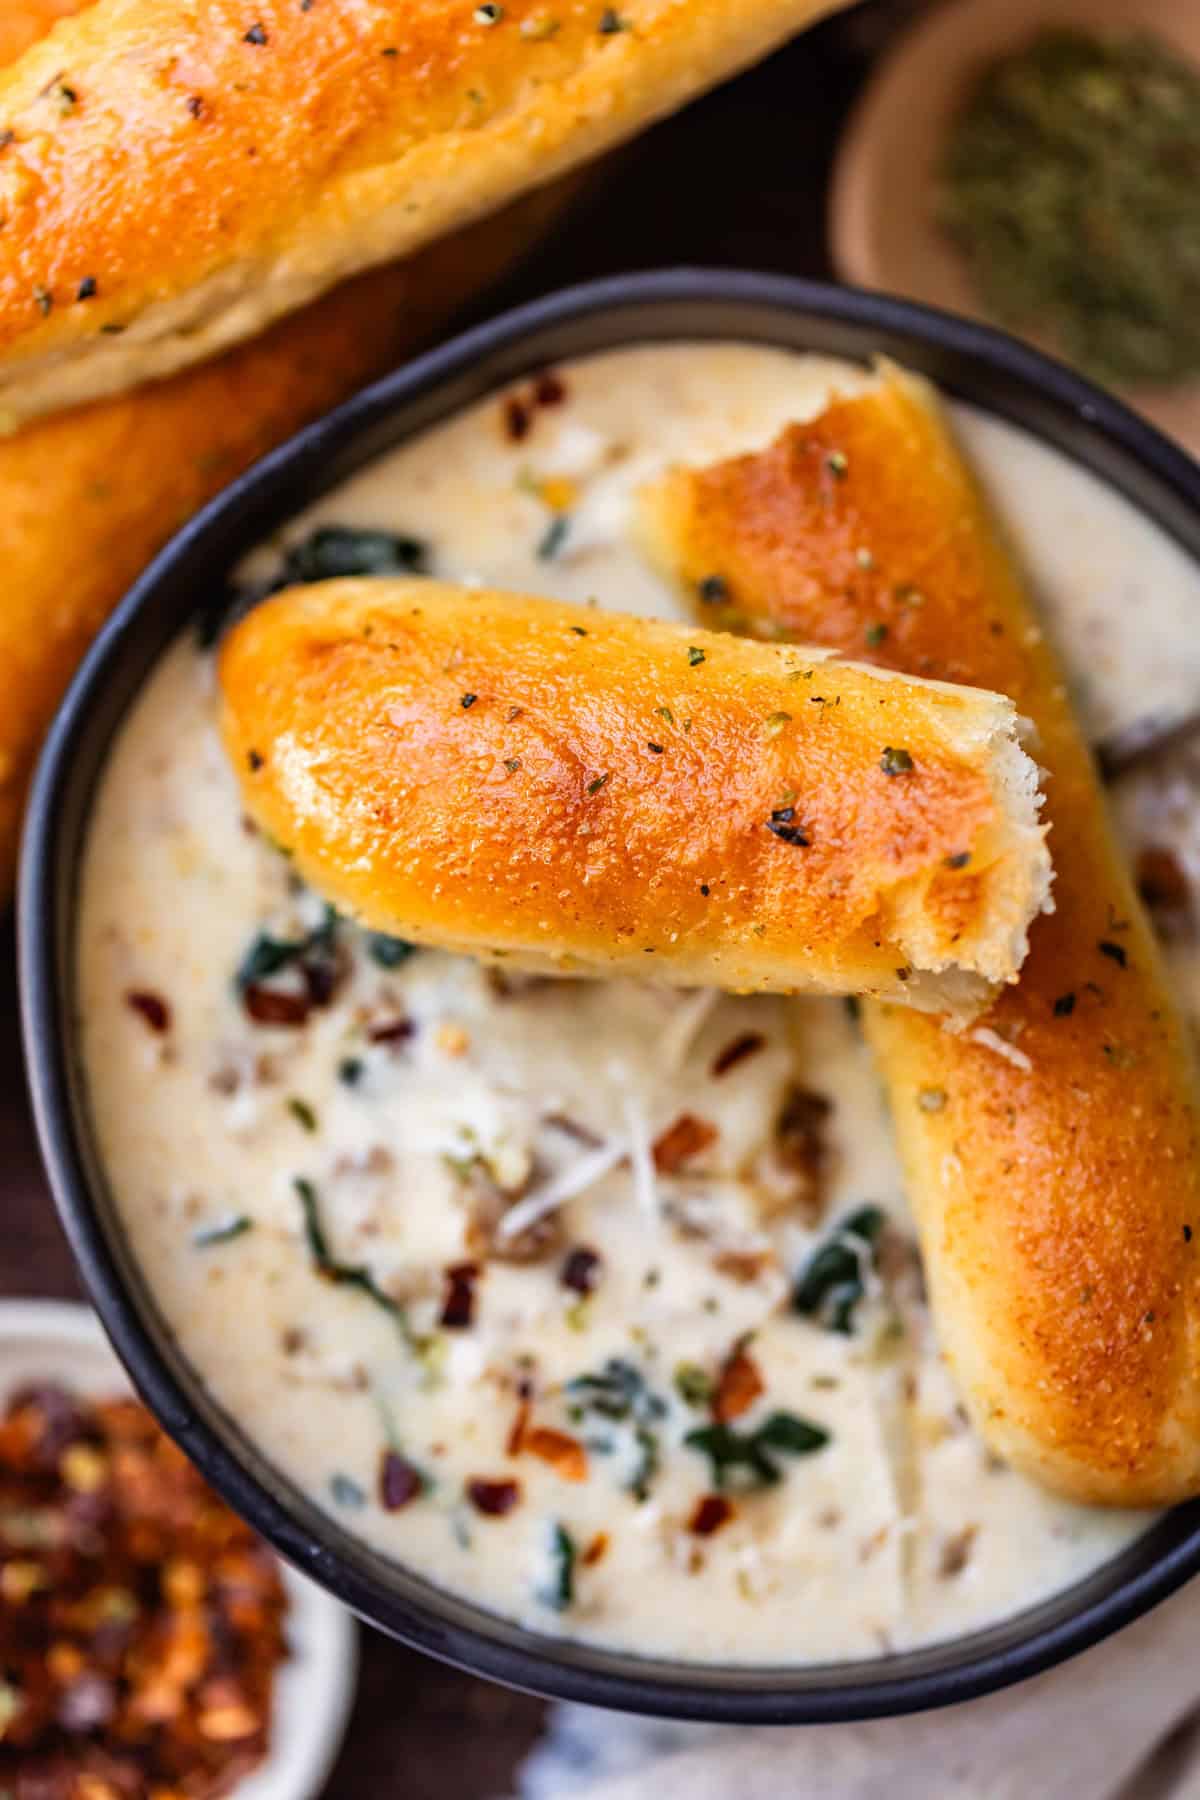
Then dig in, preferably with some Zuppa Toscana Soup! Or 7 bowls of Tomato Soup! Or just slather with more butter and call it a day. You really can’t go wrong!
How to store leftovers
These are so easy to store! Keep them in a tupperware with an airtight lid or in a large ziplock bag. The breadsticks can stay on the counter for 2-3 days. After that transfer them to the refrigerator for another 1-2 days. Keep in mind that the longer they stick around, the more dried out they will get (no matter where you keep them). You can eat them right out of the tupperware, or warm them in the oven, air fryer, or microwave.
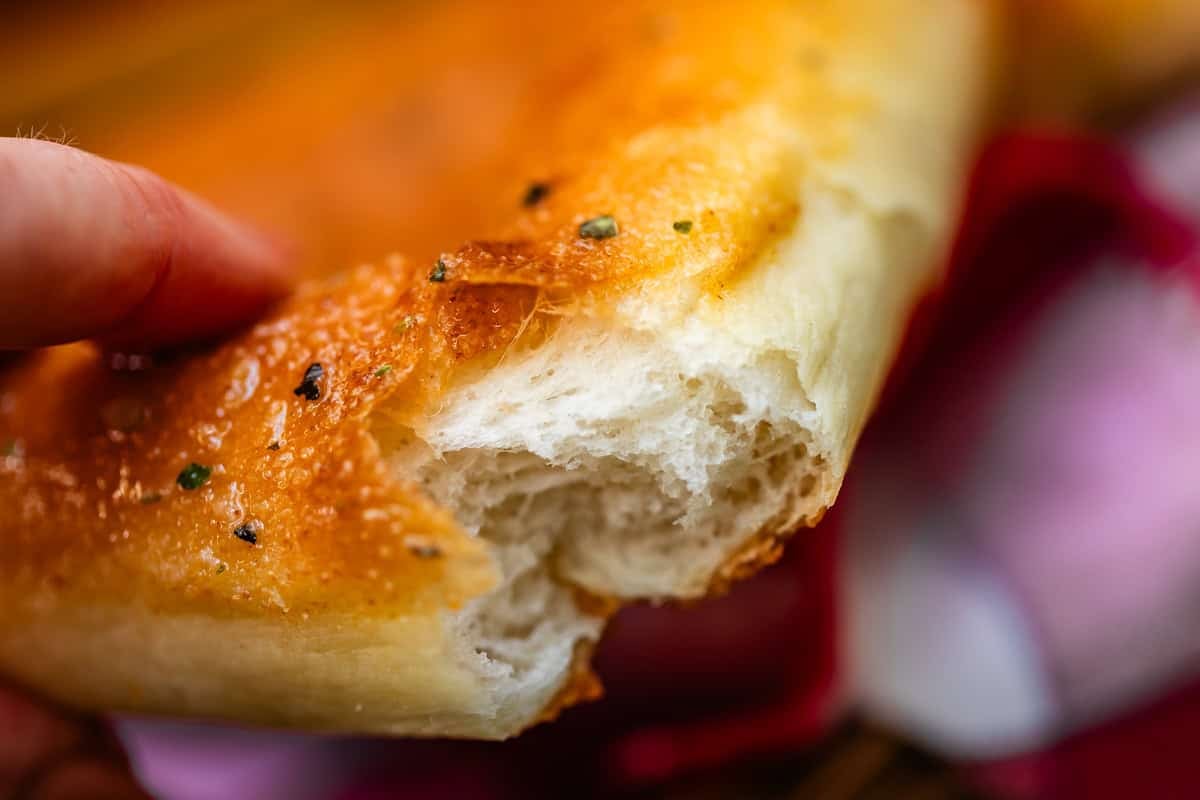
Can you freeze breadsticks?
YES! Such a great way to save leftovers or to get ahead on a future dinner by making double.
There are two main ways to freeze them. The first is to freeze already baked breadsticks by placing them on a lined baking sheet, no touching, and flash freeze for 30 minutes. Transfer the breadsticks to a freezer ziplock bag and store in the freezer for 1-2 months. You can thaw them in a bag on the counter for an hour or so. Or, place them right on a lined baking sheet and bake in a 400 degree oven for 5 to 10 minutes until hot.
You can also freeze these breadsticks before baking them! Prepare the dough as instructed, let it complete the first rest, and shape them into individual breadsticks. Put them on a lined baking sheet and flash freeze for 30-60 minutes until completely frozen. Transfer them to a freezer ziplock bag and store for no more than 1 month or the yeast will start to lose strength. To use them, put the frozen breadsticks on a lined baking sheet to thaw and rise for about an hour. It can take more or less time depending on the temperature, but you want them to get soft and puff up to nearly double. Once they’re ready, follow the baking instructions as usual!
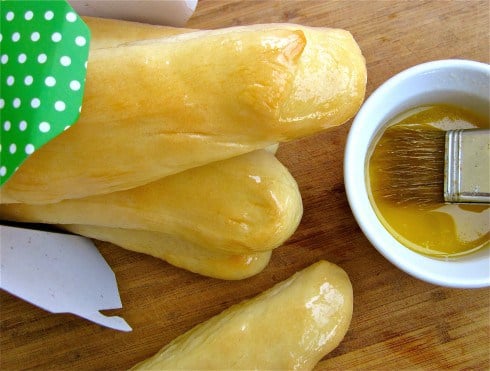
I posted these breadsticks in 2012
We’ve been making these breadsticks for years and years! I’ve only slightly updated the recipe. It’s a good one! Here is the old photo, not tooo bad. (I’ve seen worse, lol) I believe the green polka dots are a Christmas box meant to give away treats in, Chinese-takeout-box-style. Nothing if not resourceful, 25-year-old-Karen!! 😂
More rolls I can’t get enough of
There’s a reason all kids go for the rolls first at any gathering (also…me). That simple, buttery, yeasty flavor is perfection and something that I can never get enough of! Here are some more of my favorites, but be sure to check out the Breads, Muffins & Rolls page for even more ideas.

Breads, Muffins & Rolls
Crescent Rolls Recipe

Christmas Recipes
Best Recipe for Garlic Knots
Christmas Recipes
Aunt Shirley’s Famous Homemade Dinner Rolls
Side Dish Recipes (& Veggies)
The Best Garlic Butter Bread

Olive Garden Breadsticks
Ingredients
For the dough
- 1 & 1/4 cups warm water
- 1 tablespoon active dry yeast, or instant yeast works too!
- 2 tablespoons granulated sugar
- 1 tablespoon kosher salt, if you only have table salt, use 2 teaspoons
- 1 tablespoon vegetable oil
- 1 tablespoon soft butter
- 3 cups all purpose flour, plus 1/4 cup as needed
- vegetable oil, for greasing the pans
For the topping
- 3 tablespoons butter, melted
- 1 teaspoon granulated garlic
- 1/2 teaspoon kosher salt, if you only have table salt, use 1/4 teaspoon
- oregano or Italian seasoning, to sprinkle on finished breadsticks
Instructions
- In a large bowl or stand mixer, add 1 and 1/4 cups warm water. I use water straight from the tap, and let it run until it's nice and warm like a baby's bath. If it feels so hot that you want to pull your finger away, it's too hot. If you want to bust out the thermometer, we're looking for a temperature between 105-110 degrees F.
- Add 1 tablespoon yeast and 2 tablespoons sugar to the water. Stir this together and wait a minute or two, to make sure that your yeast is starting to bubble. See photos. You don't need to wait a long time, you just want to make sure the yeast is starting to bloom (and that you didn't kill it with too-hot water) Once you see any measure of foaming or bubbling, move to the next step. (If the water is flat and unmoving, ya done killed it. Toss it and start again.)
- Add 1 tablespoon kosher salt (if you have table salt, use only 2 teaspoons!)
- Add 1 tablespoon vegetable oil and 1 tablespoon soft butter.
- Use a spoon or cup to add flour to a 1 cup measuring cup. Level off the top with a knife (or anything flat) and add it to the bowl. Repeat until you have added 3 cups of flour, spooned and leveled.
- If you are using a stand mixer,* use the dough hook and mix on medium low speed until the flour is mostly incorporated. Scrape the sides of the bowl with a spatula and continue mixing with the hook on low speed.
- At this point you need to decide if you should add more flour to your dough or not. You do not want to add too much flour or your dough will be stiff and your breadsticks won't be tender. If you don't have enough flour, your breadsticks won't rise well. You want your dough to be smooth, elastic, and slightly sticky.
- So, if necessary, add flour 1 tablespoon at a time, as needed, up to 1/4 cup.** (see notes!)
- Once all the flour has been added, continue kneading for a total time of at least 5-6 minutes, until it is soft, smooth, and elastic.
- Scrape the dough onto a lightly floured surface (I love to use my pastry cloth) and shape into a ball. Cover with a tea towel or plastic wrap and let rest about 10 minutes.
- Drizzle 2 half baking sheets with about 1-2 tablespoons vegetable oil or olive oil. Rub it on with your hands so that the pans are fully greased.
- Divide the dough in half. Split each half of the dough into 7 equal pieces, to make 14 pieces total. Each piece should weigh about 2 ounces, if you want to bust out your scale, but it's not necessary, you can just eyeball it!
- Use your hands to roll each piece of dough into a snake, just like with playdough when you were a kid. I like to use my palms to roll it on a work surface, but you can roll it between your palms if that's easier. Try to make it even all the way across, we don't want one end of our breadstick fatter than the other. Roll each piece to be about 8 or 9 inches long. Place each finished log on the baking sheet. The 8 or 9 inch log should be parallel with the short side of the pan (the 12 inch side, see photos).
- Continue with all the rest of the dough. Each pan should have 7 breadsticks. Loosely cover each pan with a tea towel, or cover with plastic wrap that you have sprayed with nonstick spray (so that it doesn't stick and ruin your rise).
- Arrange your oven racks to fit two pans at once, one in the top third of the oven, the other rack in the bottom third.
- Turn your oven on to 350 degrees F, and set a timer for 30 seconds. Turn the oven off when it is nice and warm inside, but not hot. You should still be able to comfortably place your fingers on the oven rack. Place your two pans of covered dough in the oven and shut the door. Set a timer for 10 minutes.***
- After 10 minutes, remove the pans from the oven.
- Preheat the oven to 400 degrees. Let the breadsticks continue to rise on the counter for another 15-20 minutes while the oven gets up to temperature. They are ready to bake when they have doubled in size.
- Melt 3 tablespoons of butter in a bowl. Add 1 teaspoon granulated garlic and 1/2 teaspoon kosher salt (or sea salt). Use a little less salt if you only have table salt.
- Just before putting them in the oven, use a pastry brush to gently brush the breadsticks with about half of the melted butter mixture.
- Preheat the oven to 400 degrees and Bake the breadsticks at 400 degrees F for 12-14 minutes. Switch the pans halfway through the bake time.
- You will know the breadsticks are done when the tops are turning golden brown, and the bottoms are also starting to brown (you can lift one up with a spatula to check)
- Immediately after taking the breadsticks out of the oven, brush with the remaining garlic butter. Add a bit more butter if necessary, live your best life bro.
- Serve the breadsticks immediately. Or, if you are serving them later, remove to a cooling rack so that they can finish cooling. If you leave the on the pan to cool, the bottoms will get soggy.
- To reheat: Place them back on the pan and stick them in the oven at 350 degrees F for about 5 minutes, until warm.










My 9yo grandson made these this evening. He only needed help stirring in the flour when it got stiff & kneading the dough (we didn’t use a stand mixer).
These breadsticks are PHENOMENAL!!! Fluffy, garlicky perfection. Made me wish we’d doubled the recipe so we’d have leftovers.
Your grandson is awesome Tonya! And so are you, for coming to tell us how much you loved the breadsticks :-) So so glad to hear that these were perfect for you!
You are evil for posting this because I will make this recipe and eat two dozen of these bad boys. In five and a half minutes.
Yeah, that’s about the amount of time it took me. It’s a good thing I didn’t have any alfredo sauce around, otherwise I might never have resurfaced.
Yummmmm!!! :)