
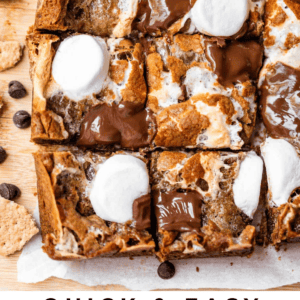
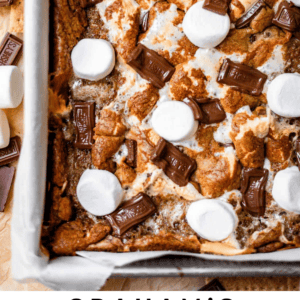
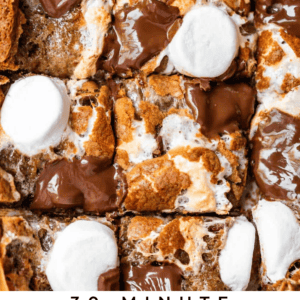
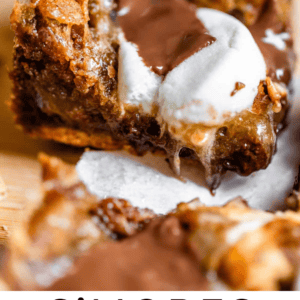
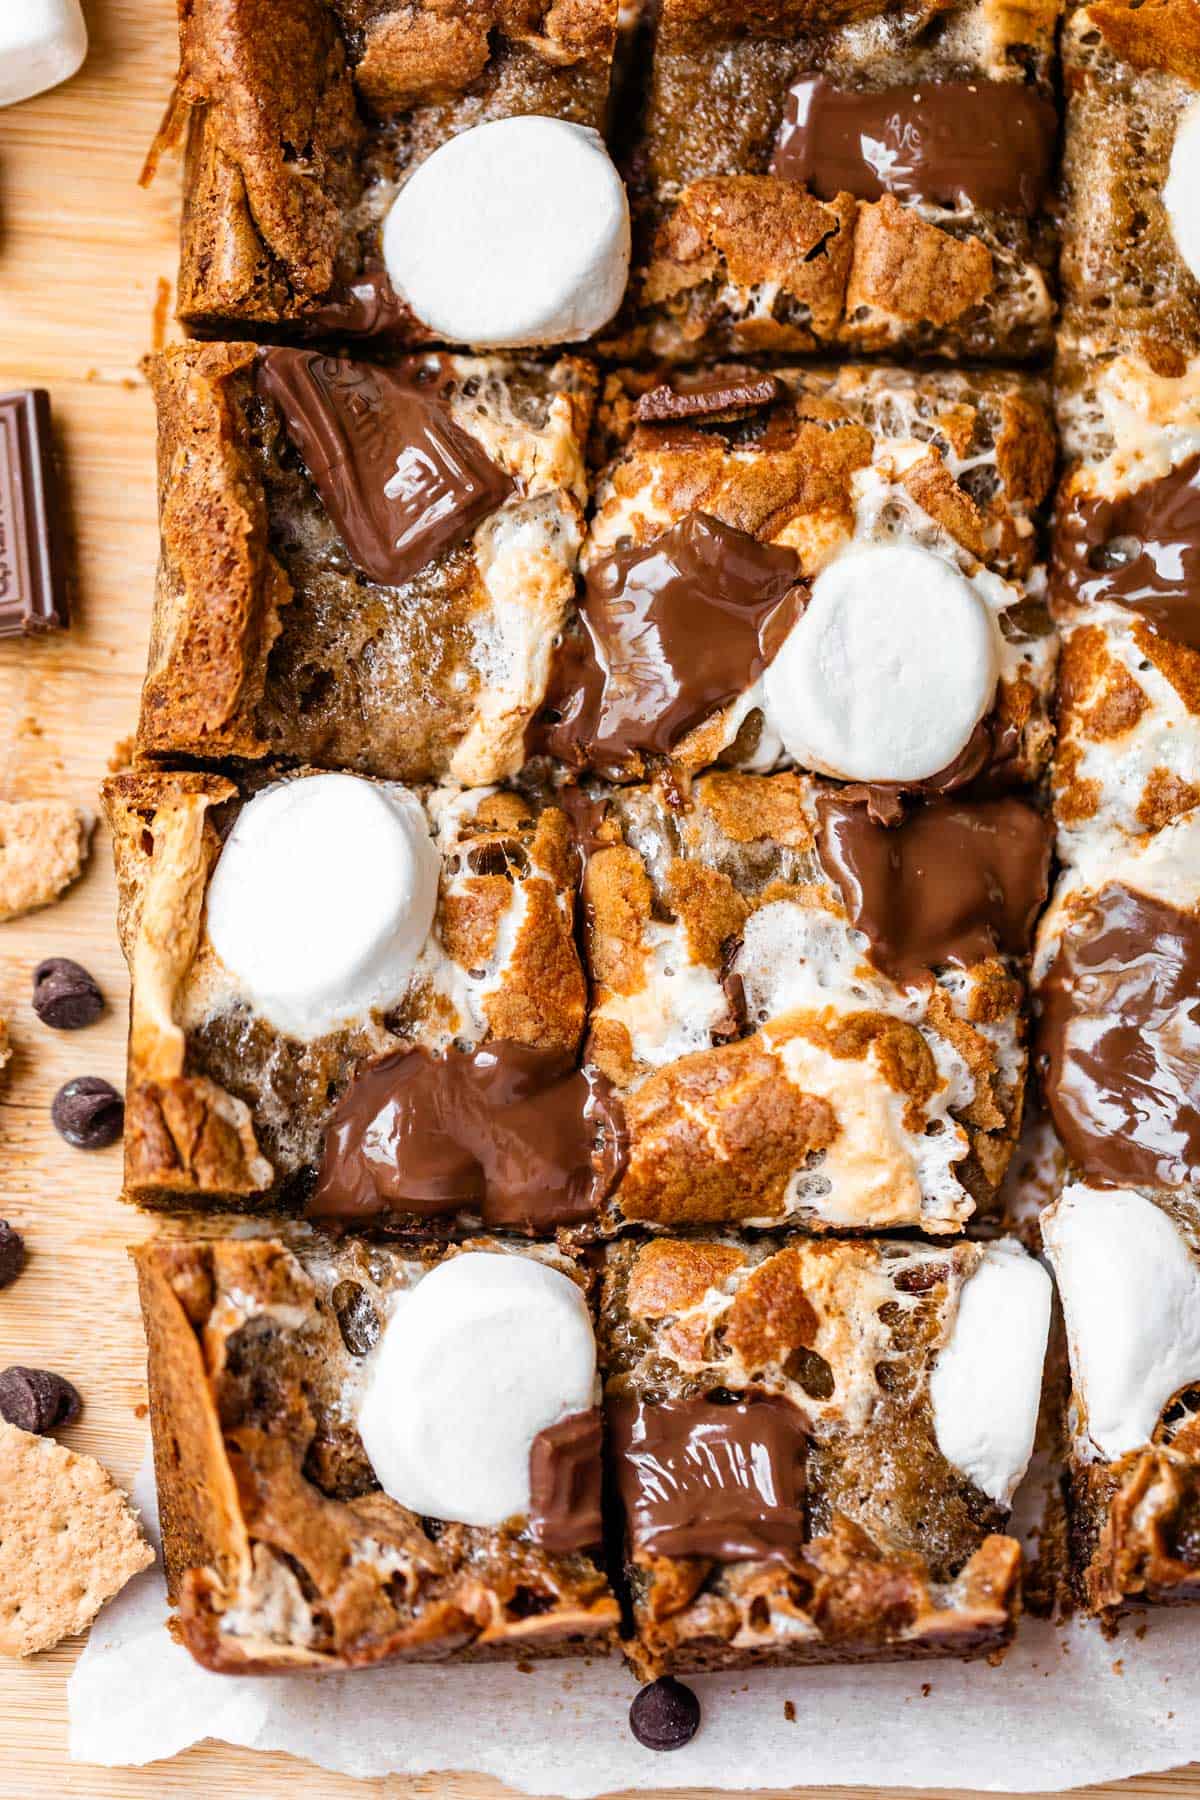
Graham’s S’mores Cookie Bars are like chocolate chip cookie bars with a graham cracker crust, studded with Hershey’s chocolate and big ol’ marshmallows. The marshmallows melt into the graham crackers on the bottom and then harden to form a super crispy crust that contrasts perfectly with the ooey-gooey marshmallow and chocolate center. The BEST homage to these fading summer days!
Every time I randomly hear a new song that I like, I add it to my “new songs for Karen” playlist. Then when the mood strikes, I listen to the playlist. Invariably, when I turn it on, after a few songs I think to myself, wow, what an amazing song this is! I’ve never heard it. I shall add it to my new songs playlist!” 🤦♀️ And the circle of life continues. Sometimes this happens several songs in a row. Guys, sometimes I can’t even with myself.
Sounds like a great day for something baked. Today is one of the last days of August and I’m here to pay my respects to summer! Just look at these S’mores Cookie Bars!!
I’m calling them Graham’s S’mores Bars for two reasons:
- there is a delectably crispy graham crust that is totally unique from most S’mores bars, and
- because literally my nephew’s name is Graham, and he created this recipe! He is 14 and “cooks” in the kitchen, according to his older siblings. (If you don’t understand why those quotation marks are there, you must not have any teens in your house.)
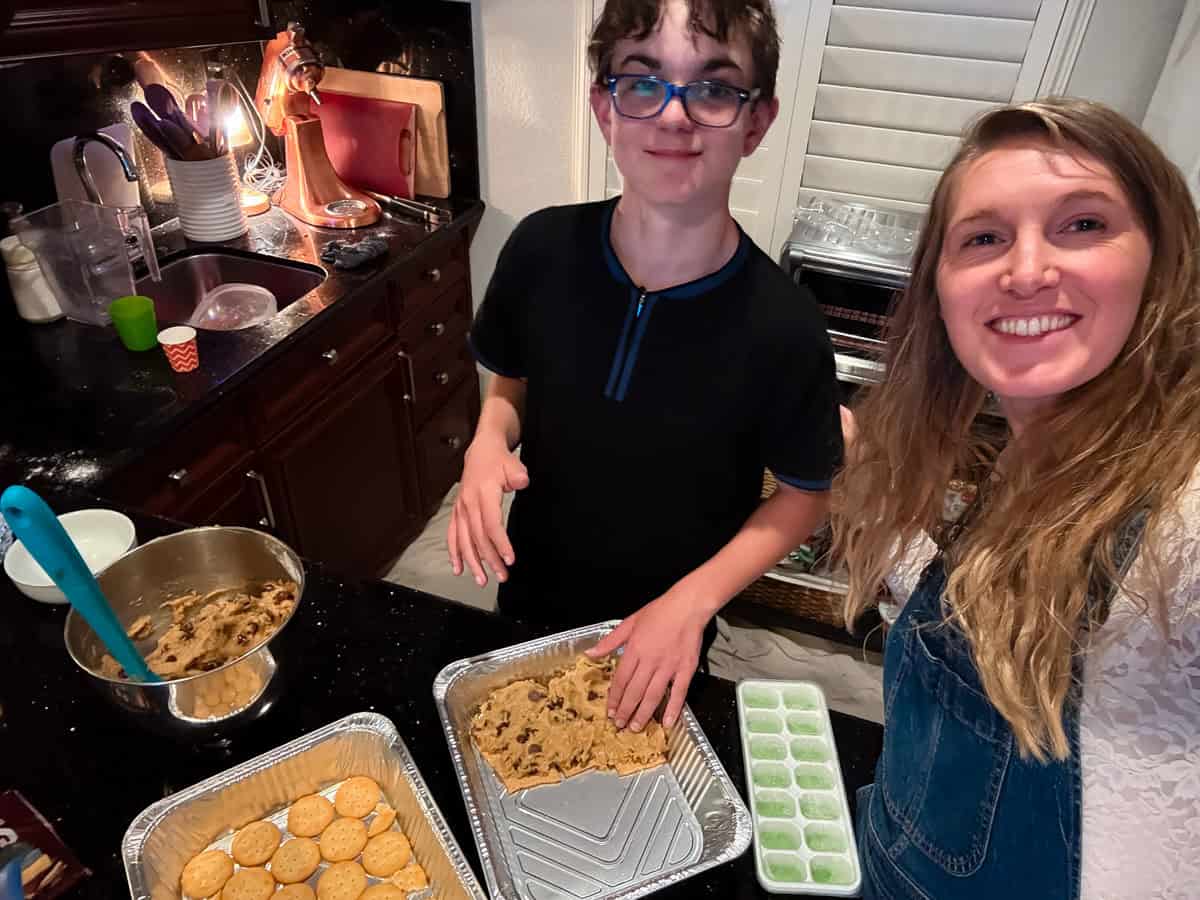
One of my favorite memories with these S’mores bars is when Graham made THREE BATCHES all at once for our 30 family members at our reunion over the summer. Turns out it actually was too much, so we saved the last pan. They ended up in the back of the car with our lunch stuff a couple days later. We went river rafting and were ravenous afterward. The bars had heated up in the car, and we ate them with our hands in the parking lot as a pre-lunch treat. It was amazing. The best thing to eat after a cold river dip!!
You are going to LOVE these s’mores bars
There are 100 ways that you can take s’mores flavors and turn them into a bar/brownie situation. I LOVE today’s version. I took Graham’s amazing recipe and married it with my Chocolate Chip Cookie Bars, a recipe I worked really hard on to get the technique juuuust right. Here’s why I love the s’mores version:
- It uses real marshmallows, not marshmallow cream, just like a real S’more over the fire.
- There are 5 bars of Hershey’s chocolate, plus chocolate chips. The gooey factor is REAL.
- The graham cracker layer on the bottom of the bars provide the perfect “crust” that is incredibly crispy and snappy.
- The marshmallows melt completely and seep through the cracks in the graham squares on the bottom. The mallow fuses with the graham cracker, and when it cools and hardens, it’s like caramelized marshmallow graham crust. It’s soooo good ya’ll. The best part is that the crust tastes amazing, but you don’t have to work for it at all. You just layer the grahams and boom, crispy satisfying crust:
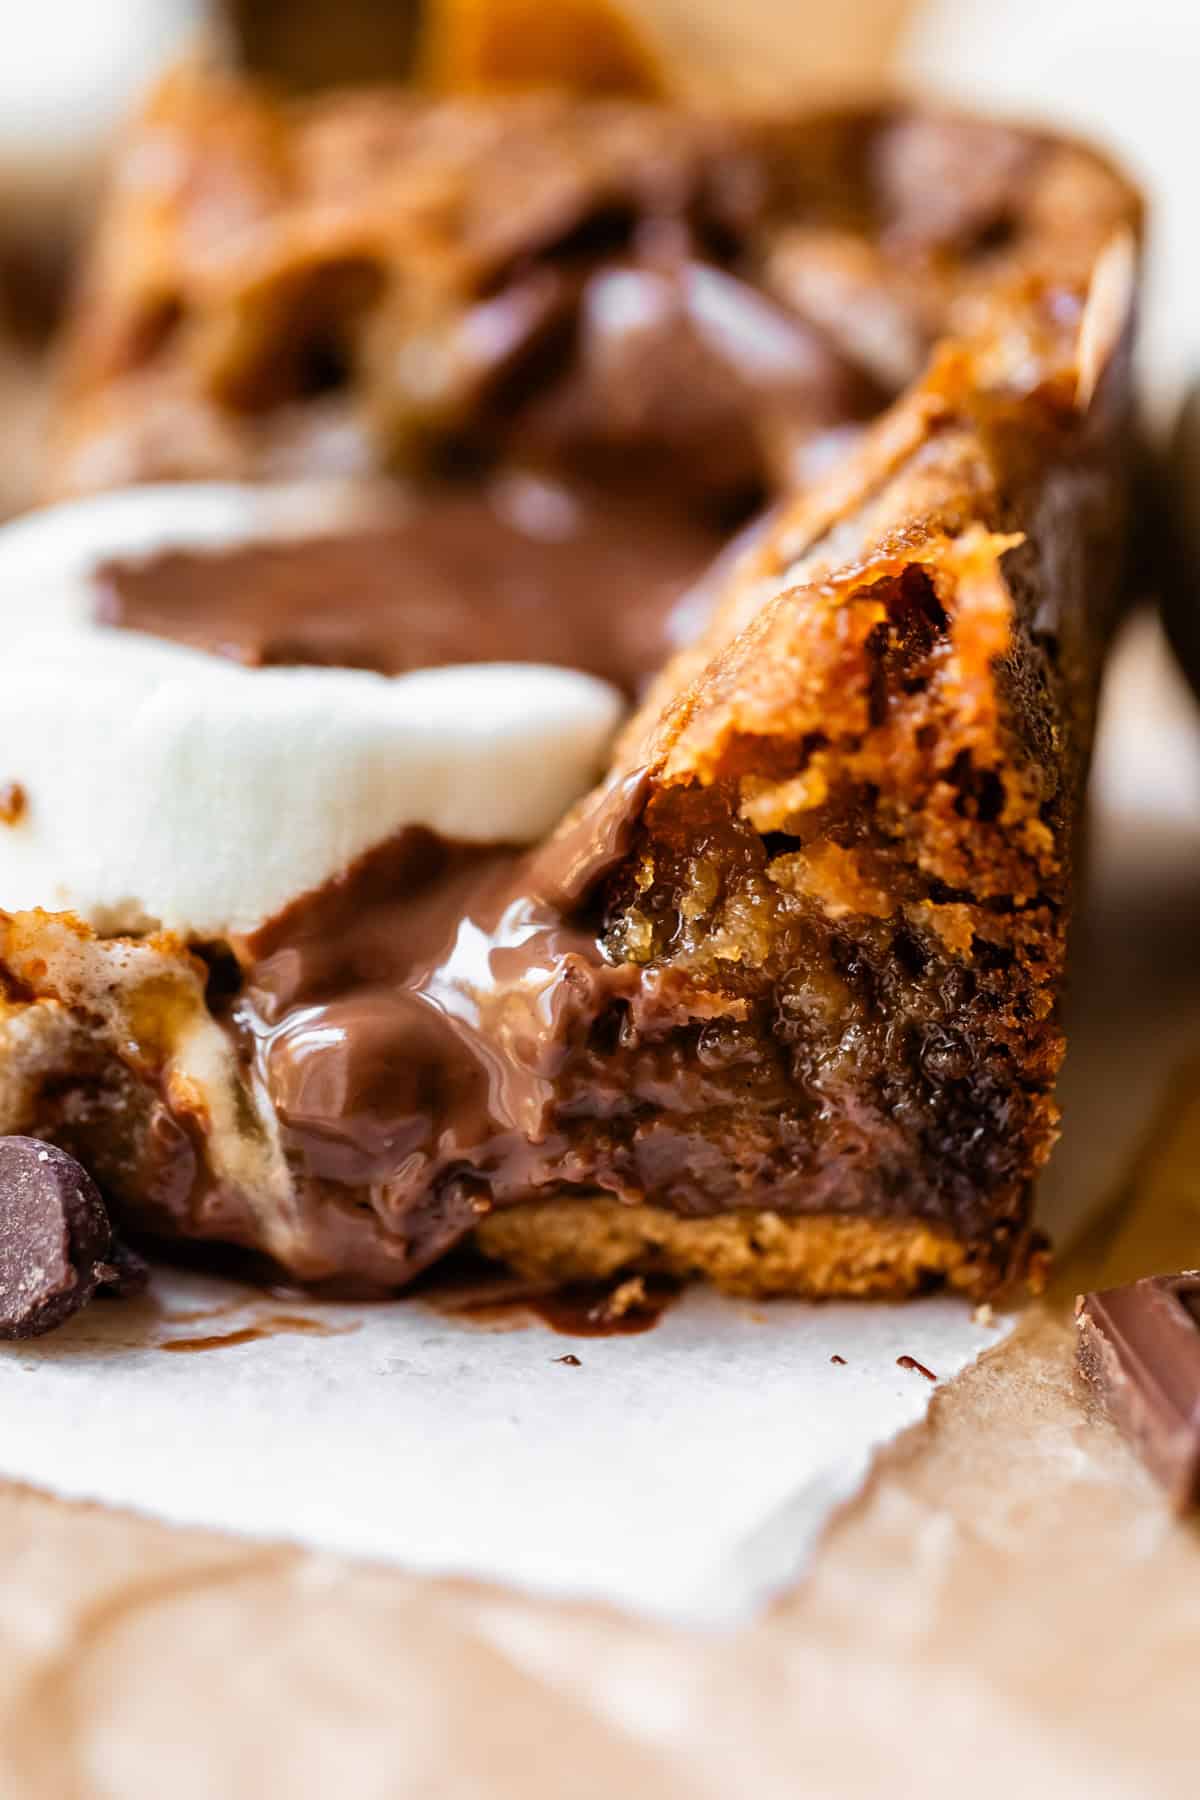
So, back to point one, and the fact that this recipe calls for regular marshmallows, not marshmallow creme. Regular marshmallows do some weird stuff when baked in the oven. They puff up HUGE in the oven, then collapse completely after baking. It forms a seriously gooey layer of sticky goodness. (See my Resurrection Rolls recipe for photos of this phenomenon!)
It’s delicious, but you are left with no marshmallows in sight. The flavor and the ooziness are there, but the actual marshmallow is not. Today, for this recipe, the melty marshmallows are a feature, not a bug. The mallows melt into the cookie bars and seep down to the bottom of the pan, where they fuse with the graham cracker crust, as I mentioned.
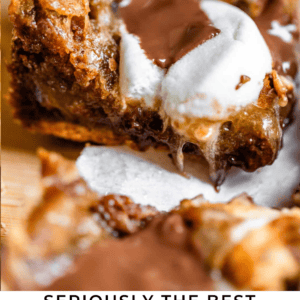
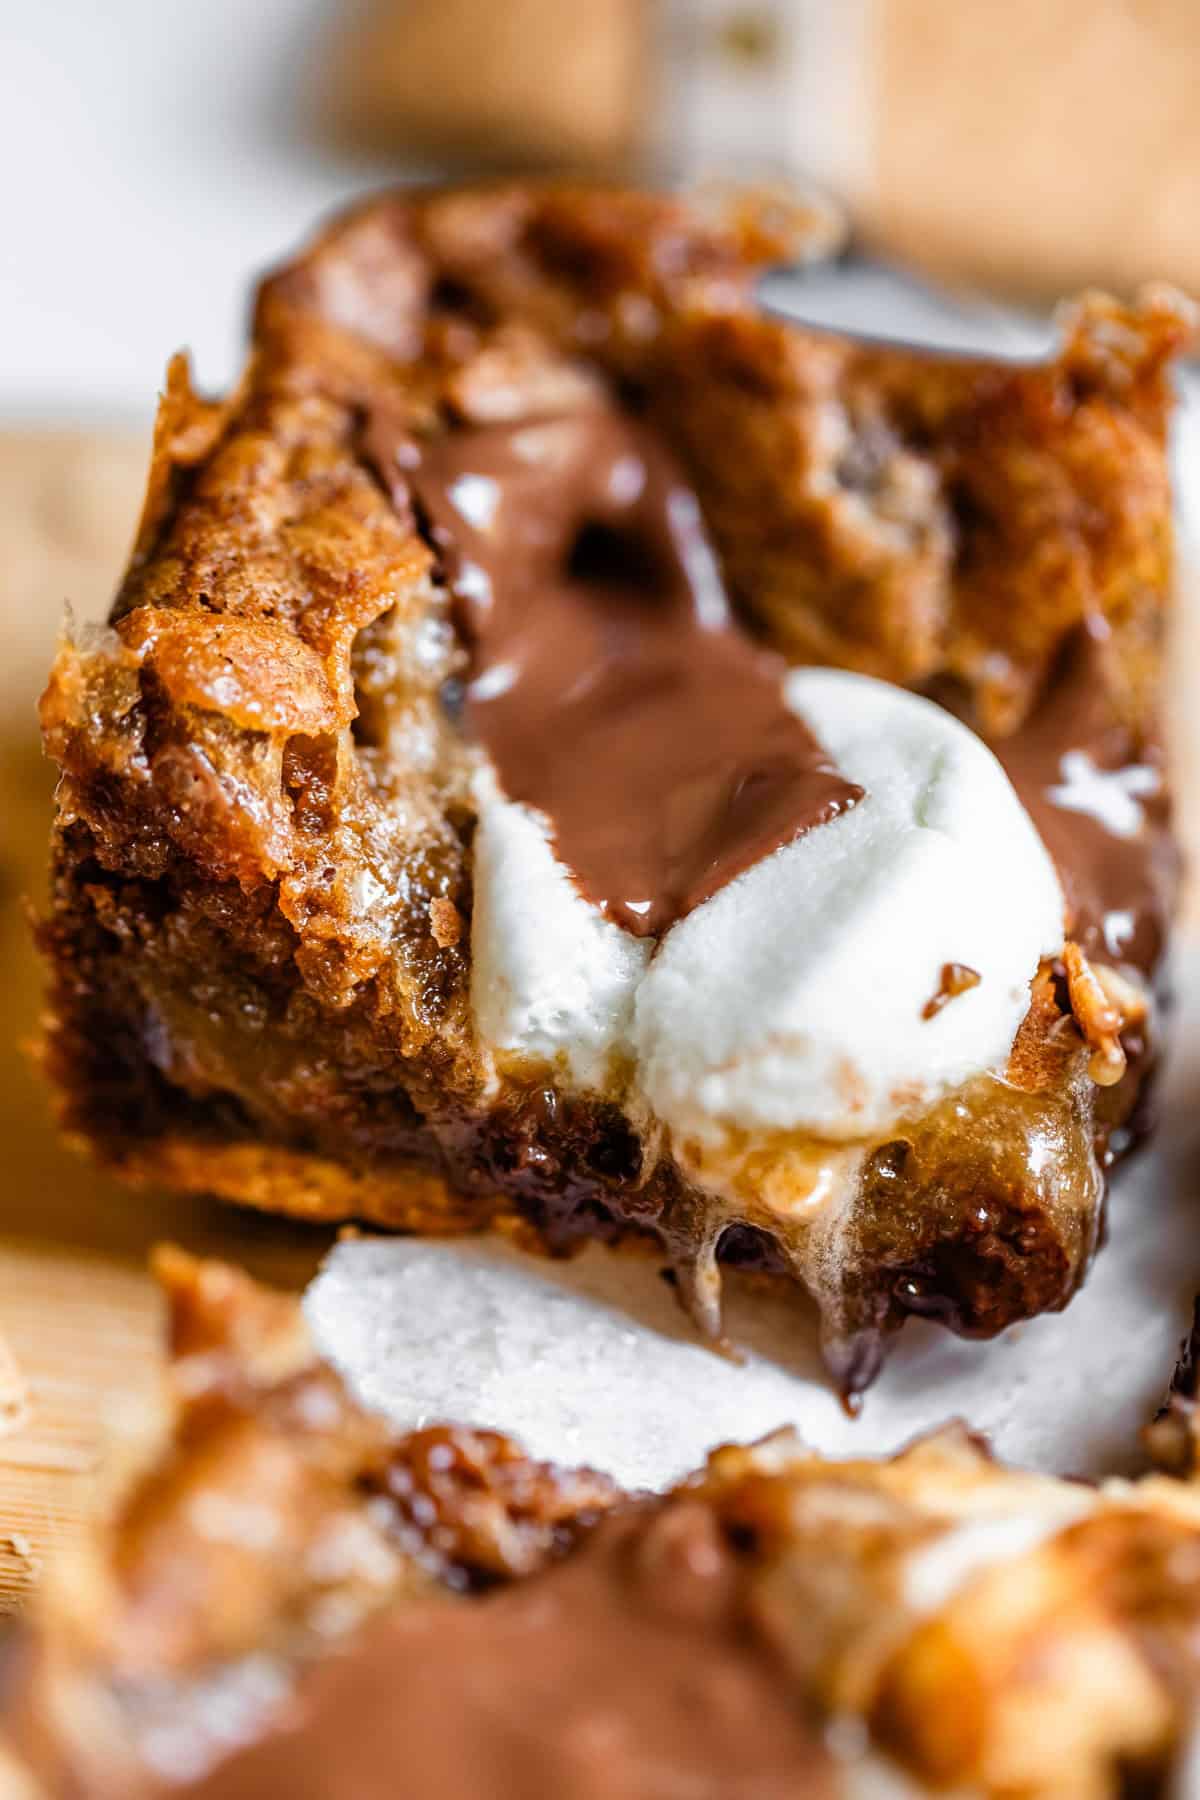
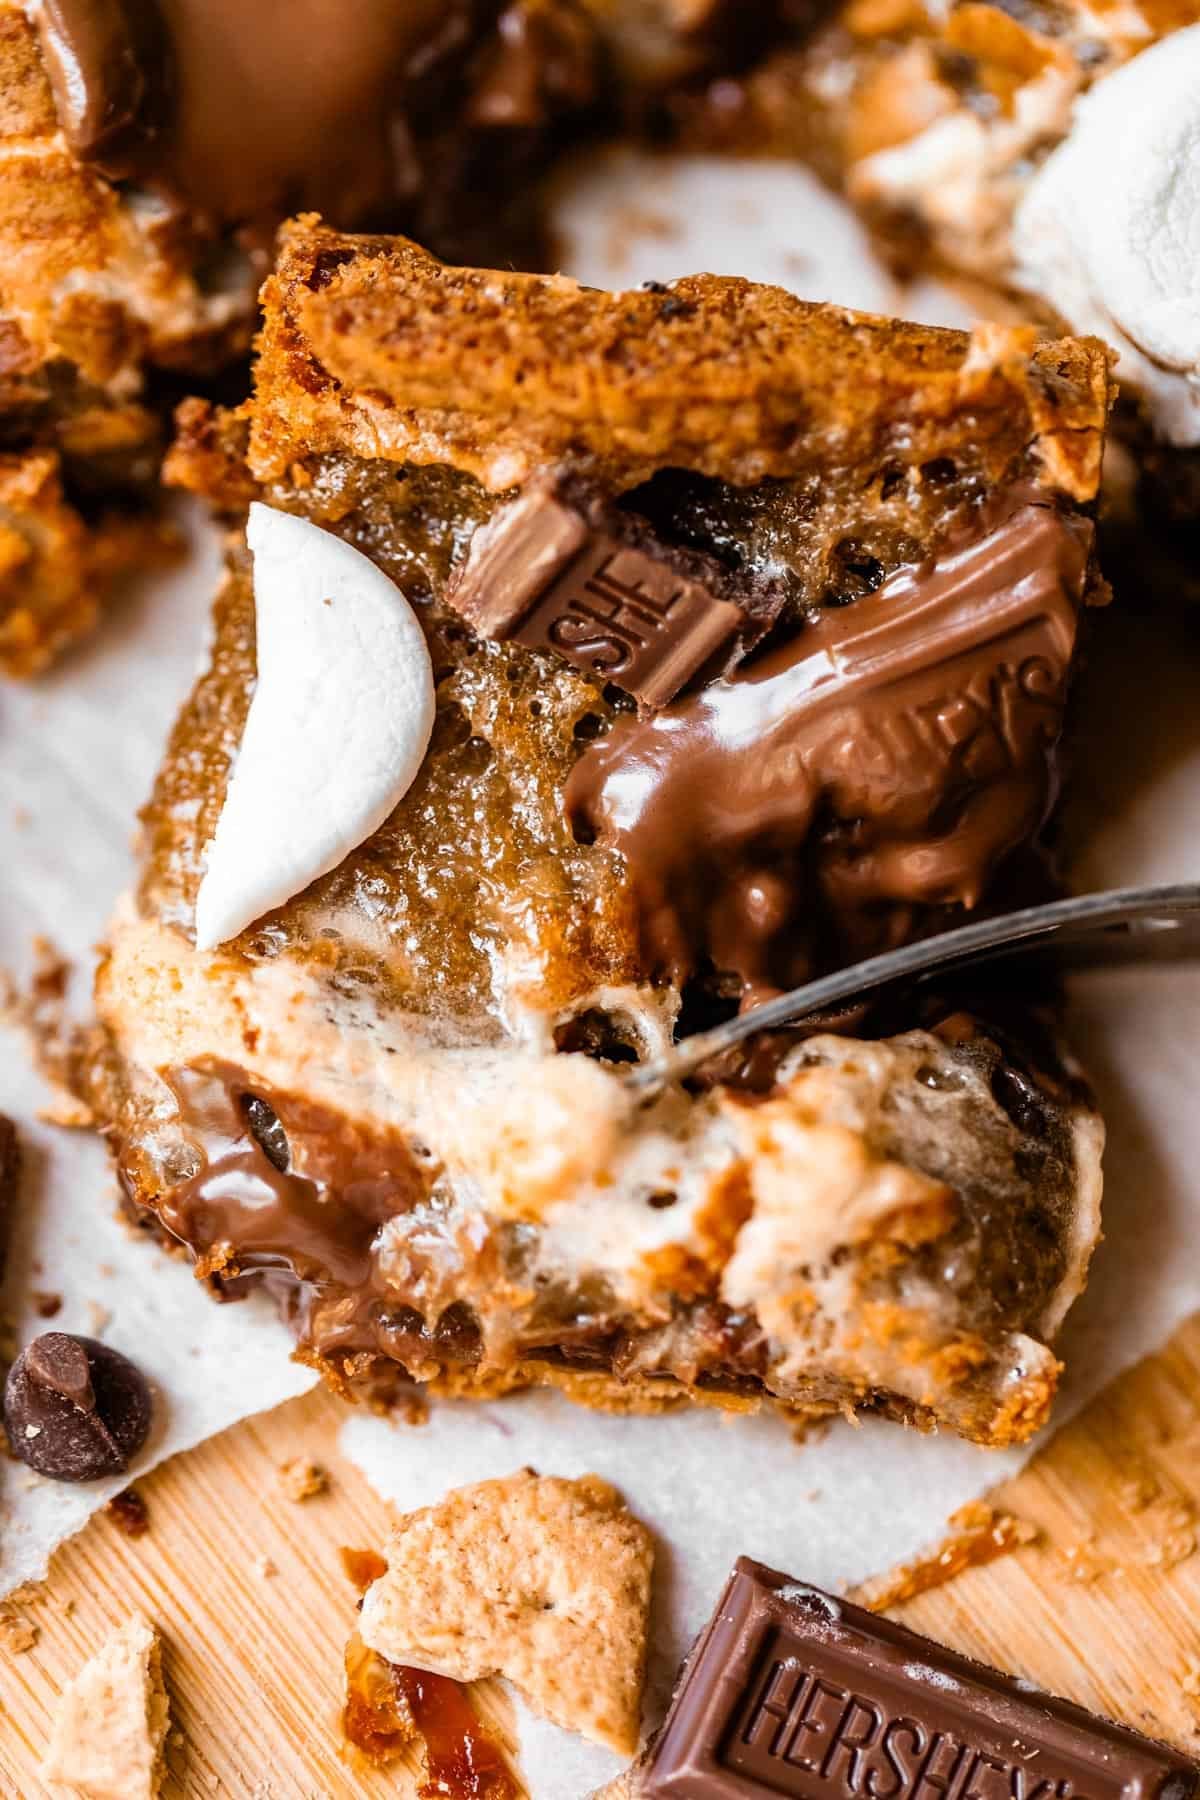
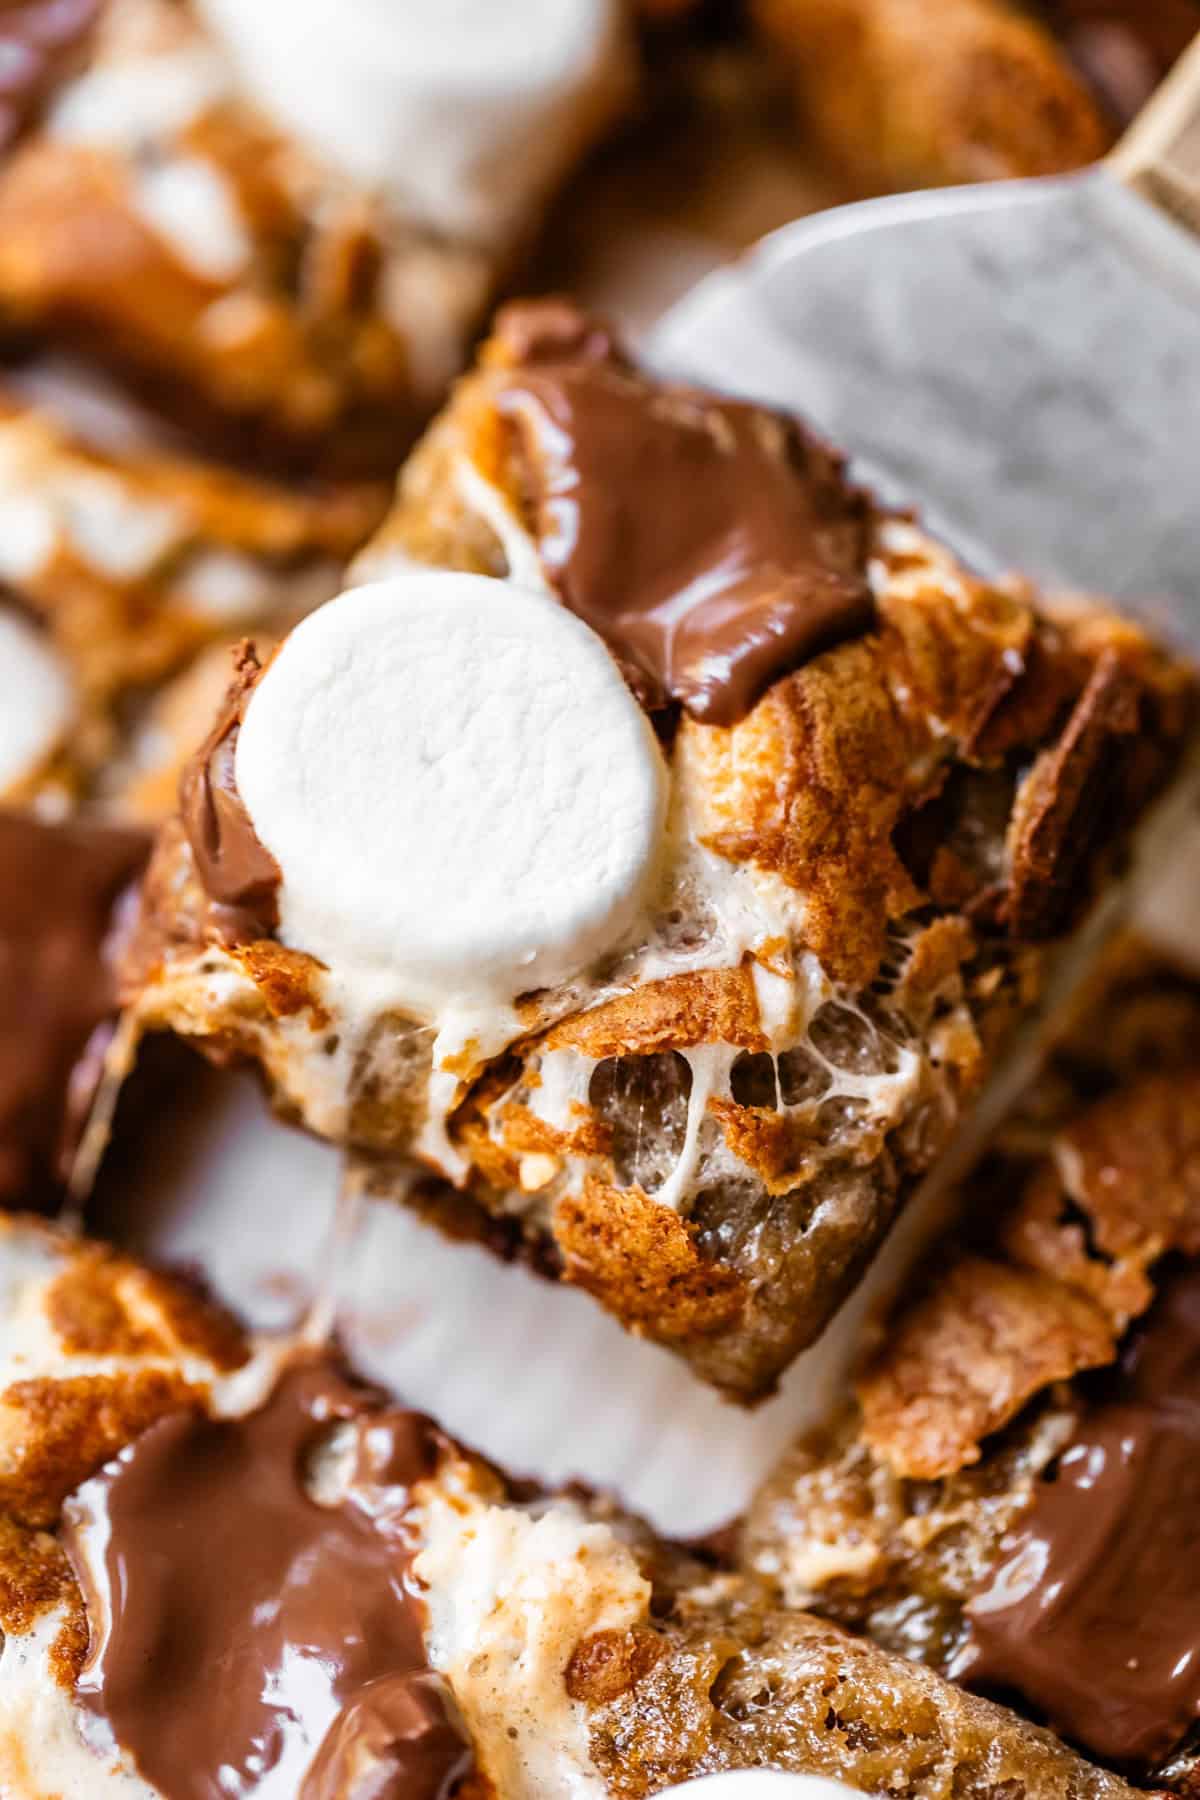
The resultant bar is extremely gooey. Like, way more gooey than your average cookie bar, no matter how under baked. I prefer to eat these bars with a fork on a plate (preferably with ice cream) but if you wait for them to cool COMPLETELY before slicing, you can eat them with your hands. (if you are willing to lick fingers, that is.) Observe the gooeyness:
I actually have one other recipe for S’mores Bars that has been on the blog since 2012. We recently unpublished the recipe because my old photos were so offensive to Google. (I’m kind of joking, kind of not. Running a food blog is cutthroat these days, guys!!) That old recipe specifically calls for marshmallow creme, exactly because of the issue of marshmallows melting and disappearing in the oven. The recipe is so different that I think I will repost it soon! They are sooo good, and it’s a different vibe from this recipe, while still being S’mores flavor. Do we have enough room in our lives for two S’mores bars recipes?? I think yes.
Most important ingredients
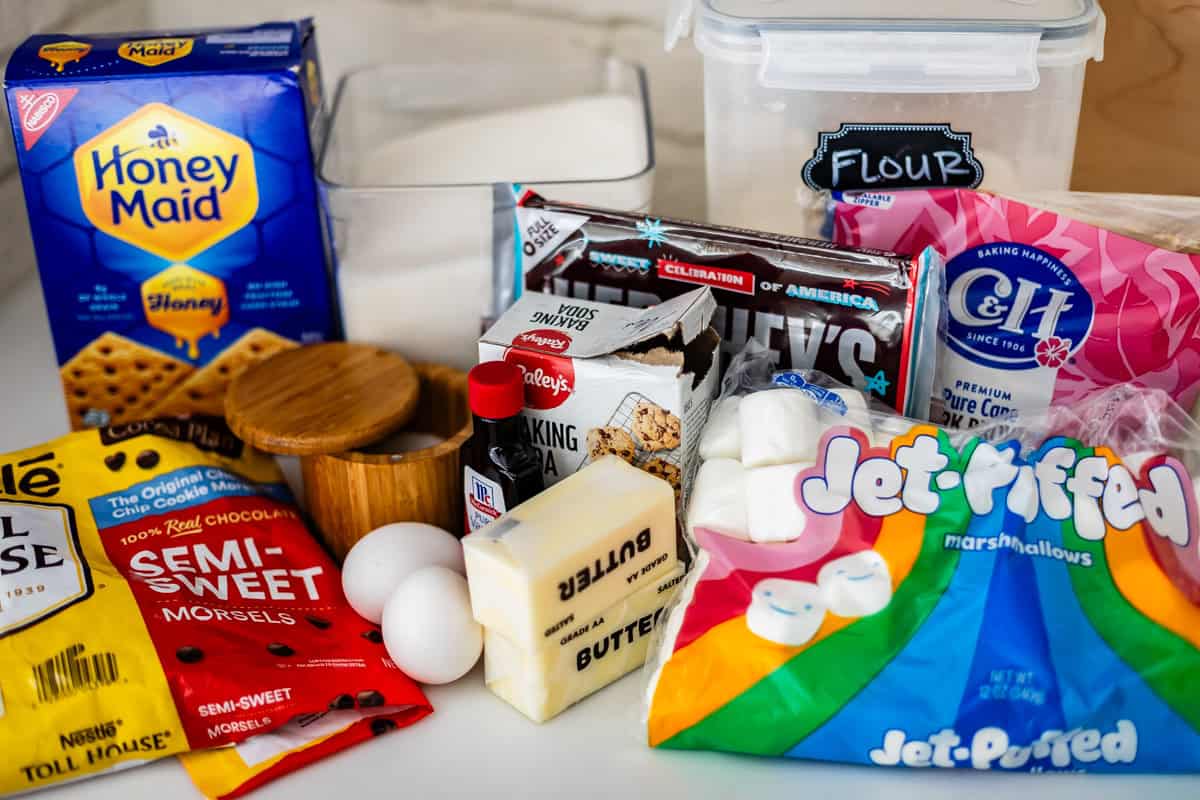
Almost everything in this recipe is something I keep in my normal pantry. Yes, even the Hershey bars and marshmallows. You never know when you’ll have an impromptu s’mores night! Even if you don’t have all the ingredients, they are all easily found at any normal grocery store. Here are a few ingredients that are important to know about!
- all the s’mores goodness of course – graham crackers, marshmallows, and chocolate in the form of chocolate chips AND Hershey Bars!
- Baking soda dissolved in water is like a magical potion in these bars. The hot water activates the baking soda early, making it less active in the oven. We want this, because it prevents the center of the bars from rising too high and then falling too low. This is a typical problem with cookie bars: a really high, crusty edge, and a sunken, too low center. The hot water trick helps the bars bake evenly all the way across the top, giving it the best texture all throughout. You can see in the photos that the bars are still ridged on the edges, because the marshmallows have their own dramatic rise and fall, but the baking soda helps keep things more even overall.
- Cornstarch is really important in these bars to help keep them soft! Because we are baking a whole pan instead of just one cookie, these bars have to stay in the oven longer. Cornstarch helps keep them tender! They stay soft for days.
How to make s’mores bars
Here’s everything you need!
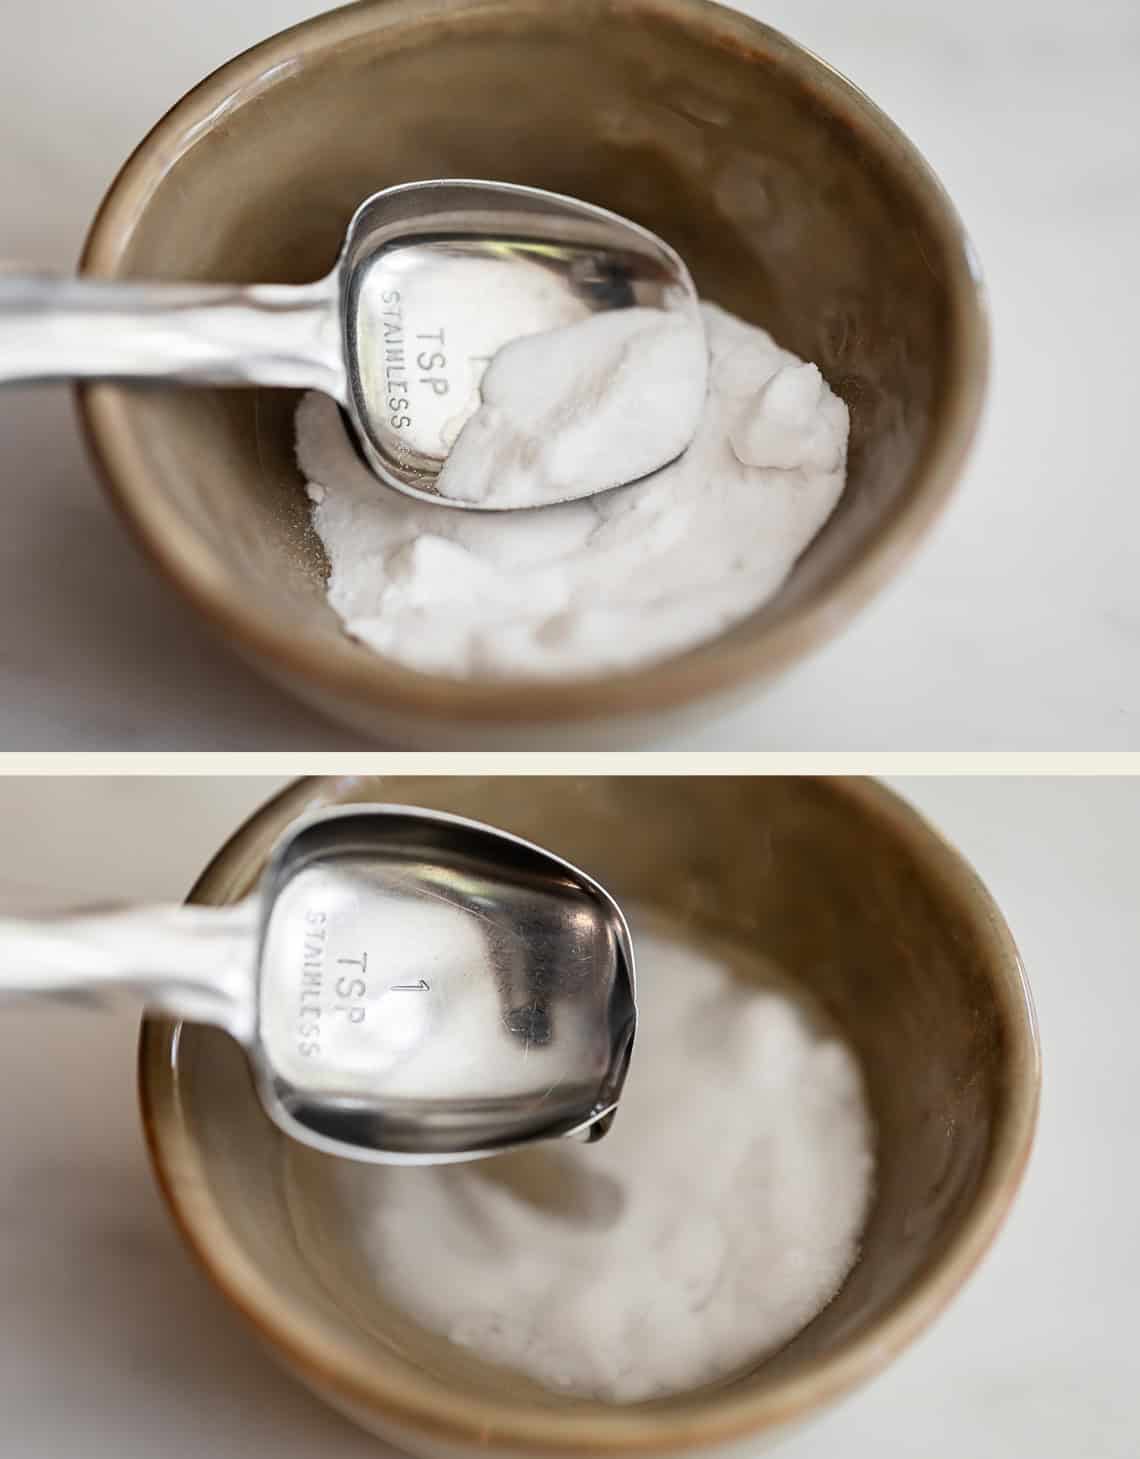
Start by dissolving some baking soda in a little bit of hot water. This will help our s’mores bars stay soft and even!
Set that aside, then add some melted butter to your mixing bowl. Melted butter makes these bars super fudgy!!
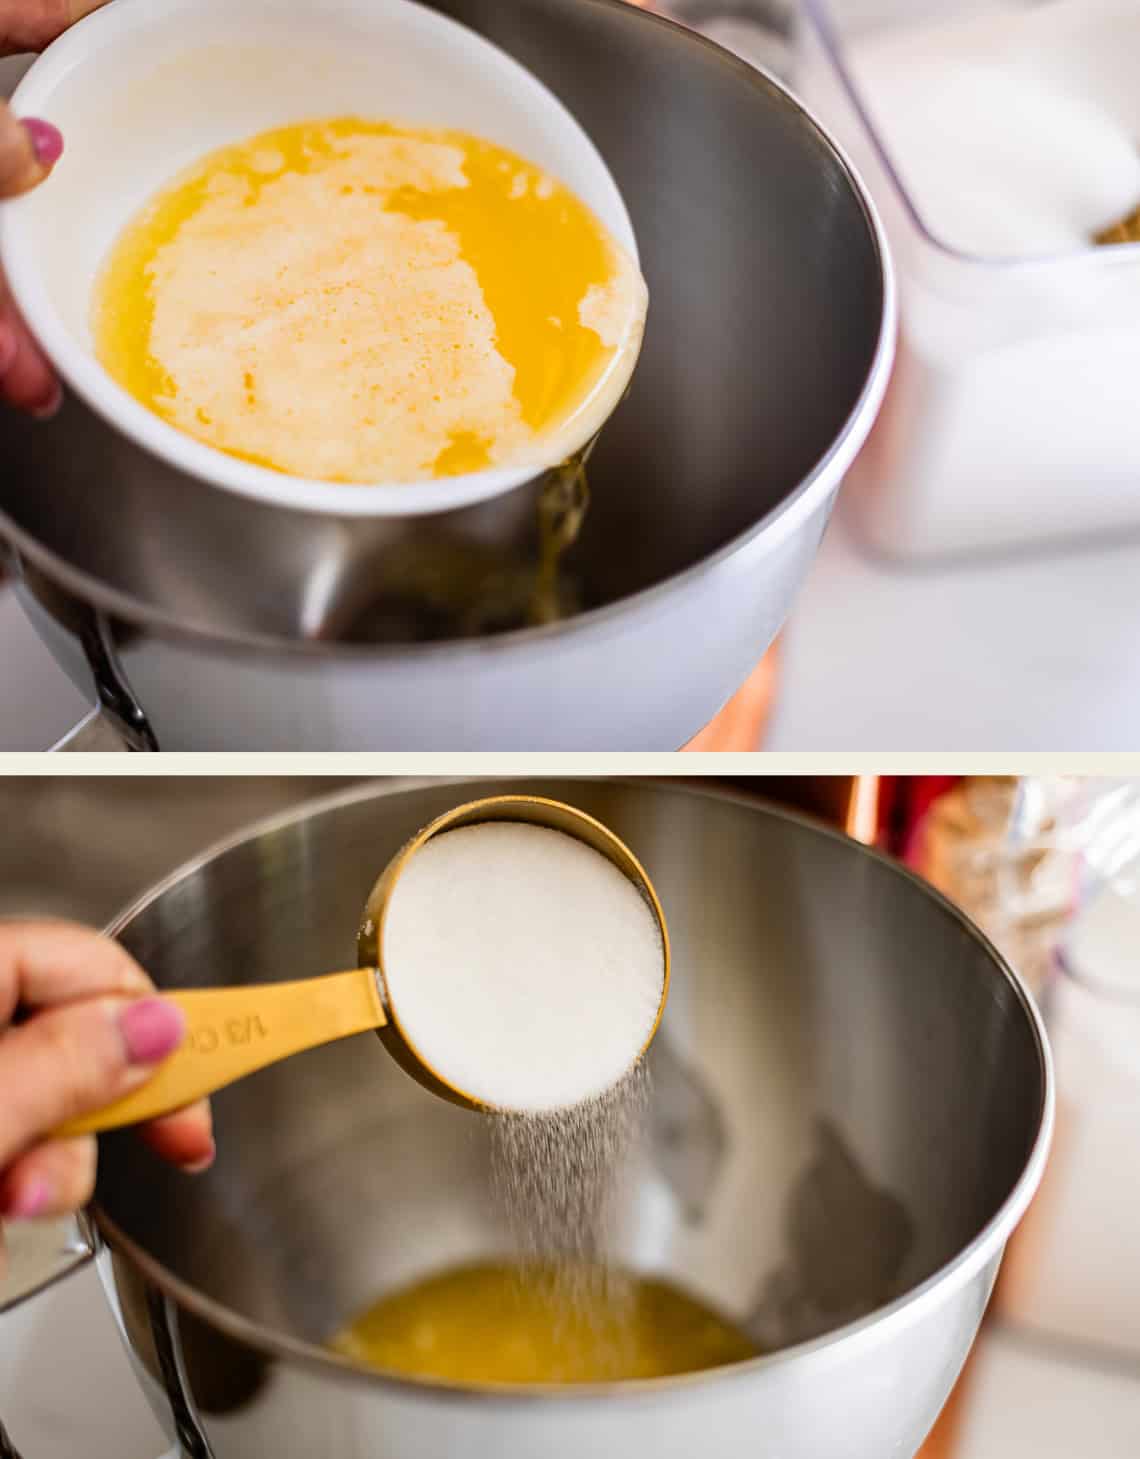
Add in some sugar, but mostly brown sugar. Yum.
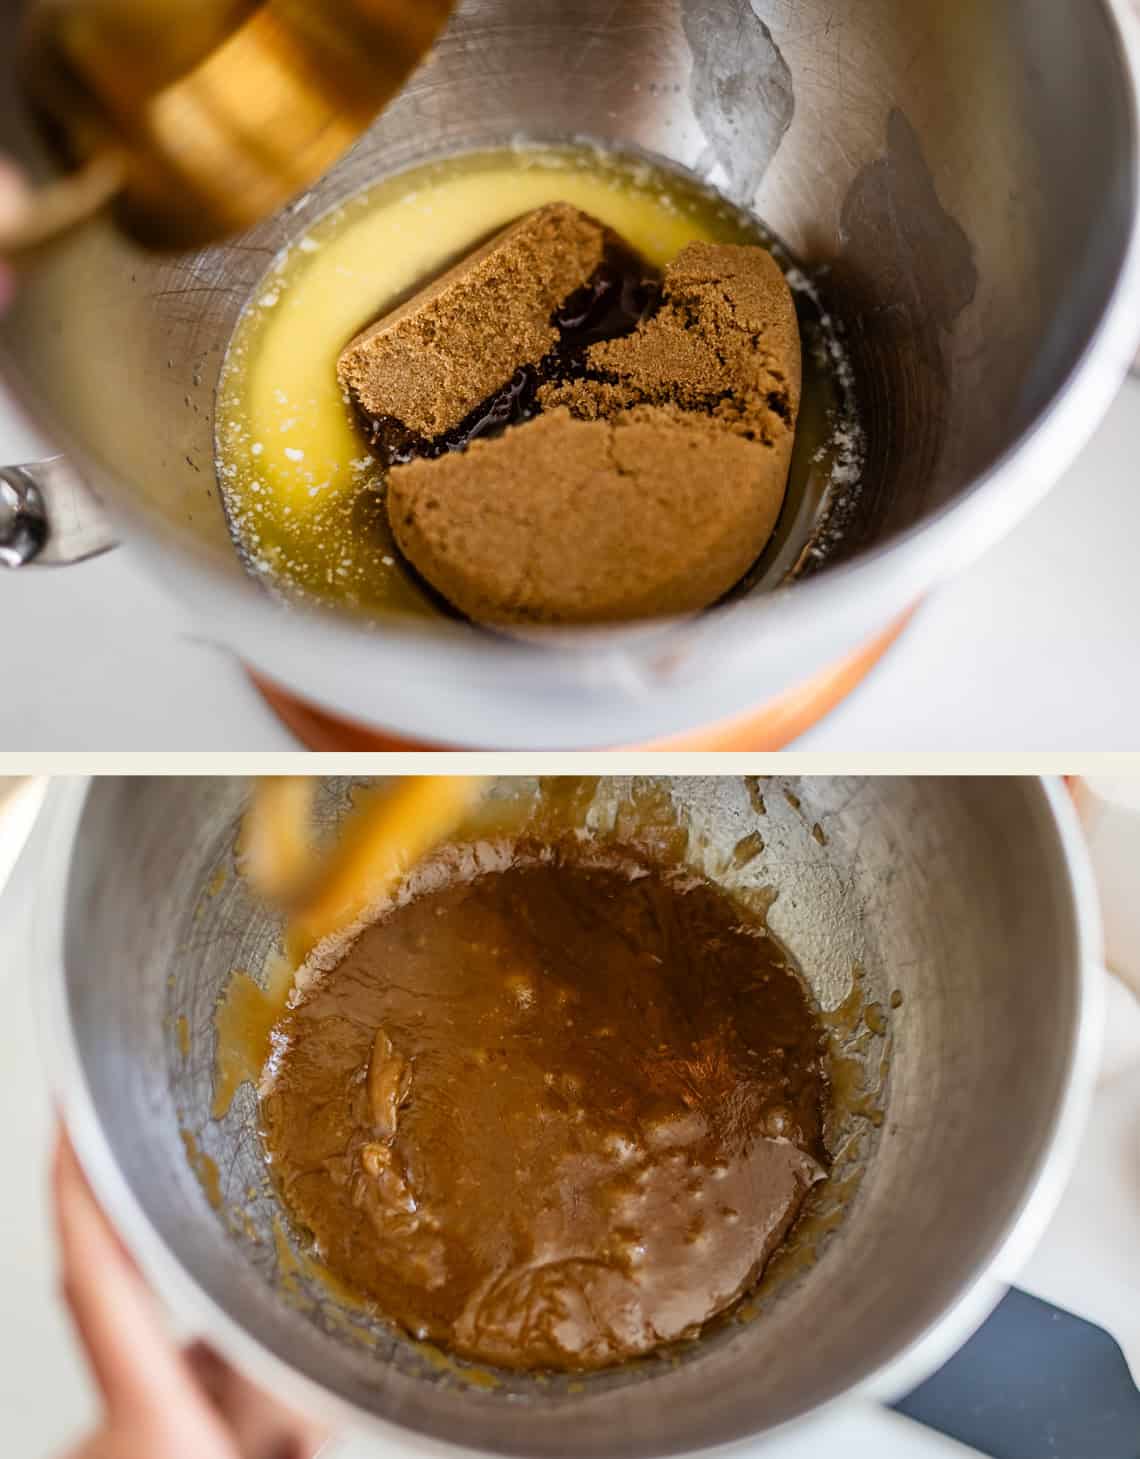
Mix it all up, then add in the eggs and vanilla.
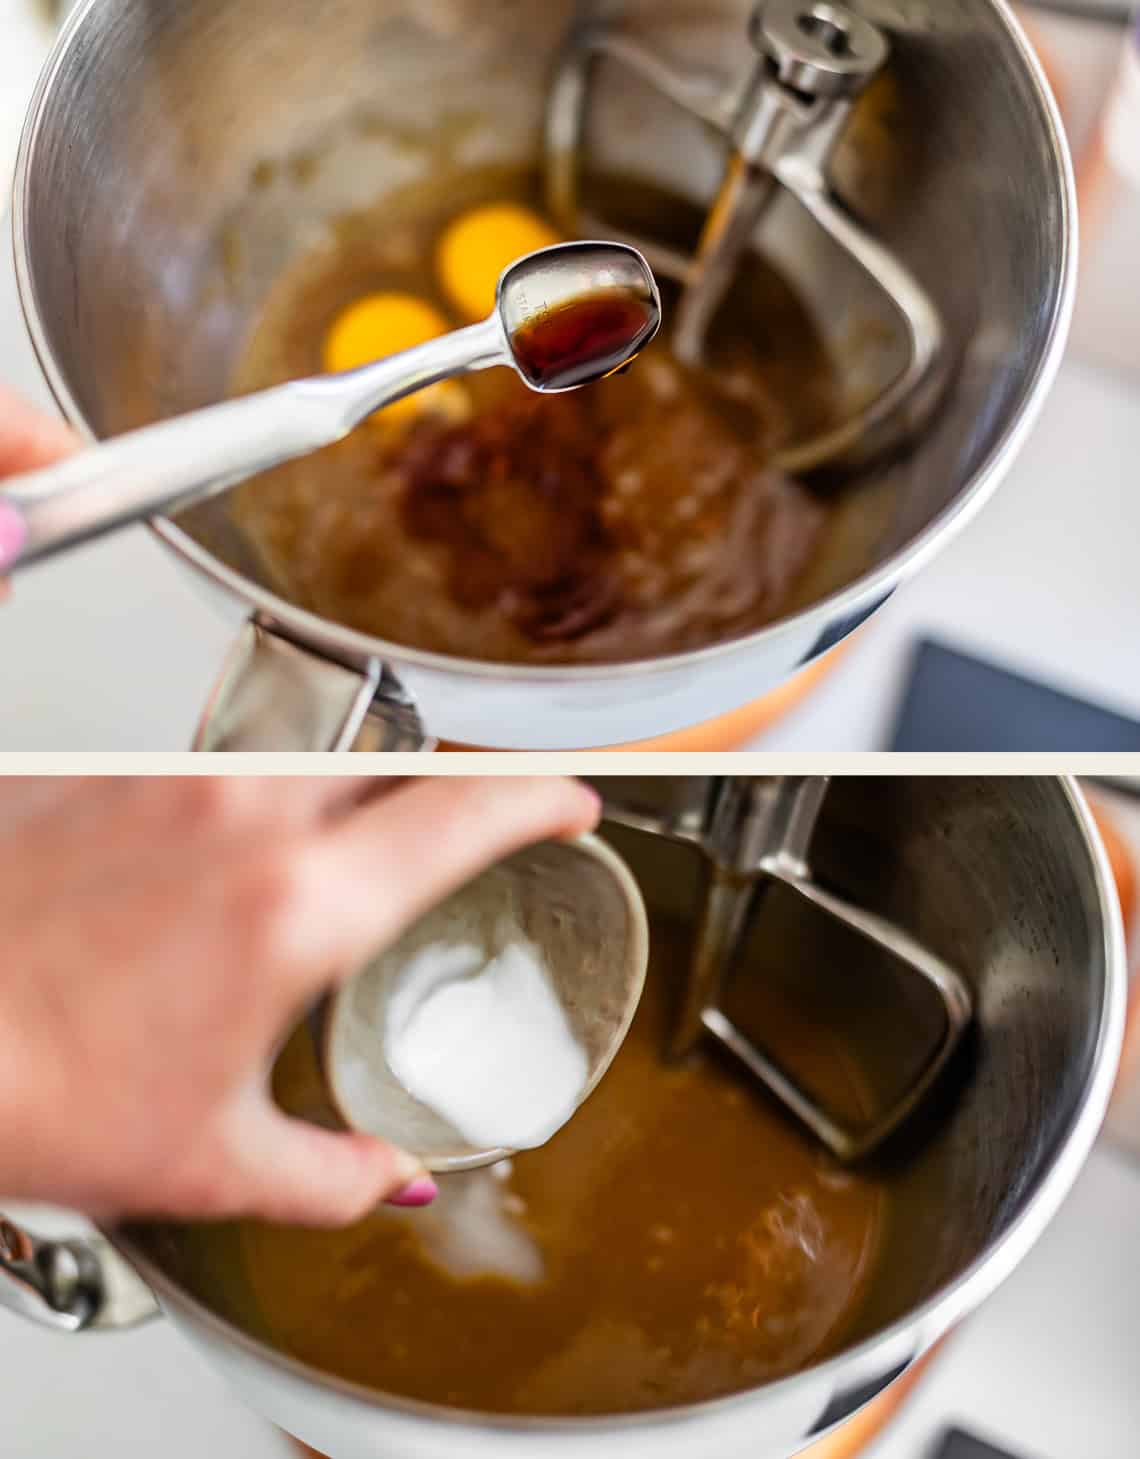
Then add in your dissolved baking soda. Mix it all up!
Add in the flour and the other dry ingredients:
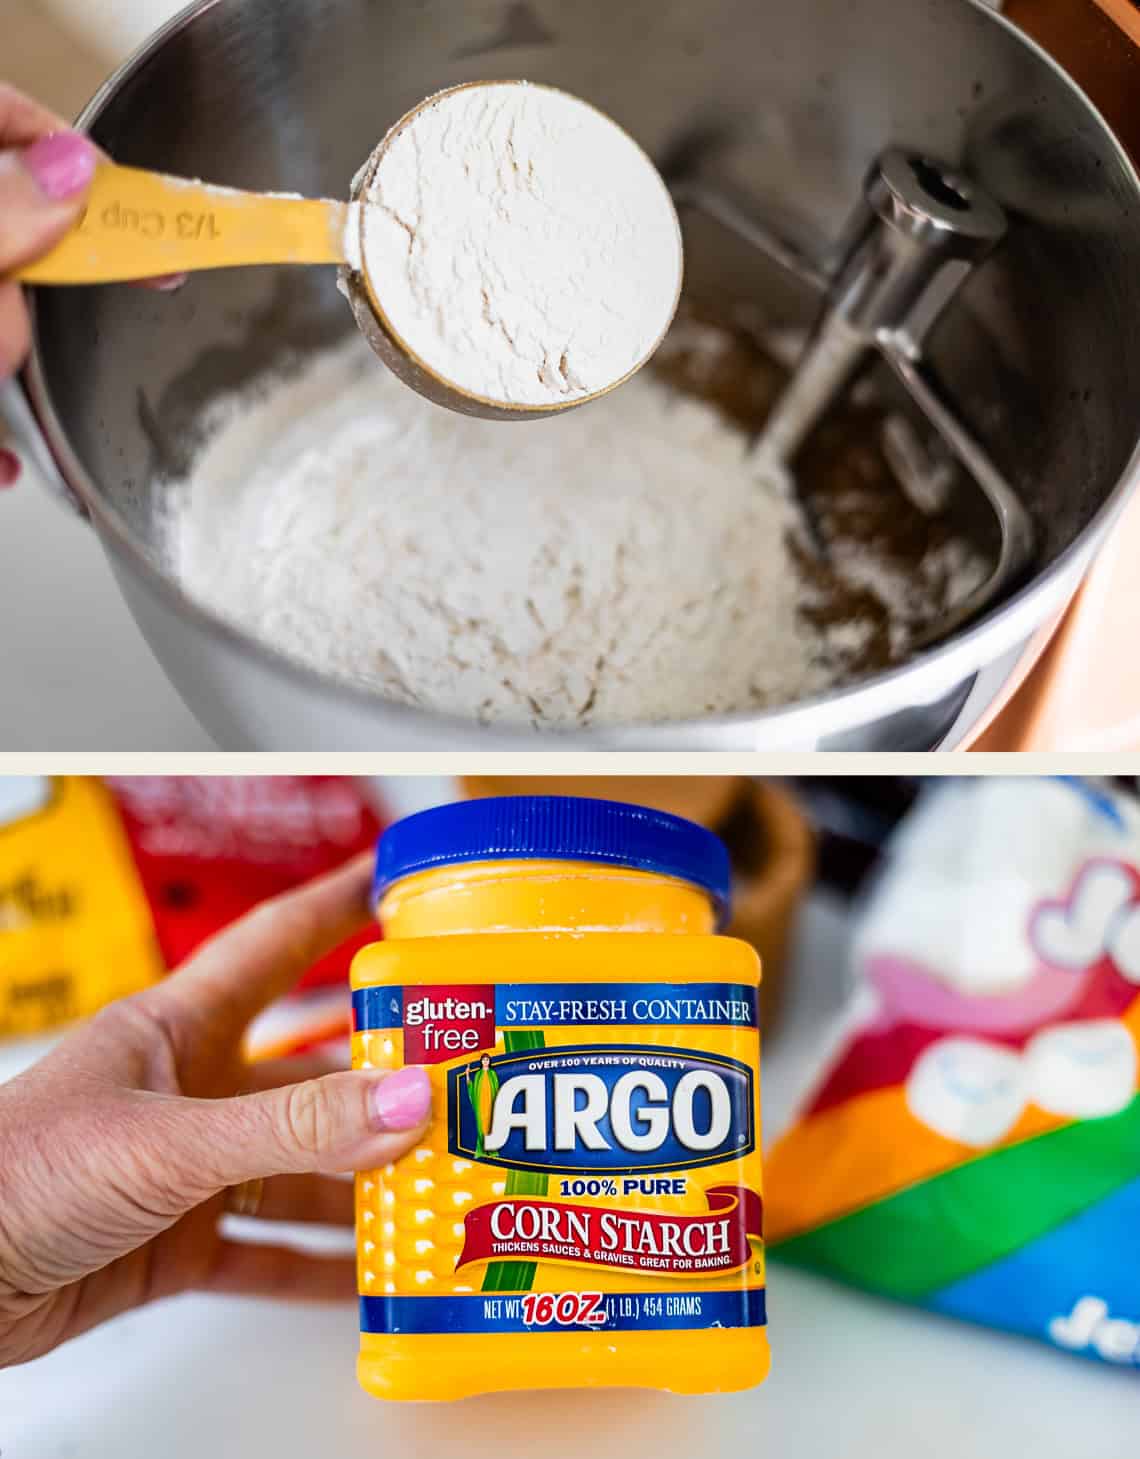
Don’t forget the cornstarch! We need it in these bars to keep everything soft. The marshmallows puff, melt, goo, and then harden, so we need all the help we can get, especially for the edges.
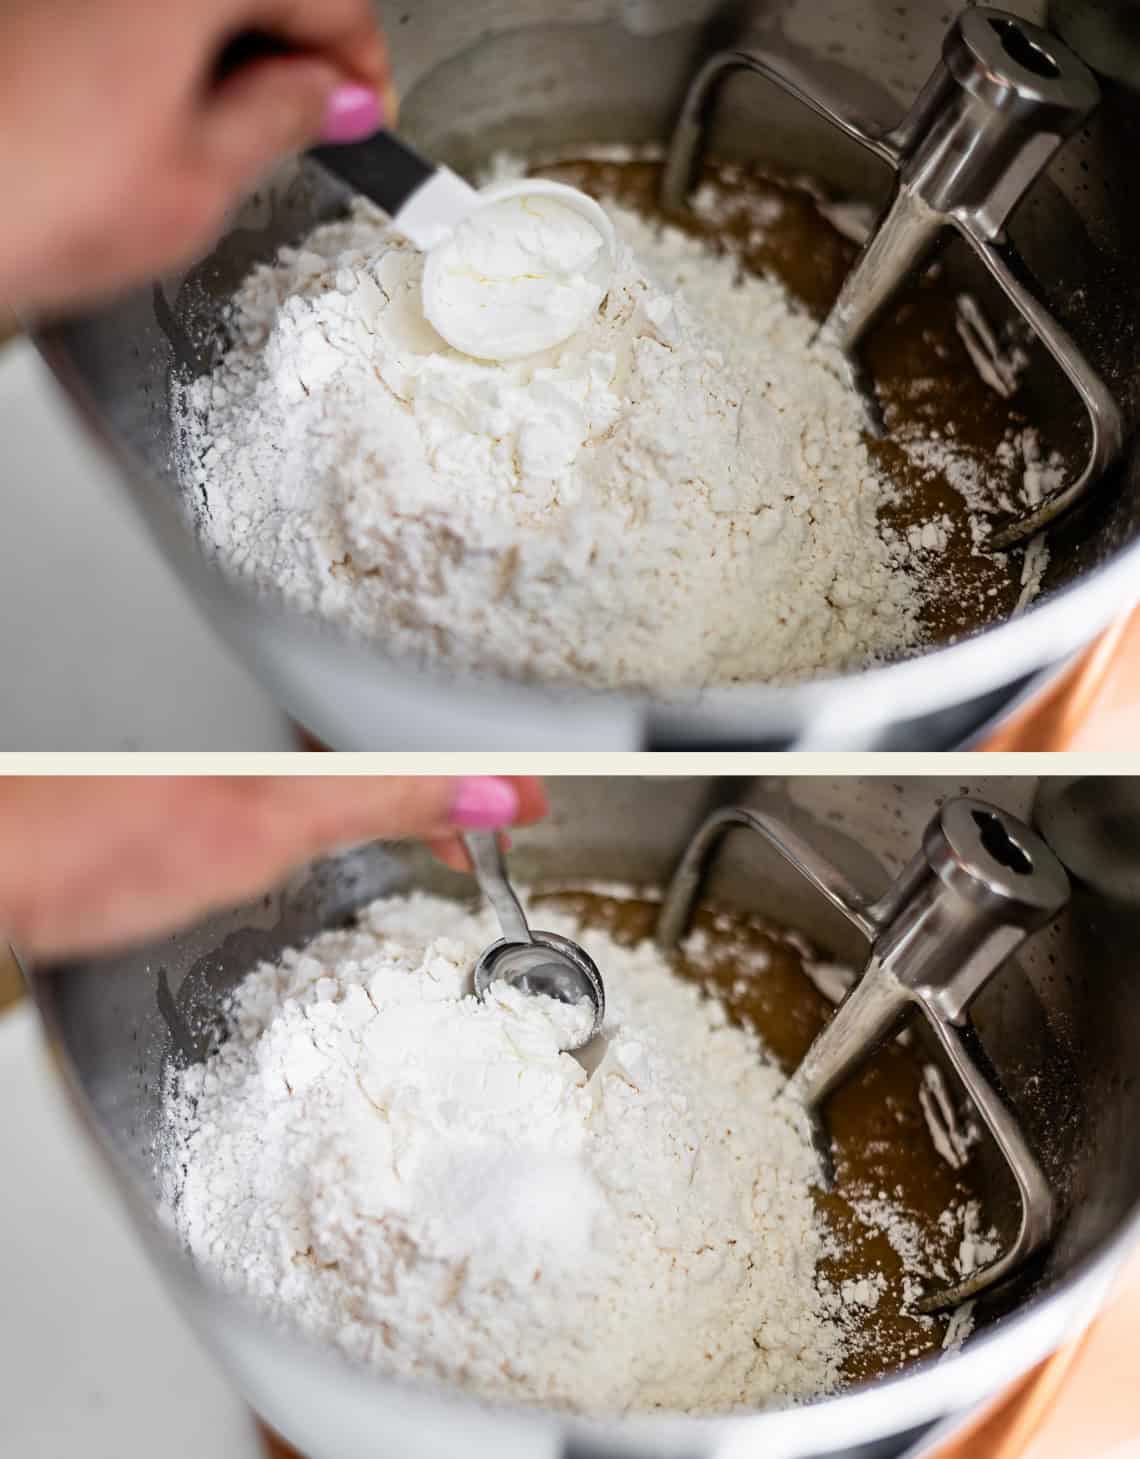
Use your teaspoon to stir the dry ingredients together. Then mix it all up! The dough is really sticky:
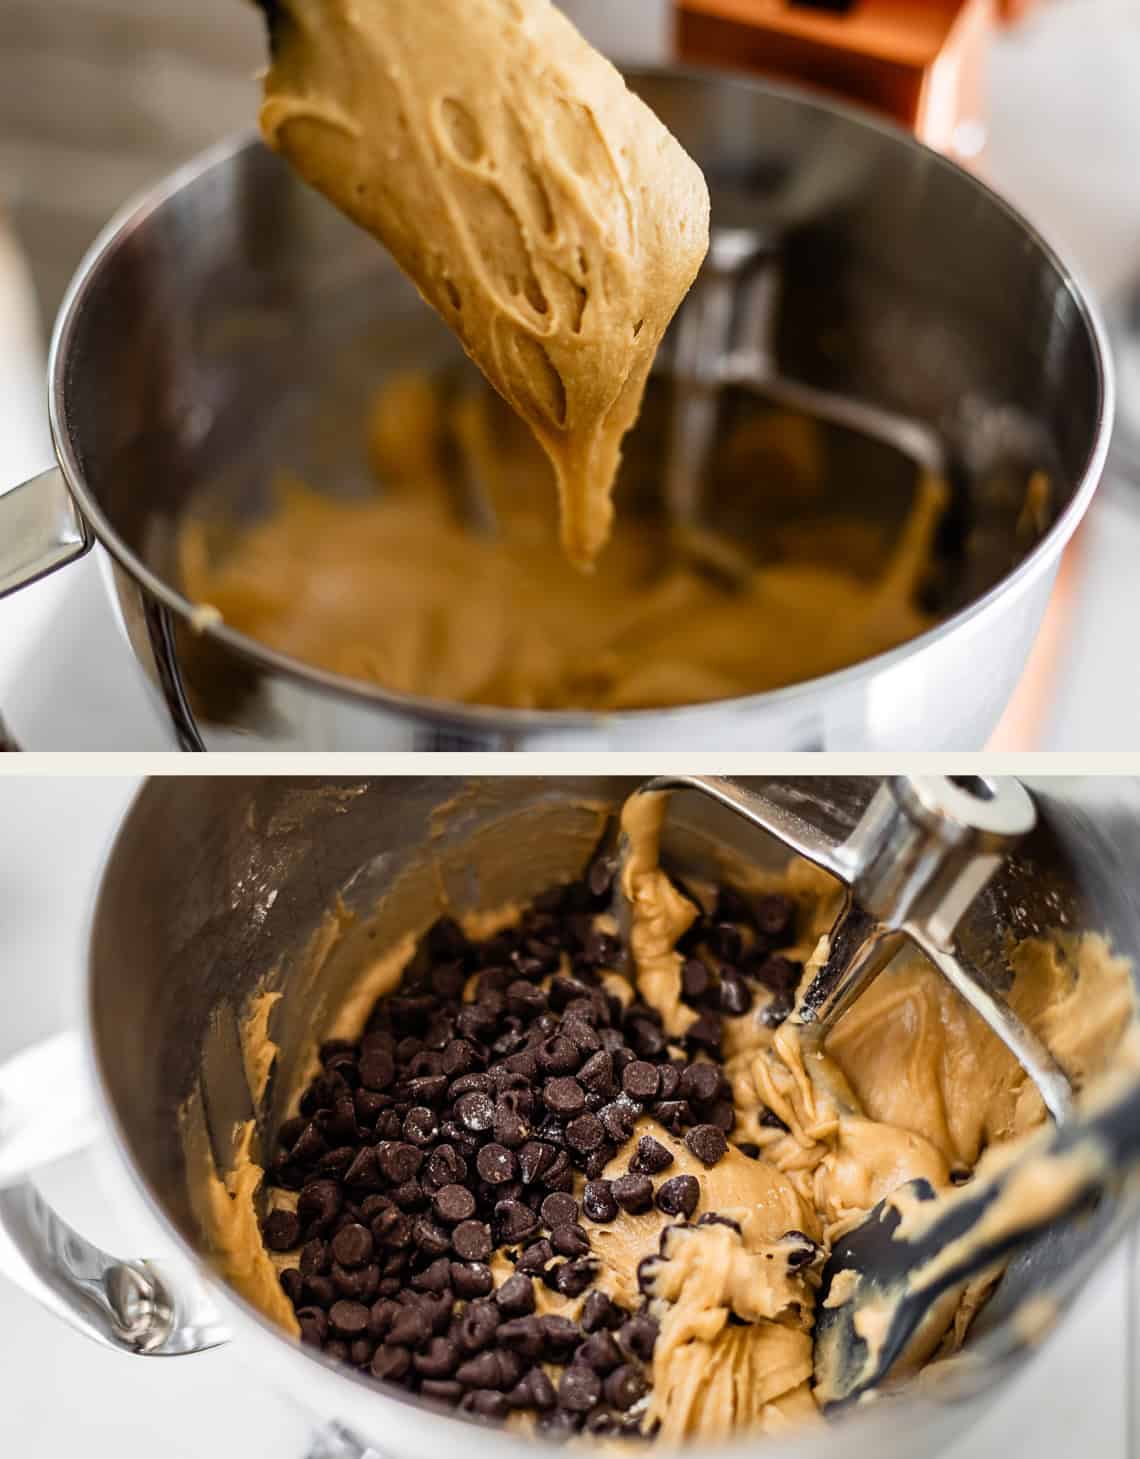
Add in the chocolate chips and stir it together.
Now prep a 9×13 inch pan with parchment paper. The paper REALLY helps with this recipe because the marshmallow is so sticky. You can just butter a pan instead, but I think the parchment makes it easier to get the bars out.
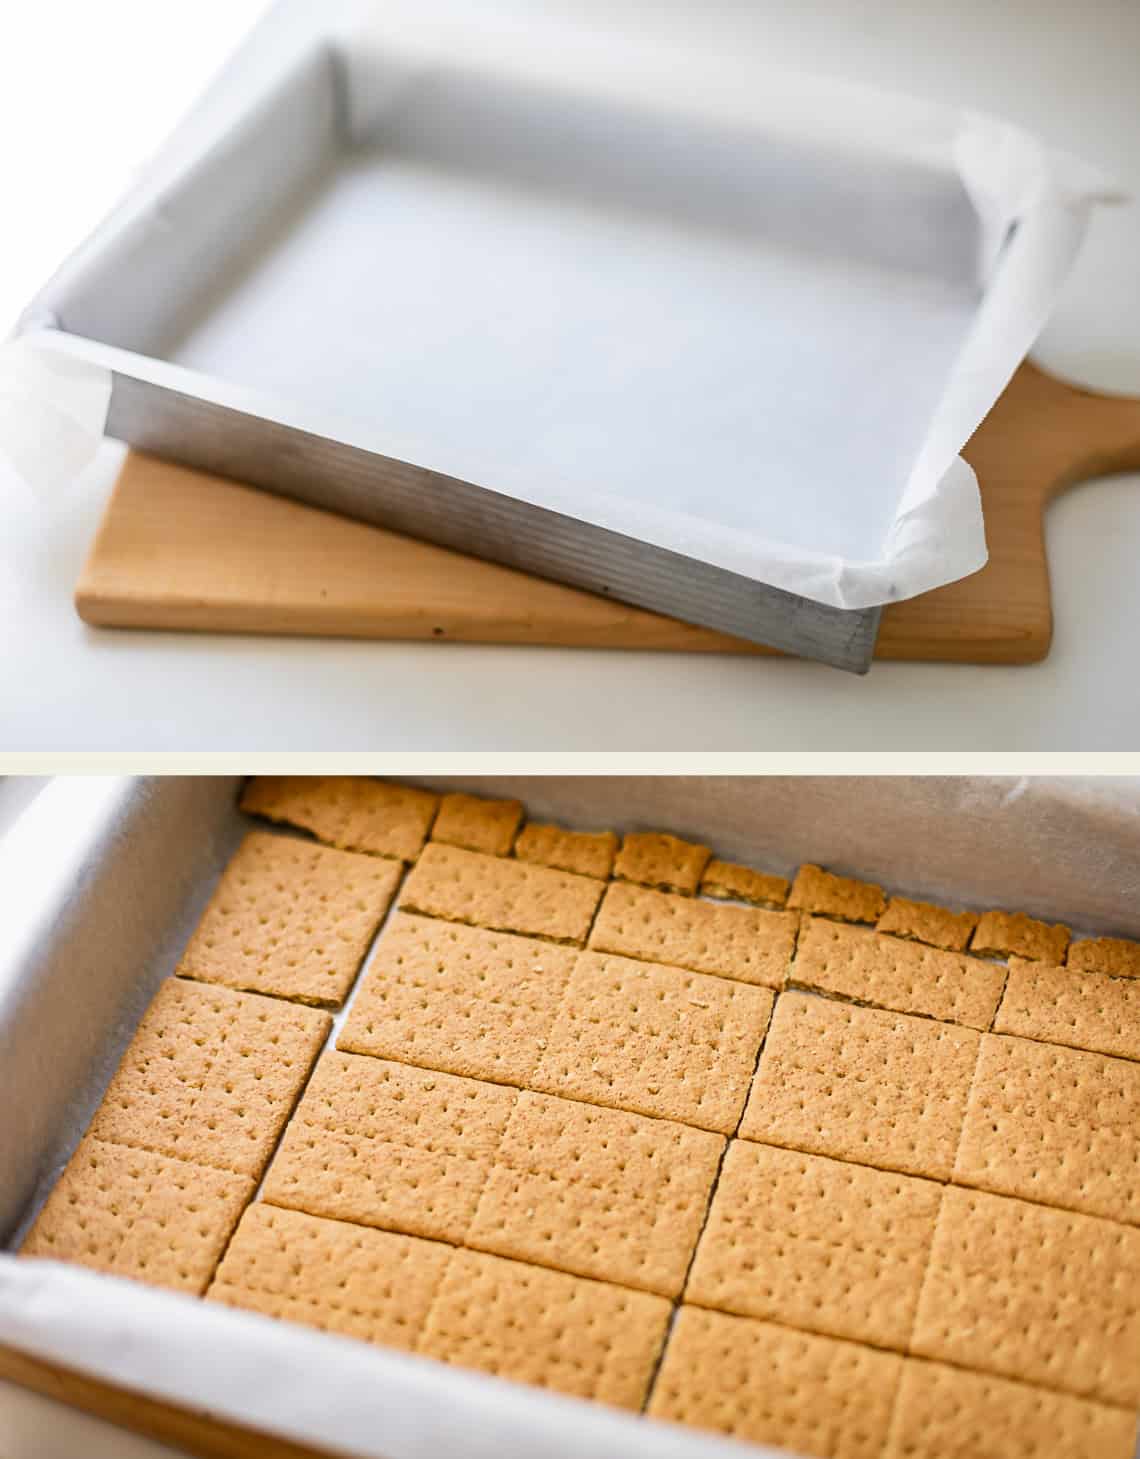
Line the bottom with graham crackers. Break them up and get graham in every last corner! This is the best crust!
Then dollop half of the dough on top of the graham crackers:
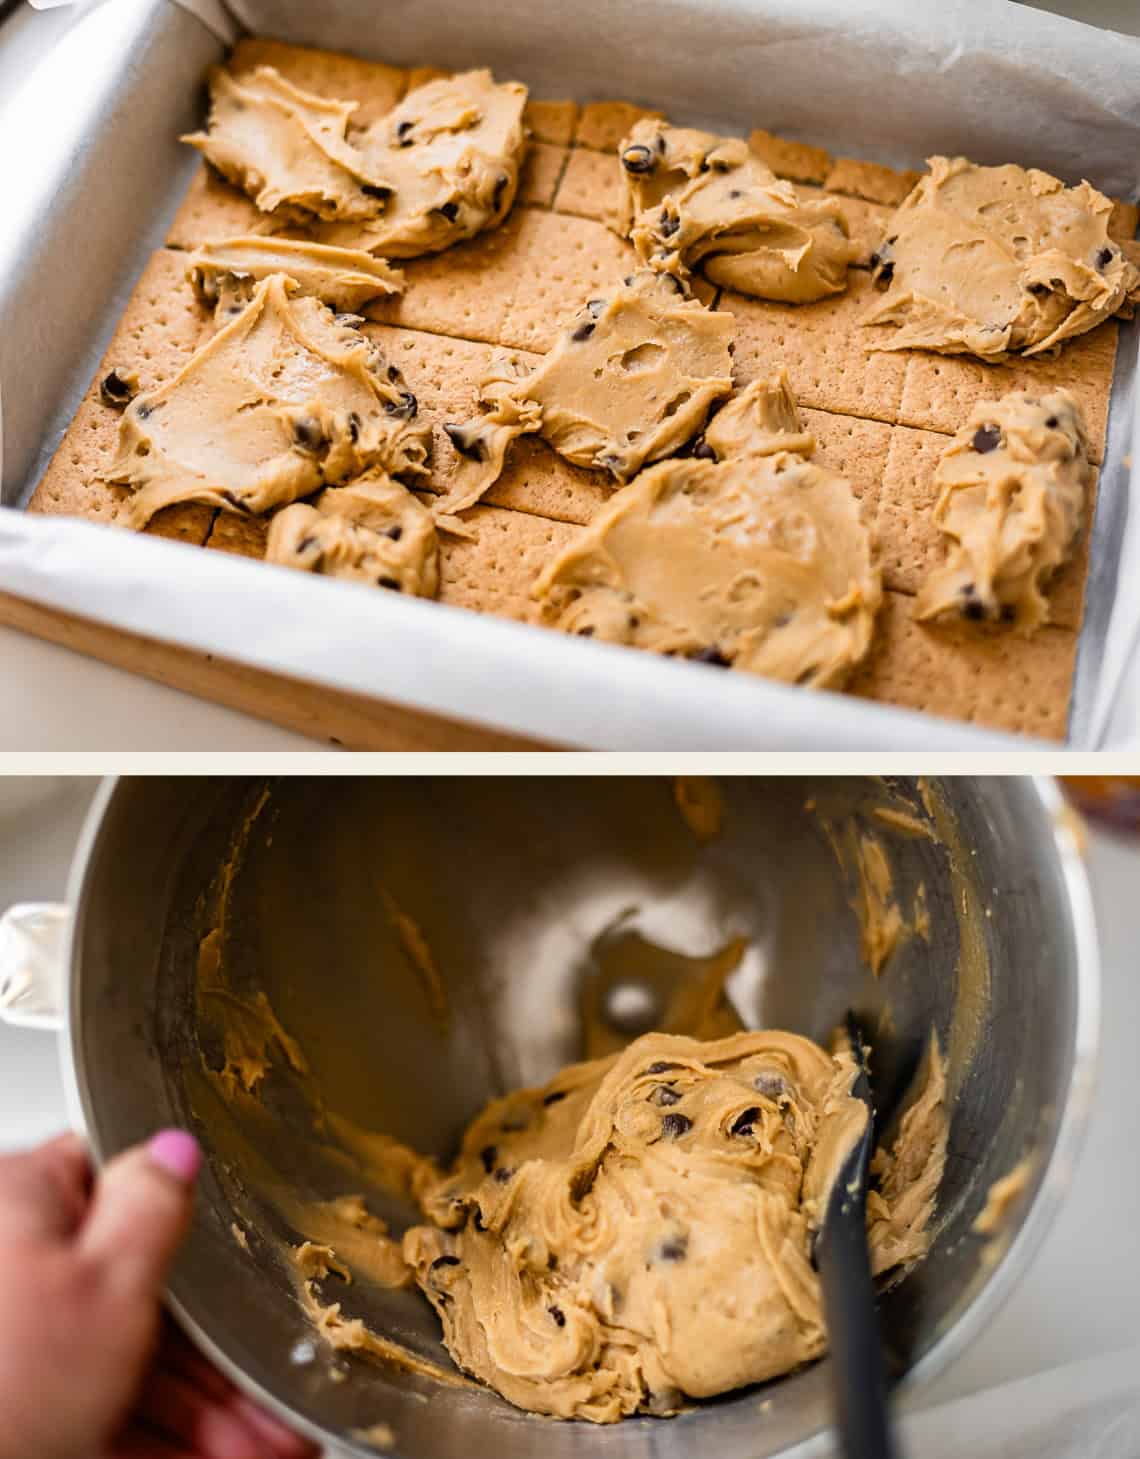
Here is how much dough I had left. Don’t put it all on yet.
Spread it out. This is just as annoying as it looks, sorry. 😂 Do your best!
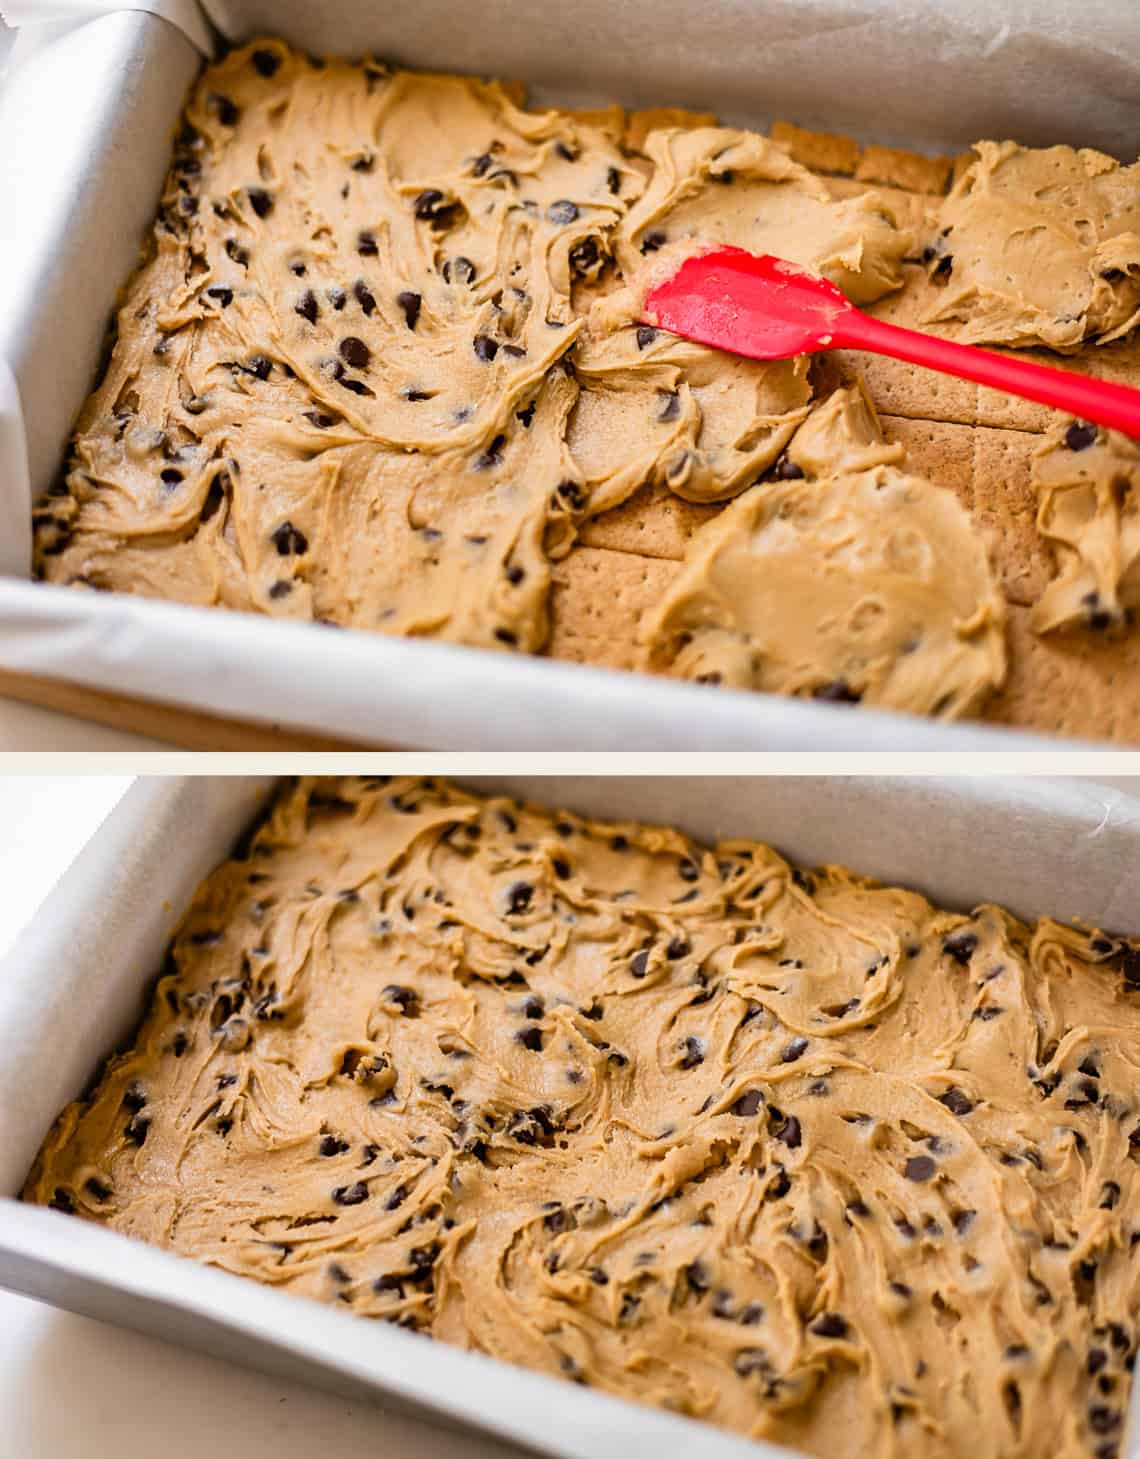
All spread out. Now add a bunch of marshmallows! Like, a buuuunch:
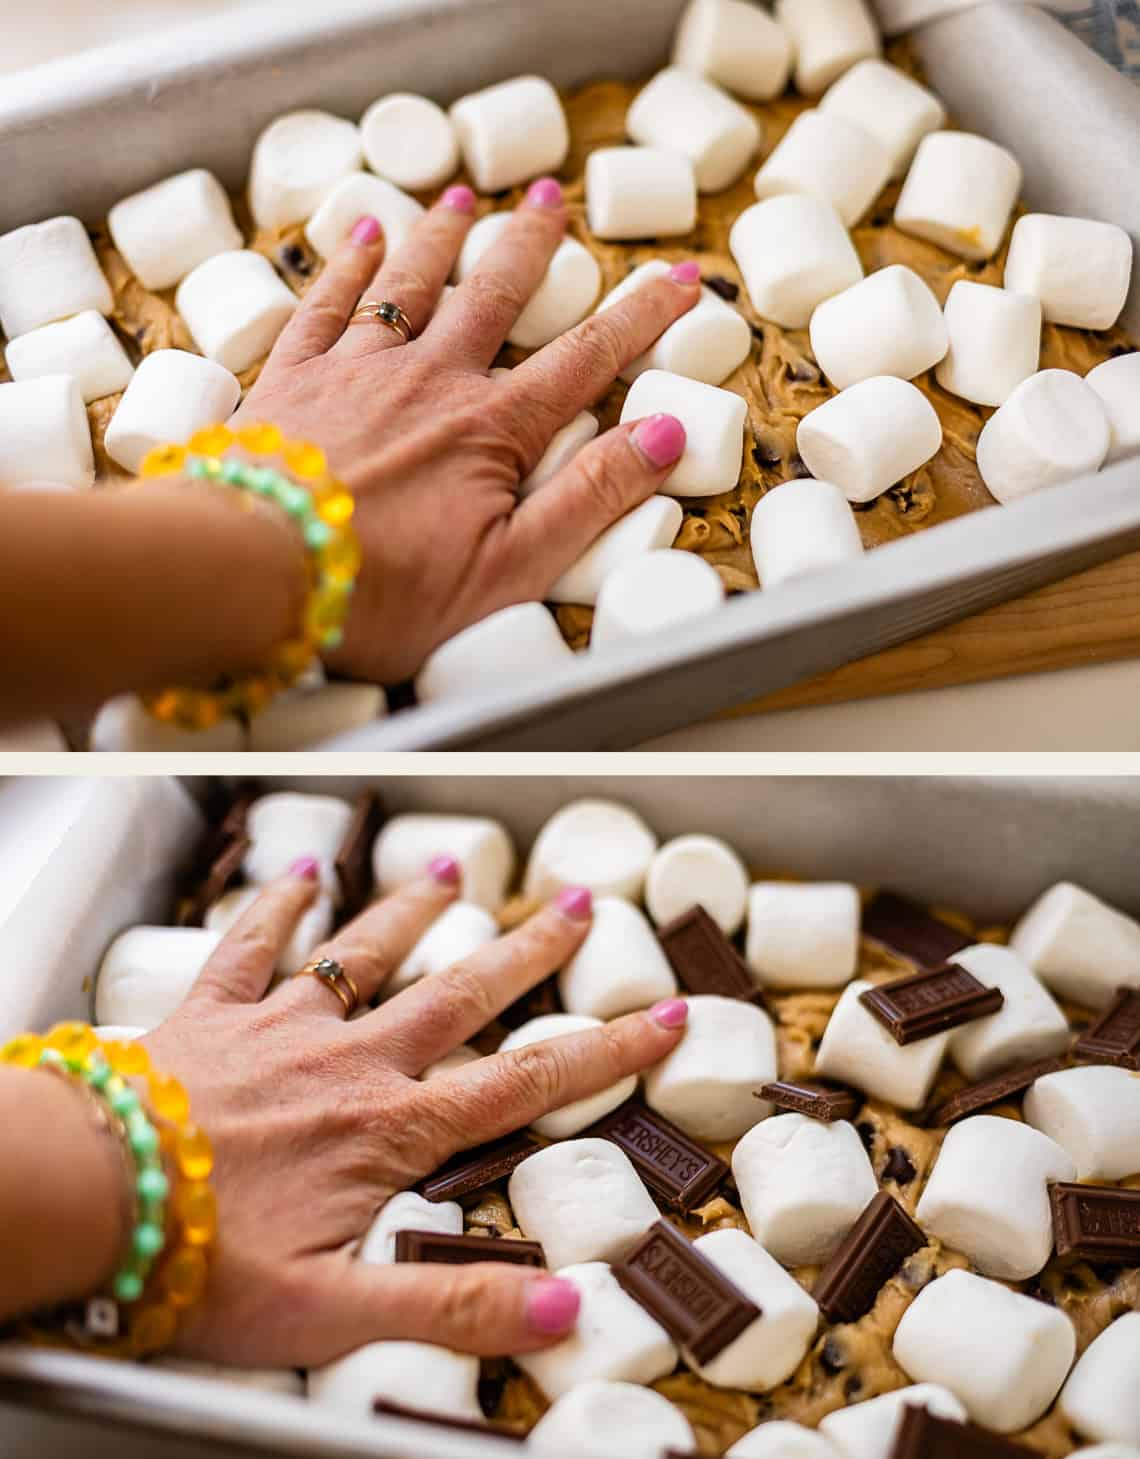
Press them in so they sink into the dough a bit. Then add some Hershey’s!
Now grab a cookie scoop and dollop pieces of the dough all over the top.
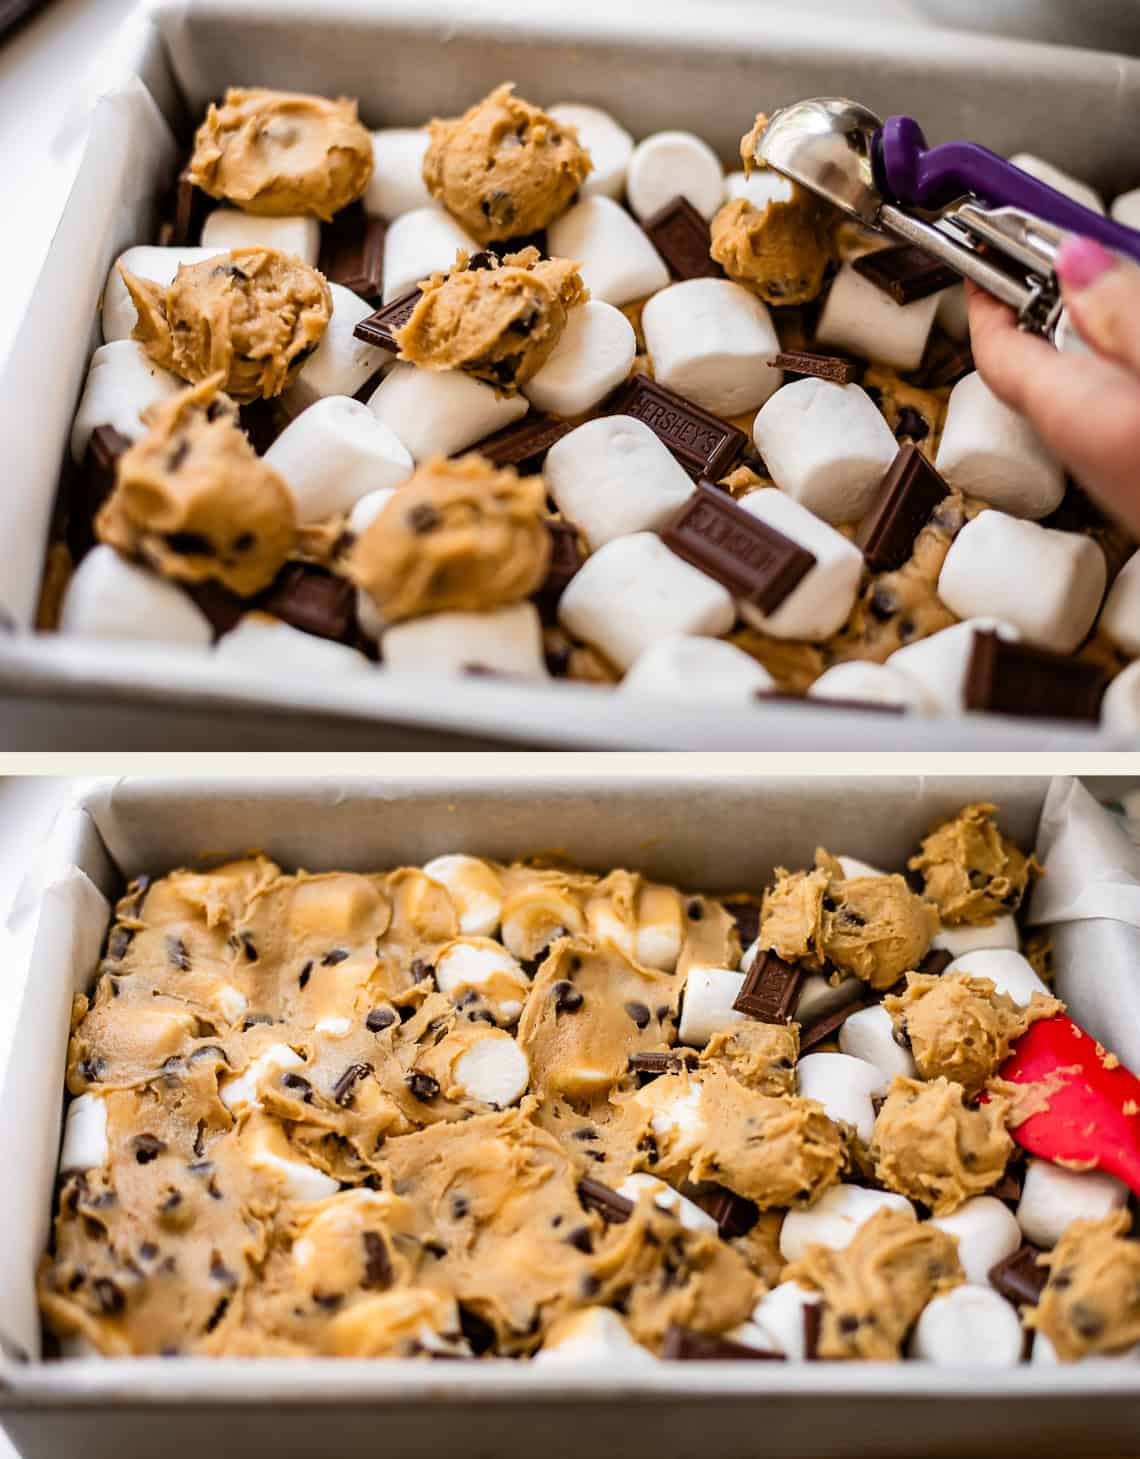
Use a spatula to spread it all around! It doesn’t have to be perfect. Some marshmallows peeking through is a-ok.
We could stop here…
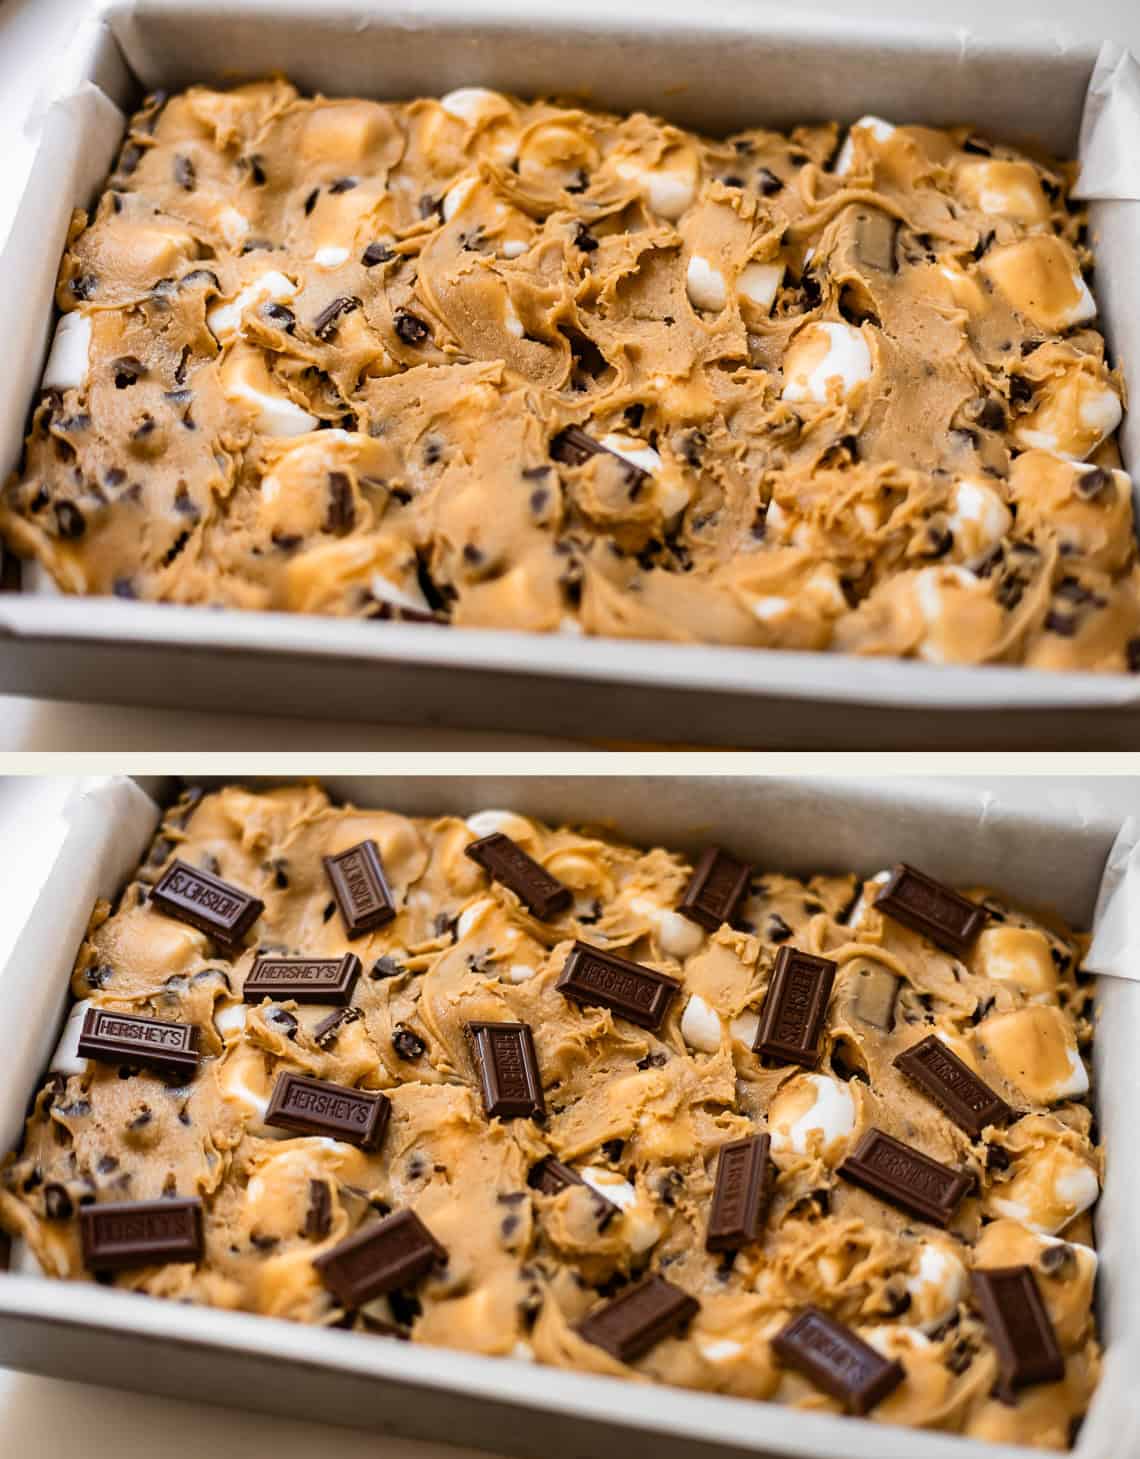
or we could add more chocolate. I mean, come on.
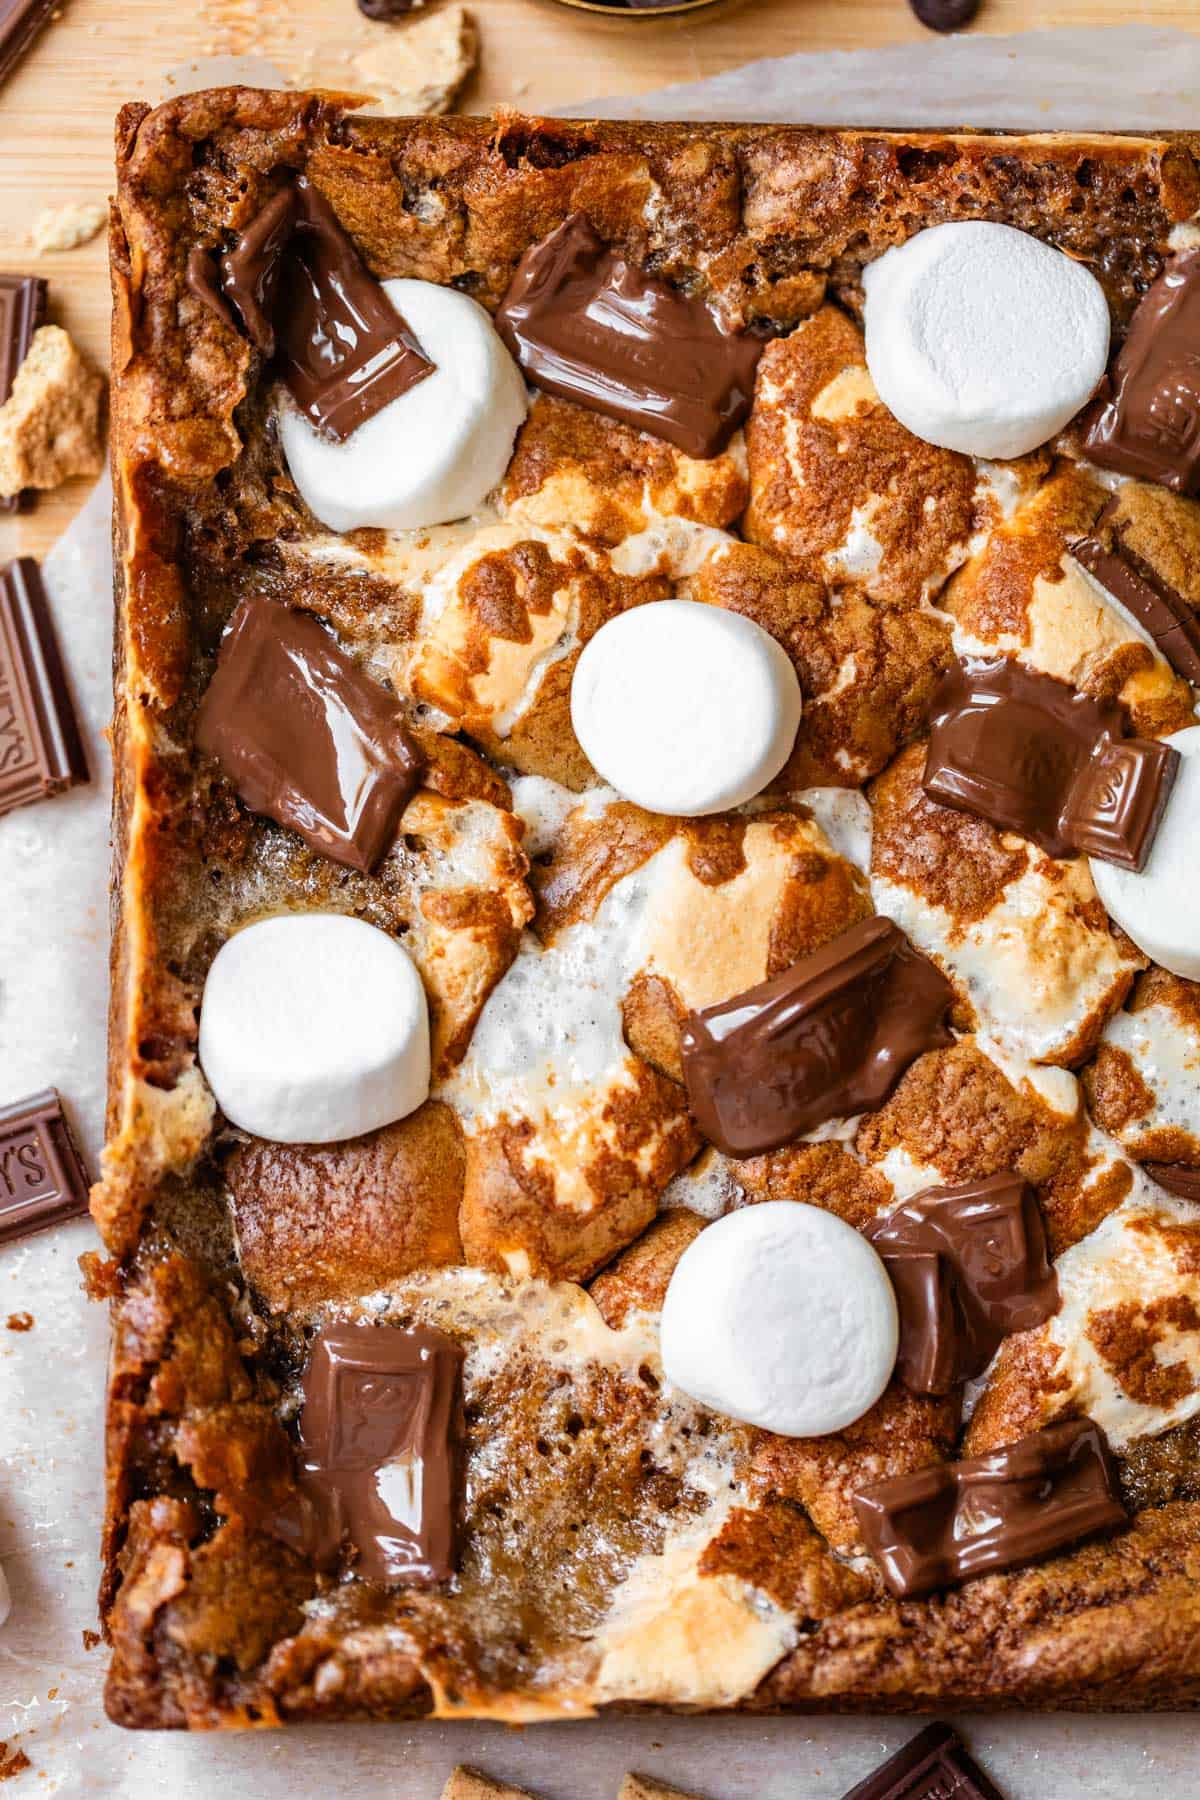
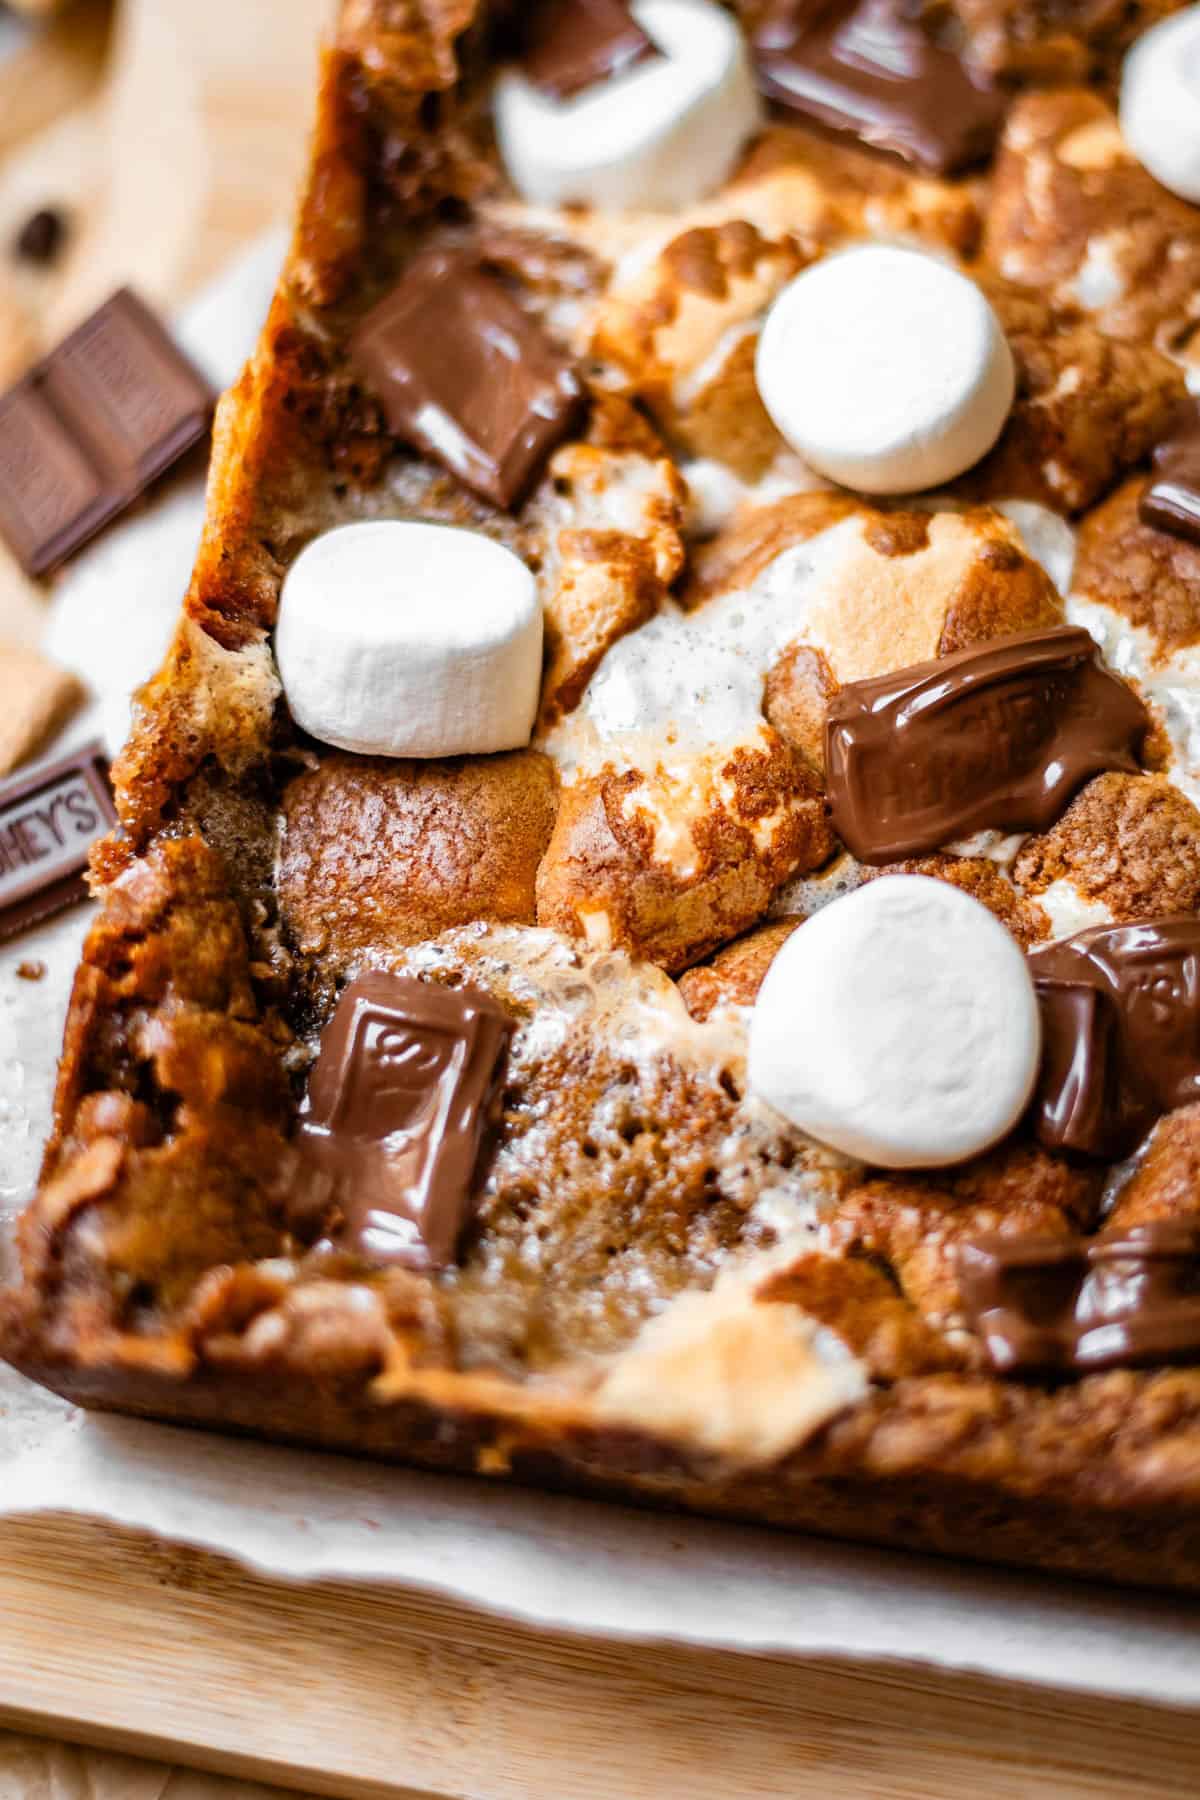
Okay but look at it after it has baked!!! It’s so different, right?? These are the marshmallows that puffed up way high in the oven, got browned and crispy, and are settling back into the bars now that they are out of the oven. I love that the marshmallows get that toasty, classic fire-roasted s’mores flavor.
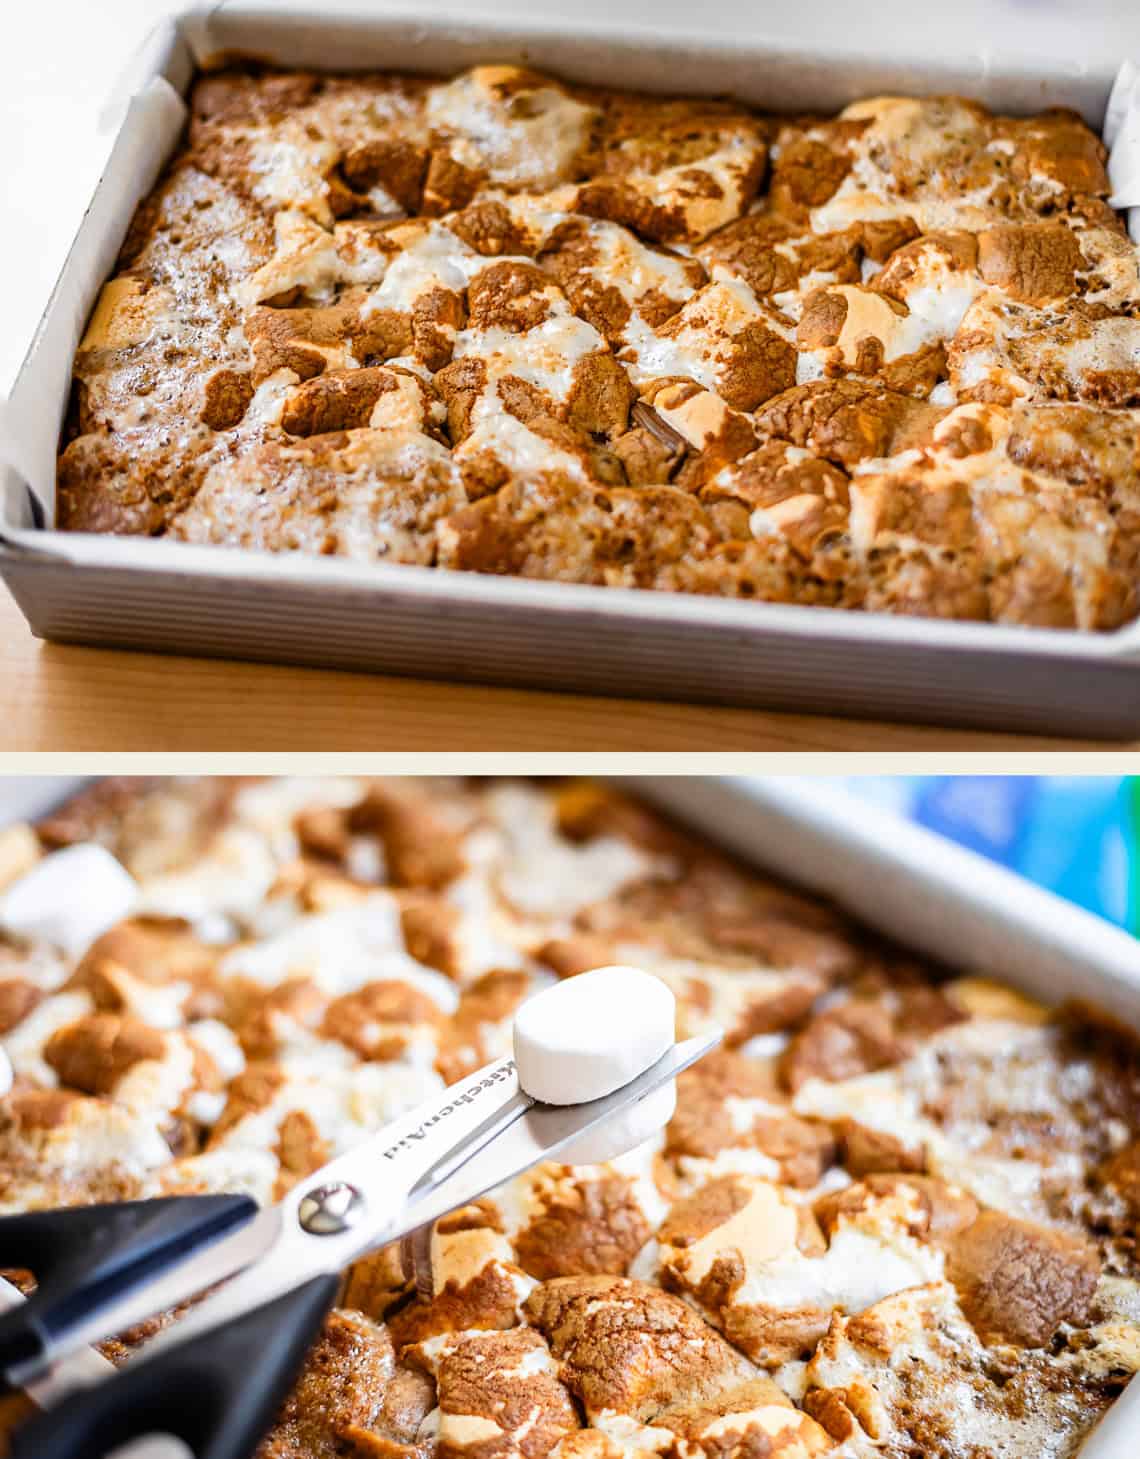
Snip some marshmallows in half and then add even MORE chocolate to give it that classic S’mores look!
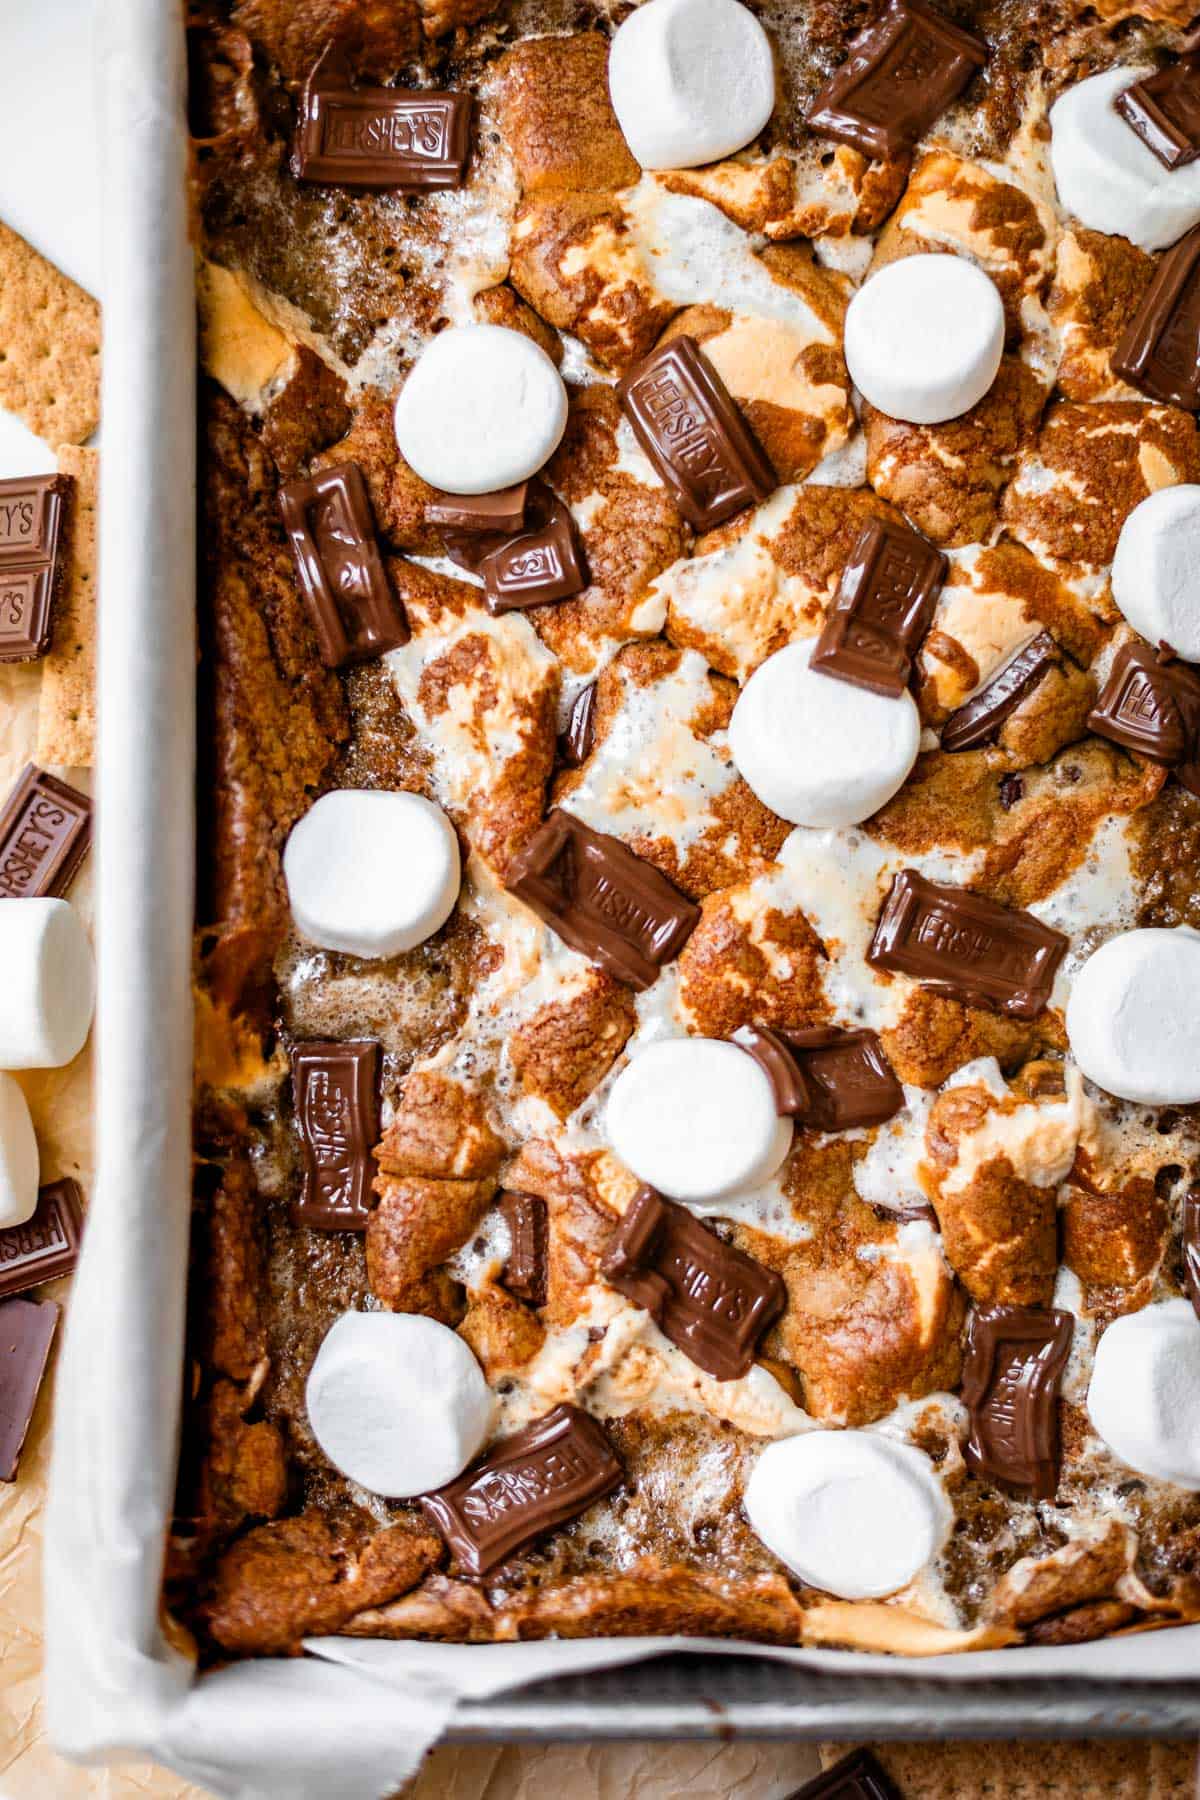
Oh man I could eat this whole pan. Actually probably I couldn’t, they are so rich. That’s saying something, cuz girls I ain’t no lightweight.
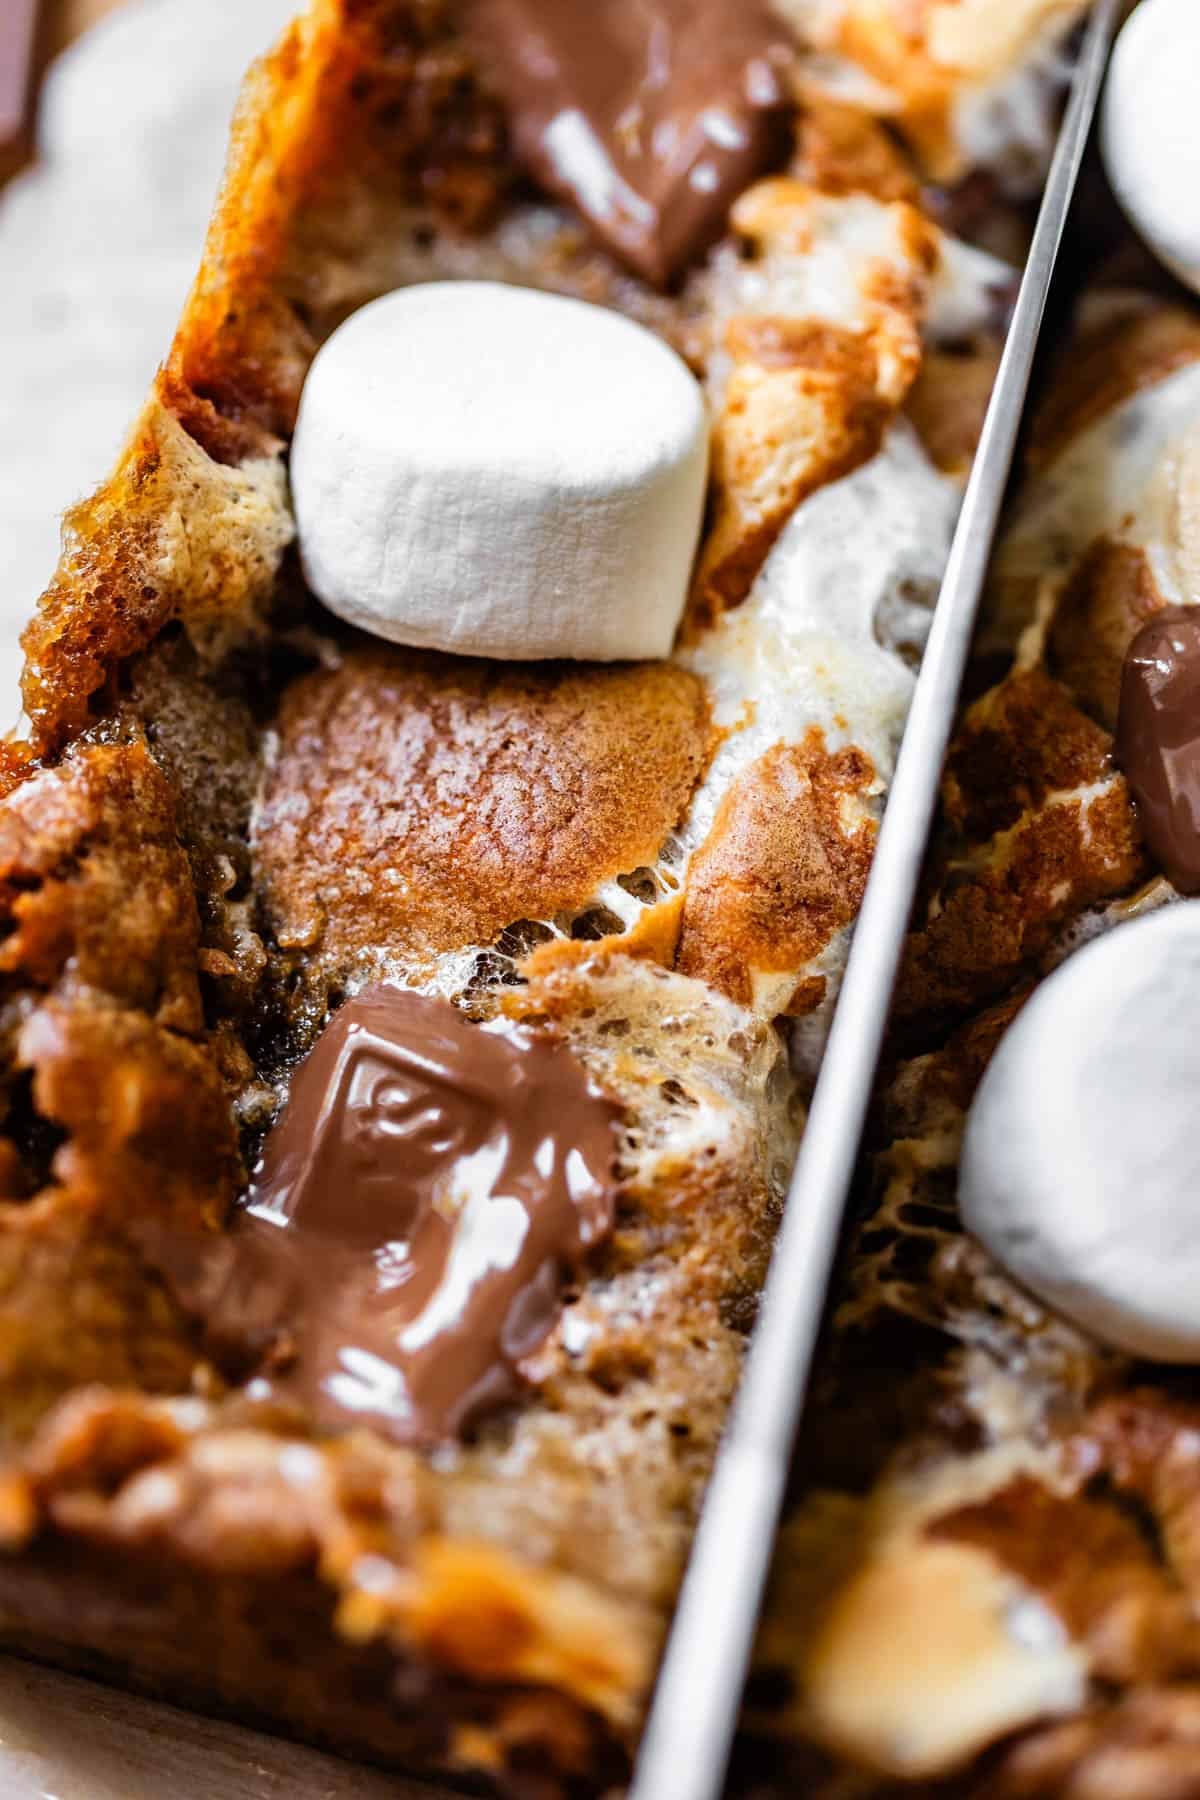
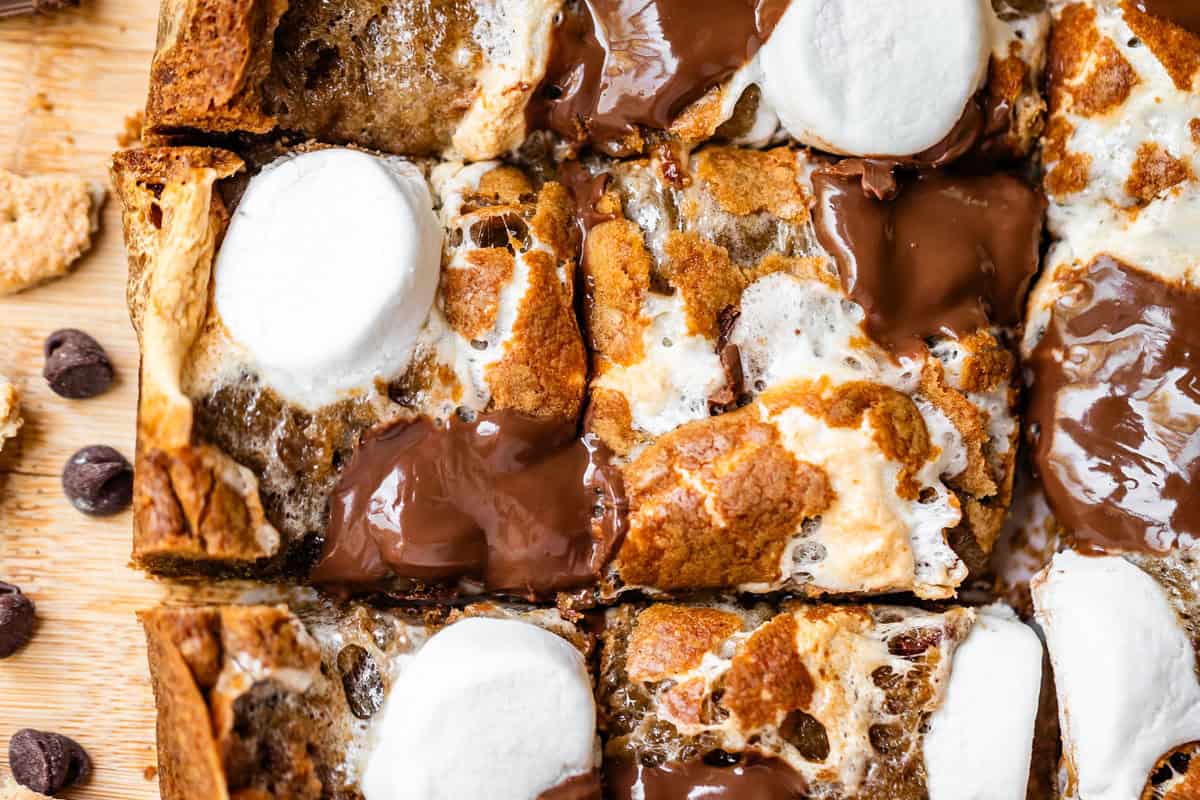
Look at that toasty mallow top. Once they have cooled ALL the way, you can slice them into neat little bars.
Or you can choose the heathen route, like I always do, and slice them hot, dump it on a plate where it will form a small puddle, and pile the whole gooey mess with ice cream:
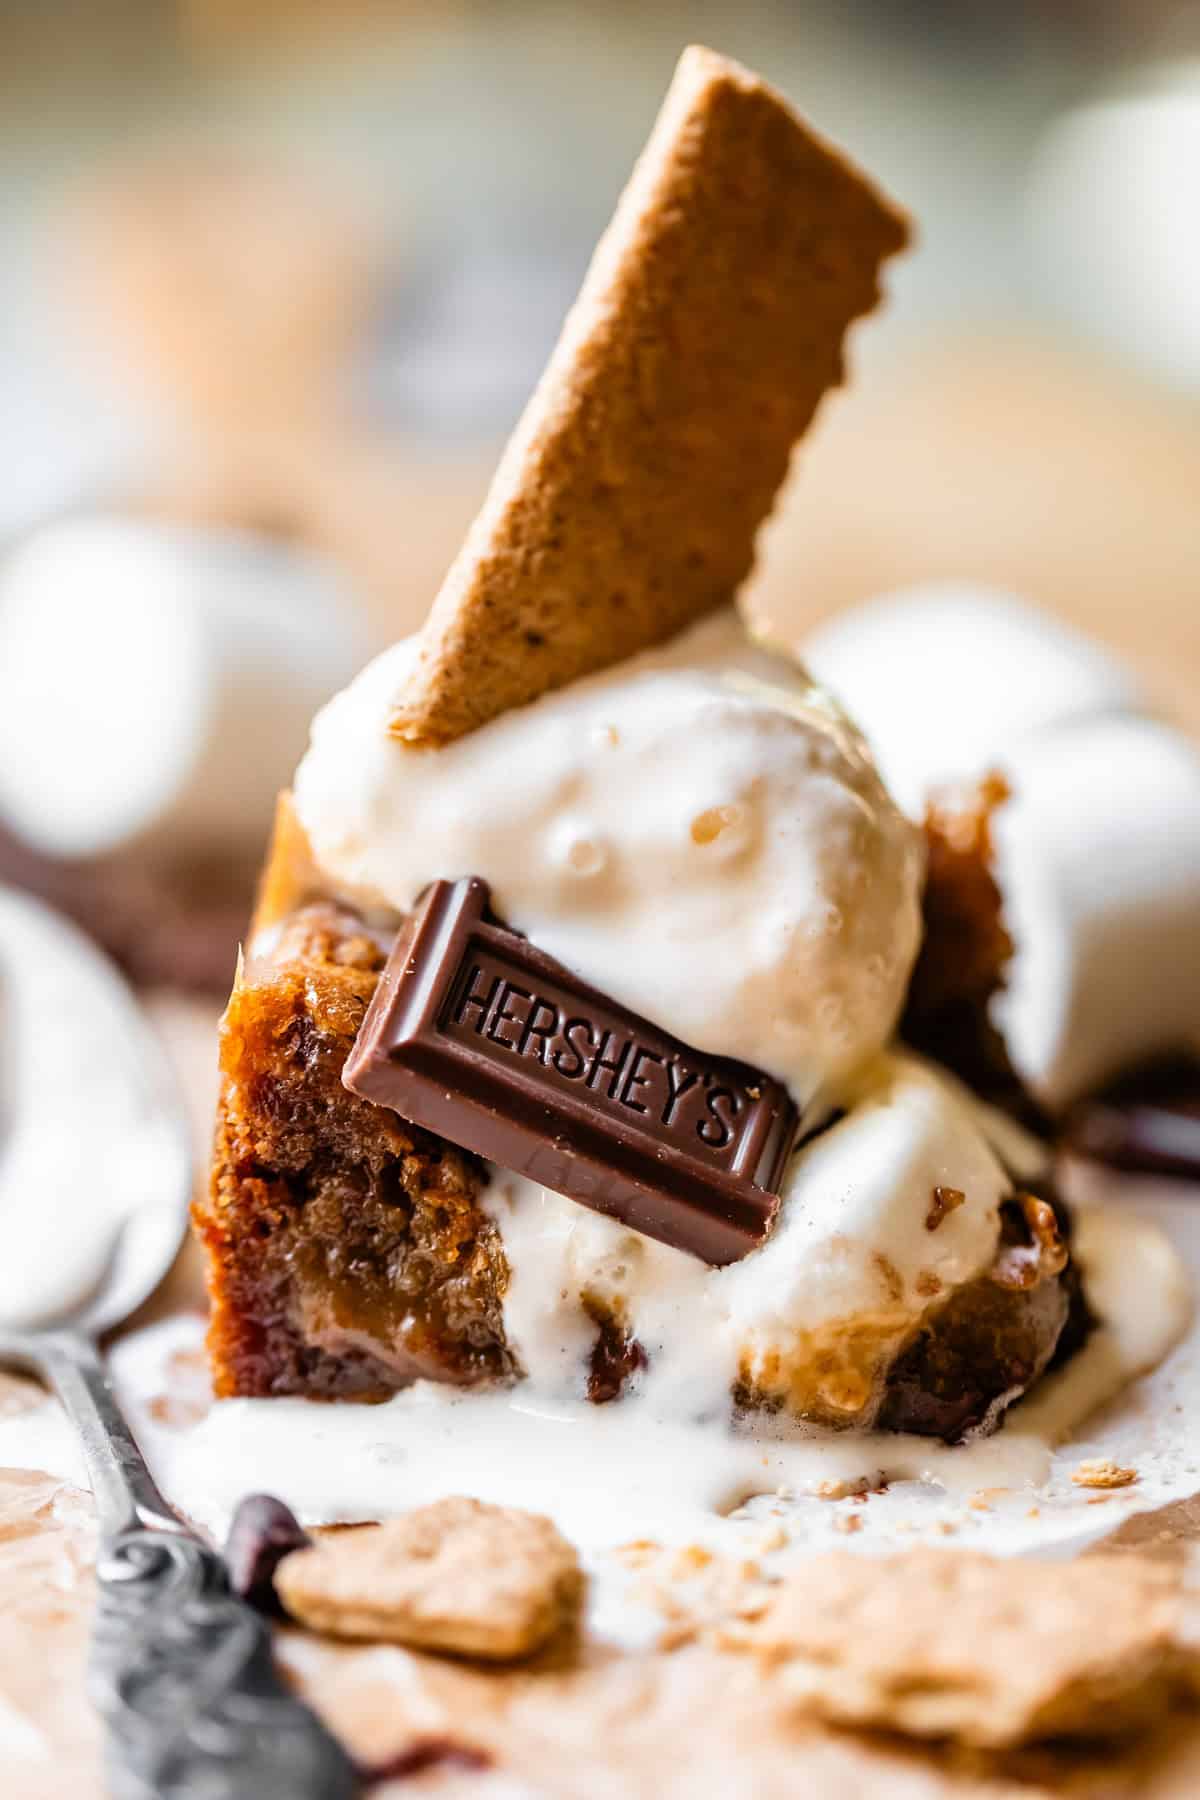
Yesssss please.
How to store leftover bars
Leave uncut bars in the pan and cover the pan tightly with plastic wrap or an airtight lid. This is my preferred method since it keeps the bars from drying out. If you have leftover cut pieces or don’t want to keep the bars in the pan, you can transfer pieces to an airtight container or a ziplock bag. Remove as much air as possible before sealing so they don’t dry out. They should last on the counter for about 4-5 days, but over time they will start to dry out.
Can you freeze them?
Yep, it’s super easy to freeze these bars! Tightly wrap a whole pan in plastic wrap two times and then a layer of foil to help prevent freezer burn. If you want individual servings, place cut bars on a lined cookie sheet and stick the pan in the freezer for about 30 minutes. After flash freezing, transfer the bars to a freezer ziplock bag and remove most of the air before sealing. You can thaw the whole pan or individual bars on the counter, just make sure they stay covered so they don’t dry out. The whole pan will take a few hours to be soft enough to cut, individual bars will take 15-30 minutes.
More fantastic bar recipes
I’m always down for a cookie bar. I find them easier to make than scooping individual cookies without sacrificing flavor! No one says no when you bring bars to the potluck, just sayin’. I actually have a whole page on the blog dedicated to Brownies and Bars, check it out if you want even more ideas!


Graham’s S’mores Cookie Bars
Equipment
Ingredients
For the dough:
- 1 cup butter, 2 sticks, melted
- 1 cup brown sugar, packed
- 2/3 cup granulated sugar
- 1 teaspoon baking soda, in a separate bowl
- 2 teaspoons hot water, in a separate bowl
- 2 large eggs
- 2 teaspoons vanilla
- 2 and 1/3 cups all purpose flour, spooned and leveled
- 1 tablespoon corn starch
- 1 teaspoon kosher salt, (or 3/4 teaspoon table salt)
- 1 cup semi sweet chocolate chips
- 10 graham crackers, full sheets
- 5 (1.55 oz bars) Hershey's chocolate bars
- 40 regular marshmallows, (a little more than half a 12-ounce package)
- 6 regular marshmallows, to top the bars
- ice cream or cold milk, for serving, optional
Instructions
- Preheat your oven to 325 degrees F.
- Line a 9×13 inch metal pan with parchment paper. Tuck it into the corners and fold the edges. Or, you can grease the pan with butter or nonstick spray.
- In a small bowl, add 1 teaspoon baking soda and 2 teaspoons hot water. Stir it together and set aside to dissolve.
- Melt 1 cup of butter. Add to a stand mixer bowl, or any large bowl.
- Add 1 cup packed brown sugar and 2/3 cup granulated sugar to the butter. Beat well until combined, about 1 minute. Scrape the sides and bottom of the bowl.
- Add one egg. Beat well, scraping the sides.
- Add the second egg, and 2 teaspoons vanilla.
- Add in the baking soda and hot water that you dissolved earlier. Beat all of this into the butter, stopping to scrape the sides and bottom, and then beating again for at least 1 minute.
- Add 2 and 1/3 cups all purpose flour but don't stir yet. (Make sure you spoon the flour into the measuring cup, then level it off so that it's even. Do not overpack your flour.)
- Add 1 tablespoon cornstarch and 1 teaspoon kosher salt (use 3/4 teaspoon table salt if that's all you have) into the flour. Use your teaspoon to mix the dry ingredients together a little bit, making sure there are no lumps.
- Turn the mixer on low and beat until there are still a couple streaks of white flour. You want to stop mixing when the flour is not quite all the way incorporated. Scrape the sides and bottom and stir it again for a few turns.
- If your dough is still quite warm from the melted butter, wait 5-10 minutes until it cools some more. You can speed this up by sticking it in the fridge. (If you add the chocolate chips to hot dough, the chips will melt as you stir them in, not what we want)
- Add 1 cup chocolate chips and mix until just barely combined. Don’t over mix, or you will get tough cookie bars! Scrape the sides and mix one last time.
- Add 10 graham crackers in a single layer to the bottom of the prepared 9×13 inch pan. Break up the graham crackers as necessary to get as much coverage on the bottom of the pan as you can. This is your crust!
- Scrape about half of the dough into the pan, right on top of the graham crackeres. This can be tricky! Add the dough in pieces all the way across the pan, not in one giant lump. (see photos) Use a rubber spatula to help you spread it out. Press the dough into the corners and make it flat all across the top of the graham crackers.
- Add about 40 regular size marshmallows on top of the dough. This is about half of a 12-ounce package. Use your hands to press the marshmallows into the dough.
- Top the marshmallows with 1-2 bars of Hershey's chocolate that have been broken up into squares. Use your hand to press them into the dough.
- Use a cookie scoop or a spoon to distribute the remaining dough evenly across the top of the marshmallows and chocolate. Use a rubber spatula to spread the dough in between and on top of the marshmallows and chocolate. It doesn't have to be perfect, see photos. I like to leave a few marshmallows peeking through.
- Top the dough with 1-2 bars of Hershey's chocolate, broken up into squares.
- Bake at 325 degrees for 27-30 minutes. The bars will be golden all the way across the top. The marshmallows will have melted completely, raised up over the top of the dough, and started to brown and crisp. Testing for doneness: When you shake the pan, the center should not look sloshy or liquid-y. These bars do not set up completely in the oven, so some jiggling in the center is normal. The BEST way to test for doneness is to see if the bars are fully brown on the edges, and pulling away from the pan.
- Use scissors to cut 6 marshmallows in half. Once you have taken the S'mores Bars out of the oven, immediately add the remaining 6 marshmallows, cut size down, so that they have time to melt while the pan is hot.
- Sprinkle the top with the remaining 1-2 bars of Hershey's chocolate (broken up into squares).
- It's important to let these bars cool completely, if you want to slice them to eat with your hands. Lift the cooled bars from the pan using the parchment paper, then use a sharp chef's knife to slice the bars, wiping the knife clean in between slices.
- If you are planning to eat these bars right away, let them set up after taking them out of the oven for about 10 minutes. Use a sharp knife to cut into bars, making sure to cut the graham crust on the bottom. Then use an offset serving spatula to lift the bars onto a plate or bowl. It will be quite soft and oozey.
- Top each serving with vanilla ice cream and Chocolate Sauce! If you don't have ice cream, serve with a glass of milk!
- Store leftovers right in the pan. Cover the top tightly with plastic wrap. The bars will stay fresh on the counter for 4-5 days, but will start to dry out over time.
- Freeze bars by wrapping the cooled pan with a few layers of plastic wrap, and then a layer of foil. Or, place cut bars on a lined baking sheet, flash freeze for 30 minutes, then transfer to a freezer ziplock bag. Thaw frozen bars on the counter until soft.









These will be happening tomorrow!
Yay!! How did they turn out Misty?
Soooo good! Definitely going to be making it again!
My 2&1/2 year old grandson is named Graham and I’m pretty sure he tried his first s’more this summer. I think it would probably be illegal if I didn’t make these bars for him, like immediately!
Oh my gosh Amy!! I think you are right!! He is going to LOVE them!! let us know how it goes!