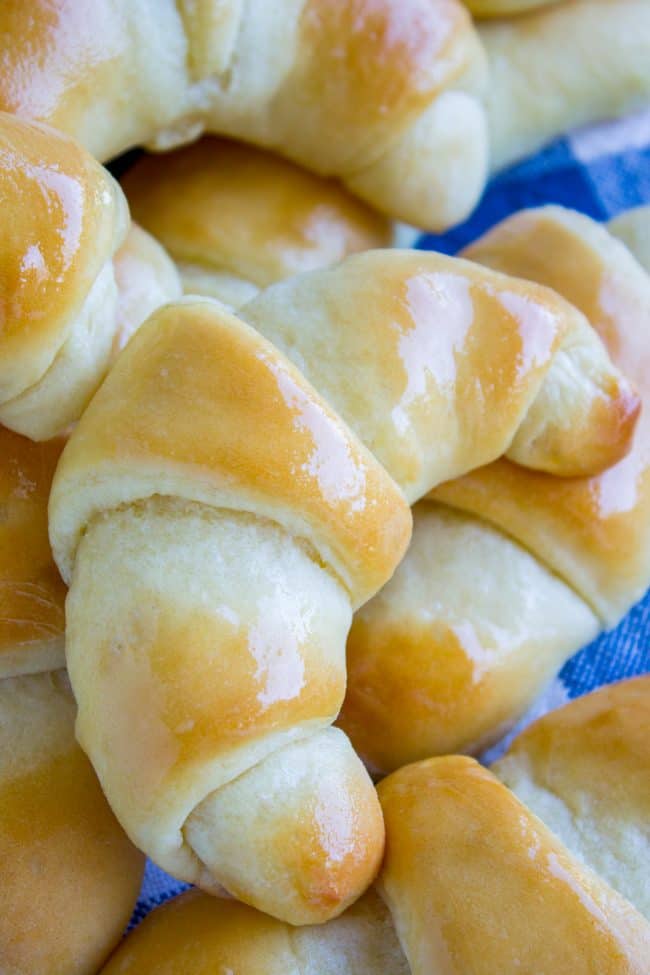
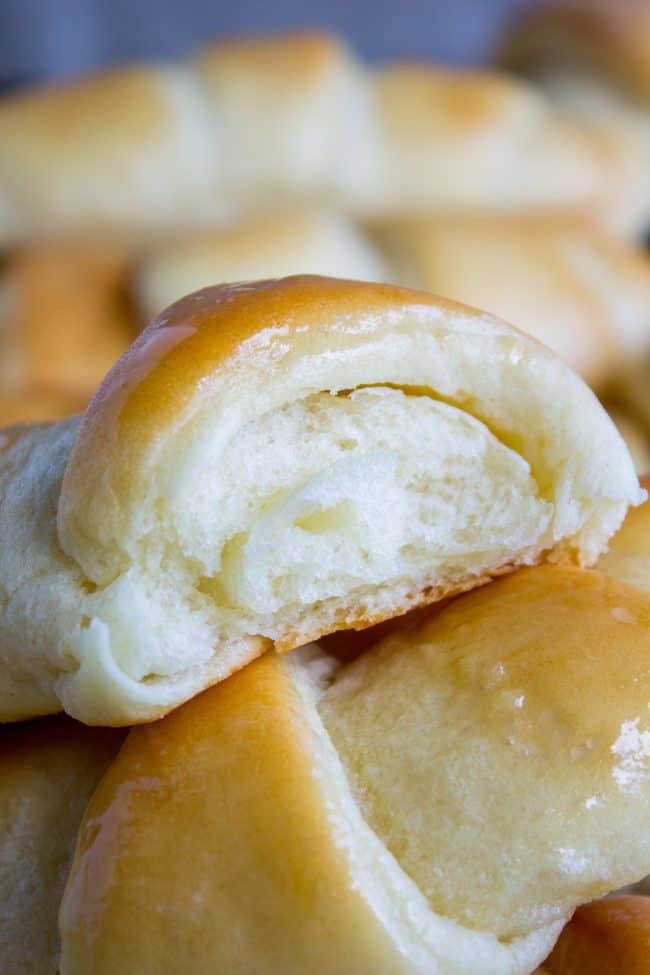
They are big. They are fat. They are the best Crescent Rolls of your life! I’ve been making these rolls for 10 years, and my mother-in-law Kris has been making them for 30. The recipe is tried and true, they always turn out perfect. They are ultra fluffy and light, plus super easy to make!
This recipe was published on February 1, 2012. I updated the photos and added more details for the recipe on November 7, 2018. So many of my favorite recipes were posted on the blog when I first started, before any of you were here! The world needs to know about these big fat crescent rolls! As usual, I’m keeping a portion of the original blog post for posterity’s sake. Here’s a blast from the past:

How do you like Charlotte’s mohawk? Her hair is actually looking way better these days. She was born with a full head of hair, but by 4 months had developed a lovely combination of long side wings with the classic bald spot in the back, above a rockin’ mullet. A true backstache.
We were blinded by being adoring parents. It took my sister-in-law Sandi to come into town with a pair of fresh eyes to finally wake us up. She said that Charlotte looked like an infant combination of Benjamin Franklin and Smeagol from Lord of the Rings.
Sandi was totally right, Charlotte’s hair was atrocious. Isn’t it crazy how parents always think their babies are beautiful, and then even 6 months later you look back and think, wow, my kid is way cuter than that now. That newborn looks just as ugly as all the other newborns I’ve seen. I think it’s God’s way of helping up propagate the species.
How to make crescent rolls
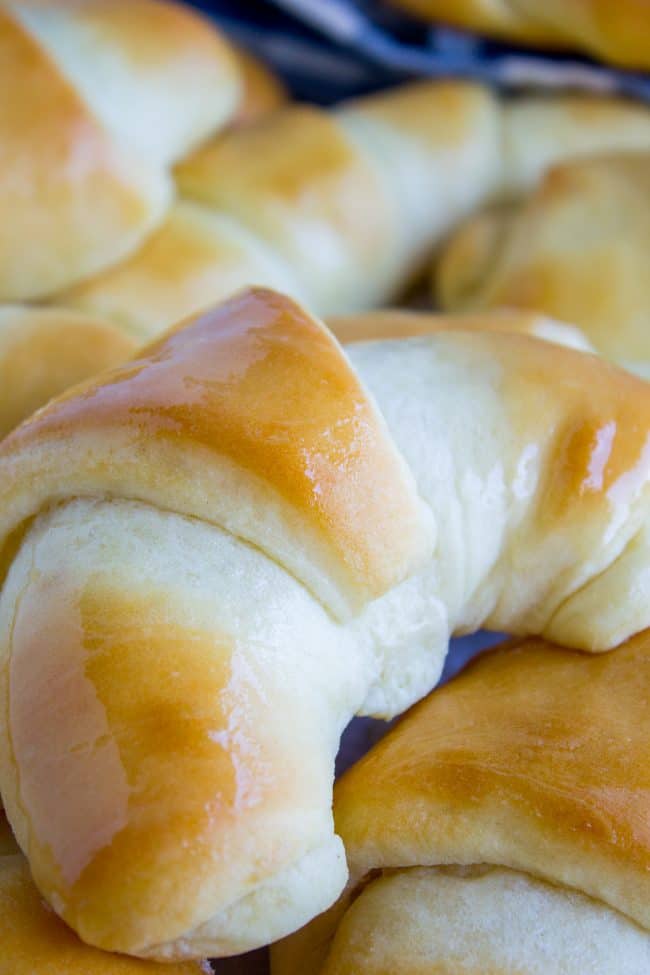
Have you ever made homemade crescent rolls? These little beauties always turn out perfect. Eric’s mom Kris gave me the recipe years ago when I married into the family, and she’s had it since 1987. It’s definitely tried and true!
There is nothing more amazing than your house smelling like these yeasty, heavenly rolls. I can throw down about a dozen in one sitting. They are absolutely addictive. They are worth every ounce of effort, and whoever you share these with will be quick to agree.
I titled this “Big Fat Crescent Rolls, yeah” because Eric originally wrote the recipe in an email while his mom dictated it to him on the phone, and this is what he titled it. I edited out all the other slang in the instructions (mix it in the kitchenaid, yo) but in my mind I can’t call them anything else.

Make sure your yeast gets nice and foamy.
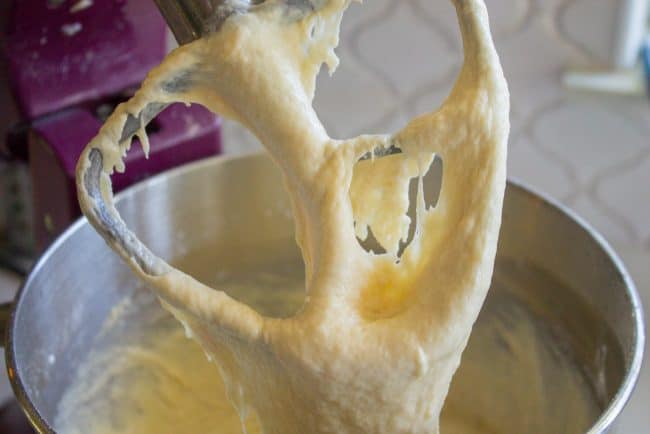
See how loose and sticky this dough is??
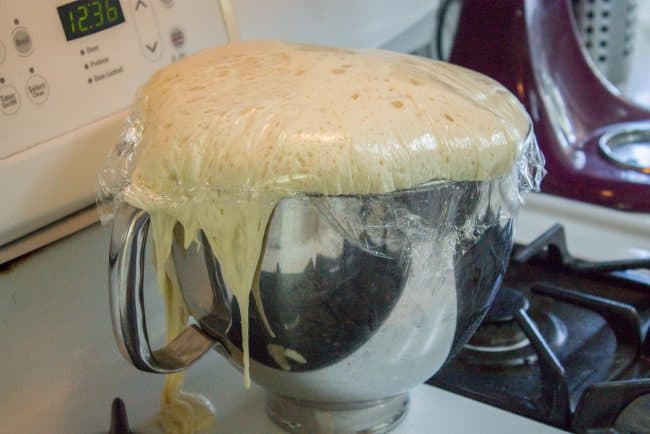
Don’t leave to run errands while your dough rises. I always do this!!

It’s a massive amount of dough.
How to roll crescent rolls
Get ready for a ton of pictures! Yeast rolls can be a little intimidating, especially when you have to shape the dough, so I’ve got it broken down for you here.
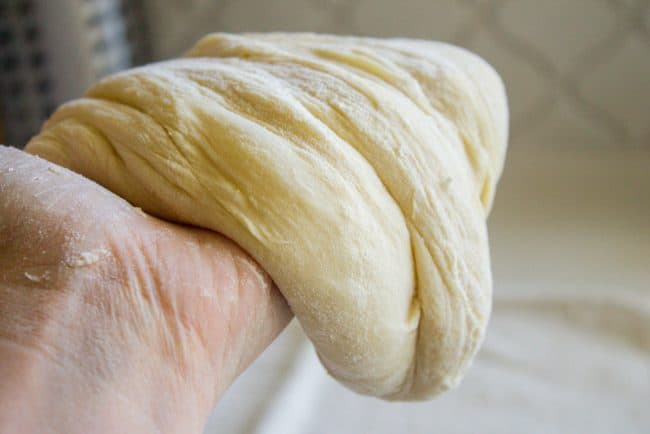
This dough is so soft, it just falls off your hand.
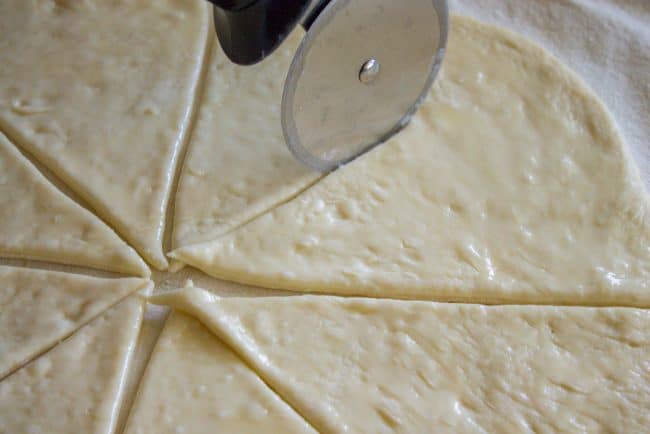
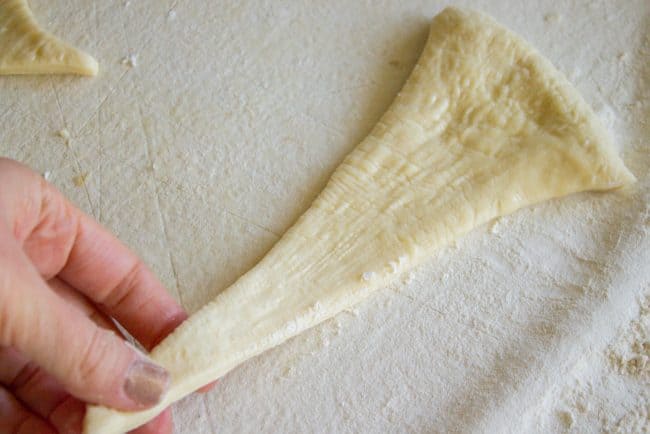
I like to stretch the skinny end of the triangle so that when you roll it you get lots of pretty layers.

Here’s how to snip the long end of your triangle and fold it in on itself if it’s looking too wide. You don’t want the rolls to be too long. I forgot to include a picture, but when you place the roll on the baking sheet before it rises, you want to curl the edges so tht it is a crescent shape.
And just for fun, here is one of the original photos of this recipe, back from 2012:
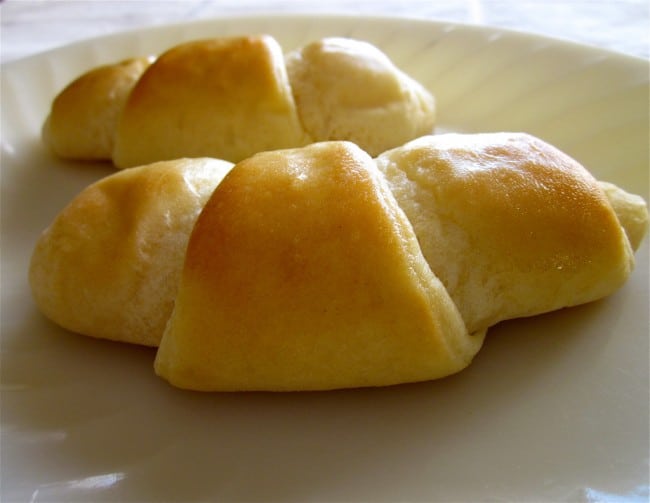
I know you are going to love this recipe! They are perfect for Thanksgiving. Make them ahead of time and freeze them so you have one less thing to do on the big day!
Facebook | Pinterest | Instagram
One year ago: Aunt Shirley’s Famous Creamy Mashed Potatoes << I always make these for Thanksgiving
Three years ago: Slow Cooker Brown Butter Carrots <<these are so easy for Thanksgiving!
Seven years ago: Cherry Tomato and Goat Cheese Pizza
Big Fat Crescent Rolls

Ingredients
- 2 tablespoons active dry yeast
- 1/2 cup water, warm, not hot
- 2 cups milk, warm, not hot
- 1/2 cup butter, 1 stick
- 1/4 cup sugar
- 2 teaspoons salt
- 2 large eggs
- 7 cups all purpose flour
- 1/2 cup butter, 1 stick melted, for brushing
Instructions
- In a large bowl or stand mixer, combine yeast and warm water. Touch the water with your wrist, it should feel like lukewarm bath water, about 105 degrees F. Let sit for 5 minutes and check to make sure it's getting bubbly. If not, you've killed your yeast with too hot water. Dump it and start over!
- In a glass measuring cup, add 2 cups milk and a stick of butter. Warm in the microwave in 30 second intervals until the milk is warm (not hot!) It should be about the same temperature as the water. The butter will not melt completely, but will be soft enough to stir in.
- Add the milk and butter to the bowl.
- Add the sugar and salt and stir with the paddle attachment, if you are using a stand mixer.
- Add the eggs and beat throughly.
- Add about 7 cups of flour, one cup at a time. Mix with the paddle after each addition. (There is no need to switch to the dough hook. If you are using a hand mixer, eventually you will have to stir in the flour by hand.) The dough is very loose and sticky; it will not come together in a ball. Mix it for 2 minutes on medium speed.
- Remove the paddle, cover the bowl with a greased sheet of plastic wrap, and let rise for one hour in a warm environment. Keep an eye on it to make sure it doesn't overflow the bowl.
- Prepare 4 large baking sheets with silicone baking mats or parchment paper, or spray well with nonstick spray.
- Use the mixer or paddle to punch down the dough.
- Scrape the dough onto a very well floured work surface. Like we are talking dump at least a half cup of flour on the counter and spread it around. Flour your hands well and knead the dough a few times until it becomes manageable. You can add a little more flour if necessary, but remember it is supposed to be pretty sticky and loose. Sometimes I add up to a half cup more flour. Use your best judgment!
- Use a serrated knife covered in flour to divide the dough into 4 equal pieces. Place 3 of the pieces on a floured surface and cover with a tea towel.
- On a well flour surface, roll the 4th piece of dough into a 12 inch circle. Don't make it too big or your rolls will be too long.
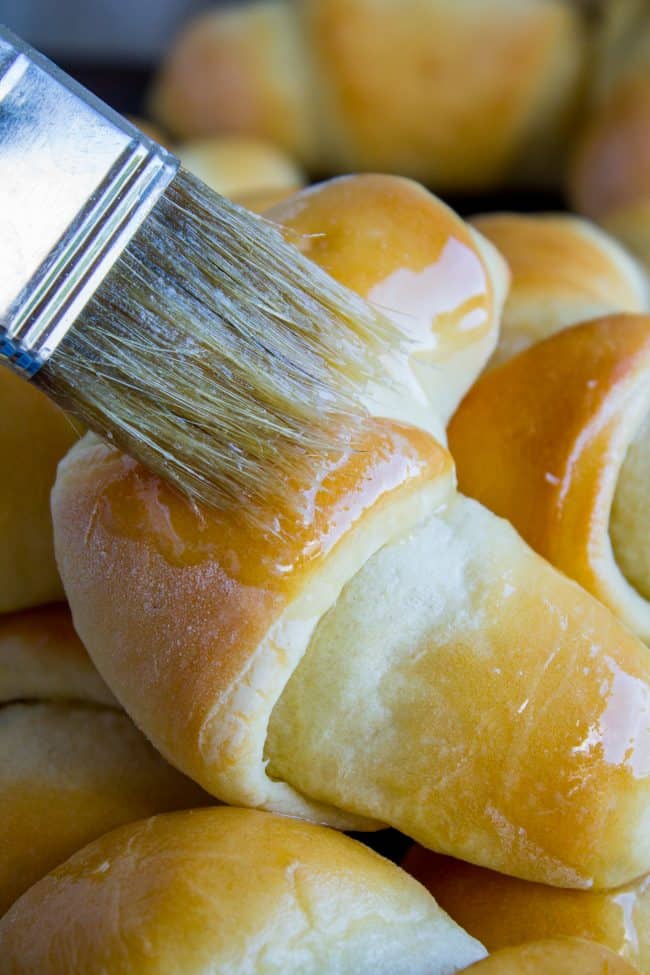
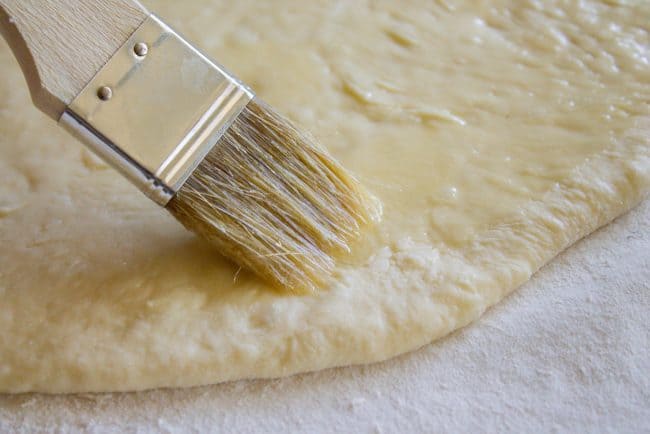
- Melt 1/2 cup butter in a small bowl. Use a pastry brush to spread melted butter generously all over the surface of the circle.
- Use a pizza cutter to cut the dough (like a pizza) into 8 equal triangles. (see photos)
- Starting from the large end of each triangle, roll the triangle, butter side up. I like to use my fingers to pull on the skinny end of the dough, to stretch it out a bit, and then roll it up. It makes it prettier when there are more layers. If the large end of your triangle is too long (which will make a really long roll), you can make a snip in the middle of the large end, and fold it in on itself. This will make the roll fatter in the middle instead of long. (see photos)
- Place the rolls on the prepared baking sheets, about 2 inches apart, with the tip of the triangle on the bottom. Cover with a tea towel and let rise at least another half hour, or longer if your kitchen is cold.
- Preheat the oven to 375 degrees F.
- Continue with the rest of the dough. Remember to keep track of which pan started rising first, as it will take you several minutes to roll out each quarter of the dough.
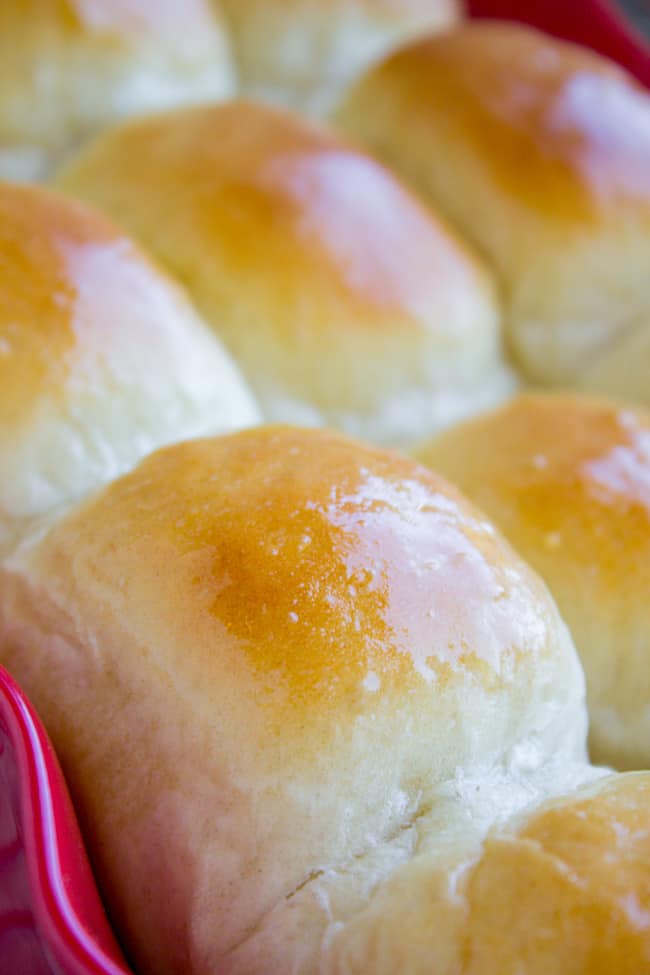
- Bake each pan of rolls at 375 for 12-15 minutes. And to quote Kris, They puff up real nice :) You want the tops of the rolls to reach a nice golden brown color. The bottom of each roll should also be golden.
- You can bake 2 pans at a time. After 6-7 minutes of baking, rotate the pans (put the top pan on bottom and vice versa).
- Brush with more melted butter as soon as they are out of the oven, and jam one in your mouth as fast as you can. If you plan to serve the rolls later, brush with melted butter just before serving. (If you brush them and serve later, the rolls will look a little wrinkled.)
- To reheat these rolls, preheat the oven to 170 degrees F (Keep warm setting). Place on a baking sheet and warm for 5-10 minutes.
- You can of course freeze these rolls in ziplock bags, for up to 3 weeks. Let thaw in the closed ziplock bag on the counter, and then follow reheating instructions. If you know you are panning to freeze them, I would wait to brush the tops with melted butter until just before serving.
Notes
This recipe is from my mother-in-law Kris!
Nutrition
Other ideas for Thanksgiving rolls!
Aunt Shirley’s Famous Buttery Dinner Rolls << these are a classic and my go-to dinner roll!
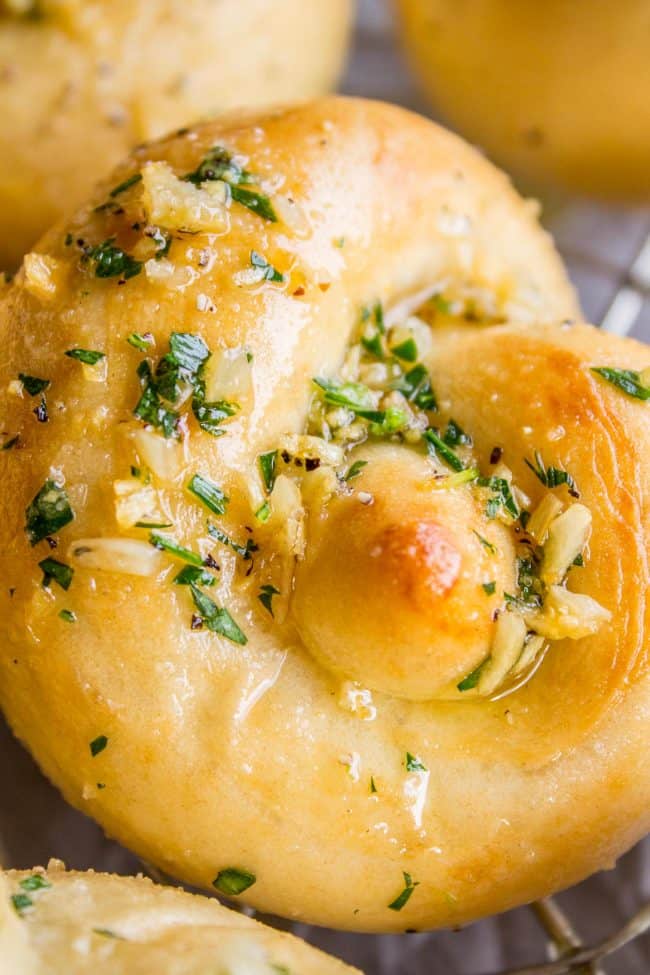
Garlic Knots << these have so much flavor. Hello garlic butter!
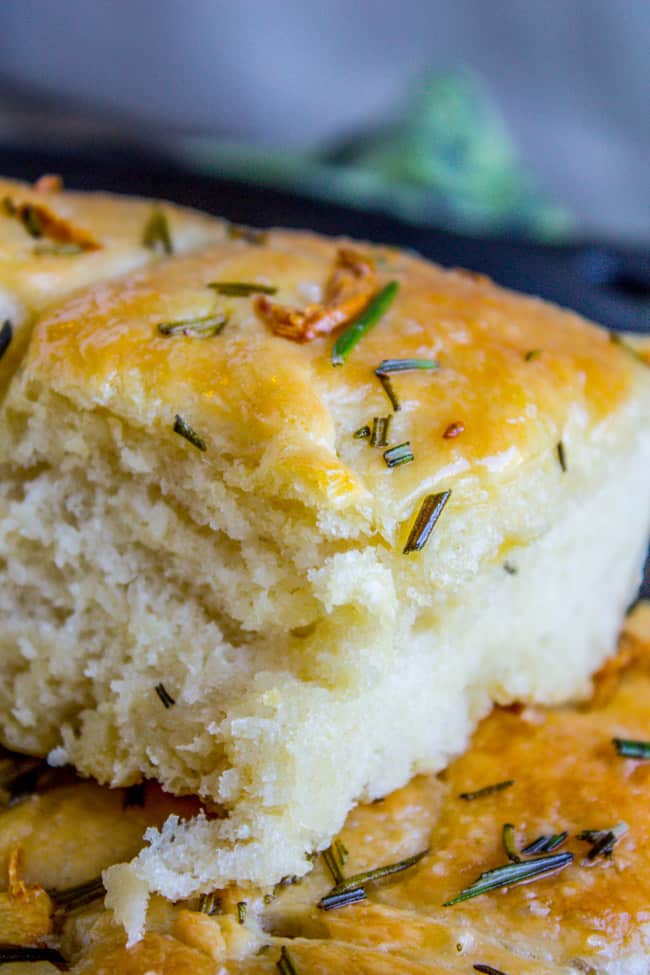
Garlic and Rosemary Skillet Bread << Save time on Thanksgiving and make this skillet bread instead of rolls!
More Thanksgiving rolls from other bloggers!
Best Homemade Dinner Rolls from Wishes n Dishes
Rosemary Sea Salt Sweet Potato Rolls from Country Cleaver
Bretzel Rolls from Amanda’s Cookin’




I WAS JUST READING YOUR RECIPES AND I AM going to try to make one of the Rolls. I will let you know how that will turn out. But don’t no when but soon. Thank you so much
Yes tell me how it goes Diane!
My husband and I slathered on butter, a bit of honey, and gorged ourselves on these! They are now on my Thanksgiving menu, too – they are that good! Thanks!
Yay, these rolls are so good with honey! I’m so glad you enjoyed them :) Thanks for commenting, I’m glad you’ve found your rolls for Thanksgiving!
Punch the raised dough down with the paddle? Really? I’ve been making yeast breads since the late 80’s, and I use my Kitchen Aid to mix the dough, but I’ve never left it in the bowl to rise, and I for sure never punched it down with anything other than my hands. (That first punch is one of my favorite parts of making bread!) So, how long do you turn the mixer on to get to the punched-down state? I barely spend 30 seconds when I’m doing it by hand. Thanks for your help! I WILL be making these for Thanksgiving.
Hey Jeanne! Great question! You can do it with the paddle or your hands or whatever you want! Just get all the air out of that dough! I usually just attach the paddle in, lower the mixer and turn it on low for a few seconds.
Here’s a comment I received from Adriana:
“I made these rolls they are awesome! This is the recipe I’ve been looking for. I couldn’t find one with this amount of yeast. I shall look no further!😊”
-The Food Charlatan
I’m finally printing this recipe, only after making these ten times already! This is a recipe I need handy at all times! :) Thanks for sharing so many delicious recipes that are now becoming our family favorites. And congrats on the new arrival! Valentine is so precious.
Aren’t these the most amazing rolls Shanna?? I’m so glad you love them as much as I do! And thank you, we are so happy to finally be with our sweet Valentine! She’s the best!
Do you think you could make them a day-ahead of big holiday dinner and then just reheat in the oven before serving? If so, any thoughts on temp. and time??? Thanks so much
Totally Lexy! I would store them in big tupperwares or ziplocks. Then put them on a baking sheet before serving and heat at 170 (keep warm setting) until they are nice and hot, maybe 5-10 minutes. Enjoy!
Would these be ok to prepare the night before and pop in the oven in the morning?
Hey Cheryl! I don’t think so. There is too much yeast in this recipe, the rolls would get too big, even in the fridge. That’s just what I think though, I’ve never tried it! Let me know if it works.
Lina, Cora and Mia made this all by themselves! The only thing I did was turn on the mixer. They rolled out the dough after I showed them how and cut it and sprayed the pan and followed the directions minutely. They even cleaned up! (Haha–clean up means that they spent fifteen minutes cleaning and then I chased them away and cleaned everything for real.) They started at 4:30 and finished at 9. Funny, huh? We were so late getting to bed. Lina did not get to practice her violin or anything. I did not have to provide any other entertainment, that’s for sure!
That is so awesome! They are very ambitious, these are no muffins. I’m so glad they had fun! And PS they were delicious.
I will be making twelve dozen of these today. Yes. Twelve dozen. The perfect roll for any holiday occasion. I love these and they remind me of my mother’s classic holiday crescent roll.
P.S. NO, I am not going to EAT twelve dozen, I have three different places they are going. And none of them are “my stomach.” Haha.
PS. I think Char looks great with her hair sticking straight up. Adoring grandparent.
Did I really say “They puff up real nice.” Yikes!
Well. Eric was the one who actually wrote down the recipe, so that might have been his interpretation. . .
Wait, wait. Indian ginger chicken?! I love you, K-Dizzle (Sorry, your “mix it in the KitchenAid, yo” of earlier stuck me in a fake rapper/gangsta frame of mind), but I think it’s time for a guest post, courtesy of Nathan, with that ginger chicken recipe as the star. It sounds delicious. Word to your mother.
Um…don’t you mean word to your brother? haha. the ginger chicken is coming soon I promise.
No it was NOT your ginger chicken!!! I am going to make that this week though. No, this recipe was one for curried smashed potatoes and it called for 5 TABLESPOONS of curry. I like curry, but I guess I don’t like it when there is enough to permeate my skull. So where does that put us? This is my 42nd post so it sounds more like it’s 42-0.
Burn.
Burn? Blogging with nice pictures has nothing to do with cooking ability. I made up my own Indian-themed recipe with success, but Karen can’t even choose a good recipe? Zing!
Anyone who insults my cooking ability doesn’t get to eat my food. Zing :)
Bahahahaha! Were you trying my Indian ginger chicken recipe and failed miserably!? I think this puts me ahead 1-0. Your move.
These look heavenly. (Plus, I’d get to use my pizza cutter. Which is always a win.)