Skip to content
TRUSTED RECIPES, STRAIGHT TO YOUR INBOX →
My Favorites
Recipes
Appetizers, Dips & Snacks
Breads, Muffins & Rolls
Breakfast
Sweet Breakfast
Savory Breakfast
Dessert
Brownies & Bars
Cake & Cupcakes
Candy & Fudge
Cheesecake
Chocolate!
Cookies
Ice Cream & Frozen Treats
Pies, Pastries & Tarts
Dinner
Casseroles
Healthy Dinner
Meatless Dinner Recipes
One-Pot One-Pan Recipes
Pasta
Quick and Easy Dinners
Sauces & Dressings
Drinks
Holidays & Events
Back to School Recipes
Christmas Recipes
Easter Recipes
The Best Fall Recipes
Father’s Day
Fourth of July, Memorial Day & Labor Day!
Game Day Recipes
Halloween Recipes
Mother’s Day
New Year’s Eve Recipes
St. Patrick’s Day
Thanksgiving
Valentine’s Day
International Flavors
Asian Recipes
Greek Recipes
Mexican/Tex Mex Recipes
Meat & Seafood Recipes
Beef Recipes
Chicken & Turkey Recipes
Pork
Seafood Recipes
Salad Recipes
Side Dish Recipes (& Veggies)
Slow Cooker!
Soup Recipes
Recipe Index
Archives
Videos
About
Welcome
About
Contact
Press
Top 10
My Favorites
Home
Archives for December 2011
December 2011
Breakfast
Bacon and Egg Toast Cups
Dessert
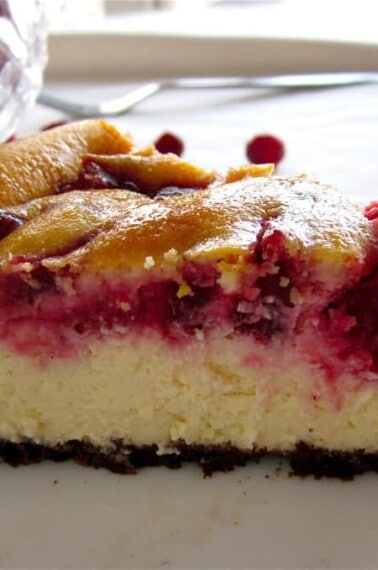
Cranberry Swirl Cheesecake
Dinner
Kung Pao Chicken with Coconut Jasmine Rice
Dinner
Spaghetti and Meatballs